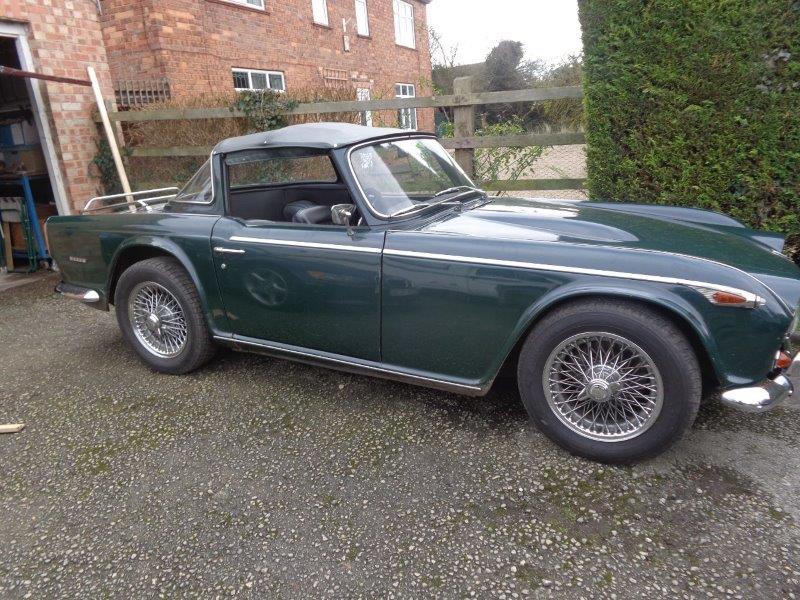
1968 TR5 Restoration 9 - UPB 4F – Dave McDonald
Mid July 2020 – November 2020
Body Work After Collected From Main Welding
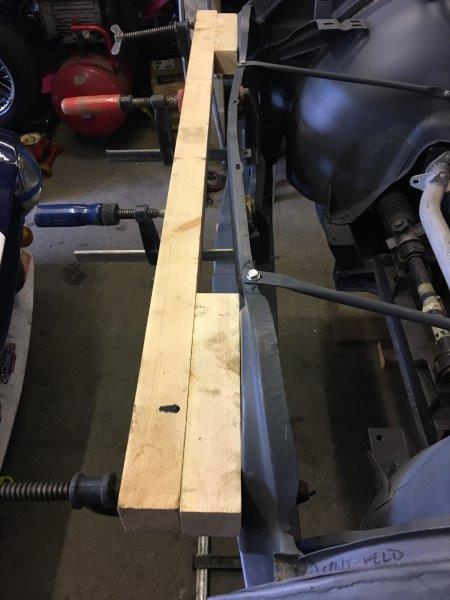
27.8.20. Found out from talking to the ever helpful Stuart at Watermill Carriage Company in Cornwall, that my front valance, now welded in correctly, and which is straight at the top should be curved similar to the bottom. I introduced a curve in this with a length of 2” x 2” timber and some G clamps to pull the shape with a little heat from a blow torch. Now curved. See photo.
Had to do a lot of finishing work to the front valance and wing fit.
27.8.20. When I came to remove the rear N/S wing to do some work to improve its’ fit I found that the top set screw into the captive nut in the back of the B post was rotating but tight and wasn’t coming out. That meant the captive nut was no longer captive and was turning also. Had to use angle grinder in restricted area to cut off both sides of the oversize washer so that with a lot of wiggling about and pulling the wing plate came free over the nut head. I was able to pull the captive nut through the B post with a claw hammer leaving a large hole and no wing fixing. It transpired that the captive fixing was M6 thread and a ¼” unf screw had been forced into it, so that’s why it jammed. It turned out that all 3 of the fixings must have been metric originally. The middle one still is. The bottom one had been replaced with a correct ¼” unf fixing by a previous owner (presumably because of same problem) and top one now needs replacing.
Sept 2020 – Found that the front wings wouldn’t sit correctly over the cills on both sides to let them line correctly from front to back. The repro outer cills, bought cheaply at the Stoneleigh Spares Day, were the problem. The points at back and front where the section changes to let the wings sit flush on the outside weren’t pressed properly. They were too shallow. Ended up having to cut slits in the new cills with the angle grinder, tap them back and have the slits rewelded to improve the fit. Not good on brand new cills. That’s what comes of buying cheap.
I’d agreed with the body repair welder to retain the O/S door with some repair work. When it came down to it, though it was better than when it started, I wasn’t entirely happy with it for the long term and decided to change it. I found an excellent condition door frame, which had been reskinned, in Scotland on eBay. The purchase was made and it arrived 2 days later. This door is a perfect replacement. See photo below from inside car.
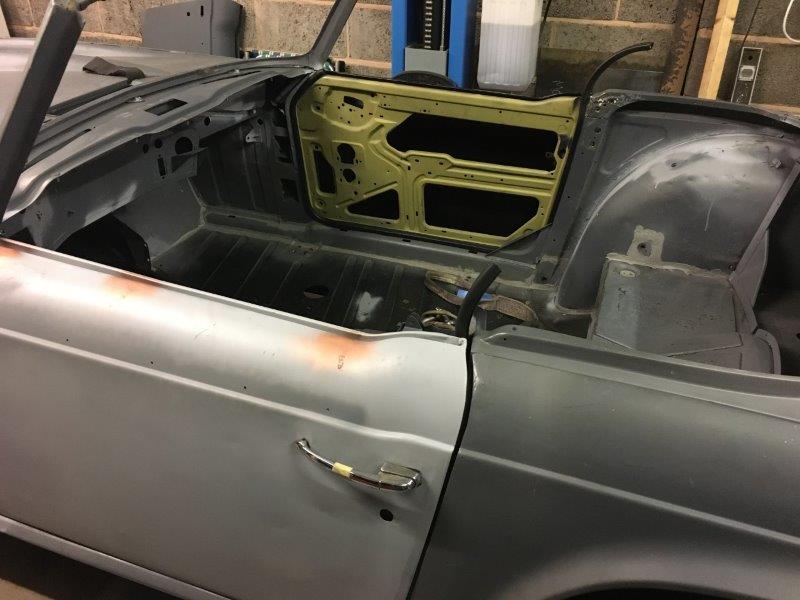
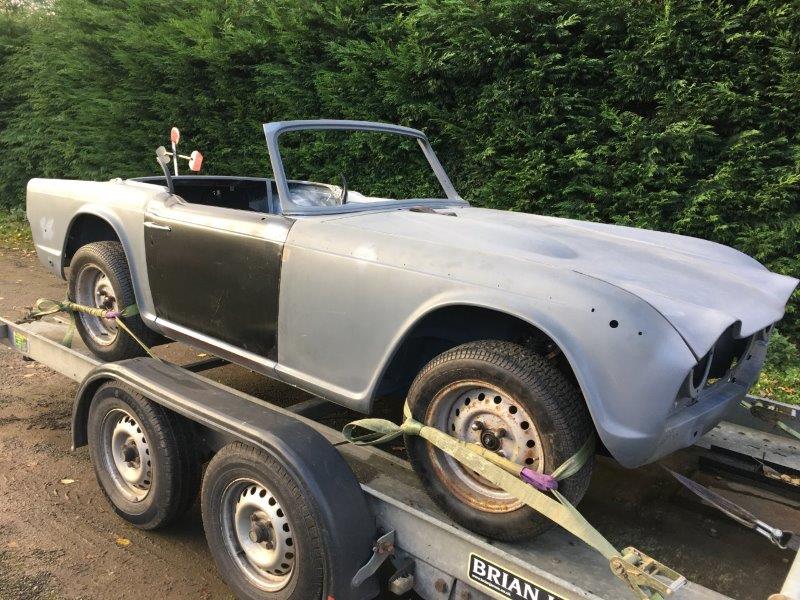
The N/S door was replaced by one from my USA TR6 race car (which now has fibreglass doors.) This was in excellent condition but hadn’t been blasted when the rest of the car was treated. For convenience I had it dipped to strip it at Prostrip in Nottingham. I cleaned off the “passivating” protection with panel wipe and gave it a coat of etch primer from a spray can to avoid it becoming rusty again. This is why it’s a paler grey than the rest of the panels on the photos. The old USA mirror fixing holes were welded up and a new hole for the correct mirror drilled.
Both doors were drilled for the side stainless steel trims which run from the front of the wing and on to the doors. I won’t be using a tonneau cover so the USA N/S door had the 3 holes for the fixings welded up.
I’ve removed a Surrey Top and will be rebuilding with a preferred soft top. I trial fitted an old hood and hood frame, that I will be refurbishing, to make sure that all the necessary fixing holes were present and lined up. Holes for the hood press stud fixings were drilled on the back deck perimeter in the areas behind the 2 doors.
The old door hinge pins had worn resulting in the usual door droop when they were opened. I bought new pins but was somewhat surprised to find that they were smaller diameter than the worn ones that I removed, so NBG at all. As a sign of original Triumph engineering, I noticed that the old hinge pins had a spiral cut into them, presumable to aid the passage of lubricating oil down them. The useless new ones were plain. In the end I located a set of good used but serviceable hinges from a contact in the Lincs TR Group.
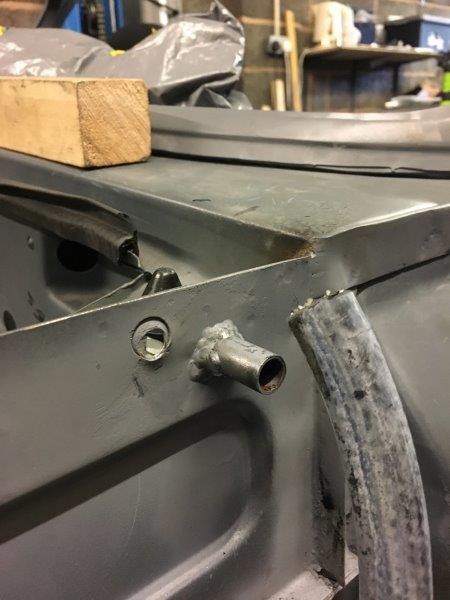
Having seen the corrosion of the sill caused by trapped water behind the front wings and seen various solutions to deal with this I set about my solution. At the drain hole in the top of the inner wing at each end of the front scuttle a ½” diameter stub pie was welded. See photo.
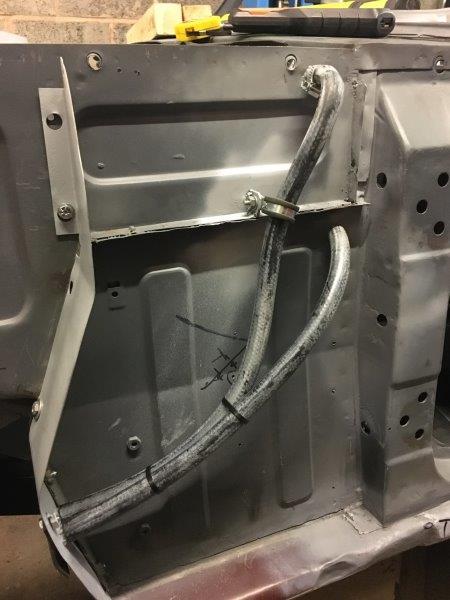
The front wing baffle plates, after trimming to shape to better fit inside the wings, had 2 short stub pipes welded on, together with a captive nut. See photos.

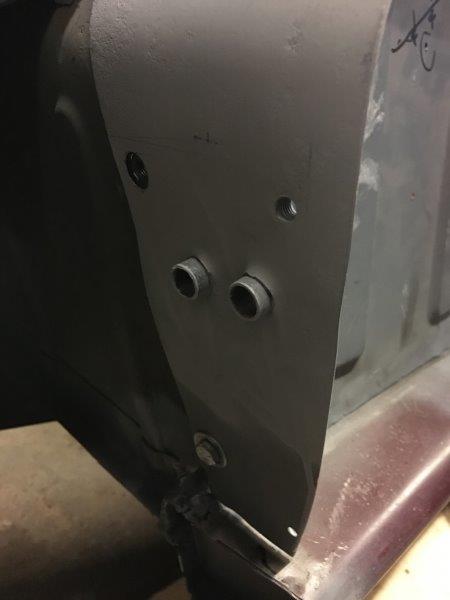
Rubber tubes from the plenum drain and scuttle drain stub direct water through the baffle plate stubs. A rubber flap over the outside, fixed with one of the original baffle screws and the extra captive nut, will prevent road muck being thrown up into these drain outlets. See photos. A small plate welded to the inner wing provided a fixing for a P clip to stop the rubber tube from rubbing inside the outer wing.

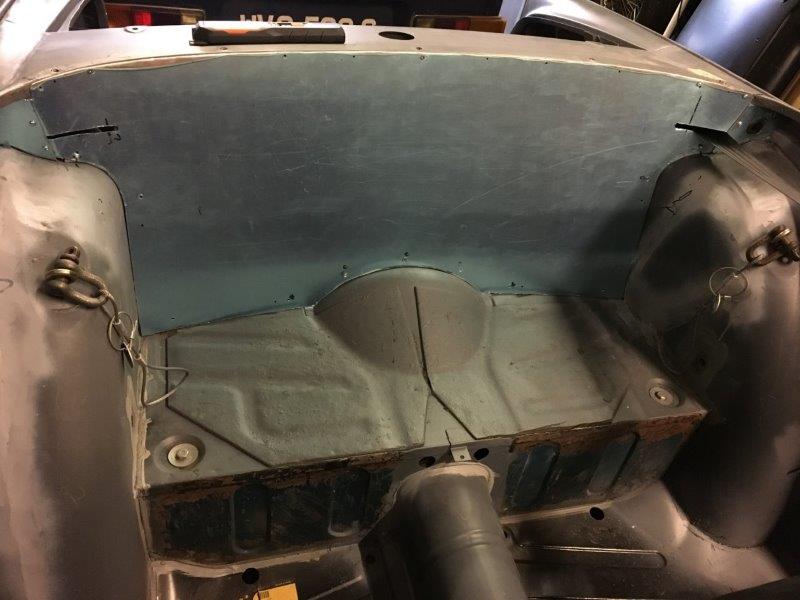
Various threads on the TRR Forum have advocated the installation of a Firewall behind the seats, in front of the fuel tank, as a barrier to flames entering the passenger area in the event of a fuel fire in the boot area. The Motorsport Regulations for racing these types of cars insist on such feature for safety purposes. It seems sensible and isn’t particularly difficult to fit and hide behind the rear cockpit trim board, so why wouldn’t you, when the opportunity is there of doing it while the car is completely stripped.
I used a thin aluminium sheet as shown in the photo below. The 2 ends take a bit more time to sort out using cardboard cut out templates initially to sort out the final shapes. Don’t forget a hole for a rubber cable grommet in the nearside to allow the wiring loom to pass through to the boot.
It won’t prevent a complete conflagration should that occur, but it will give a little extra time to come to a halt and evacuate the car in that event.
When fitted in the car, after painting, the firewall plates will be sealed with Intumescent sealant around the whole perimeter.
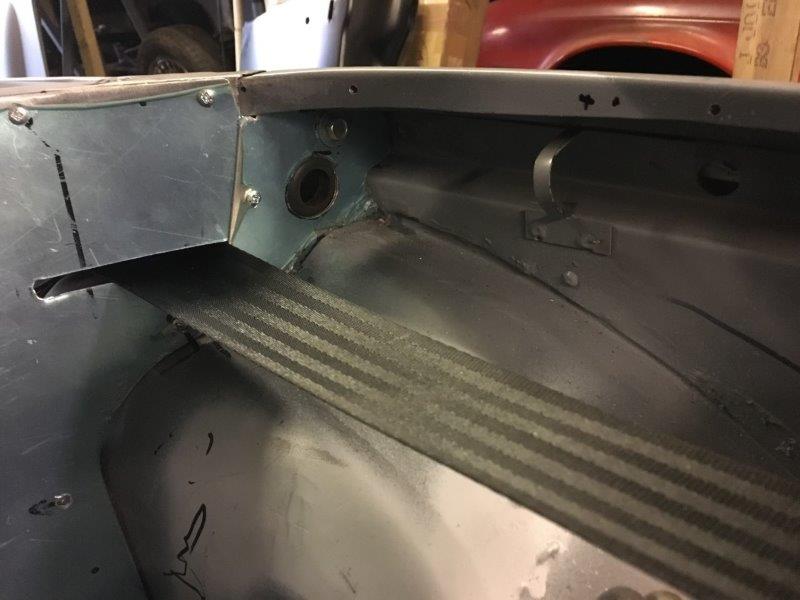
As outlined in chapter 3 of my Builders Blog, and in common with lots of other people, I will be fitting Mazda MX5 seats in the finished car. I’ve chosen Mk 2 versions with the separate headrests on stalks, as these look more age appropriate. I know, the TR5 didn’t have any headrests, but I’m prepared to sacrifice some originality for long term comfort and safety. I did a preliminary trial fitting of these in the car and used them for a short while before I took it off the road to start the restoration. It soon became clear that the shoulder belts were going to fall off the shoulder easily. To overcome this I bought some belt guides which fit on the stalks. These sorted the falling off problem but I then found that the original belts fixed in the original position were chaffing on the edge of these guide brackets due the odd angle that they were being pulled through. Remembering an alternative belt reel fitting position that I had seen at the Stratford on Avon IWE on a TR5 that had been restored by Stuart from Cornwall, I decided to copy it (full acknowledgement to Stuart for his innovative ideas.)
This involved buying new different type retractable belt reels that can operate horizontally. These were installed behind the rear cockpit panel on top of the inner wheel arches with a new reinforced captive nut plate. That’s why, for those who noticed, you will see in the photo above a seat belt passing through the Firewall. That may jeopardise the full integrity of the Firewall but as I’ve said it won’t stop a full conflagration anyway. It’s just a delaying feature. The seat belt slot in the firewall will be finished eventually by a small finisher panel from an MGF!
With a few extra captive nuts welded on in various places for fuel pipe clips and having tried to ascertain that every single hole that will be needed for self tapping screws, etc was drilled and every hole not needed was welded up, the shell and panels were finally ready for paint.
It was taken to the Autofinishers on 21st November 2020.
Dave McDonald
7th Feb 2021