1968 TR5 Restoration 6 – UPB 4F – Dave McDonald
March 2020 – May 2020
Well the Coronavirus stymied progress well and truly. With the TR5 in a rented Unit 7 miles from home and a Government edict from 23rd March to not travel for anything other than essential food and pharmacy purchases and localised brief daily exercise I was confined to Barracks by SWMBO. It made sense actually. At my less than tender years I didn’t want to take any chances but it was very frustrating that I couldn’t get on with it. I did however catch up with lots of outstanding jobs at home on my “To Do” list which gained much needed Brownie Points with Mrs McDonald.
Government relaxed the lockdown restrictions slightly on 10th May, so I was able to get a restart and complete some other body prep work.
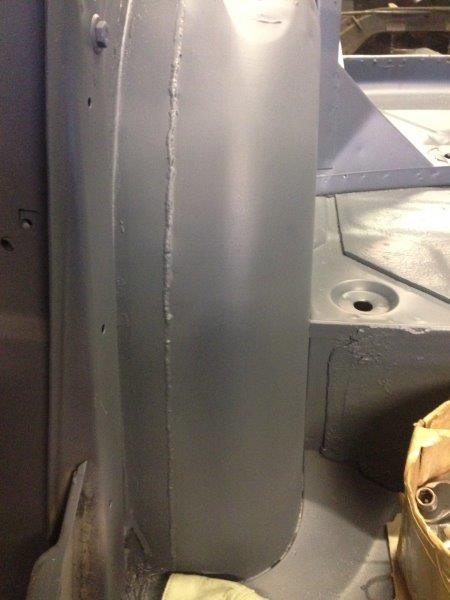
Blasting all the paint away had revealed some repair welds from Jowett Man’s 1993/94 restoration. These had been hidden behind the interior trim throughout my ownership, such as the one below on the rear inner wheel arch and a patch inside the nearside inner wheel arch below that, following the shape of the outer bump stop “buttress” which I found a bit odd. Speaking to Roger Ferris, the TR5/250 Registrar about body shell number identification, I mentioned this. He told me he’d seen it before and that it was due to incomplete factory welding of the buttress to the wheel arch allowing water to enter the box section and rotting through from the inside. Both repairs, while a little ugly seemed secure. I will flatten them with a flap disc and will leave them alone without further attention.

Other obvious defects were as shown variously below.

The bonnet had corroded slightly around a split over one of the headlamp “eyelid” shapes (above) but was otherwise sound. I suspect the initial split is a result of a stress crack from the original panel pressing of what is quite a tight radius. It will be easily repaired.

All four wings had been replaced in the previous rebuild with new repro wings and the blasting had revealed a previously unknown weld (above) in the nearside wing front corner but without any apparent corrosion there. We reasoned that it had probably been cut and rewelded at the time of the 1993/94 rebuild purely to make an ill fitting panel conform to the proper shape and follow the bonnet. No structural work required.
I’d looked at the condition of the floors as shown in Part 5 of my rebuild blog and considered the possibility of just cutting out the corroded sections of floors and replacing them. Similarly the sills were very solid between the “A” and “B” posts but rotted through at the ends where the outer wings lap over them. Could I get away with just cutting out and replating those areas?
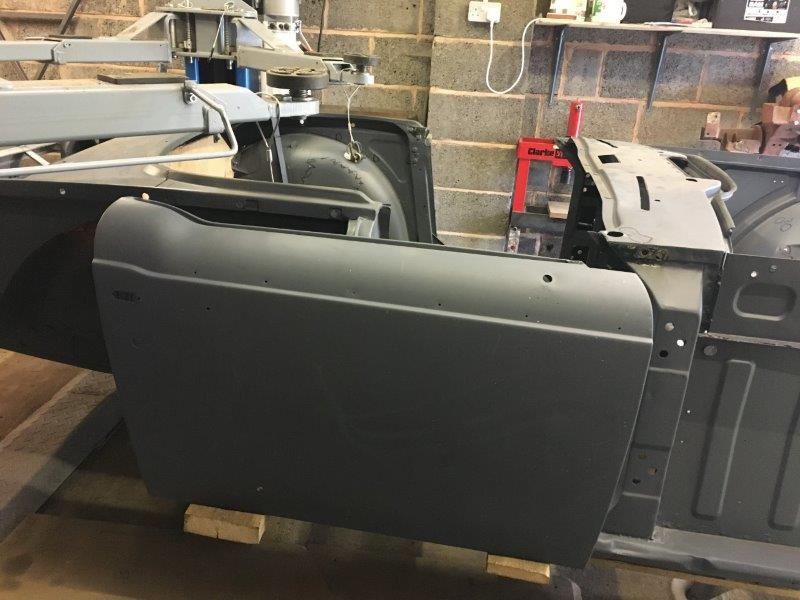
Ultimately, I reasoned that I would later regret not going the whole hog, so decided to replace floors and inner and outer sills on both sides, in conjunction with any other necessary repairs to the associated front kickboards and the heavily corroded bottoms of the “B” posts.
I cut out the old floors, initially with the shell mounted on the rotisserie (below) which made it relatively easy for access, leaving both sills in place which, together with the top temporary body cruciform and door bars, was perfectly stable to work on. Someone said that this restoration would be a bottomless money pit, well here’s the proof!

With the sills finally cut out I tried the 2 body halves in SWB mode (below), but couldn’t get the door gaps right!
Next it was tried in LWB mode (below), but again I struggled with the door gaps!

The welder who was going to replace all the floors, sills and other repairs sensibly wanted what was left of the shell to be mounted on the chassis that it was going to live on in the future. In best Blue Peter (here’s one I made earlier) I’d mounted the new CTM chassis (below) on some other old suspension components. Here it’s sat waiting on the 2 post lift. This allows me to strip the original TR5 suspension from the original chassis later and get it prepared while other things are going on.
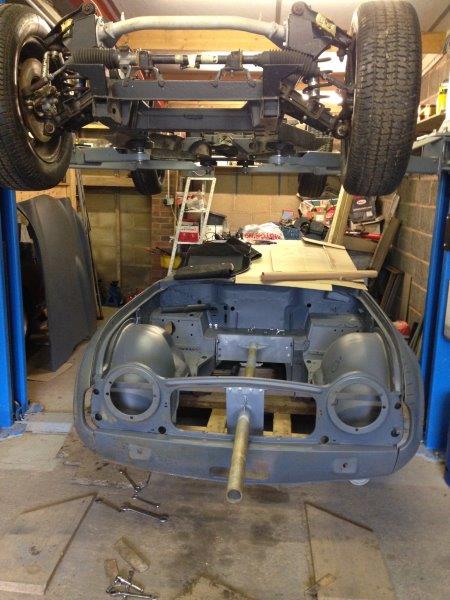
The two separate halves of the shell were finally mounted onto the new CTM chassis.
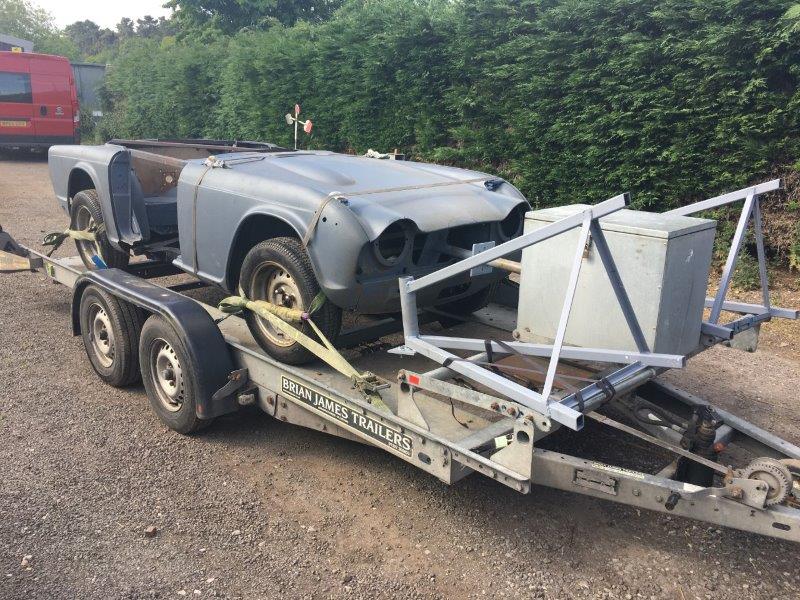
Together with the welding guy’s availability and my preparations that let me take the shell and panels (below) for repair on 26th May – progress at last.
Dave McDonald
6th Dec 2020