 1968 TR5 Restoration 4 – UPB 4F – Dave McDonald
Sept to Nov 2019
After the Goodwood Revival I finally began stripping down.
Mid Sept – remove all door window gear, locks, etc. As previously mentioned, the door bottoms I know have corrosion. This is due to the previous restorer in 1993/94 welding repair panels in the bottom without leaving drain holes for the natural drainage of water which inevitably passes down the glass past the door top seals. As a result it collects inside the door and does what water in contact with steel always does, it rots it. Doors then removed from car.
The front and rear outer wings then came off. Both front wings and one rear wing have corrosion in them and are holed right through where they sit over the cills, as are the cills themselves.
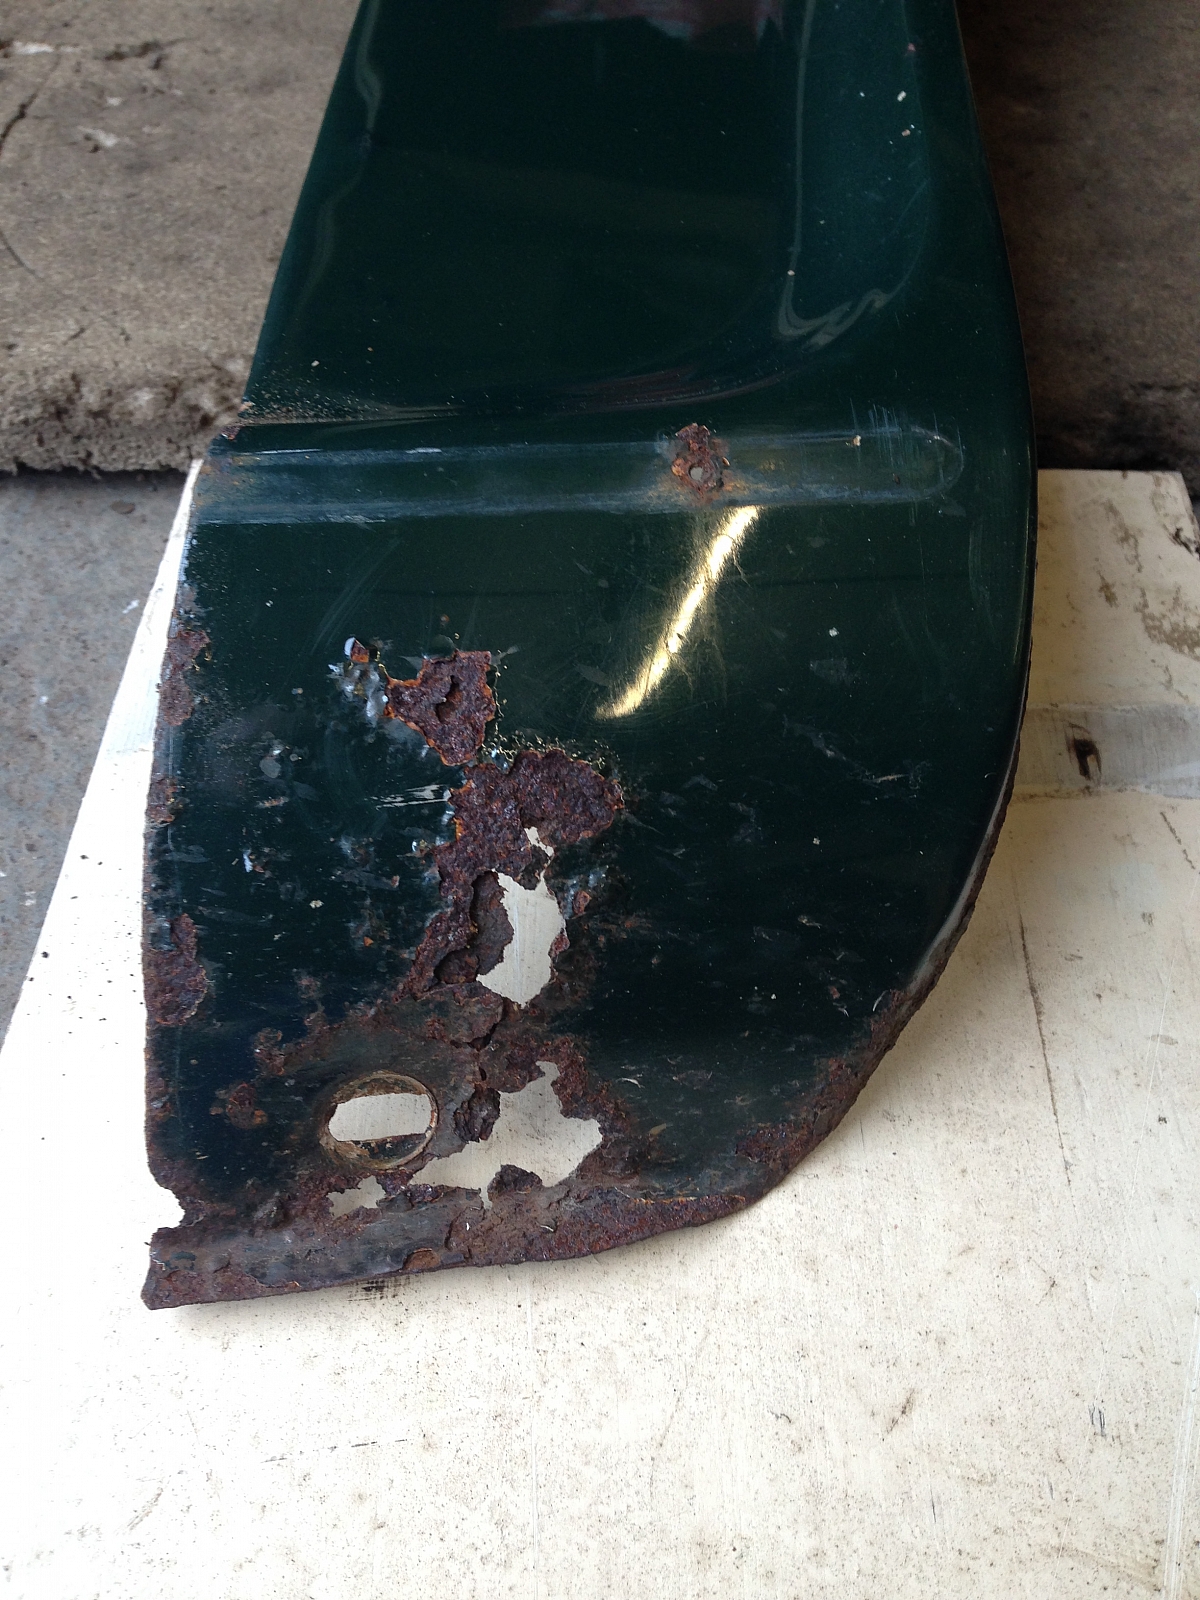
Bottom of rear nearside wing
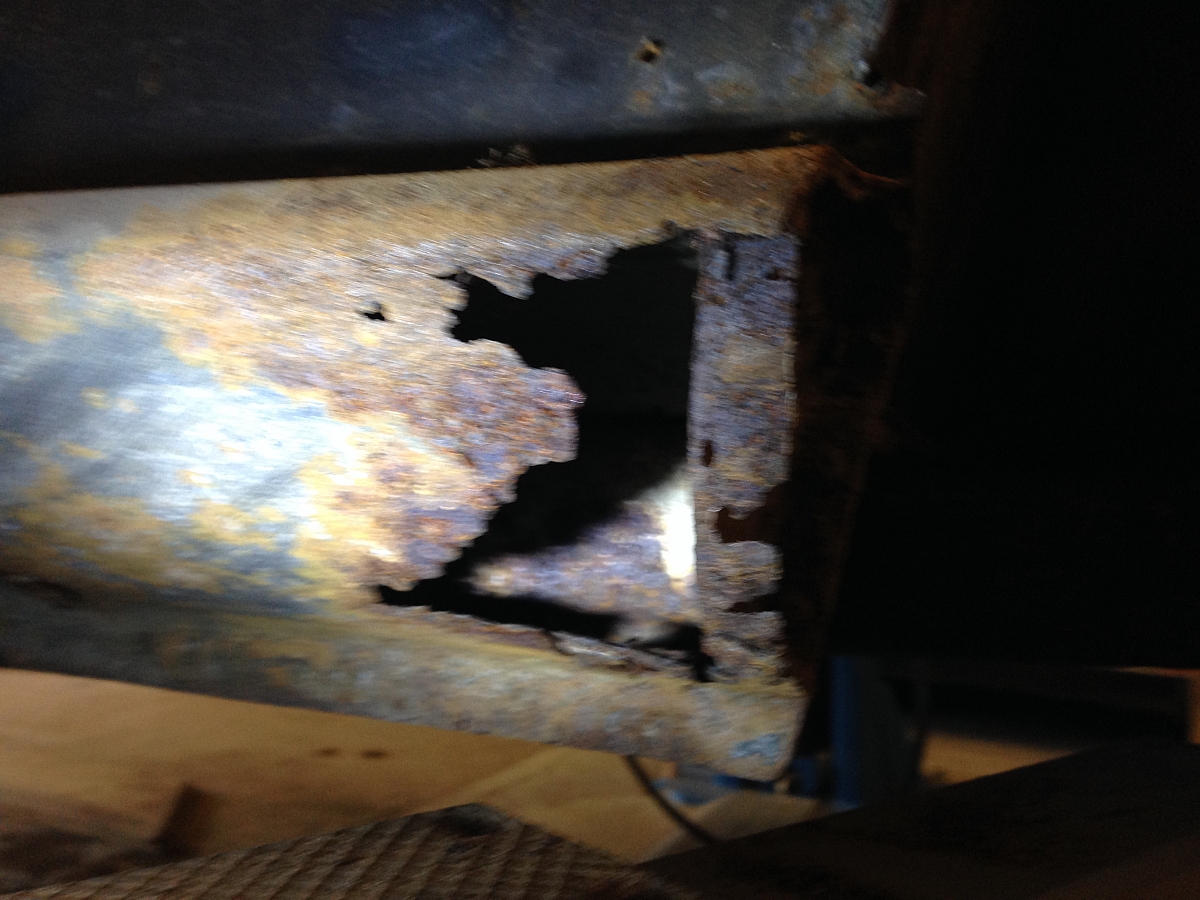
Front end of offside cill
Big surprise when the front outer wings came off to find that the front valance that they attach to wasn’t welded in place. It was just attached by the wing screws, bumper iron bolts and the 2 stays back to the inner wheel arches. The top and bottom valance sections were just pop riveted together. So that lot all needs welding into position. Also there are filler pieces which should be welded to the front wings in this area. They too were just bolted in. Thanks Mr Jowett Man. More welding to do.
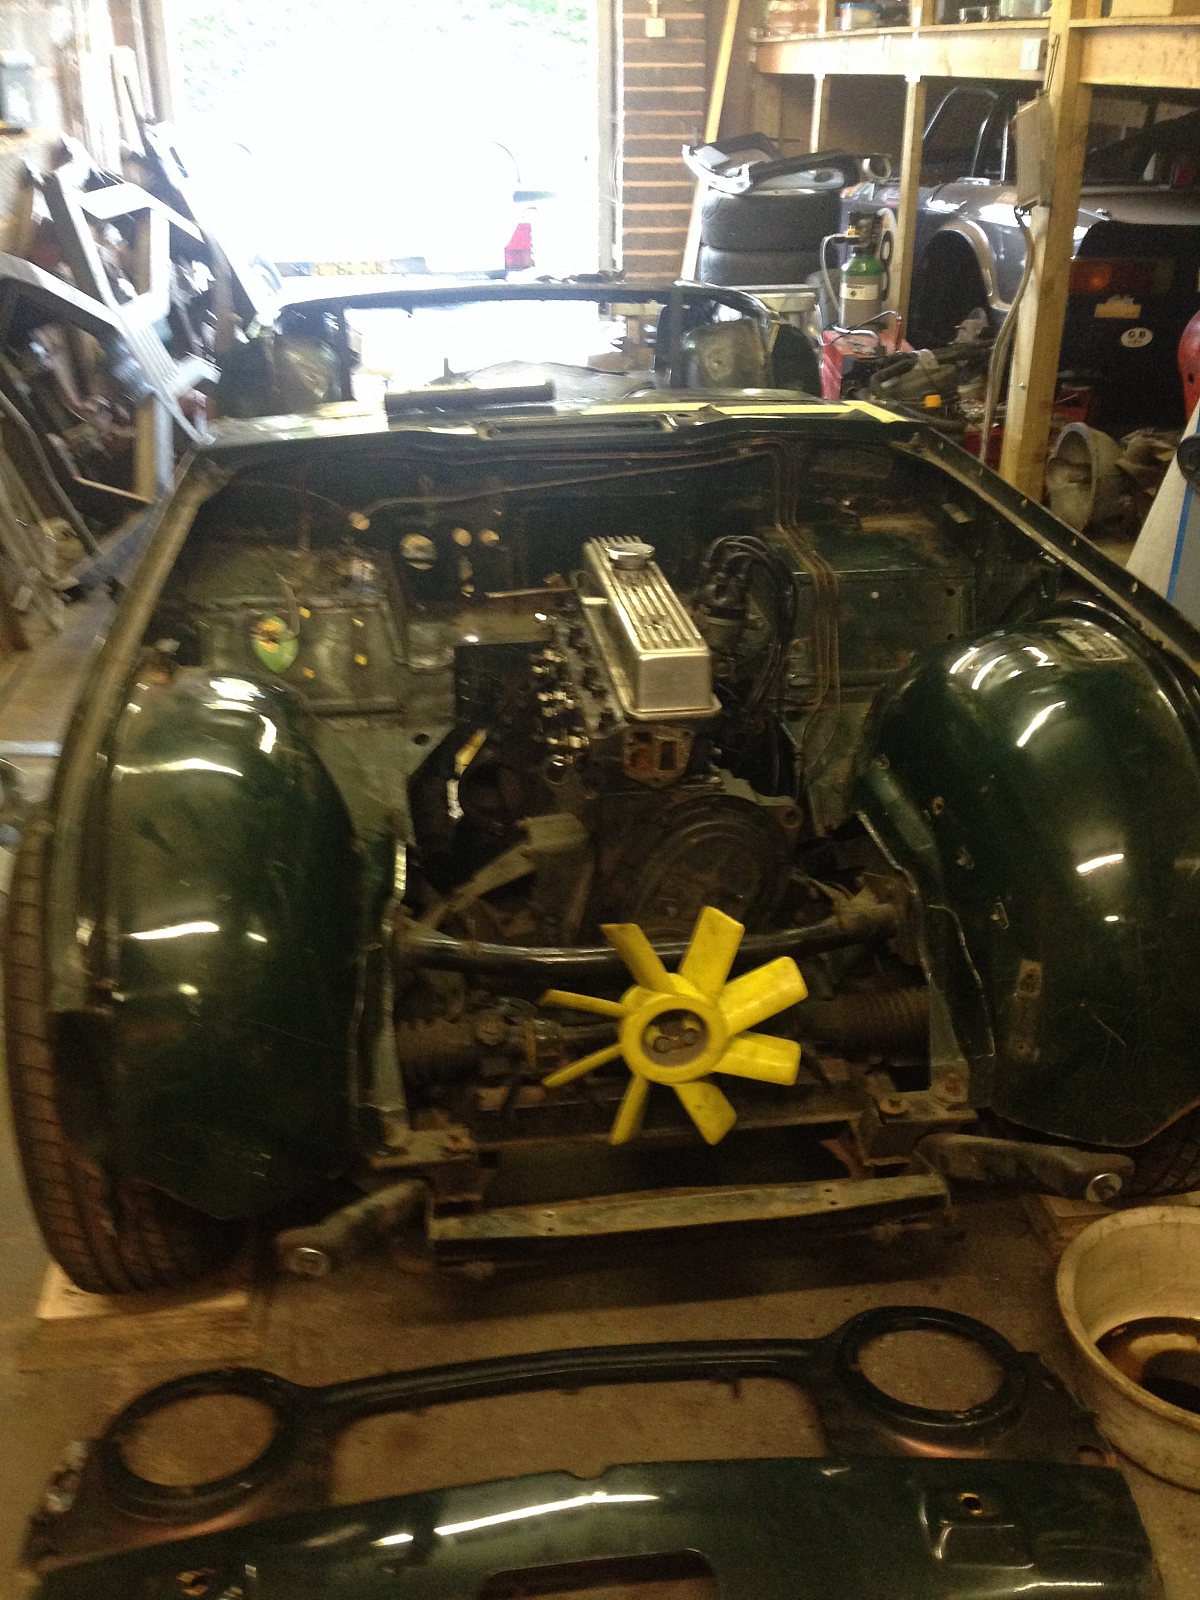
Front valance completely loose
Next major surprise came when I removed the seat belt fixings at the bottom of the B posts. When trying to remove the drivers’ side fixing the metal felt very “crumbly” and eventually, after some not particularly strenuous tugging and pulling, the whole 2 layered steel plate surrounding the fixing sheared out of the B post. Oh Joy!! See photo below. More extensive welding in this key area. Just to top it off the passenger side seat belt fixing plate was perfectly solid but the bolt head sheared off when trying to remove it. Oh Joy again!
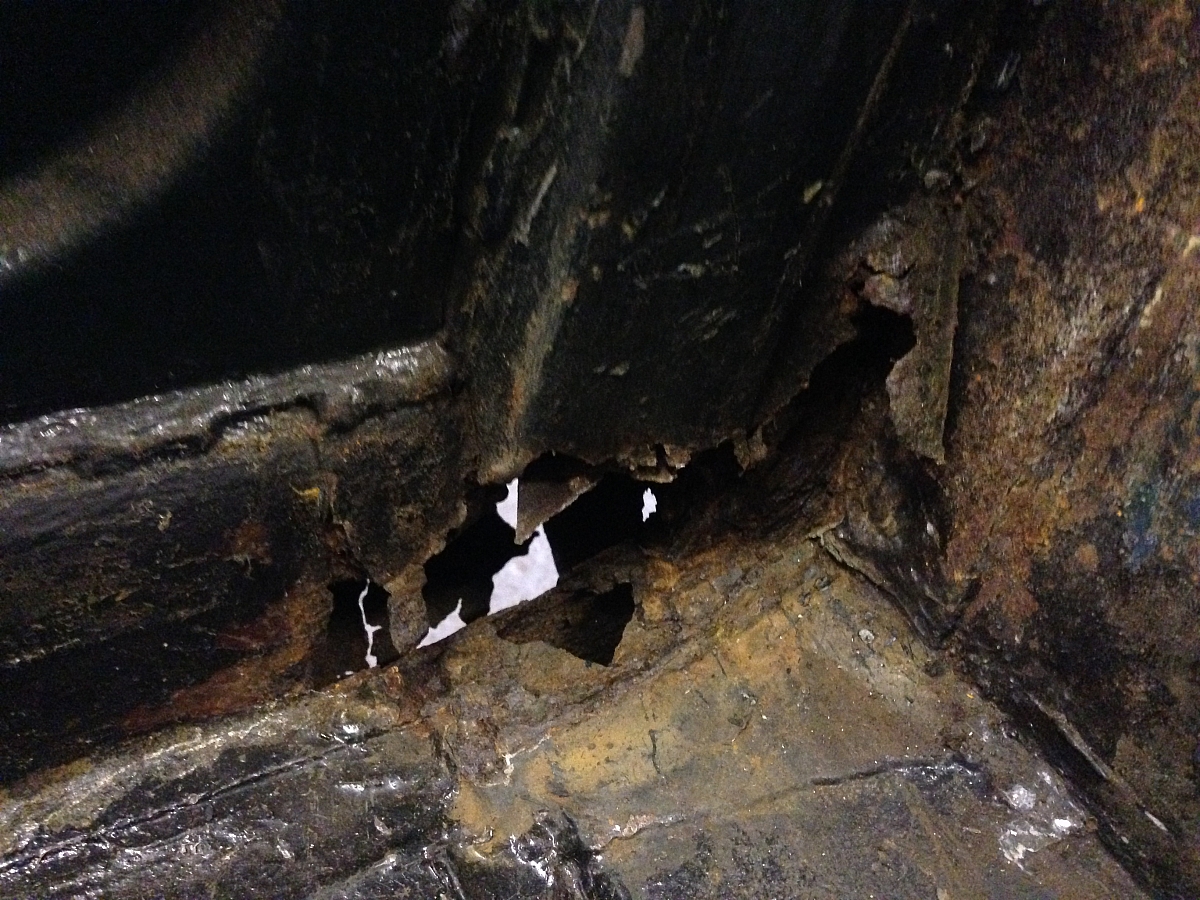
Offside Seat Belt fixing sheared from B post.
The floor pans have a few small corrosion holes, notably under the place where the drivers’ heel sits when on the accelerator. However, at the moment I think they don’t merit full removal and replacement and I will probably be able to just have the affected small areas cut out and replaced. The inner cills all look good. The outer cills have the holes at the ends mentioned previously. Otherwise, the central sections appear to be in remarkably good order and may only require the ends to be cut out and weld repaired. The end caps will need to be replaced.
At the front the inner wings and wheel arches are in good condition. The bulkhead, including the air plenum is good, though there are signs of previous repairs having been done there by Jowett Man, the previous restorer in 1993/94.
Moving on, fortunately everything at the back looks good. The boot floor, rear bench under the fuel tank, rear valance and inner wings/wheel arches are all sound.
Next then was the removal of every bit of interior trim, wiring loom, instruments, dash, heater including all the circulation hoses, dashboard including the metal back panel, steering wheel and column, fuel tank, brake and clutch pipes and master cylinders, etc, etc. Copious numbers of photos of every little detail were taken in the hope (hopefully not in vain!) that I will be able to remind myself of how it all goes back together when the time comes.
31.10.19. With the windscreen frame and Surrey backlight removed, finally the body was ready to lift off. Before that it had to be braced to avoid it buckling when removed from the chassis.
I made 50 x 50 mm RSA bars to brace across between the top of the A posts and B posts. A cruciform made from 25 x 25 RHS with secondary 25 x 25 RSA bracings was fixed between the front valance and the rear deck.
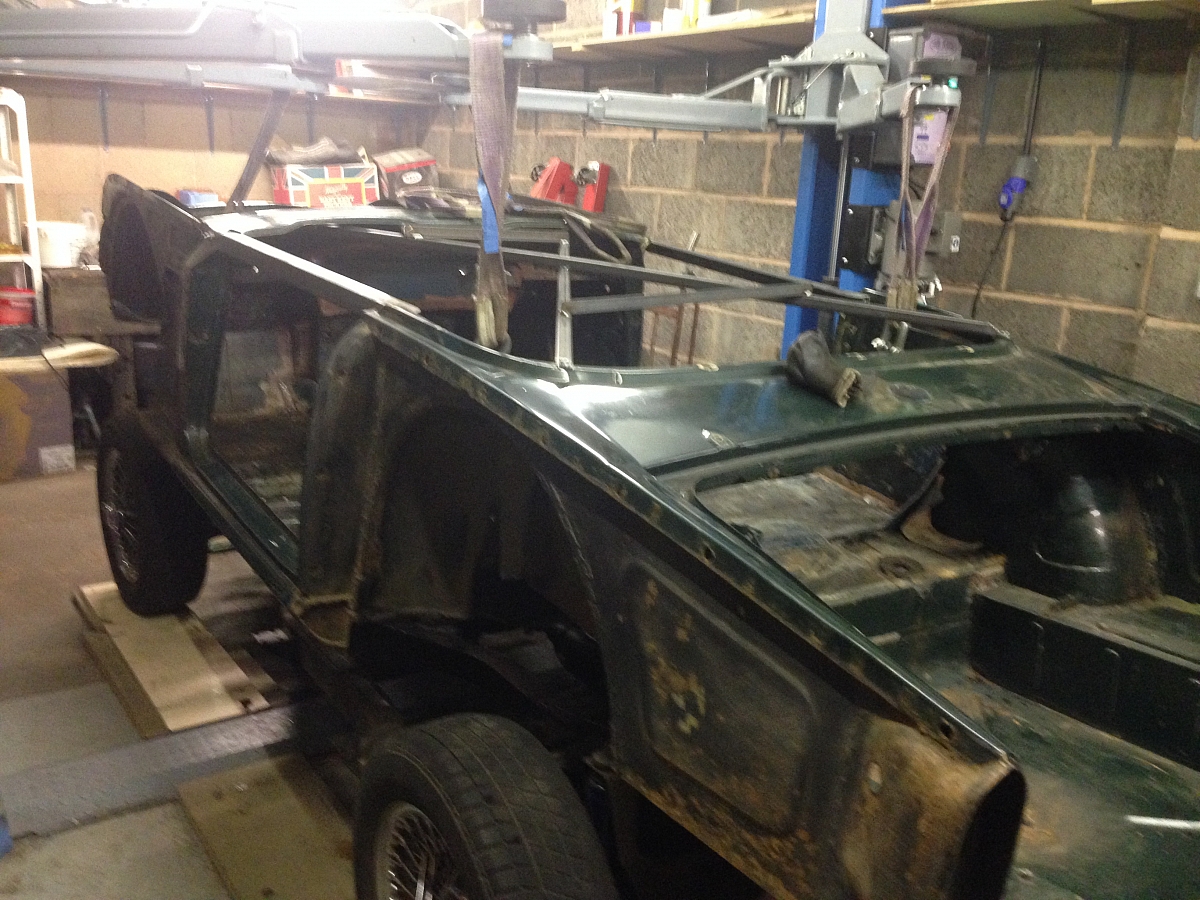
Braced body shell being lifted off chassis using 2 post lift
Once off the chassis the body was turned over to laboriously scrape all the old underseal off under the floor and inner wheel arches. I removed all the underseal with a selection of cold wood chisels. Slow but effective. During this operation it became clear that it was original factory underseal, as the paint underneath it was the original Valencia Blue, not the British Racing Green that the car was changed to by Jowett Man when restored in 1993/94.
On 14th November 2019 torrential rain resulted in a flood at my Unit. I had 5 inches of water in the workshop, with much equipment and both new and old parts partially submerged. See photo below. After lifting as much as possible up off the floor, it took around a week all in all to clear the filthy sludge on the floor and dry out all the gear inside. The musty smell took weeks to clear. Faced with this I can only offer my sincere and heartfelt sympathy to those who have had their homes inundated and household possessions damaged in recent floods.

Flooded garage unit in November 2019
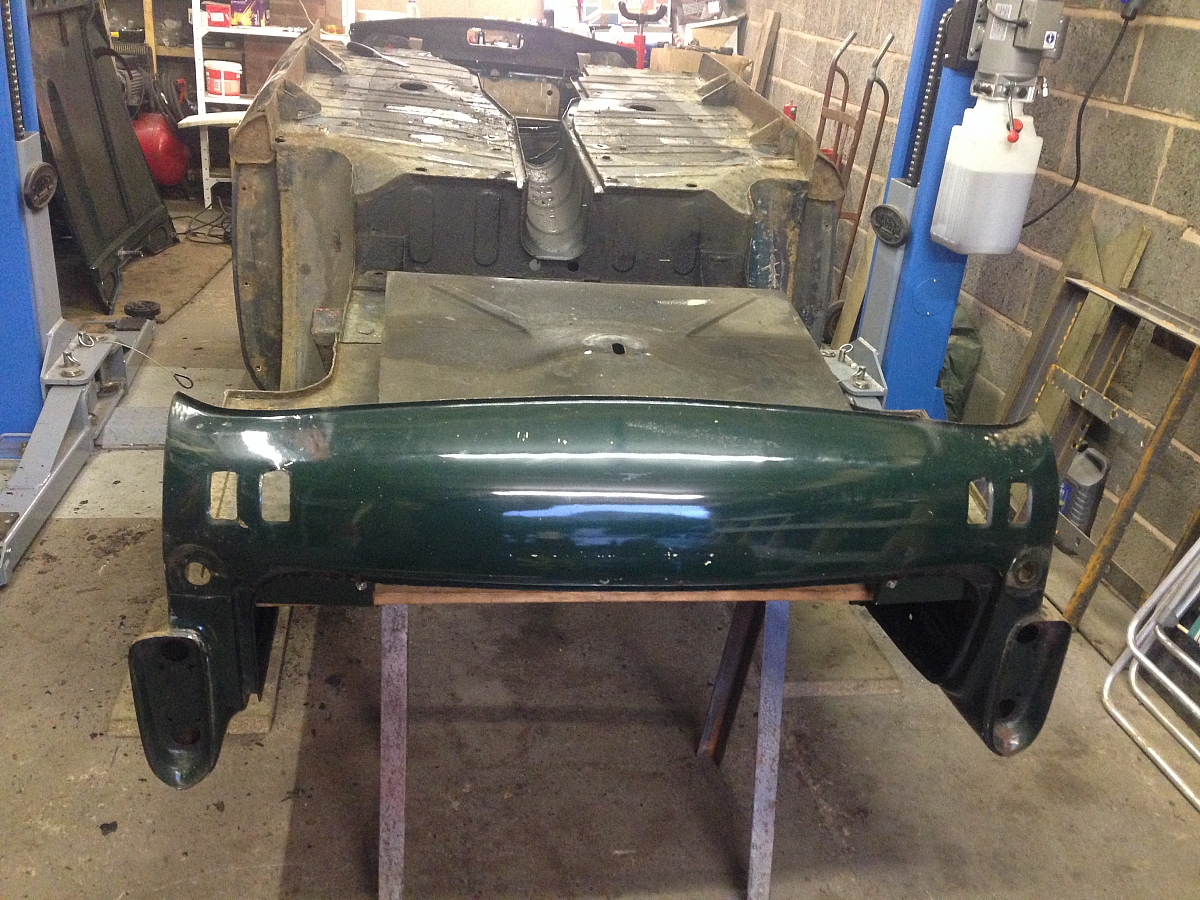
Ready to scrape under seal off
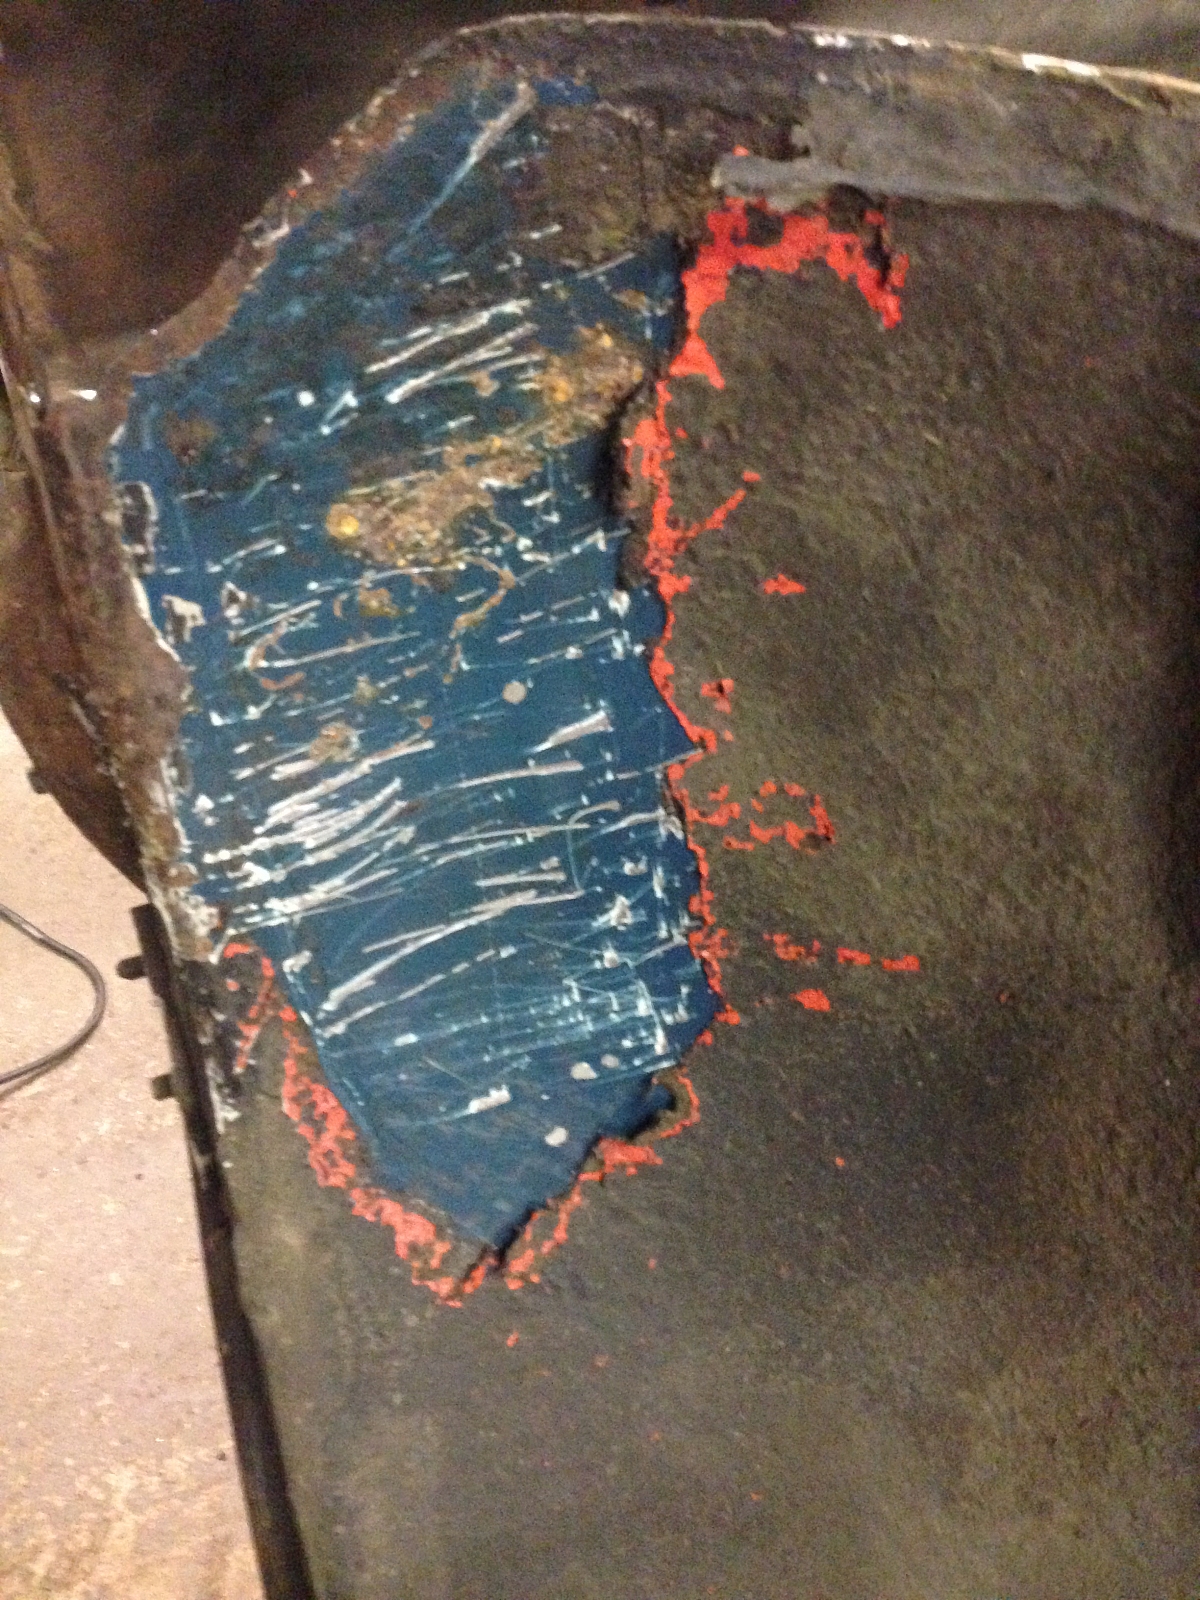
Under seal under inner wheel arch

Chassis with engine, transmission and suspension
11.11.19. With all the underseal removed the shell was rolled back over onto a temporary trolley that I made from a large pallet, begged from the local Travis Perkins Builders yard, with 6 bogie wheels attached. This made it very easy to move around in the garage.
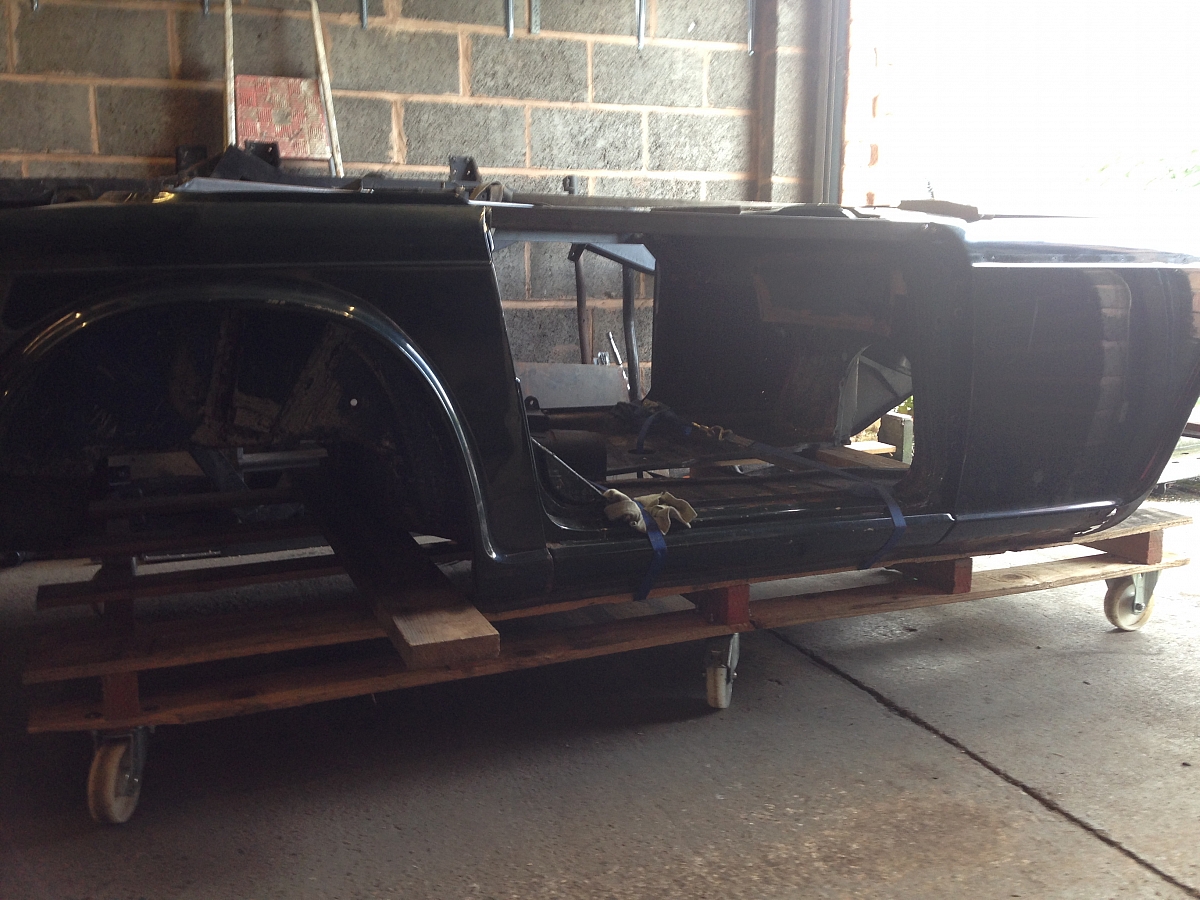
Bodyshell on DIY trolley
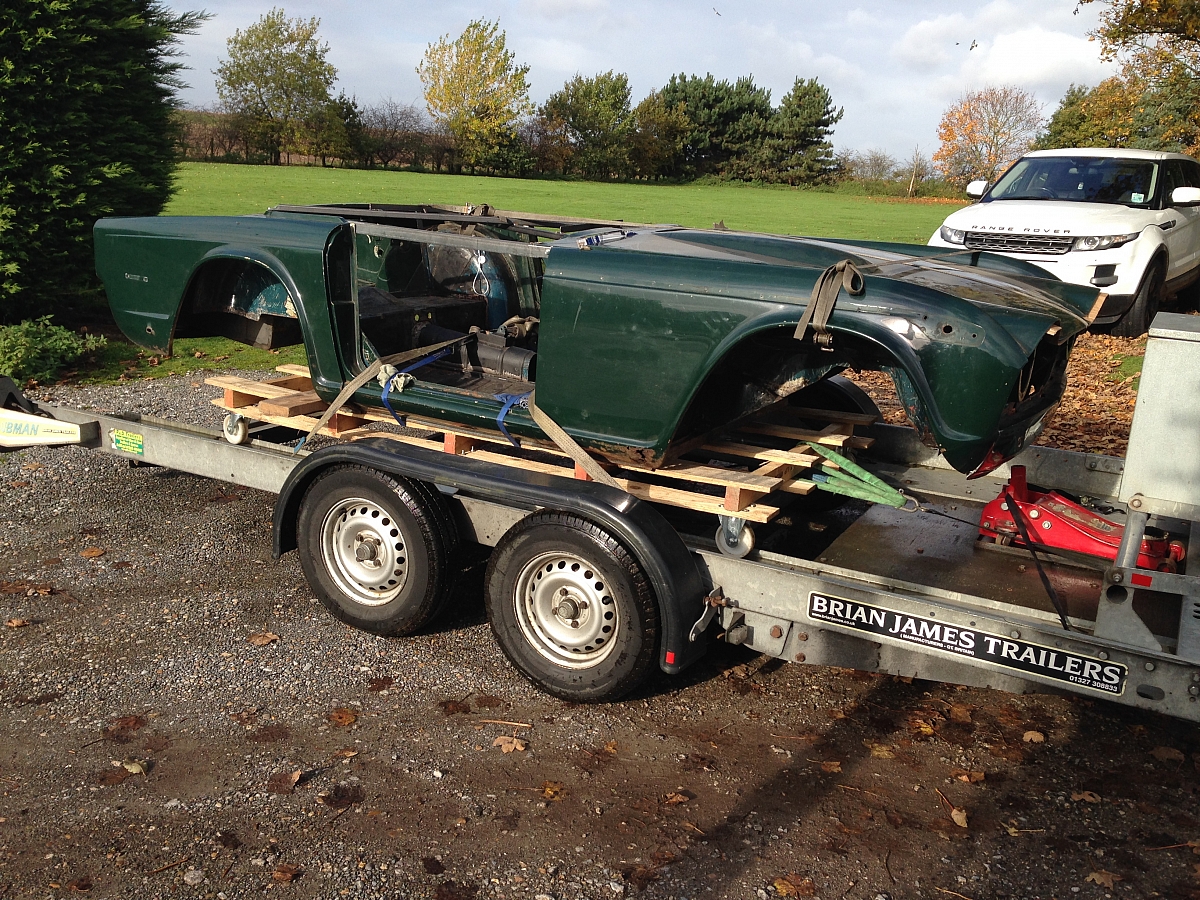
11.11.19. Off to the blaster to remove all paint, any remaining underseal and all rust, etc.
I had given a lot of thought about how to have the paint, rust, etc removed, including taking note of various TRR Forum discussions, talking to various companies at the Classic Car Show and talking to several professional restorers. Only a couple of years ago the preferred method seemed to be the acid dipping process at one of several specialists. This can be carried out by several companies, including Envirostrip, Prostrip and Ribble Technology.
More recently people have started to express reservations about the dipping process. Seemingly, while it is very good at removing all extraneous material, the neutralising dip doesn’t guarantee getting rid of all the acid in the hidden seams, box sections, etc. As a result, this has started to weep out and attack the expensive paint job on restored cars a few years later, which can be extremely annoying and very expensive to rectify. I didn’t want to suffer that problem so looked at blasting the coatings and rust away.
This is a similar minefield I found out. Most people, myself included, refer to sand or grit blasting for this type of operation. Again taking advice from various people it seems that blasting with sand or grit builds up heat in the surface of the metal being treated. In the wrong hands with an unsympathetic operator that will cause rippling in the larger “flat” panels, e.g. bonnet, doors, wings, boot lid. This rippling cannot be got rid of and will show in the finished paint job. To be avoided at all costs. What to do!?
In further research I became aware of Bead Blasting and Soda Blasting. Both of these processes use less harsh blasting media which is slower, takes more time, is consequently more expensive but does not build up the heat and so avoids the panel surface rippling. All good so far. Now to find someone to do it.
After talking to several companies who said they could do it and then couldn’t, I eventually ended up with Soda Blasting Ltd in Wolverhampton. Not on the doorstep so a bit of a trek to deliver the shell, etc. However, from the first telephone conversation with them I got confidence that they could and would do what I wanted. They have carried out blasting projects for Car SOS on TV in the past and their website shows lots of examples of both the process and before & after car projects in detail. A price was discussed which was similar to quotes for the dipping process. They will also spray the finished shell and panels with a holding primer to stop it flash rusting again before you get it back into your workshop and while any welding repairs are undertaken prior to the final painting. The TR5 was booked in to their system and delivered on 11th November 2019 with an estimate of 2 – 2 ½ weeks for collection.
DMcD
18.12.19.