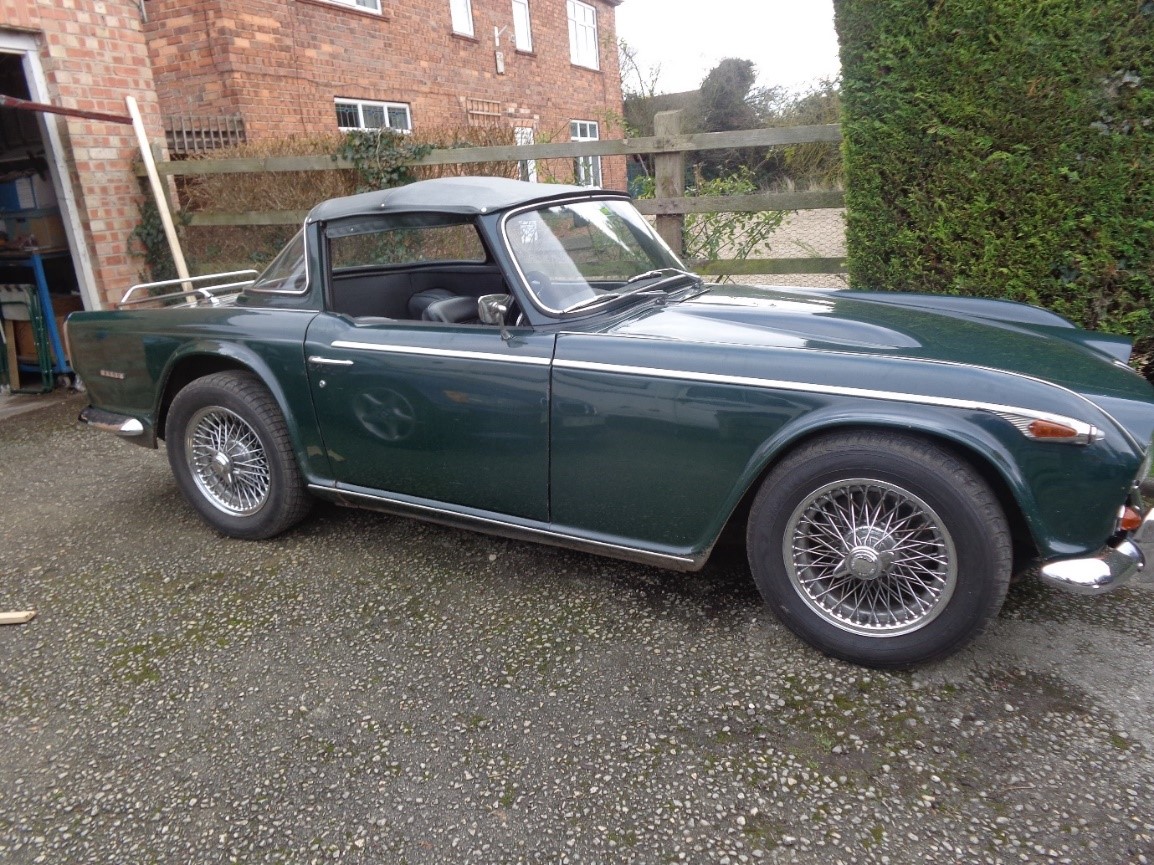
1968 TR5 Restoration 3 – UPB 4F – Dave McDonald
Sept 2019
I’ve finally started in earnest.
2.9.19. First thing was to reconfigure the MX5 seat brackets as I wasn’t happy with my original design. I redesigned them and have ordered the required 3mm folded steel plates for collection later in the week.
Before I start to dismantle it there are various things that will be built in to the car that I want to trial fit to ensure they fit.
4.9.19. I’ve been aware that the back of the chassis has probably sagged, apparently not uncommon with IRS cars. This is due to the narrow chassis at the trailing arm mounting box sections/central T shirt area. The signs which drew me to that conclusion were the tapered door gaps, acceptable at the bottom at c.5mm but c.10mm wide at the top, and the fact that fitting the soft top cover to the Surrey back light required a lot of stretching to fix it. That was always particularly difficult in the cold weather.
Before I remove the body I thought I would raise the body shell off the chassis to determine what packing would be required to make the door gaps more acceptable. This necessitated removing the rear bumper bar and associated fixing irons through the back valance to access the back body fixings, loosening the mounting bolts in the rear “seat” bench and not forgetting the spare wheel fixing “hook” through the boot floor. The existing arrangement had just the expected single 5mm alloy spacer disc at each side. To achieve what will be acceptable parallel door gaps, c. 5mm from top to bottom, required significant spacers at the back of 30mm on the N/S and 25mm on the O/S, indicating the chassis has approx. 20 – 25mm of droop at the back. I’ll check the alignment of the new chassis against that before I start to refit the body shell.
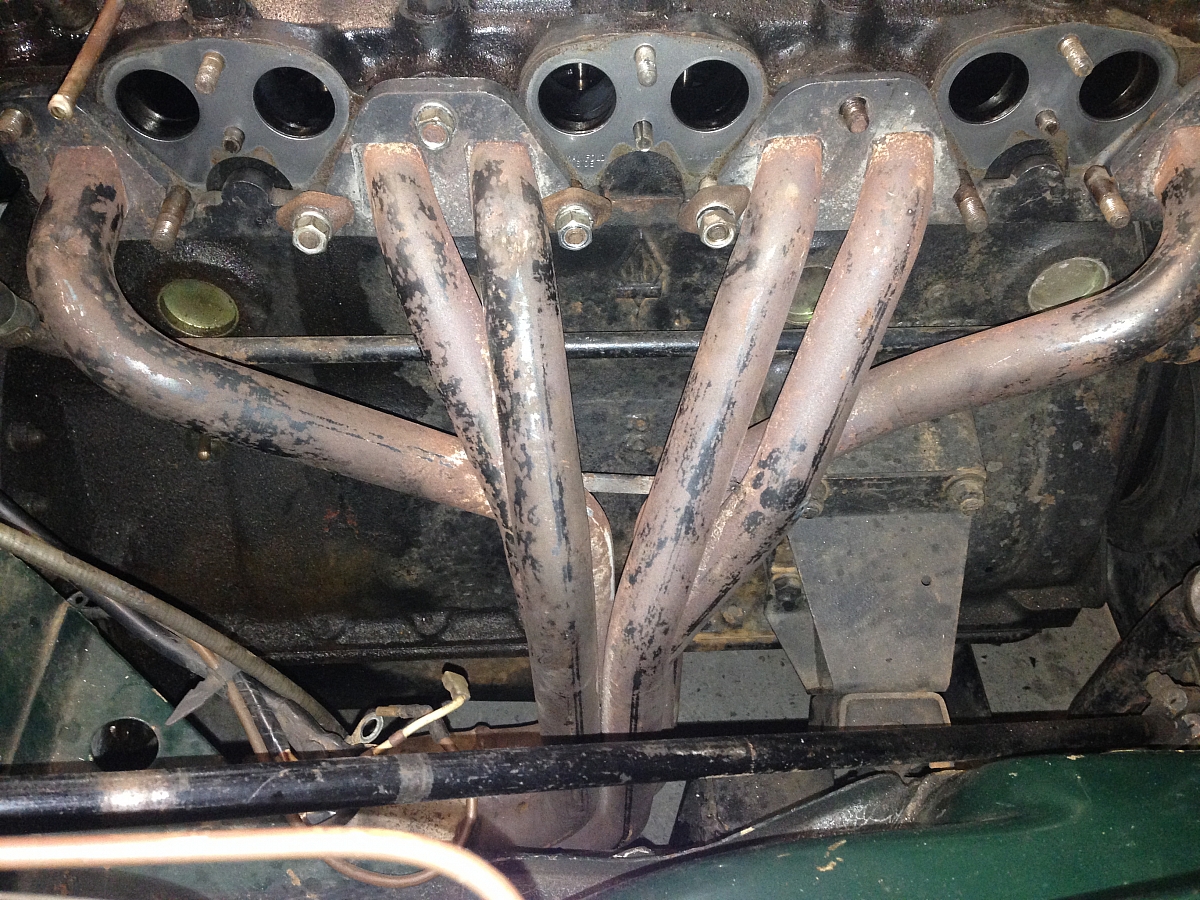
5/6.9.19. Removed the old standard exhaust system together with the cast iron exhaust manifold and inlet manifold to trial fit the new Phoenix Stainless Steel 6 x3 x 1 exhaust manifold. I’m glad I did this before I was working to final fit it in a newly repainted engine bay as I found a few problems. Fixing it in then removing it back out to modify would have inevitably caused damage to new paint which also inevitably could have resulted in some bad language from yours truly:-
1.The thick exhaust manifold header plate was quite a tight fit on some of the projecting fixing studs from the cylinder head. These holes need slight relieving to make it slide on and off a bit easier.
2.The fixing “slugs” at Nos 1 & 3 ports are VERY close to the curved tubes as they leave the head, to the extent that it is not possible to fit the “slug” over the stud when the manifold is in place. Instead, these will be fixed with a Cap Head Screw which may need the head grinding down a little for clearance. This will enable them to be fitted after the manifold is in place.
3.To fit the manifold it was necessary to remove the original Lucas starter motor first, to allow the bottom of the manifold to be threaded through the gap between chassis rail and engine mount. Fortunately the original starter motor can be refitted with the manifold in place. This allows the original starter motor to be retained and avoids the need for a shorter modern expensive Hi Torque Chinese replacement.
4.It was also necessary to unbolt the upper rubber doughnut fixing on the steering column to allow it to be swung to one side to thread the exhaust manifold into place.
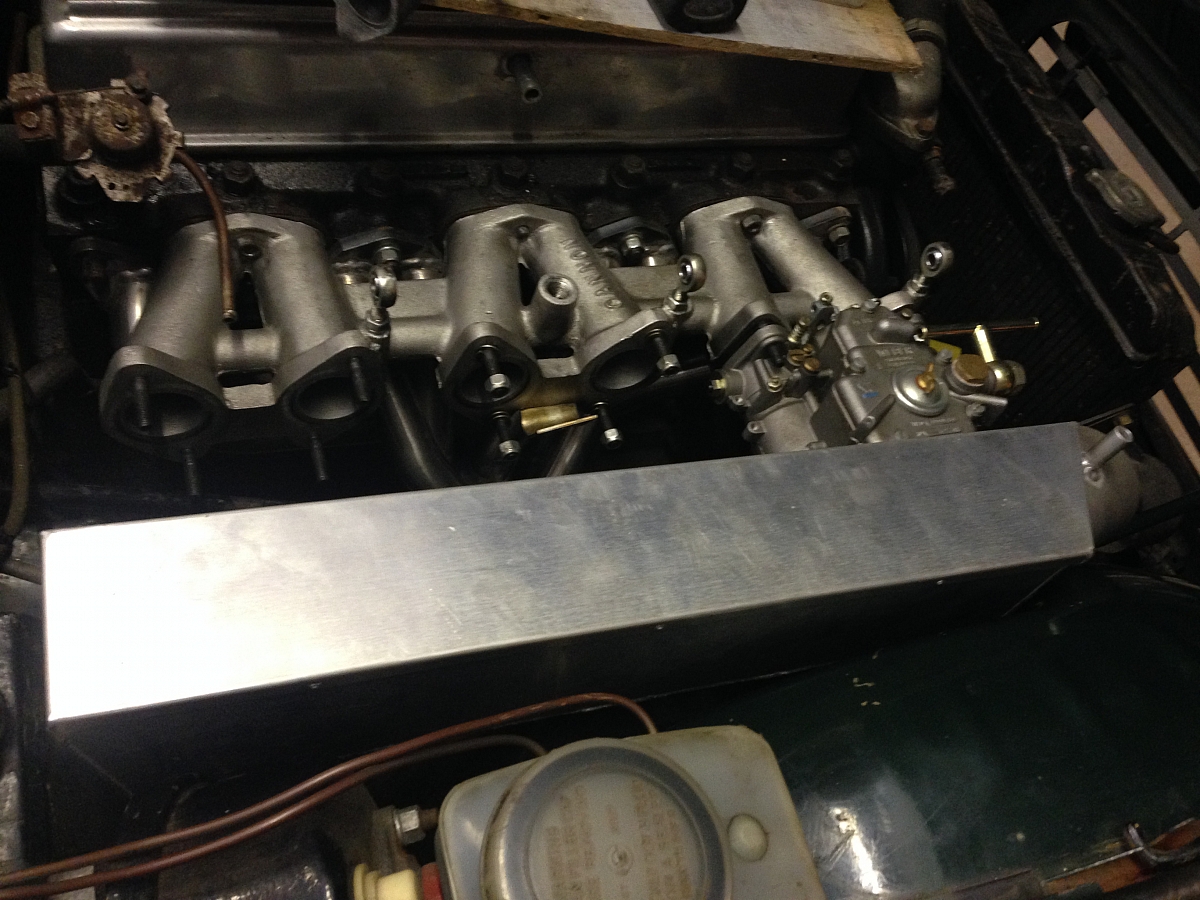
When restored the car will have a triple 40 DCOE Weber carburettors induction system instead of Lucas PI. So, with the new exhaust manifold in place and the starter motor and steering column re fixed it was time to try the Cannon inlet manifold. The interface of this with the exhaust manifold was also a bit tight. Whilst I did eventually manage to get it on I now know there will also be a bit of mild angle grinder needed here in the future to make fitting easier.

Phoenix Stainless Steel Exhaust Manifold
Inlet manifold in place, the Webers were attached. These can be run with a variety of inlet arrangements:-
1.Bare open trumpets – efficient air supply but there’s a chance of a stone being swallowed
2.Trumpets with a foam air filter or foam socks – slightly restricted air flow but safer
3.Alloy airbox – a fabricated closed box attached to all the inlets with a single front inlet through a special filter which forces air into the carbs. A slight power increase apparently and safe from stone ingress. Often needs carburettor jets changing as the forced air can lean out the mixture.
I have purchased a Revington TR air box but found that this simply will not fit. Very disappointing from a supposed well respected (and consequently highly priced) TR supplier. It’s too wide to physically fit against the inner wheel arch. It conflicts with the brake servo. Also, even if it would fit, the lid fixing screws cannot be accessed because they line up with the carbs. Not at all happy, but again, at least I found out before the final fitting on the car when it has been painted.
Weber manifolds and Ill Fitting Revington Air box
Following this, I refitted the original induction system and fixed the new exhaust pipe/silencer, just to start the engine to see what the new exhaust system sounds like and it’s got a very pleasing tone.
Mon 9.9.19. Just for interest sake I removed the new Phoenix system and fitted a second hand USA Ansa twin pipe exhaust system and 6 branch into 1 mild steel manifold that I bought some time go intending to fit to another TR. This has twin chrome outlets on each pipe, i.e. 4 tail pipes in all. The fit wasn’t too bad. Didn’t have all clamps so some of joints were just a push fit. It was a bit louder and harder than the Phoenix system but not as harsh as I had been led to believe it might be.
Ansa Exhaust Manifold

Ansa System double twin chrome exhaust tail pipes
Tues 10.9.19. Made Mk 2 version of the MX5 seat brackets. The new ones allow exactly the same adjustment range as the previous Mk 1 versions. While I will still be as far back as I can get, the shorter legged member of the McDonald team will still be able to pull it forward so that she’s nearly sat in the footwell! The new brackets, whilst being much wider than the first ones, tuck the seat slider frame further under the seat squab. That makes the fixings less visible and less obtrusive. The second photo shows how the carpet will hide the bulk of the front bracket. The back bracket will be completely under the carpet, just the bolts projecting through.
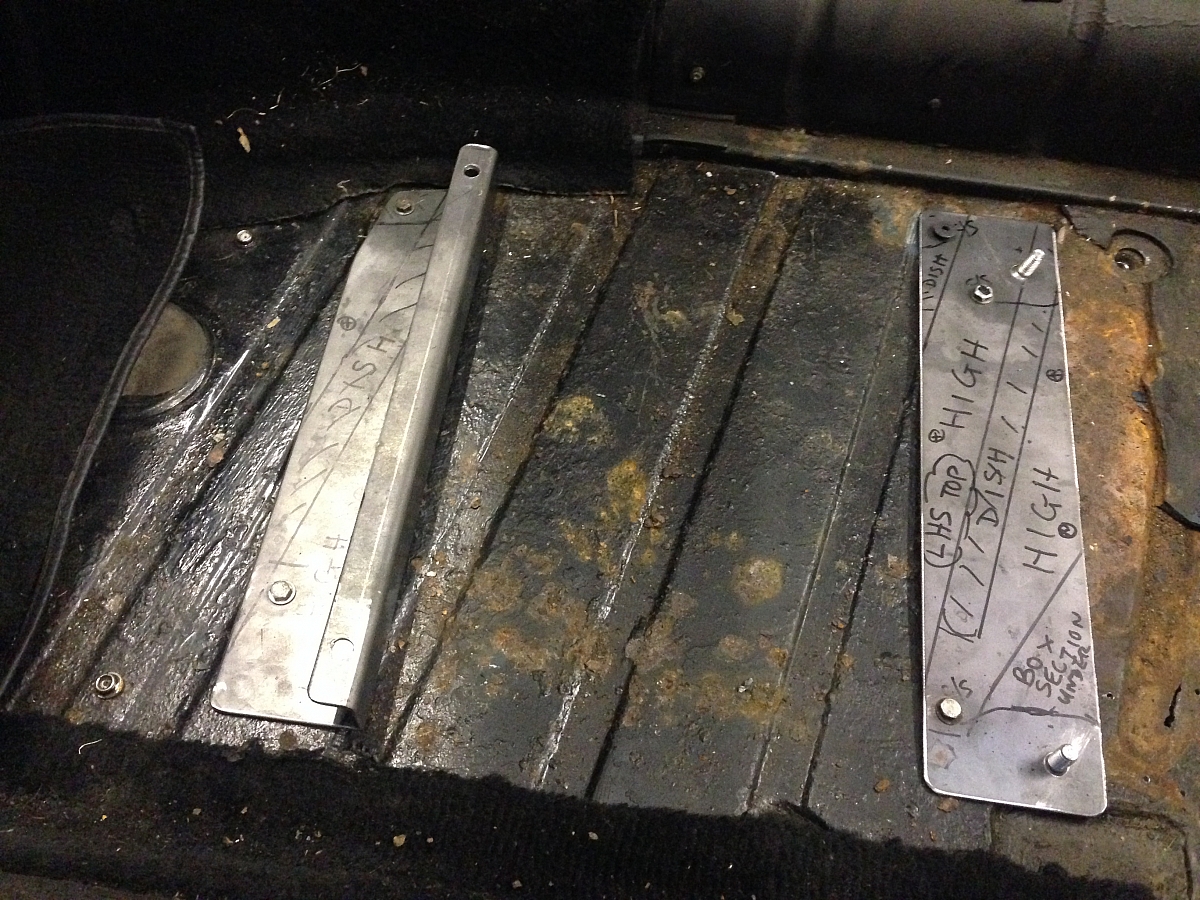
Mk 2 version MX5 seat brackets
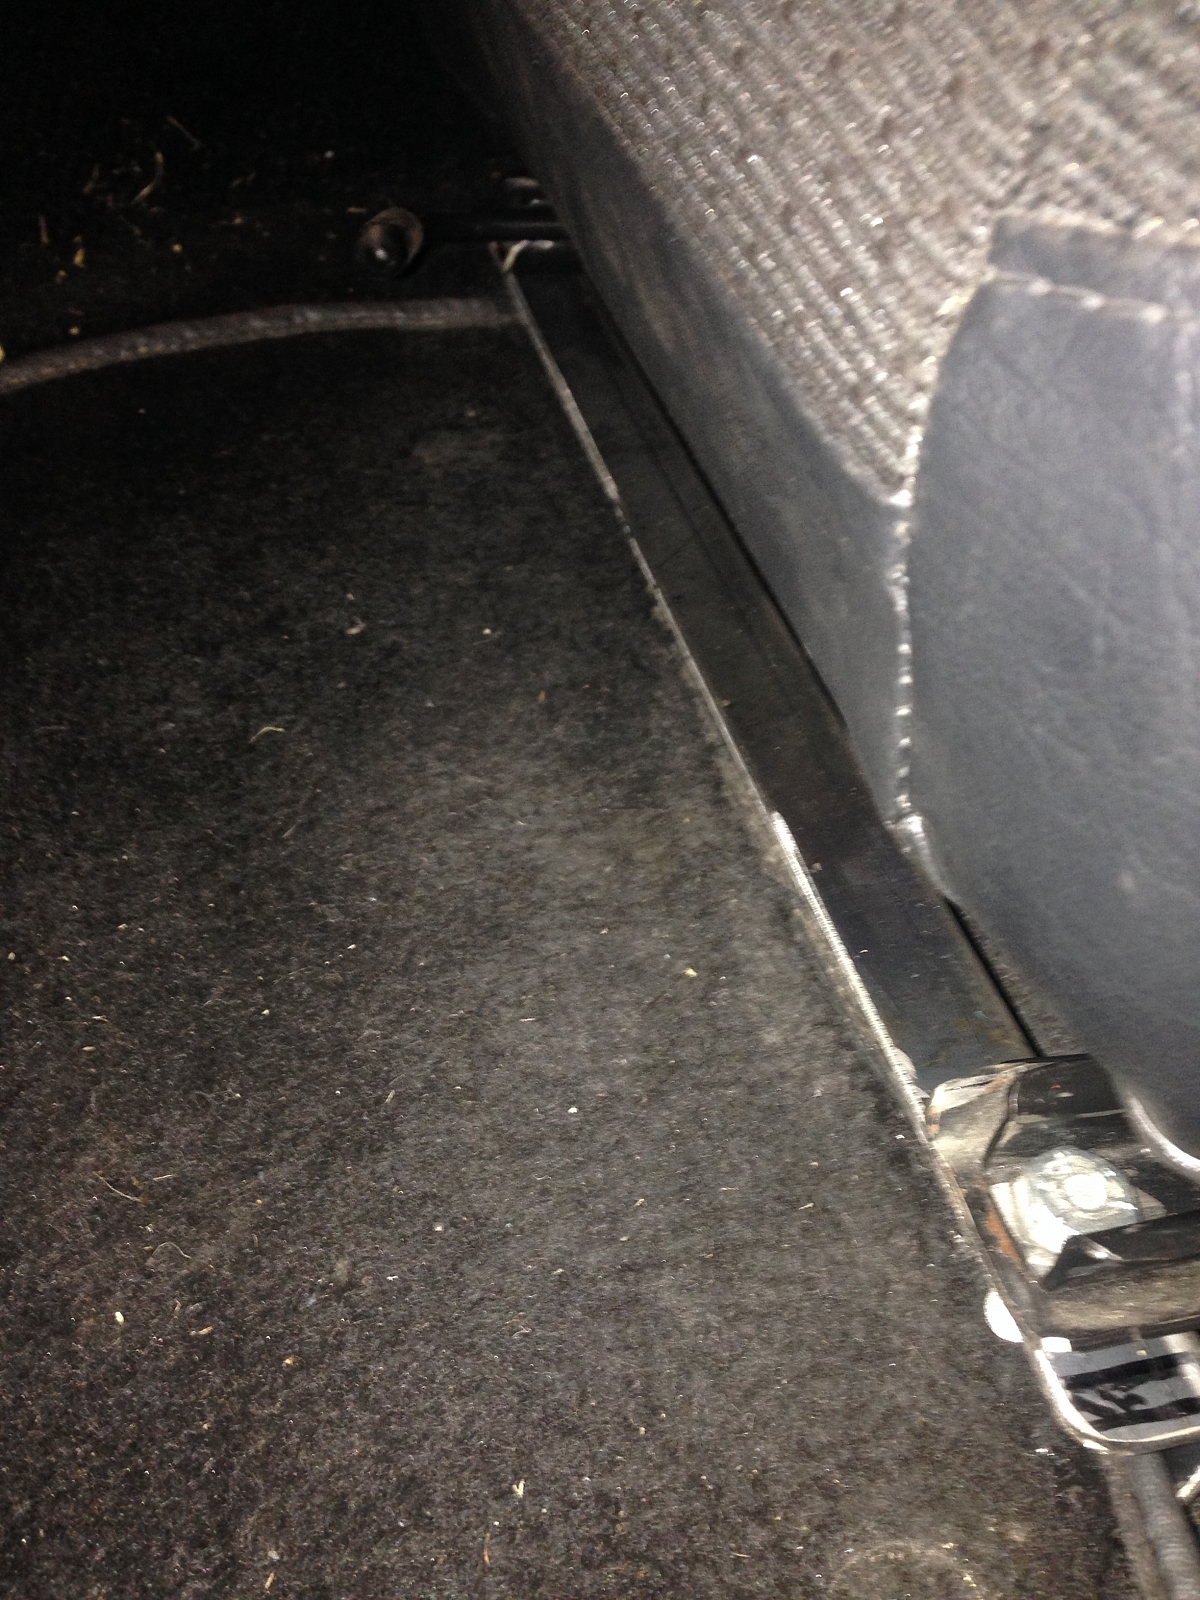
MX5 seat brackets with seat at furthest back position
Now the stripping down can begin in earnest, or at least it can after I’ve been to the Goodwood Revival and had my fill of fabulous Historic Car Racing of the absolute top level.
DMcD