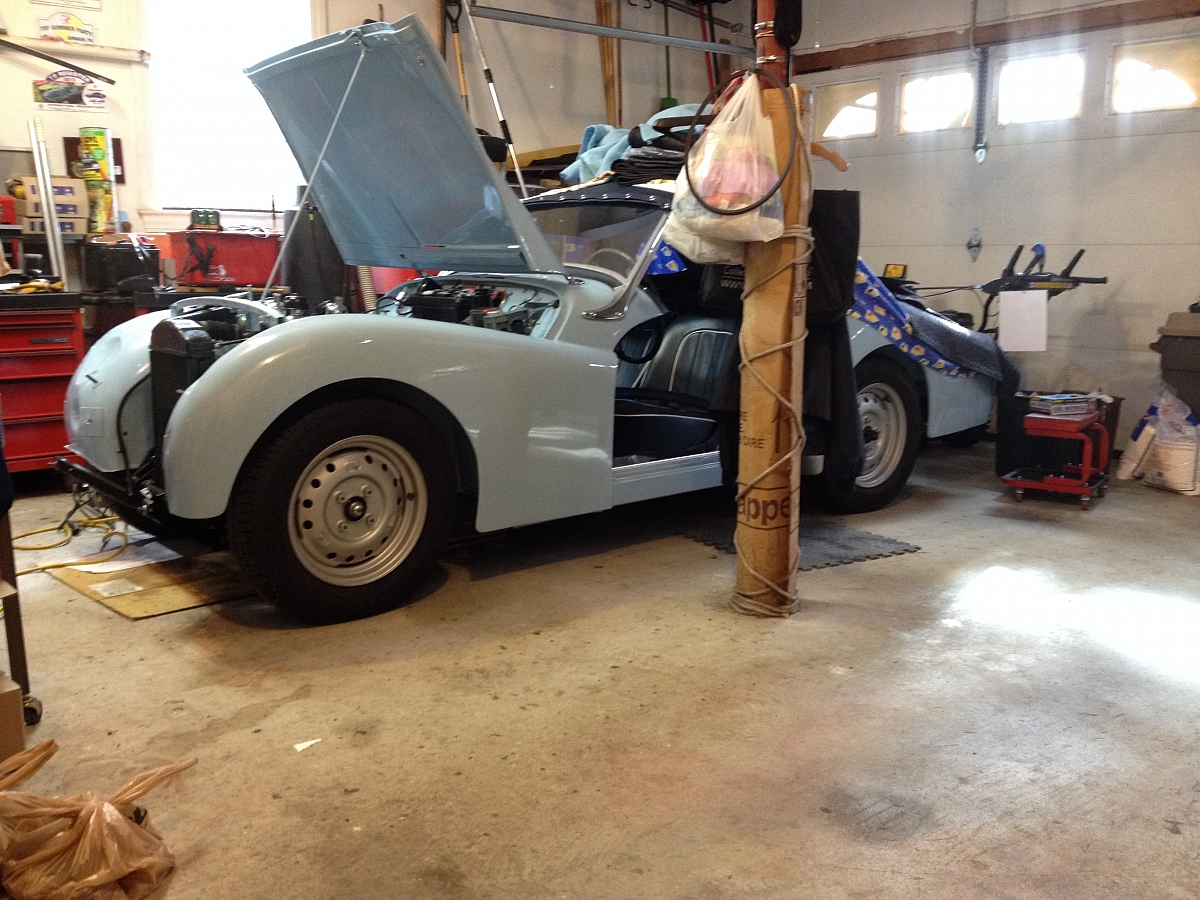
Early November 2015 and it is now time to turn to the front wings. I had completed the major structural repairs very early in this project (see my earlier posts) and they had been sitting in rattle can primer for several years. We are fortunate to have a media blasting facility next door to my buddy's paint shop so Virginia at Classic Car Blasting in Hampstead, NH gently took off the old primer without getting too much into the body filler below it.
Next we quickly shot them with some 2K primer and began what turned out to be a very lengthy process to get these panels ready for final paint.
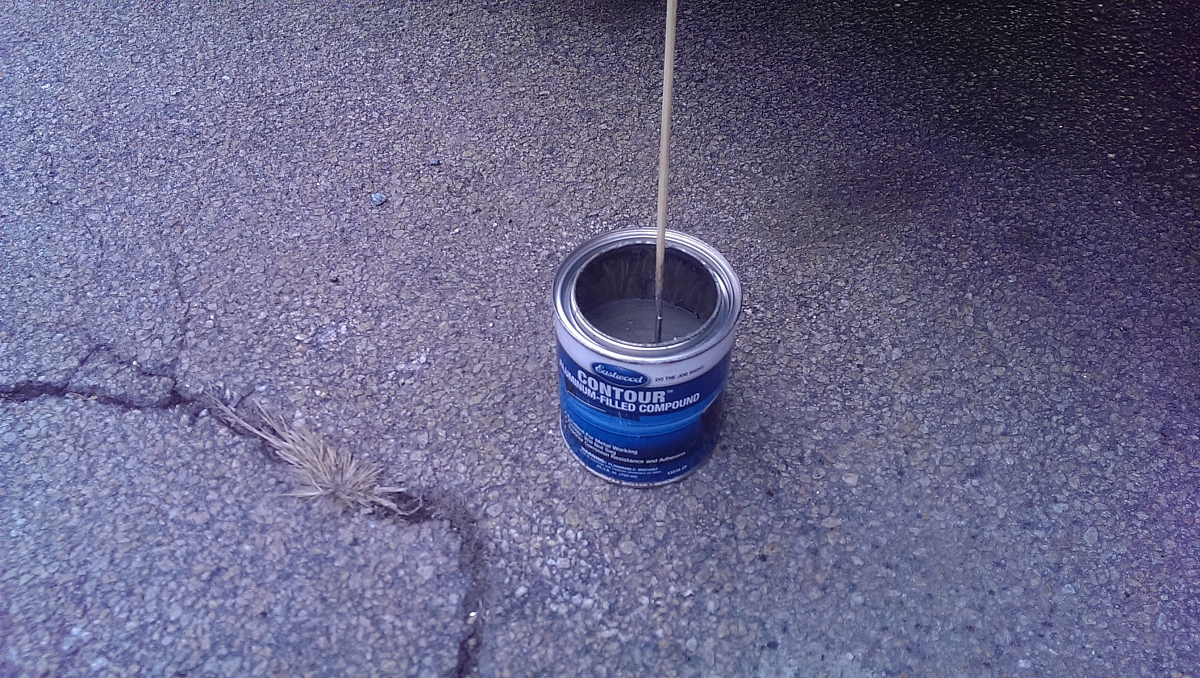
As part of the repair process I had to cut out a lot of rot and weld in some repair sections so I decided to use some aluminum reinforced body filler over these areas. My can of UPOL-D was almost empty so against my better judgement I bought a can of Eastwood Contour to try. What a mistake that was. The Eastwood filler comes with a clear hardener that has the consistency of water and some vague mixing instructions. We mixed up a batch and used it on the obviously low sections to start the process of straightening the right hand wing.
Not only did the filler never cure but it also ate into the good filler underneath it so we had no choice but to strip the whole panel and start from scratch.
We figured it must have been our fault for not following the instructions so we mixed up four test batches with different amounts of hardener. Test number 4 is using the blue cream hardener from a different filler. It worked the best by the way.
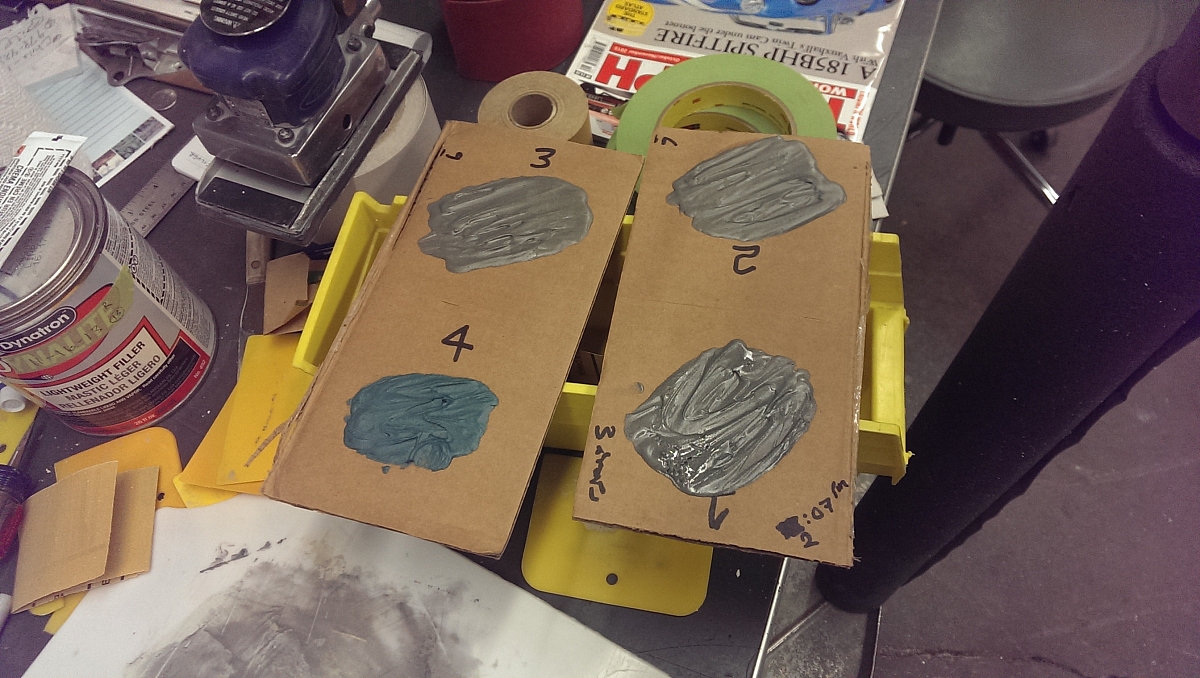
They all took different amounts of time to cure but they all eventually set up so we proceeded to try again and mix up a batch with way more hardener than we thought was reasonable. We applied it to the right hand wing and waited.
After 24 hours and even after baking it in the oven, the Eastwood filler had still not cured so off it came again. We were so ticked off at this point that we decided we could not trust this filler and we dumped what was left of the hardener into the filler can and left it for 24 hours. For once it did finally cure but it gave me great pleasure to drop this crap into the dumpster.
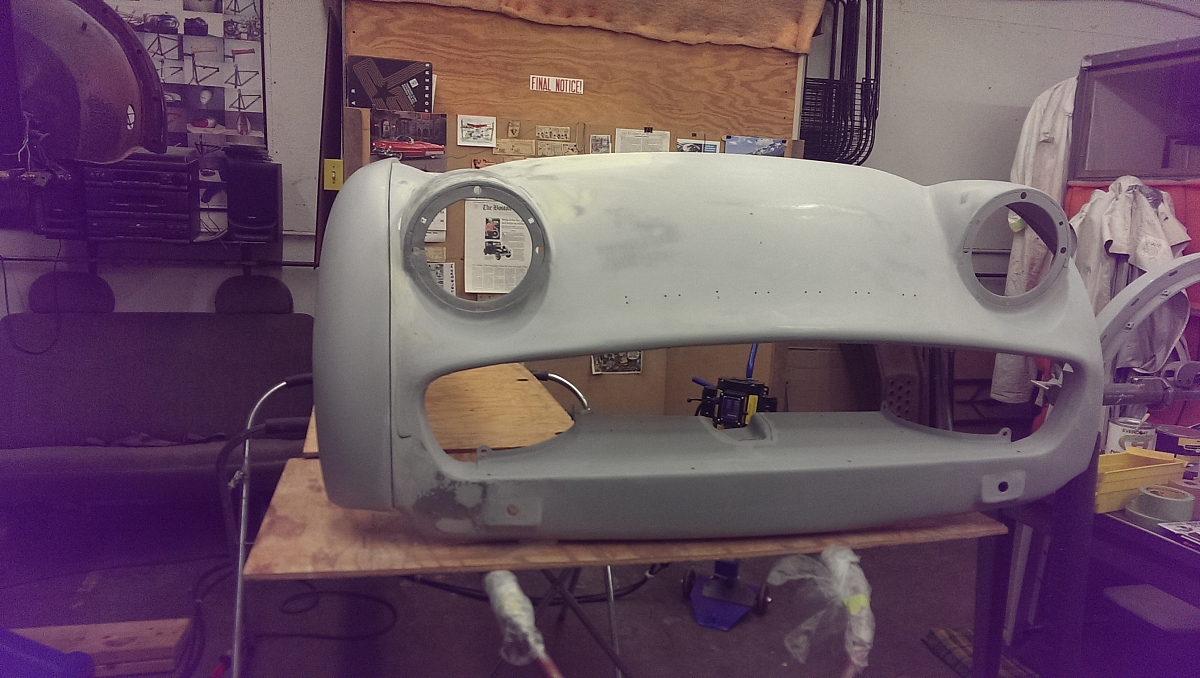
The right hand wing, like many TR3 front ends, had been hit badly at the front and so there was some filler there shaped to match the curve in the apron. Since we had to remove all of the filler in the wing and start over we needed to be sure we were still matching the apron so we occasionally married the wing and apron to do a test fit.
Anyone that has done panel prep for final paint knows how time consuming it is to fill, prime and sand repeatedly until the panel is straight and we have spent weeks working on these front wings taking advantage of the unusually warm weather for the early part of the winter.
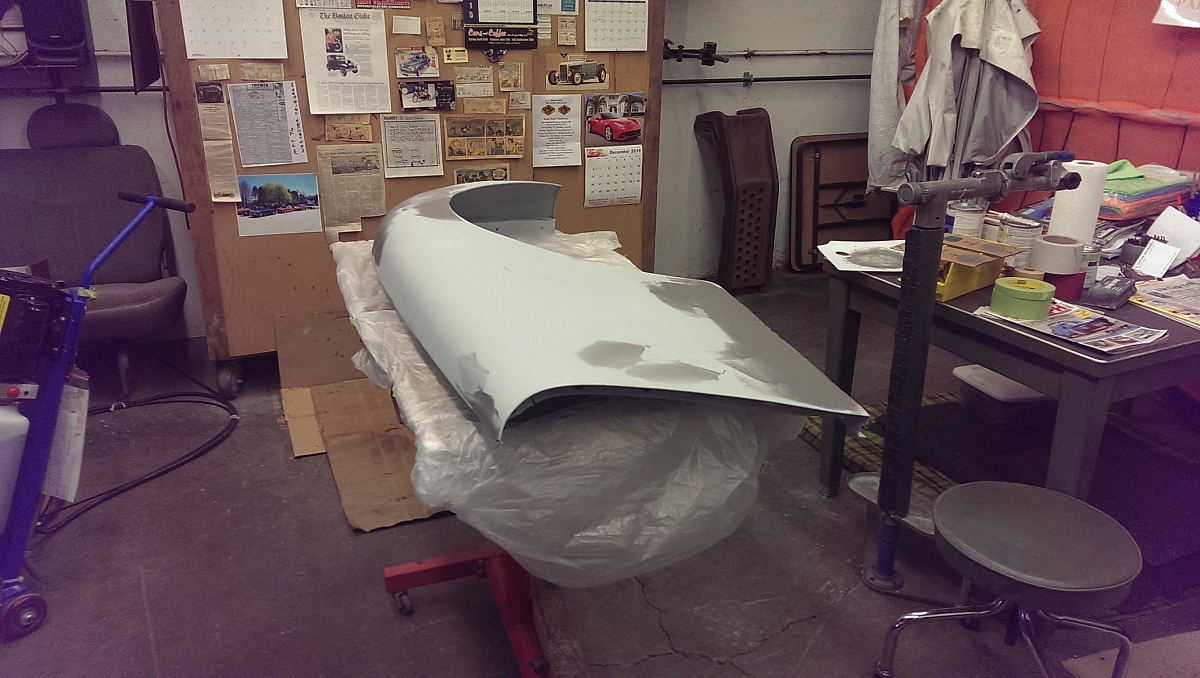
By mid January 2016 we had them both looking pretty good in primer and we proceeded to finish the left hand font wing first.
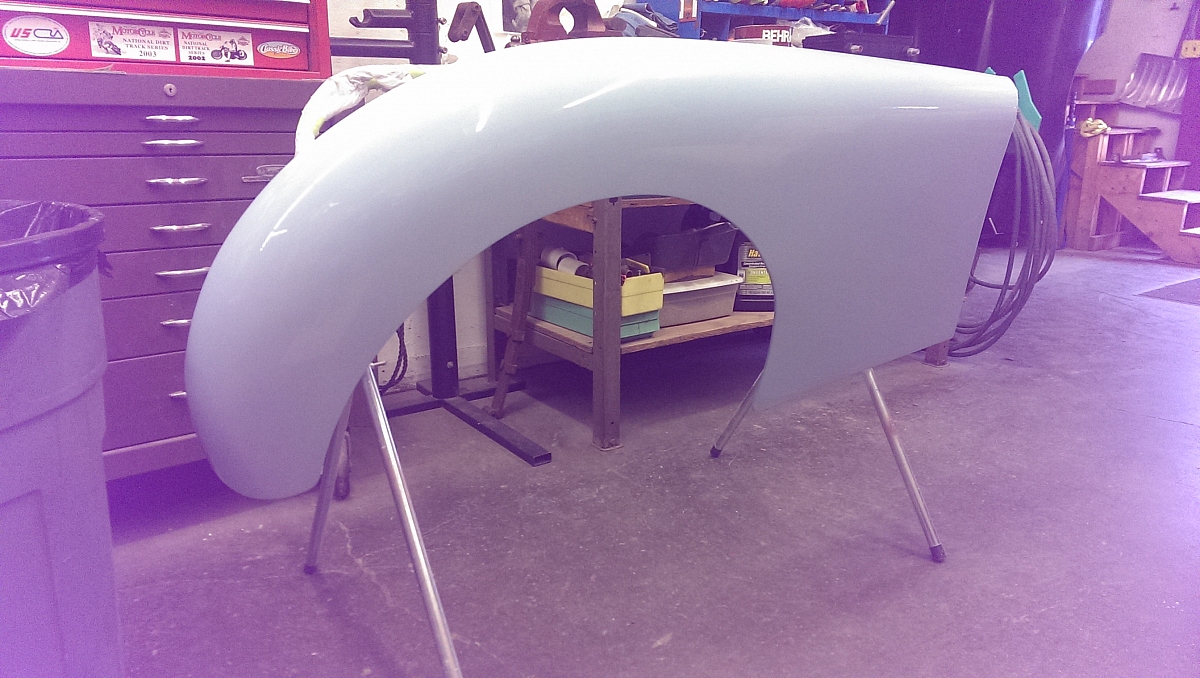
For now that wing is just hanging on the tub. I need to fit the beading and also wait until the other wing is done as well as the apron as all of this needs to be loose for the final fit and alignment. I'm quite pleased with this left hand wing as this is the one that needed the full lower repair panel and I was concerned with how well that would look after the very extensive surgery.
There is another horror story coming with the right hand front wing but I will save that for the next update.