By May 2016 we had finished painting the outer panels and I had them attached to the car and could complete the final assembly. No major issues here with the final wiring of lamps and attaching the chrome trim. I was still using the seats that came with the car at this time since they were usable and would let me get the car legal for road use. It took a couple of trips to the Massachusetts RMV office to get the title and registration sorted out but we eventually got all of the paperwork and the car inspected so it could now be driven on the public roads.
As you can imagine with a car that has been totally dismantled and then re-assembled over a six year period there are going to be some gremlins that need to be identified and fixed and this project was no exception. Some gremlins were minor and one could have been very scary but within a few weeks I had addressed these last issues:
- Missing cotter pins in the accelerator linkage caused the linkage to fall apart while on the way to lunch one day. Roadside fix with some safety wire until we got back to base for the proper fix.
- Front-end rattle caused by loose apron bolts. I had left them loose for final bonnet alignment and never went back to tighten them up.
- Short circuit inside one of the auxiliary lamps (repro Lucas spot lamp) created a very exciting few seconds watching clouds of smoke coming from under the front apron. The lamp was saved but the wiring and the relay were a total loss and had to be replaced. This time I added a fuse to the circuit.
- A second short circuit, this time in the right hand front indicator socket. A poorly made repro socket had one of the two live contacts shorting against the case.
I put a couple of hundred miles on the odometer just from driving around the local roads and getting the hang of driving a sidescreen car for the first time. The last time that I drove this car was October 2010 when I drove it four miles from the transport truck drop-off location to home.
With the summer show season approaching we turned our attention to the seats. The seats that came with the car were still good but they had the earlier TR3 seat covers. I had a new set of springs, padding and TR3A covers from TRF in Midnight Blue vinyl so we set about media blasting and painting the seat pans before re-assembling with the new tack strips, springs, padding and covers. I got a lot of help and pictures from the Forum to help with the seat project.
The pans were rusty but did not require any repairs.
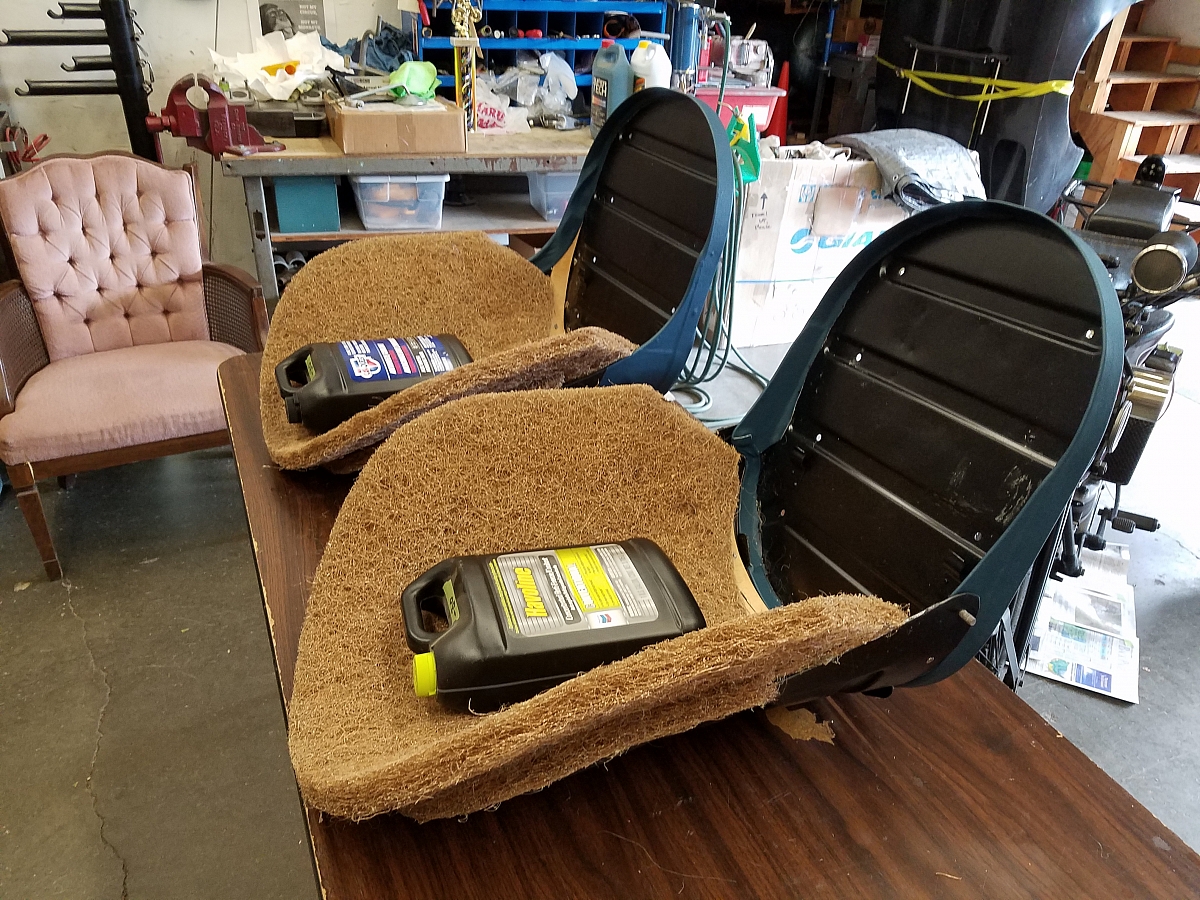
The process is fairly straightforward but is time consuming as some padding like the fiber material glued to the seat backs needed time for the glue to set up before we moved on to the next step.
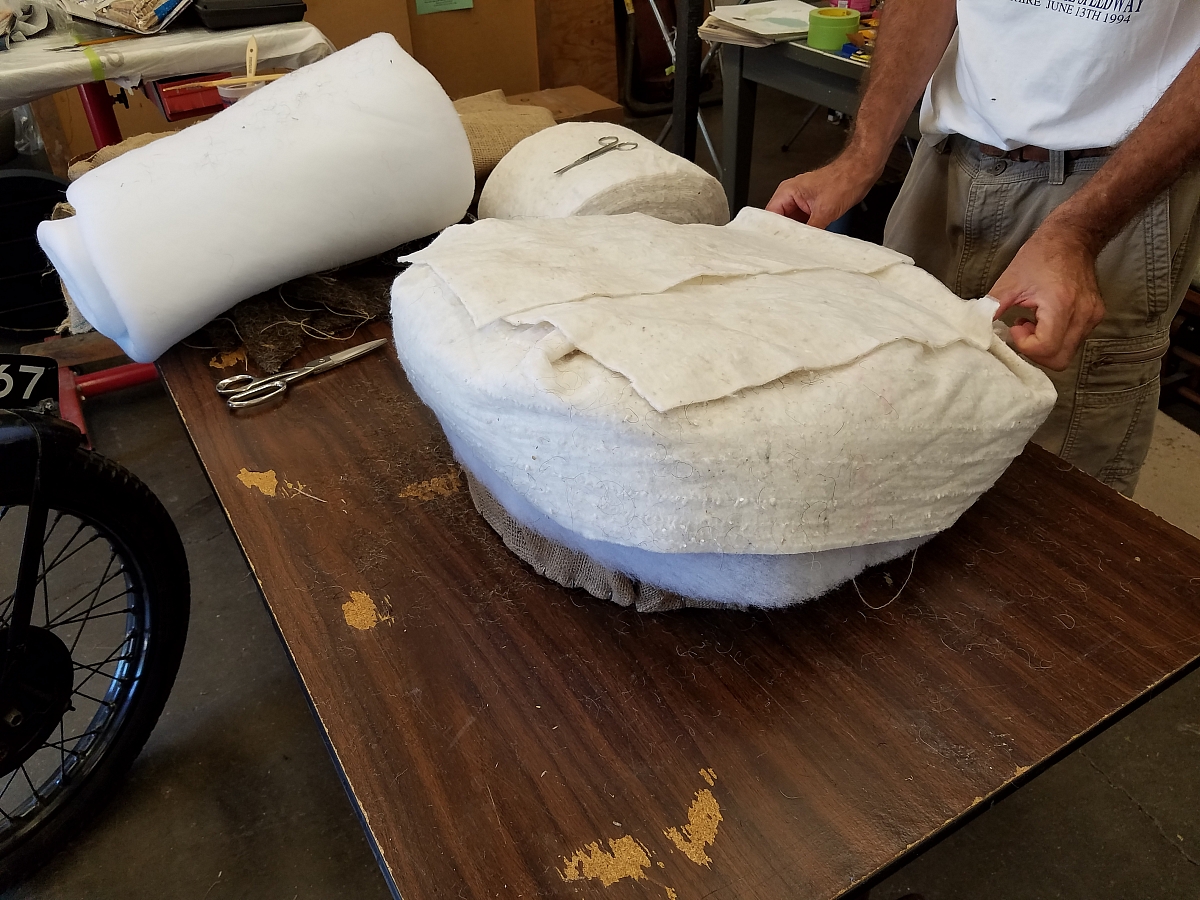
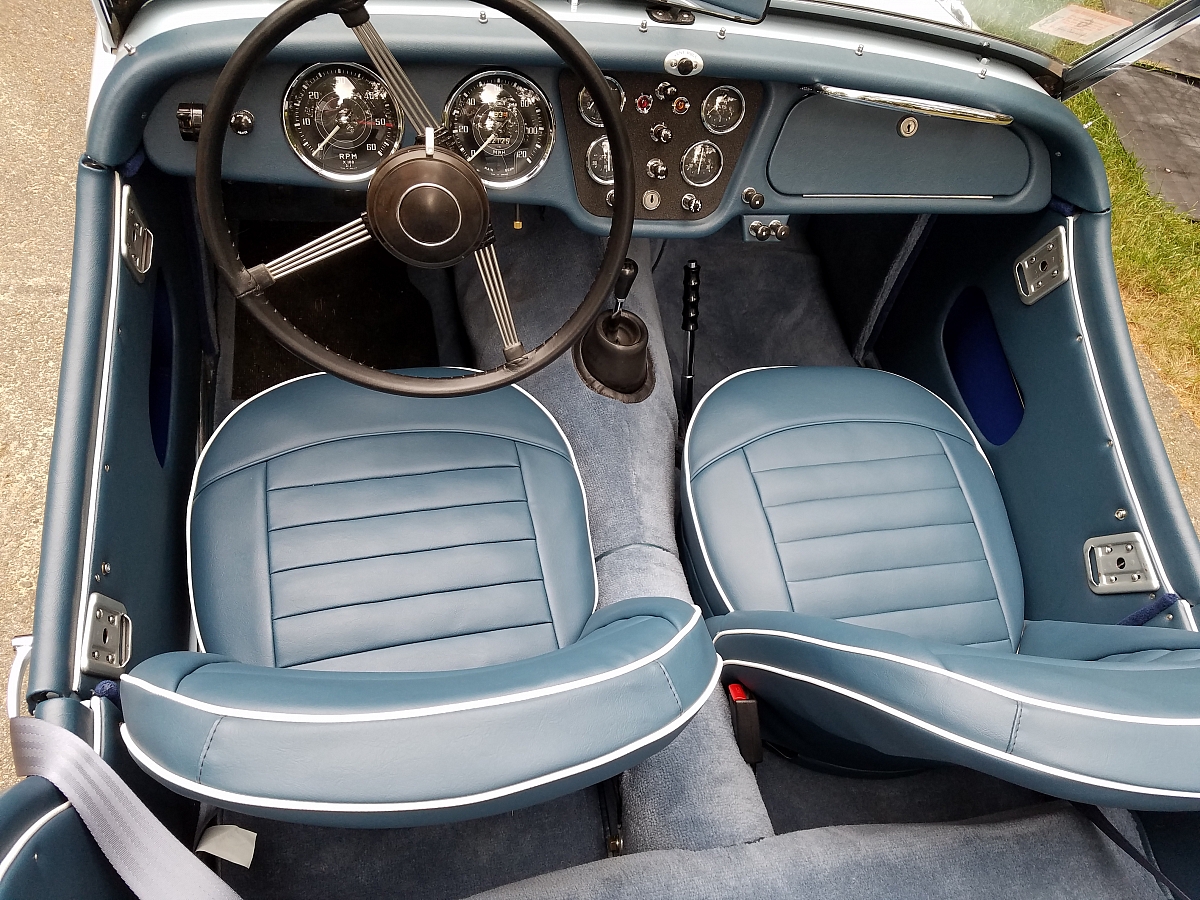
I added some extra half-inch batting to the seat tops especially at the front. This was to make them more comfortable to sit on as well as allow me to sit a little higher. Overall a good result and a vast improvement over the original seats with broken springs and virtually no padding.
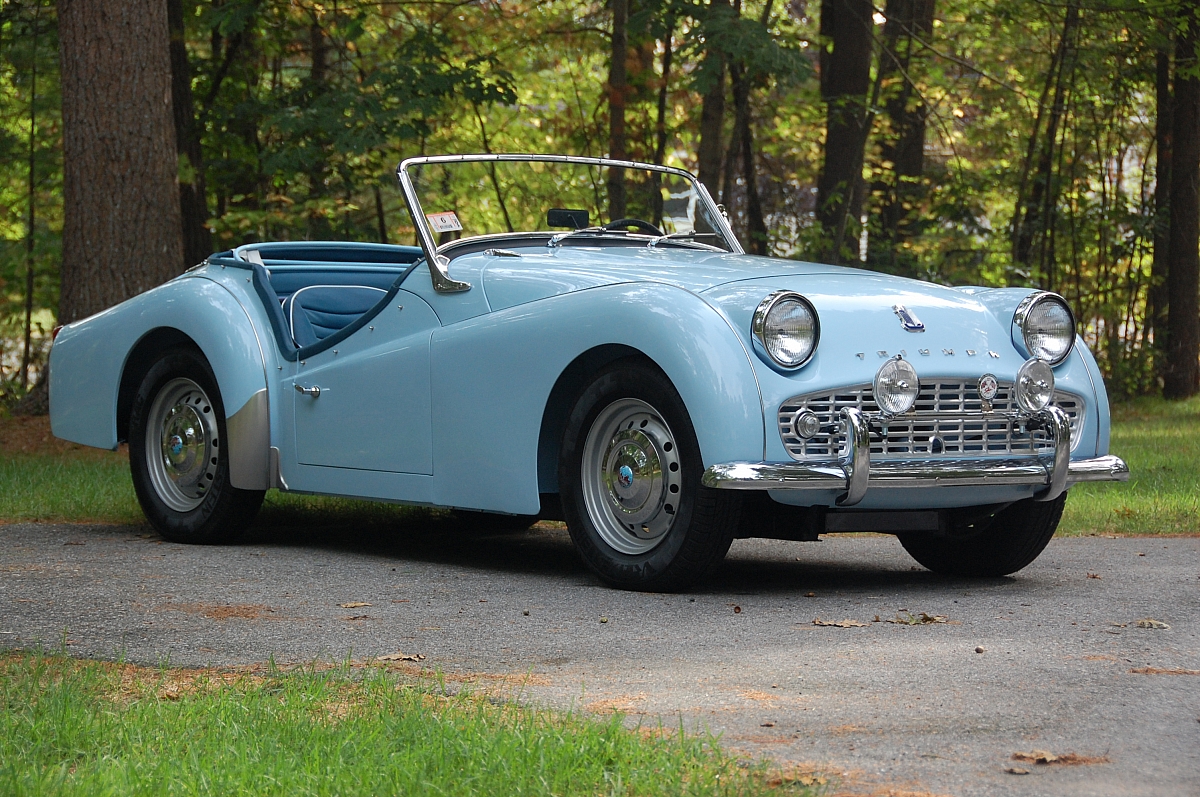
By September 2016 the car was ready for its first major show so we took it to the British Invasion show in Stowe, VT. This is a large event with typically over 600 British cars. There were 13 cars in the TR2/TR3 class and they all looked fantastic,
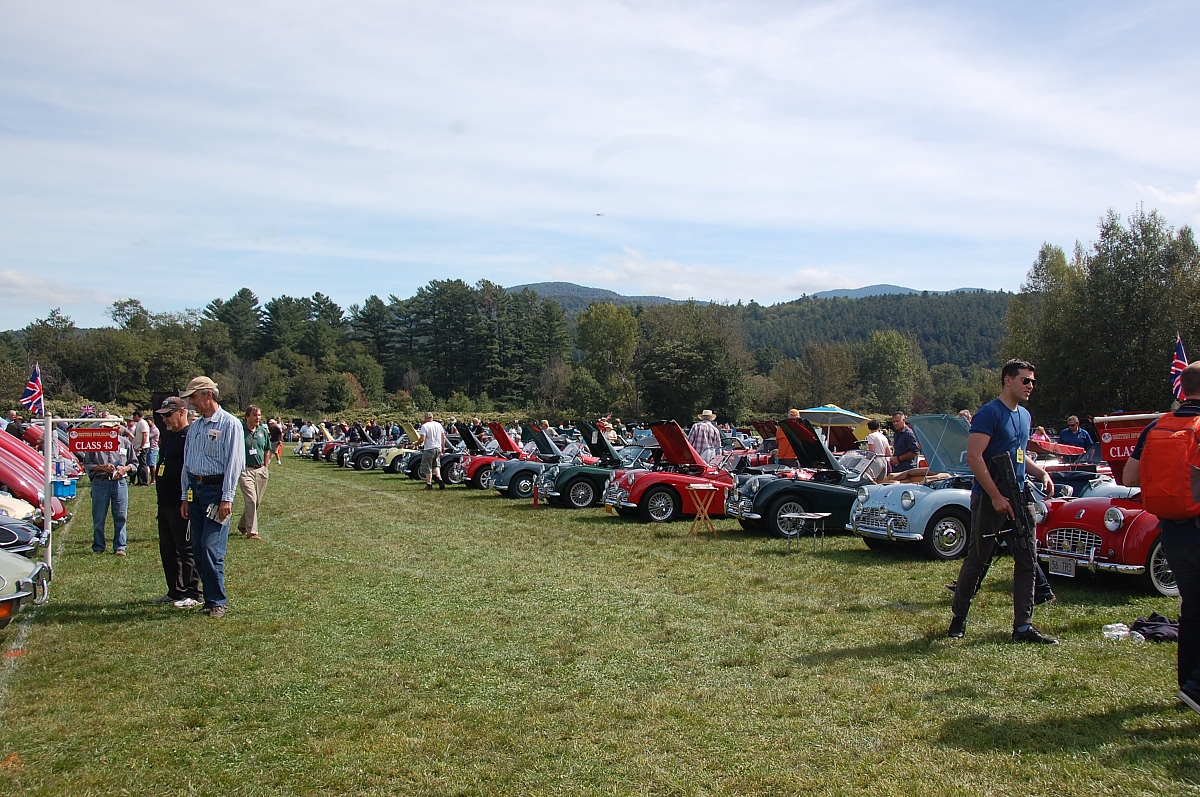
I asked the Forum for some suggestions for how best to show a car at a car show and got some good suggestion for telling the restoration story. I made a photo book at the local 24 hour pharmacy with some of the restoration pictures and made up a laminated sheet with some interesting facts and info about the car and the project. I put this material on a fold up table at the front of the car and invited people to browse.
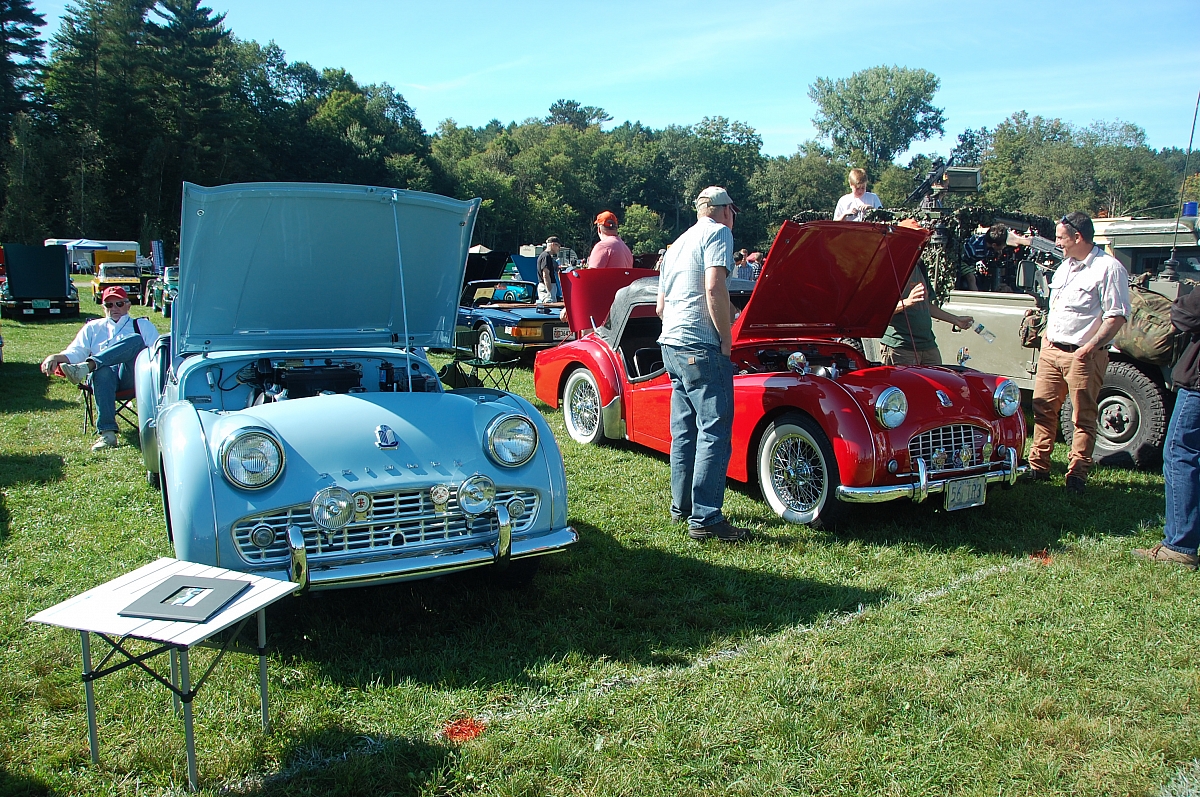
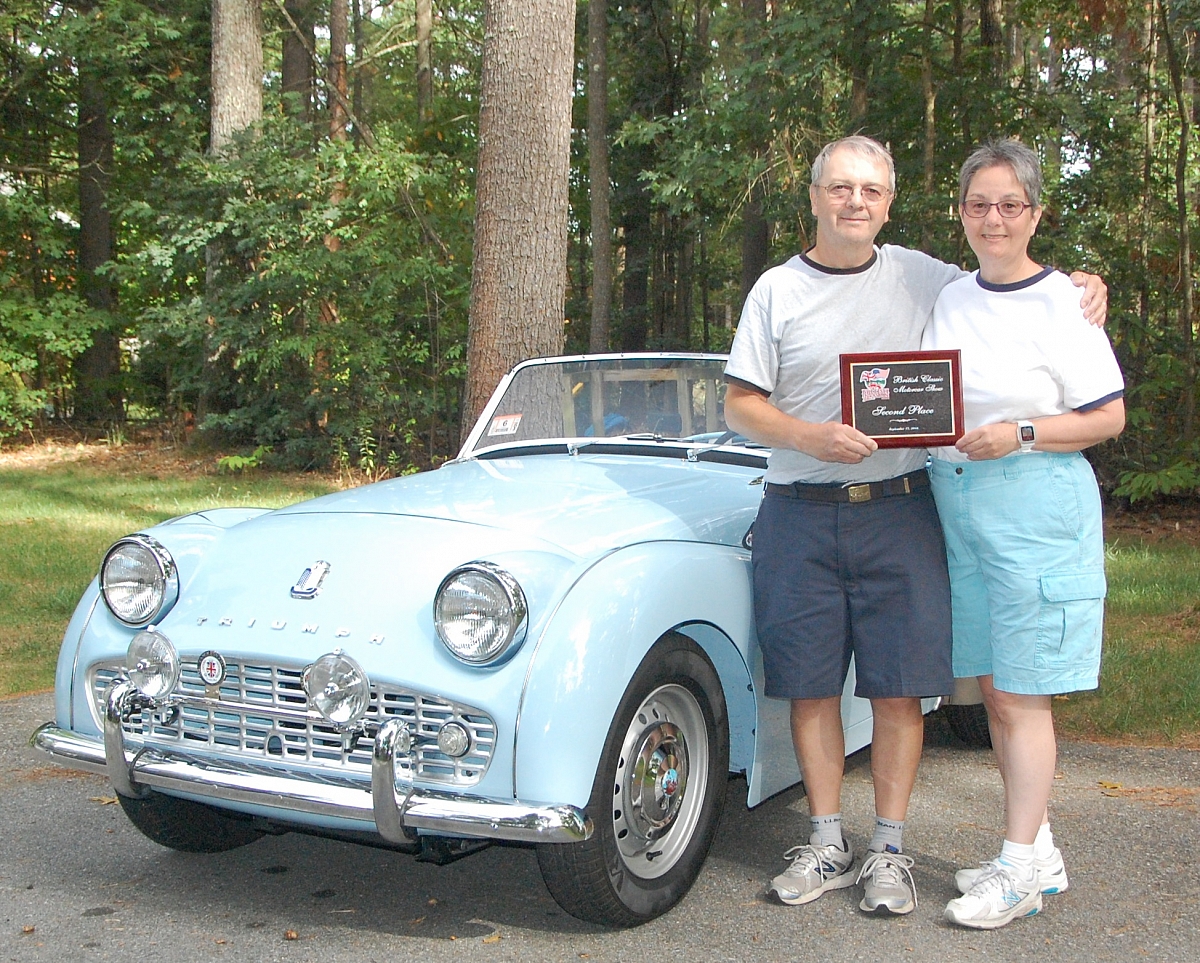
The car looked good and I was very pleased to win the second place award in this class. The first place went to a beautifully restored Ice Blue long door TR2. You just cant feel bad losing to a car like that !. Here's Debbie and I with the award.
It is now late October and the New England driving season is coming to an end. The TR3 will be stored for the winter and I plan to do some work on my TR6 this winter. After six years of seeing a dismantled TR3A in the second garage bay I am still getting used to seeing the red TR6 when I open the back door to the garage.
In Conclusion.
I have owned two TR6's since 1978 and have a lot of experience maintaining them including major tasks like rebuilding an engine and replacing the bolt on body panels. I had never tackled a major body off, ground up, nut and bolt restoration however and I always admired the pictures that people posted of their newly assembled rolling chassis waiting for the restored body.
About 10 years ago I attended a local community college class in MIG welding and bought a good quality MIG welder. At the back of my mind I was already sowing the seeds for a full restoration project.
When we bought this TR3A in 2010 I knew it needed work and I was prepared to do some on the job training as I laid out my plans for what at the time was going to be a quick tidy up of this complete but shabby TR3. What I did not fully realize at the time was how unqualified I was, how much I was in over my head which brings me to my last section in this post, the Thank-You's.
I could not have done this without YOU.
- Did I mention that I was in over my head ?. The only reason that I had any chance of completing this project was because of Stuart Edwards of Watermill Carriage Company in Cornwall. Stuart stuck with me from the initial assessment in Oct 2010 when I sent him a link to some photos, and all the way through the restoration process. Stuart taught me how to fabricate repair sections and weld them in. He taught me how to use body solder. He gave me advice on how to tackle each repair section (and there were a LOT) and sent me annotated photos/diagrams. At times we would be exchanging emails daily for several weeks. Me sending Stuart pictures after the days work and Stuart sending them back, marked up ready for the next day. I have a folder with hundred's of emails to and from Stuart and I will be forever in his debt. Stuart and I have never met, never even spoken on the phone. There are 3000 or so miles between us and I often joked that Stuart did the restoration, I was just the robot.
- I got a lot of help from my local New England Triumph club members especially when I needed some extra muscles flipping the tub over during the painting process. I owe a special debt to my friend John Bowe who by profession is a custom bike painter. He will publicly deny that he paints cars or car parts but made an exception to help me prep and paint both the tub and the outer body panels. John is another person that has so much personal investment in my TR3A project that I will spend the rest of my life paying him back.
- The TR Register Forum is a collection of some talented and generous people that stepped up whenever I needed help in understanding some aspect of the project. I always got several different viewpoints for how something should be done, usually with helpful pictures or illustrations. The pictures, illustrations and the collective personal experiences of the Forum members is priceless.
- The folks at The Roadster Factory and Moss Motors USA. We are very fortunate to have several options for where we source parts from, major suppliers as well as many specialists. I relied heavily on Moss and especially TRF where Albert Runyan went out of his way to help me on several occasions.