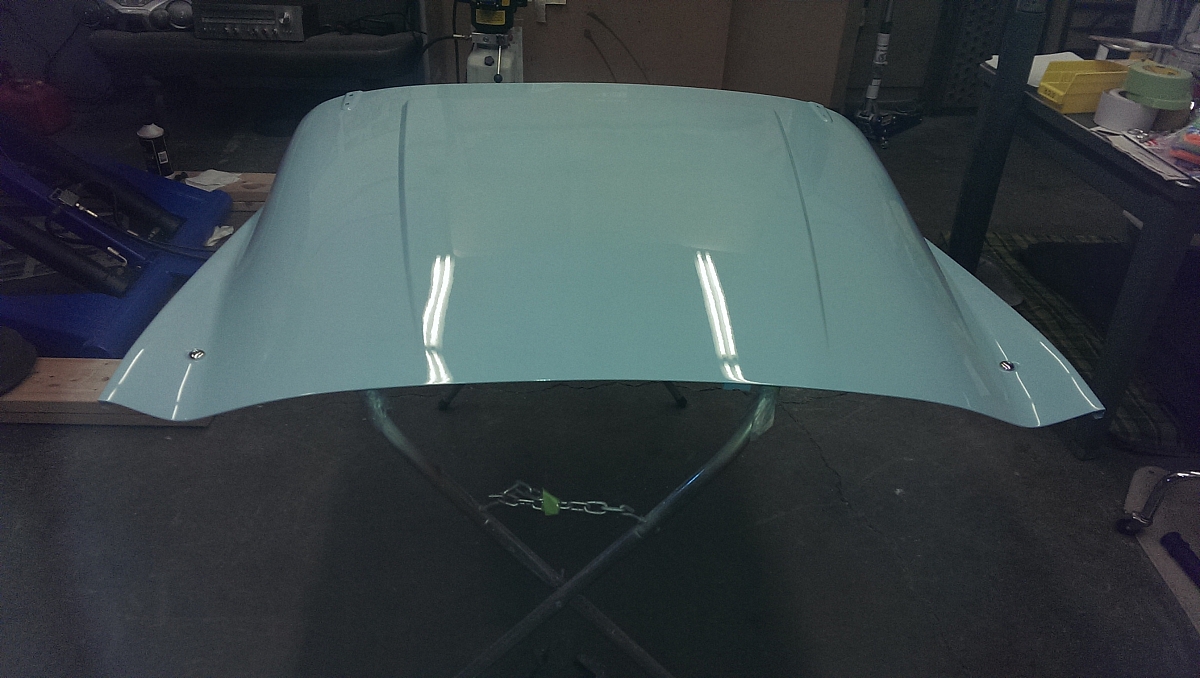
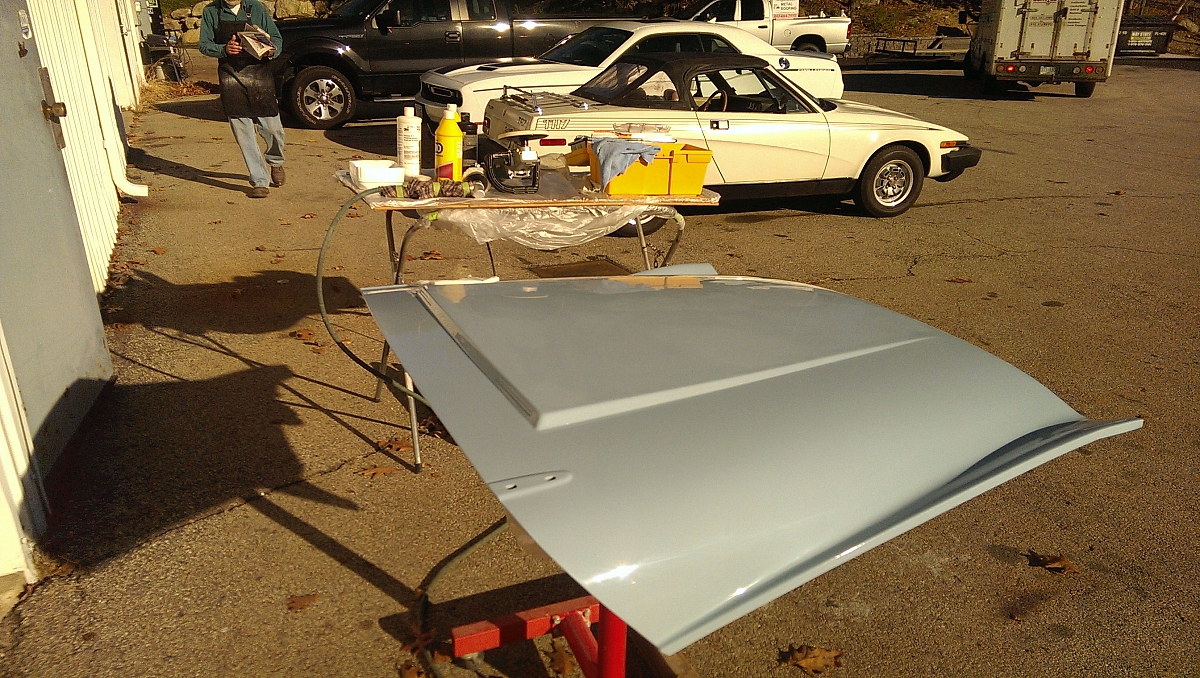
Starting in September 2015 we began the big push to finish painting the outer panels and just yesterday (Nov 16 2015) we finished the bonnet including the dzus fastener installation.
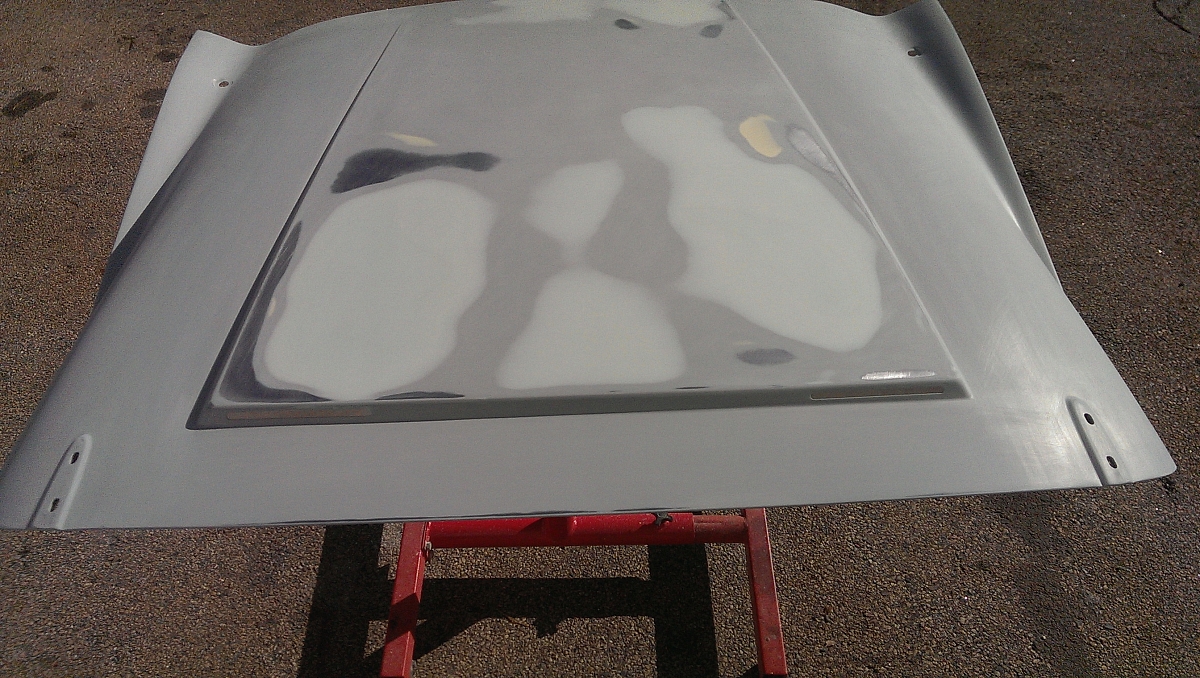
The bonnet was in pretty good shape but needed the usual surface prep to get the panel straight before final paint. This consisted of several days of prime, guide coat, sand, fill, prime etc until we had fixed the surface issues. Most of the problems were in the large raised area in the center. These dents were very shallow so there is just a skim layer of putty.
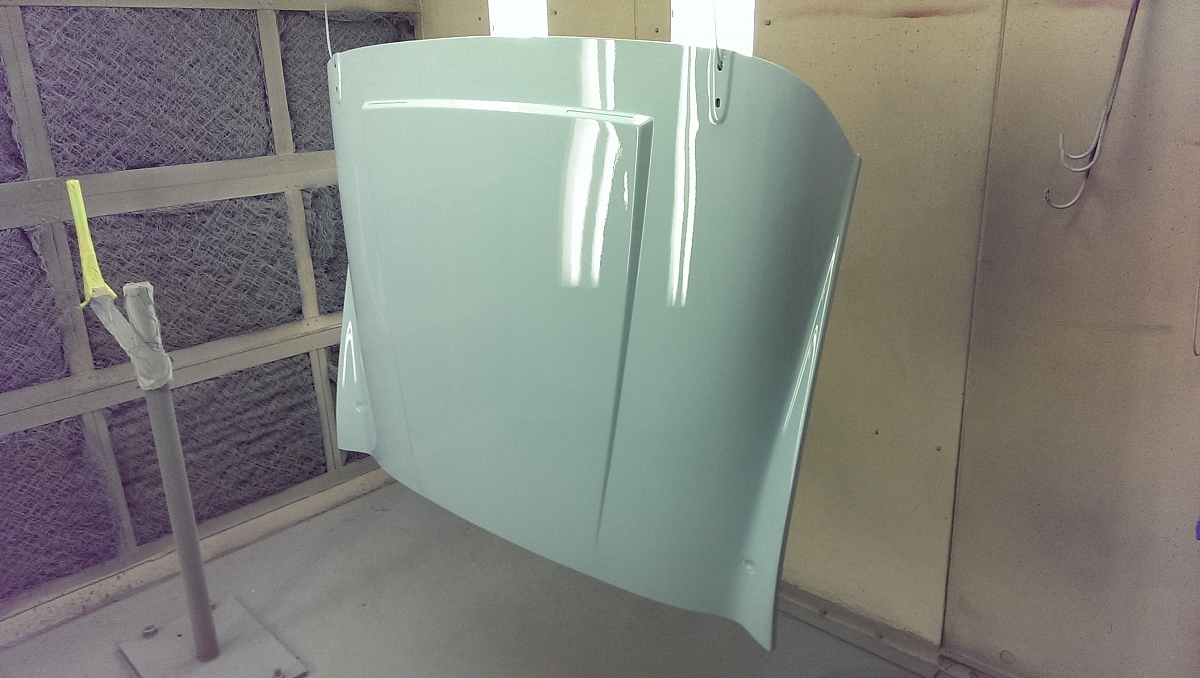
The bonnet got its final paint on Nov 6 2015. We did this in two stages painting the underside first, then masking that off before painting the top side with two coats of powder blue and three light coats of clear.
With the bonnet painted it was now time to tackle the dzus fastener installation so as usual it was time to check in with the Forum guys for advice and to see what the Internet had to offer.
Various web sites such as Moss and Rimmers had helpful info.
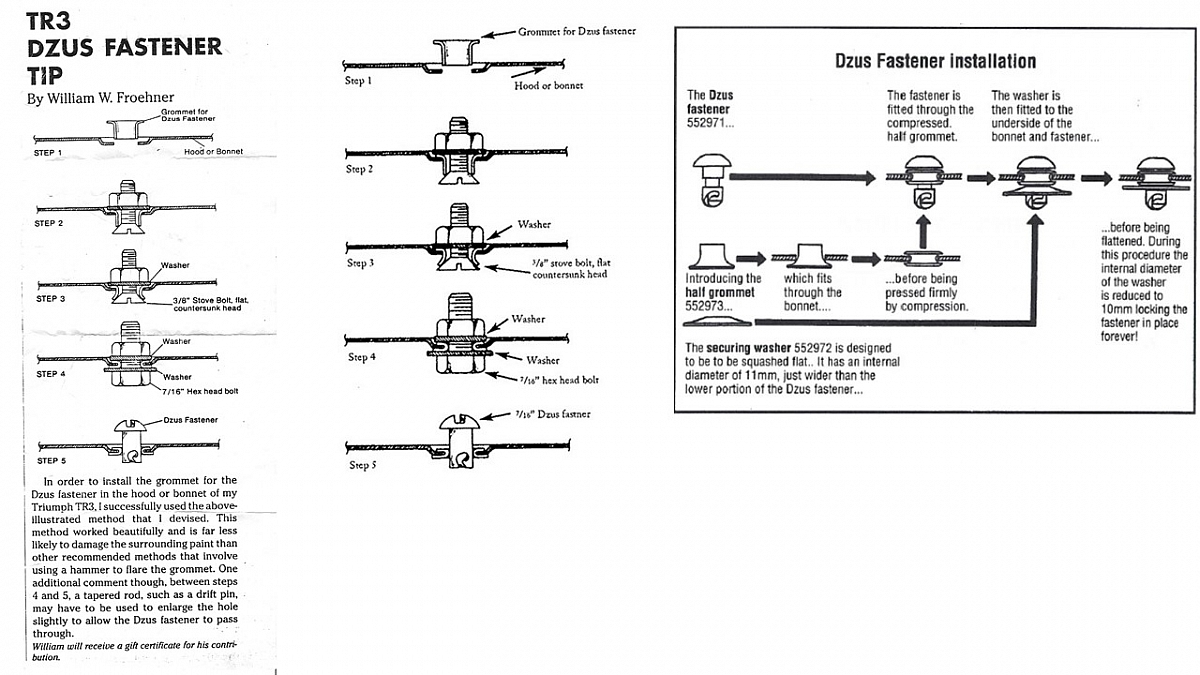
The Moss instructions (center) seems to have come from the article on the left that had a more complete description including the use of a tapered reamer. The Rimmers instructions (far right) included the detail about the retaining washer. Note that in one set of instructions the grommets are inserted from the top while in the other they are inserted from underneath. We inserted them from the top.
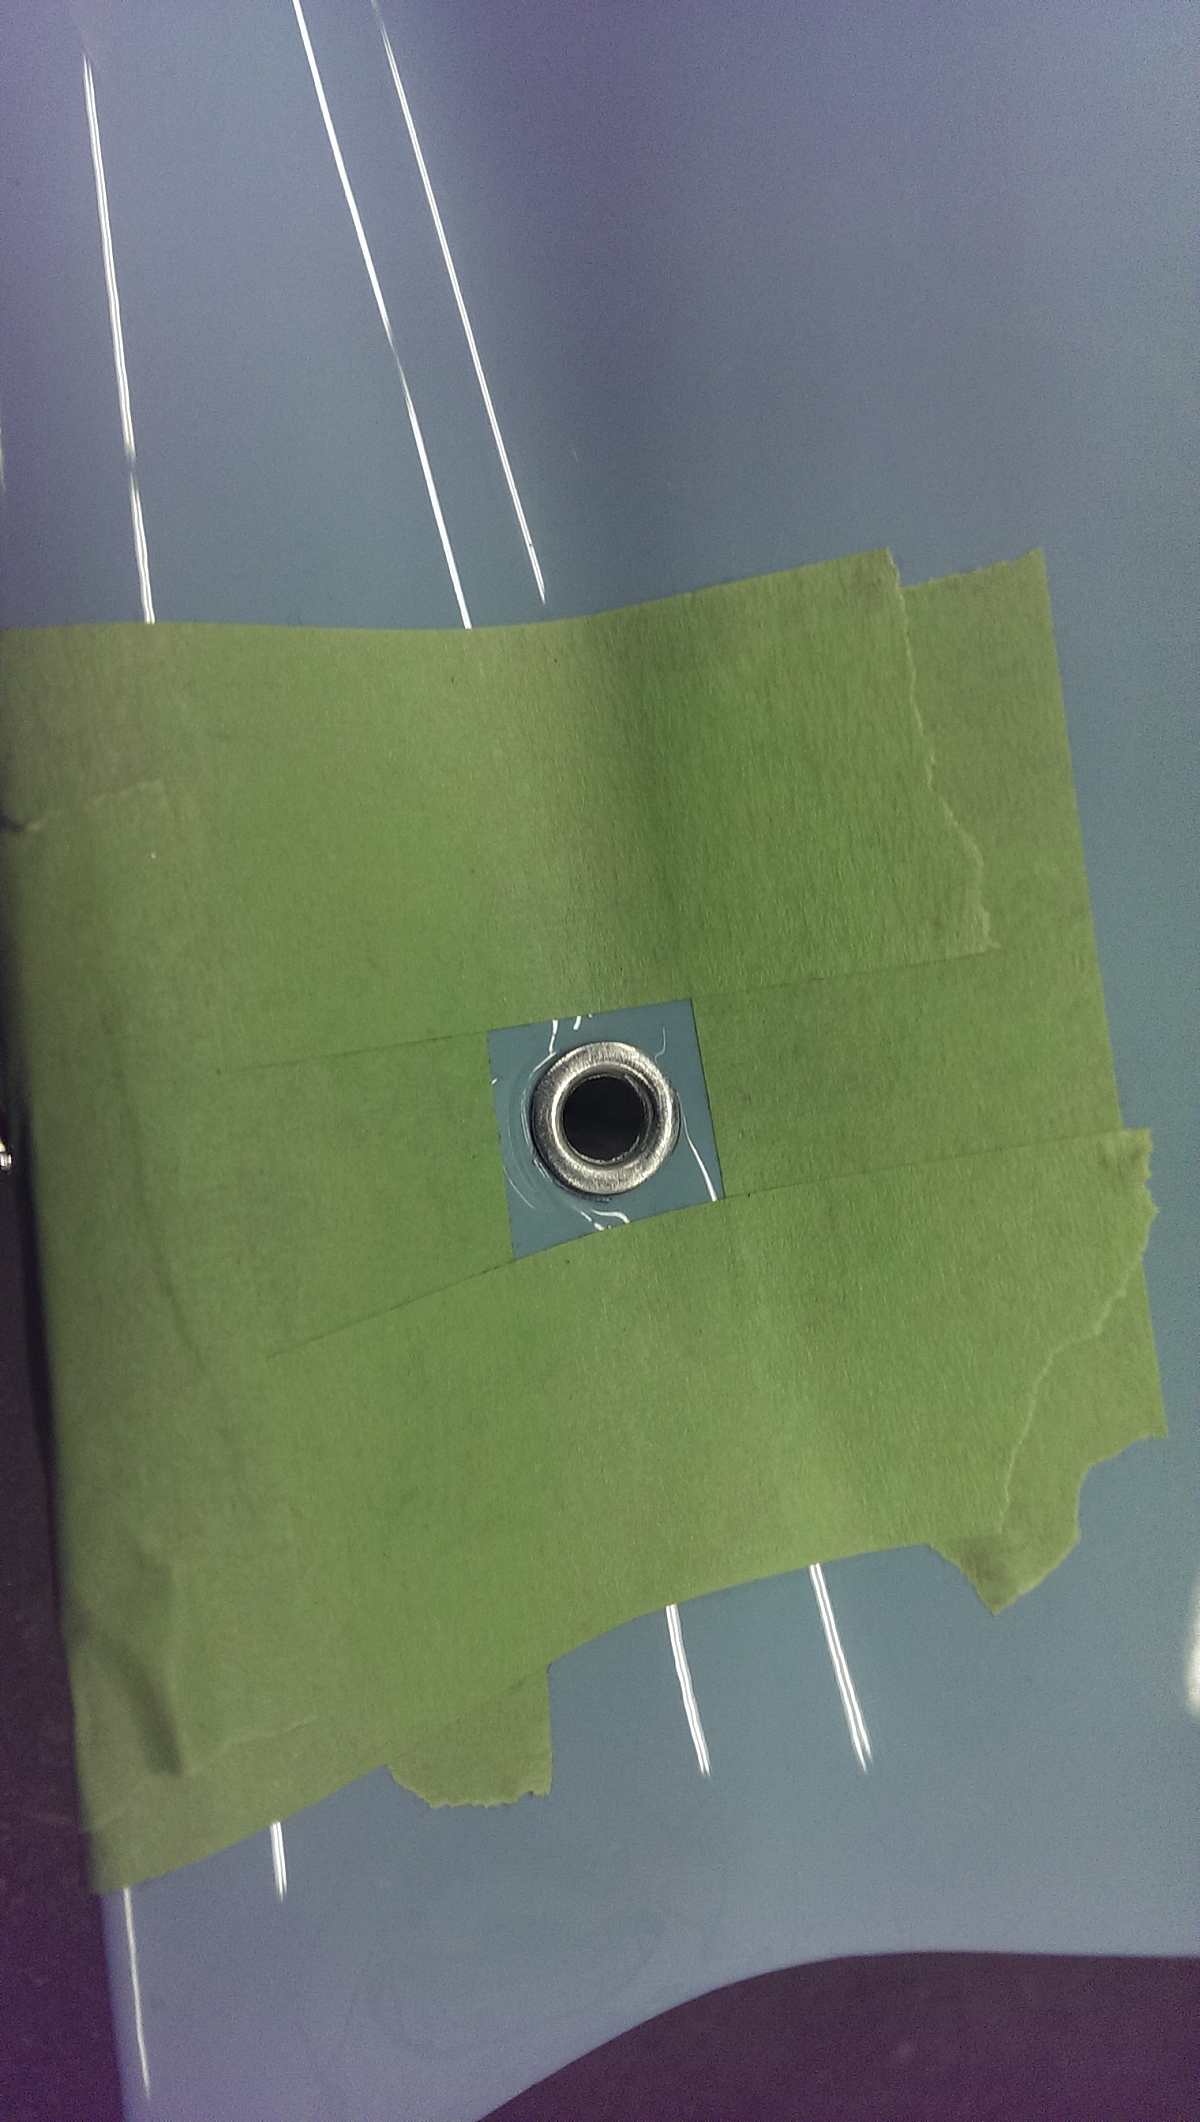
We had to remove some paint from the inside of the bonnet holes to allow the grommets to go in easily and once that was accomplished the grommets look like the picture below standing slightly proud of the surface.

We gathered together the tools we needed and covered one washer with a few layers of masking tape to reduce the chances of harming the paint or the soft aluminum grommet.

The guidance from Stuart was that if there was too much paint in the well where the dzus fasteners go there is a risk of the paint cracking when the alu grommet is compressed. Rather than use waxoyl under the grommet we added a ring of blue paint around the hole just before we installed the grommet. Now if the paint cracks it will just fill with paint.

The installation went well using the countersunk bolt to start with. We used an allen headed bolt so one person can use a socket to tighten the nut while another person hangs on to the allen wrench..

After starting the flare with the countersunk 3/8 inch bolt we continued to compress the grommet with the 7/16 inch nut and bolt. The use of the 7/16 bolt is supposed to stop the washer from distorting and making it impossible to insert the dzus fastener. We found it necessary to use the countersunk bolt, then the 7/16 bolt, then wiggle the tapered reamer in the hole to widen it and then repeat the process with the countersunk bolt and the 7/16 bolt until the grommet was tight and the dzus fastener could be easily inserted. Here is John wiggling the reamer. The alu grommet is soft so it does not require a lot of force. Gently does it.

After a few mins of wiggling the reamer and compressing the grommet we had them installed. We saw no sign of cracking paint despite the many layers of primer, paint and clear on the bonnet.
Here's how the dzus goes in once the grommet is installed and the bolt we prepared for the next step of installing the retaining washers.
Bonnet dzus installation, testing the dzuz fit in the grommet from Stan Foster on Vimeo.
The retaining washers slipped easily over the dzus fastener and I found it hard to believe that the act of going from concave to flat would magically reduce the diameter of the hole in the washer so that it locks into the recess in the dzus fastener. We used a C clamp, a socket and a large washer to install the retaining washer and by golly it really does work the way it is described.