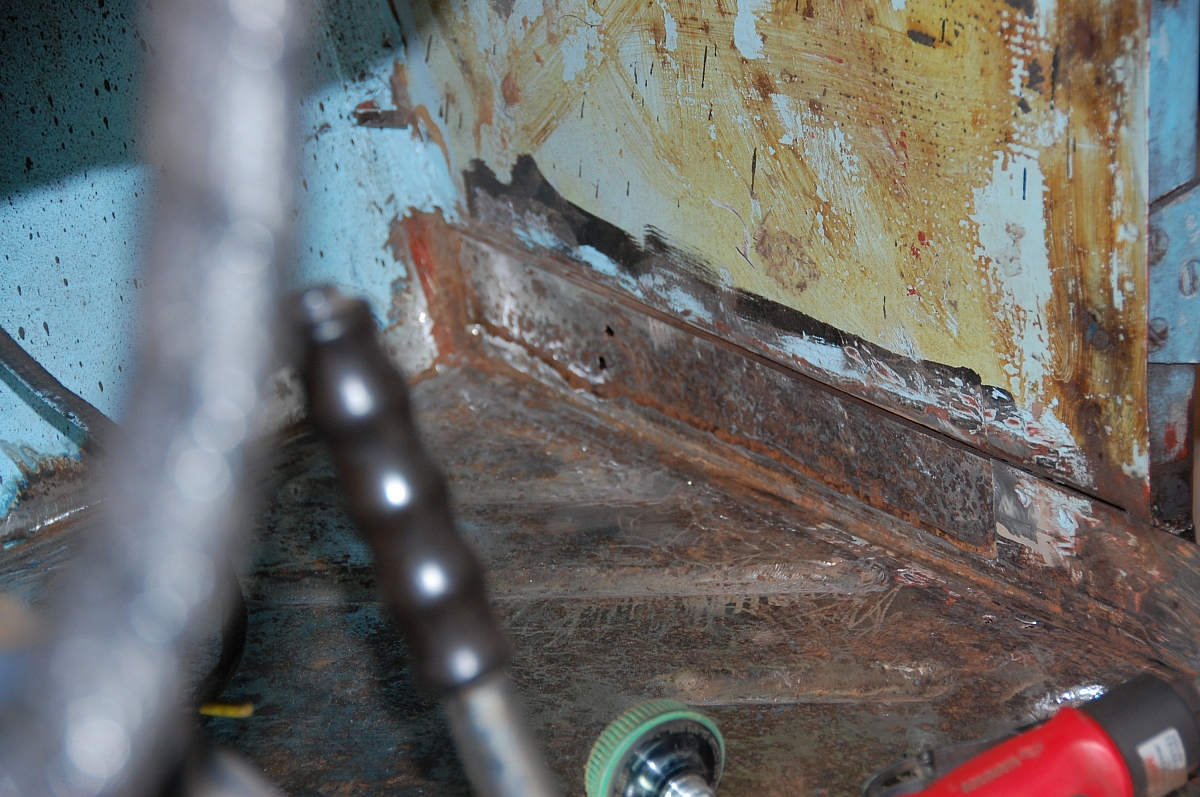
In April of 2011 I was still thinking this would be a quick refresh and not a total restoration. The floors were ratty, thin at the front with some areas rusted through and on the right hand side the side wall of the floor had rotted through and the inner wall of the inner sill had become involved as that had a hole in it also.

I had seen some inexpensive TR3 floor pans on ebay for $60 per side so I bought a pair thinking that I would just cut the front off an patch my old floors. I was surprised when I dropped the floor in place as a test and found that it was a very good fit.
A quick consultation with Stuart and the plan was changed to replace the floor pans with the ones from eBay. At the same time repair the rot in the footwells and the rot in the front of the inner sills.
I did the replacement one side at a time to keep the tub stable and I started with the left hand floor pan. The old floor pan came out easier than I was expecting using the wood chisel and spot weld bit in the drill to break the spot welds and in less than an hour I had a clear view of the LHS inner sill and chassis. I was very relieved to see that the inner sill was in very good shape with just some surface rust.

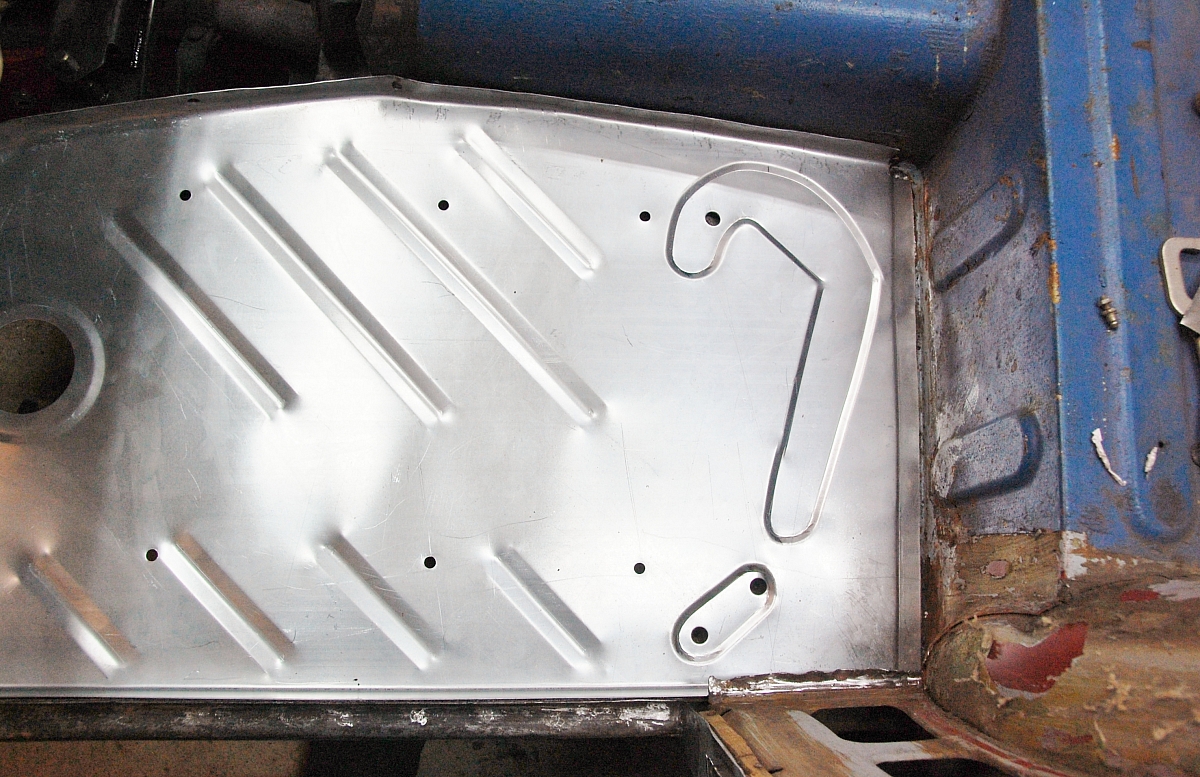
Here's how the new floor pan looked just dropped into place.

The new floor pans came with all of the holes and pressing but no cage nuts so I used new cages with old cage nuts rescued from the original floor to add the required cage nuts to the floor pan.
Since I was not yet thinking about a body off restoration I pre-painted the floor pan and cleaned up and painted the exposed chassis and inner sill before installing the floor pan.

With the left hand side complete I moved on and applied the same treatment to the right hand side. The right hand side was a little more complex because the rot had extended a few inches up the heel board so I made up an L shaped repair panel to re-create the missing section of heel board and give me something to weld to the rear of the floor.