Another task for early 2011 was to replace the rotted battery box. I actually completed this task over several weeks as I wanted to paint the new box before installing it but I will present it here as if it was a contiguous task.
The old battery box came out fairly easily. As with most of the spot welds on this car the ones securing the battery box either yielded to a bevel edged wood chisel or a spot weld drill. I usually tried the chisel first as that was quicker and did the least harm.
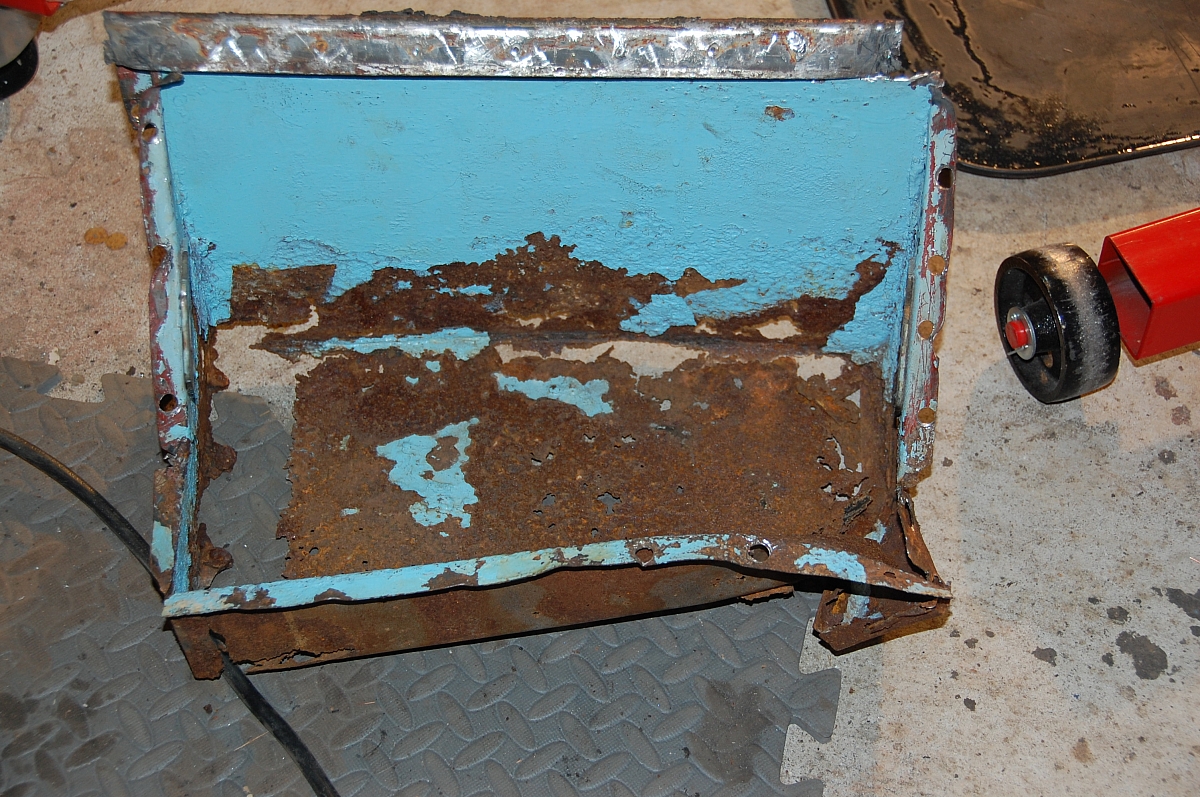
The collateral damage was minimal and using a cutting wheel on a dremel I was able to cut through the top lip of the old box without cutting through the gutter on the scuttle.
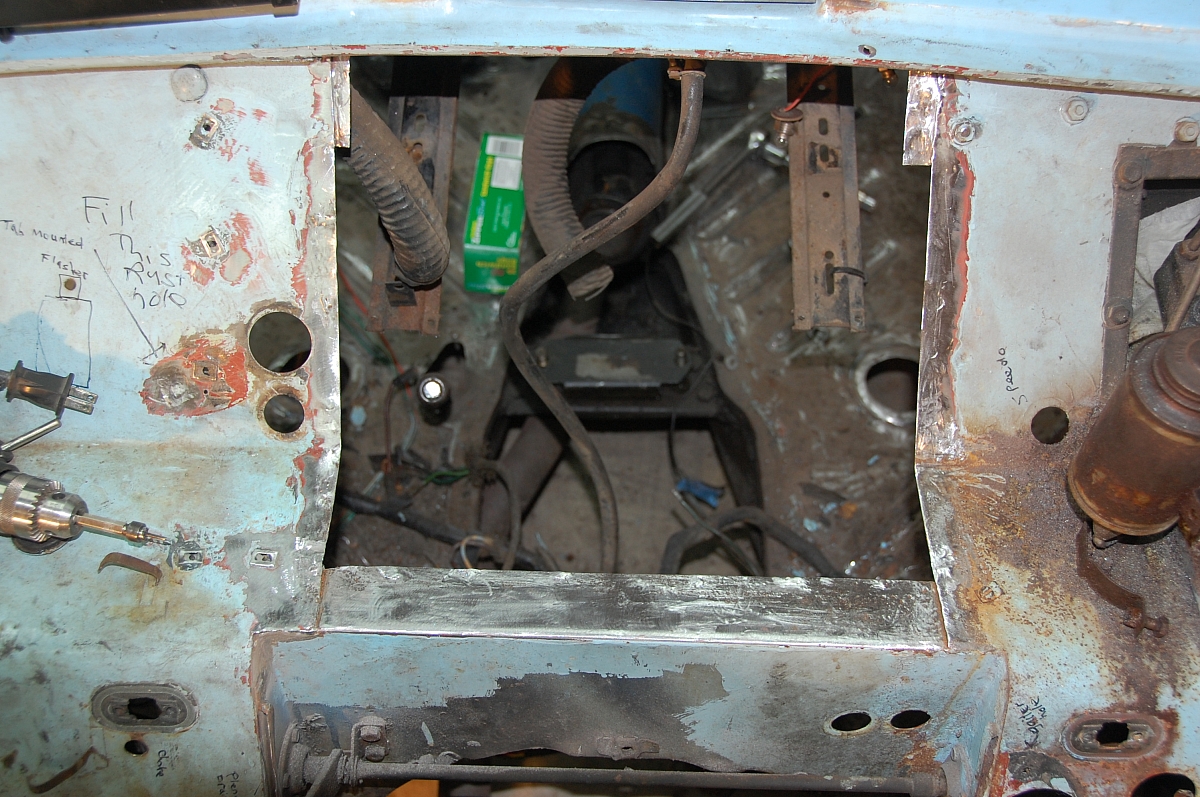
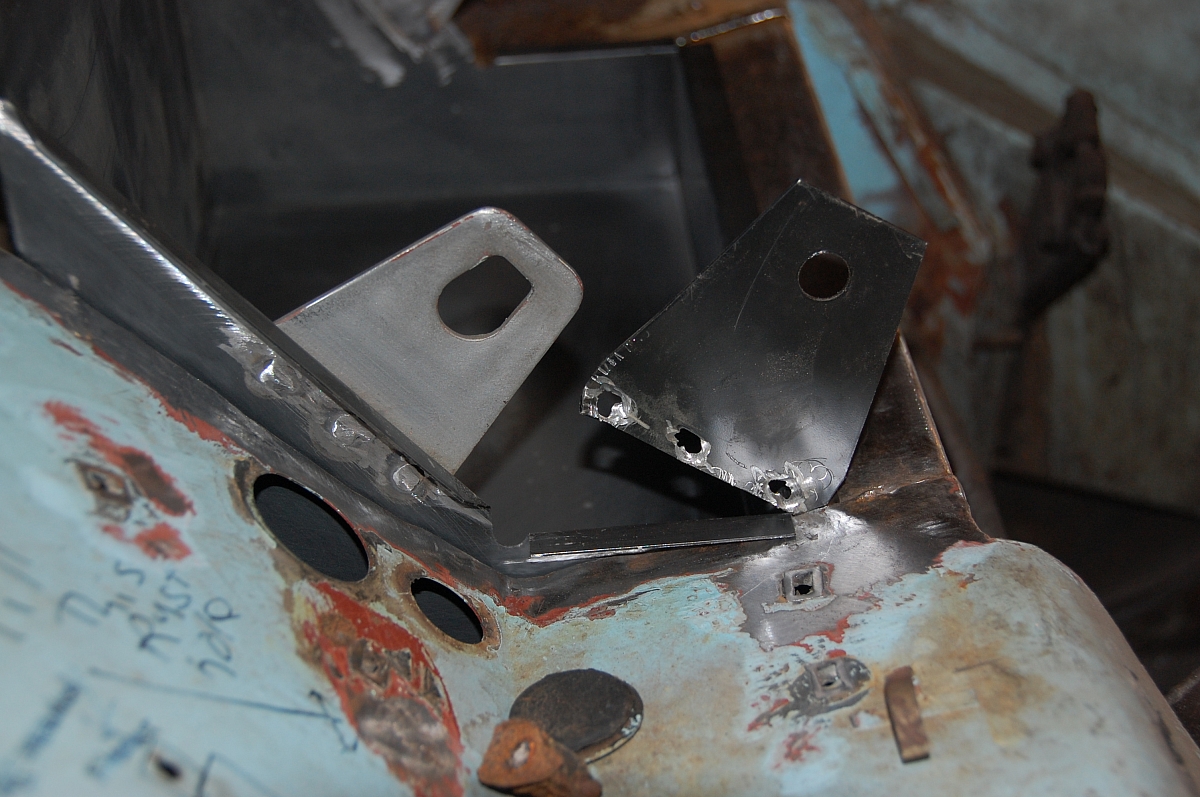
The repro battery box was fine and appeared to fit ok but it had no brackets on the rear for the heater braces, no provision for the overdrive relay and the battery tie down brackets were made of thin gauge steel with round holes while the originals were oval holes and a much thicker bracket. You can see the difference in the image below. I transferred the heater brace brackets and the tie down brackets from the old battery box.
After researching this project on the internet I saw various approaches for getting the new box installed. Some people cut off the top flange, some used brute force. I chose to break the welds at each side of the panel in front of the battery box and bend that panel down so that the battery box could be installed. Then I bent the panel back up and re-welded it at the ends.
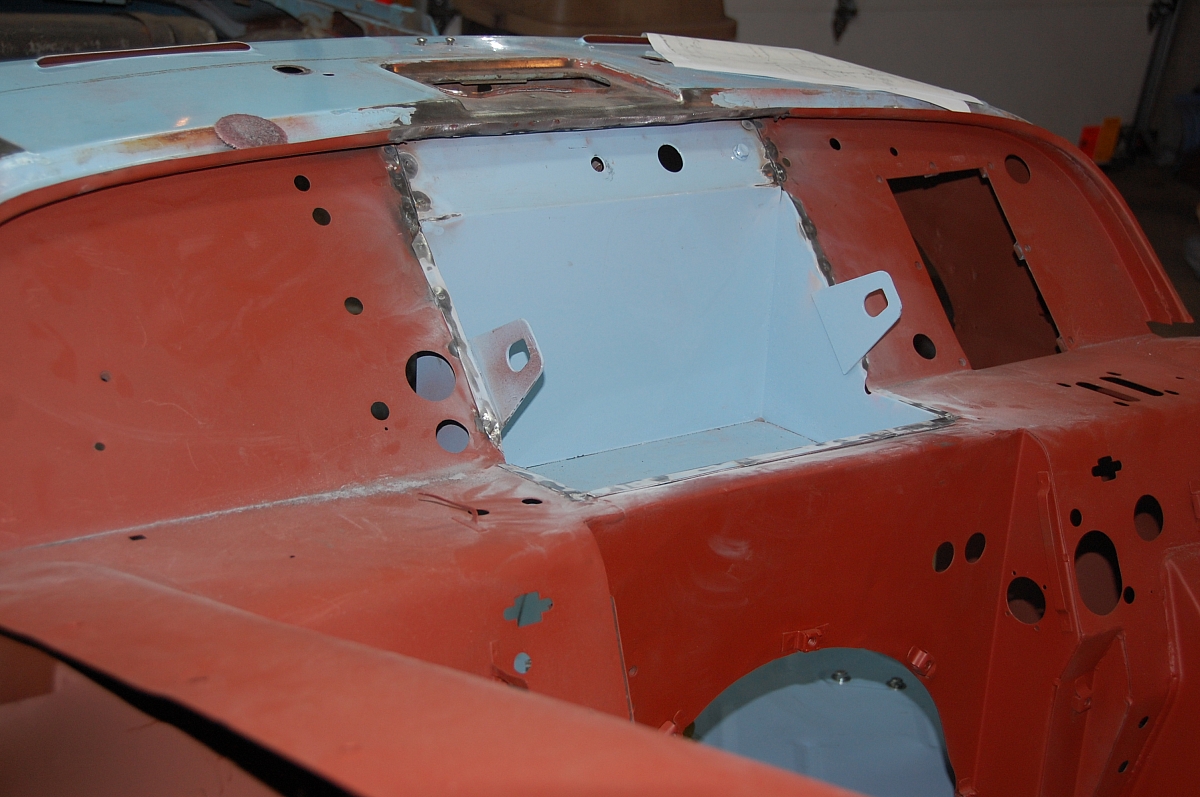
This image shows where I broke the welds (arrowed) and the panel that I bent down highlighted with the wiggle line..
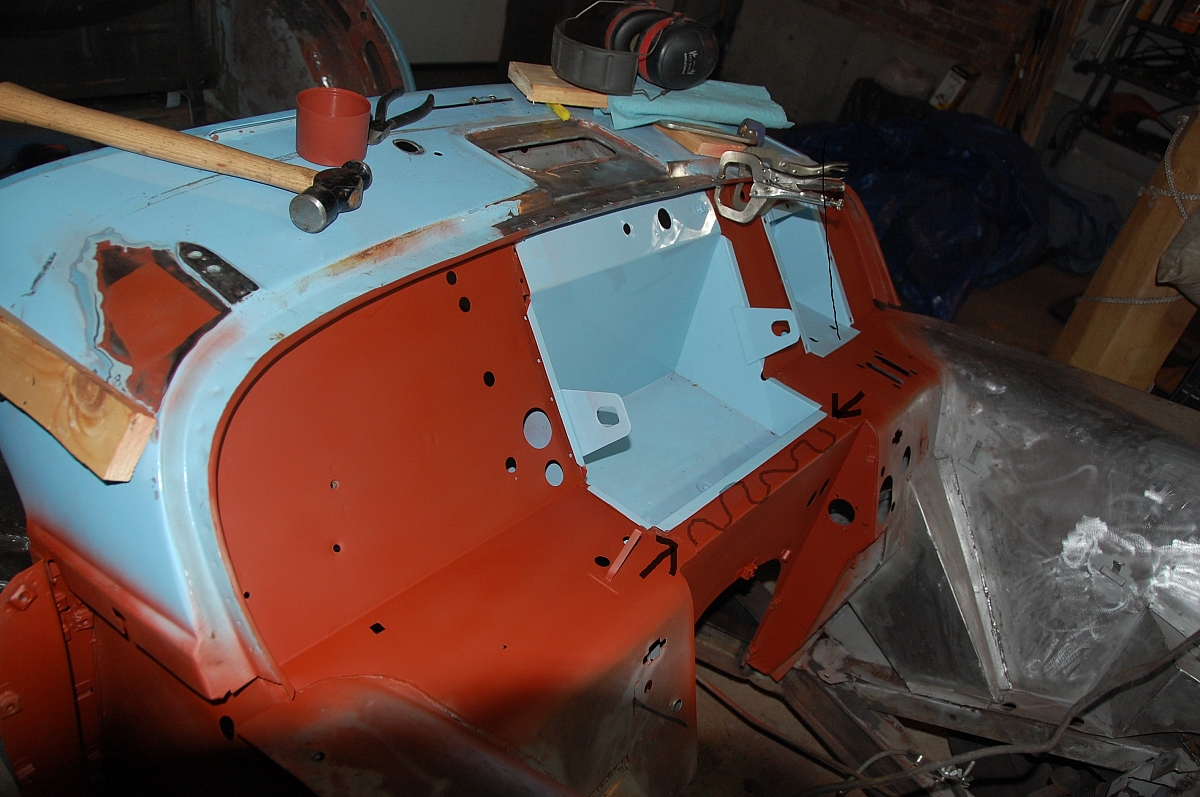
With the new battery box in place it was then plug welded to secure it.
Looking at the rear of the new battery box you can see where I transferred the heater brace brackets from the old box, the bracket I added for the overdrive relay and at the top, an additional plate that bridges between the battery box and the firewall (there is another one like it on the other side). The original plates did not survive the removal process.
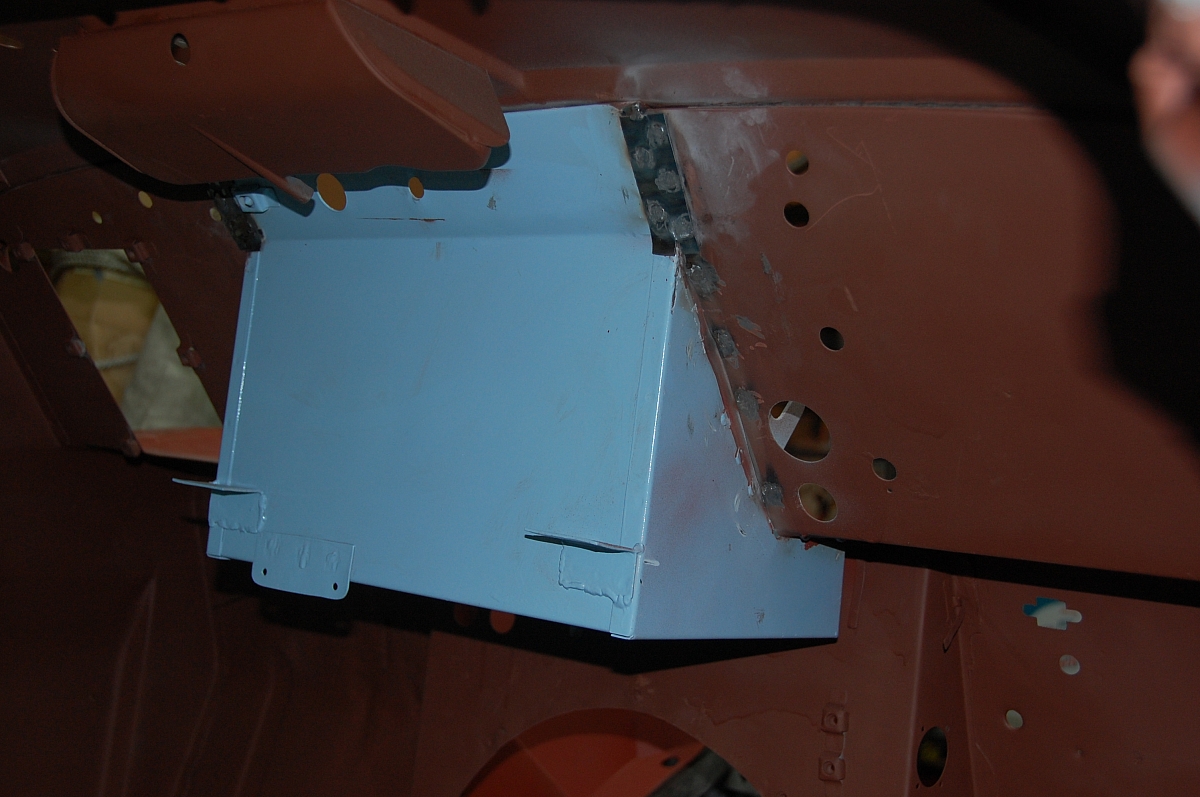
After all this pulling, tugging, hammering and welding the scuttle got slightly bent in the area in front of the scuttle vent but that was easily remedied with a block of wood and a hammer.