
Mk2 Chopper
-
Content Count
1,150 -
Joined
-
Last visited
Content Type
Profiles
Forums
Calendar
Posts posted by Mk2 Chopper
-
-
On 6/24/2022 at 8:29 PM, modelbuilder said:
Yes, they are similar to the previous offerings but based on different cars. I did a “check MOT history” on the DVLA site to check this, so the lucky owners had their cars modelled for free.
”Did you make a TR6 model”, yes several. I have dismantled several diecasts, modified and repainted them to replicate owner’s cars. Time consuming but fun.
Rodders.
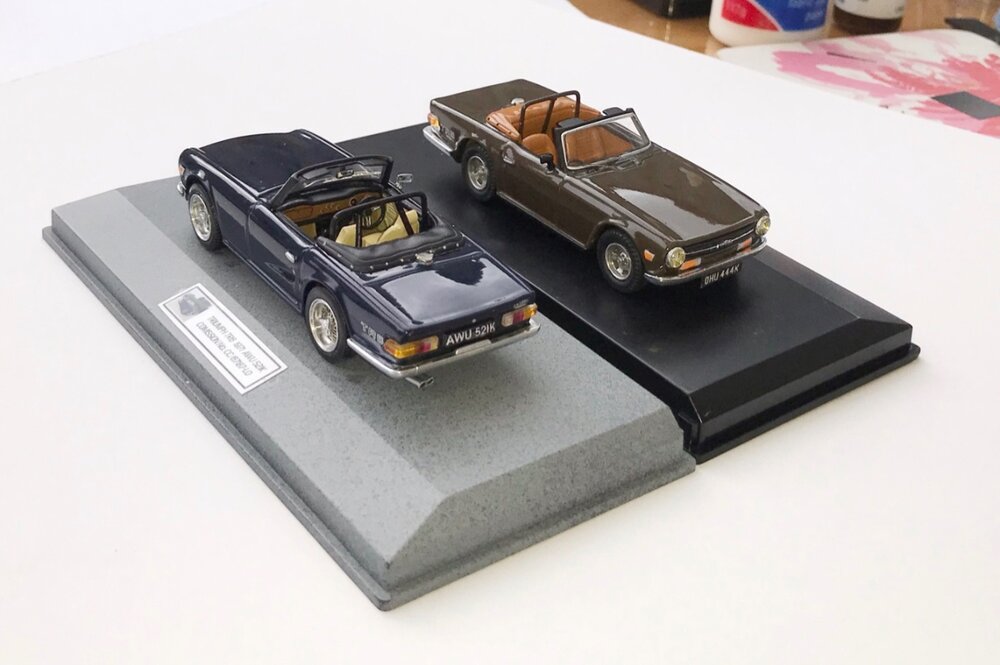
They look great. What was the die-cast version you used to modify? Loving the wheel changes too, amazing.
Gareth
-
Can't wait to see the finished roof.
Gareth
-
They look similar to the set that features Steve Denton's '69. In guessing these are also based on real cars with those number plates.
Nice buy though.
Did you make a TR6 model?
Gareth
-
On 6/13/2022 at 10:08 AM, richard61 said:
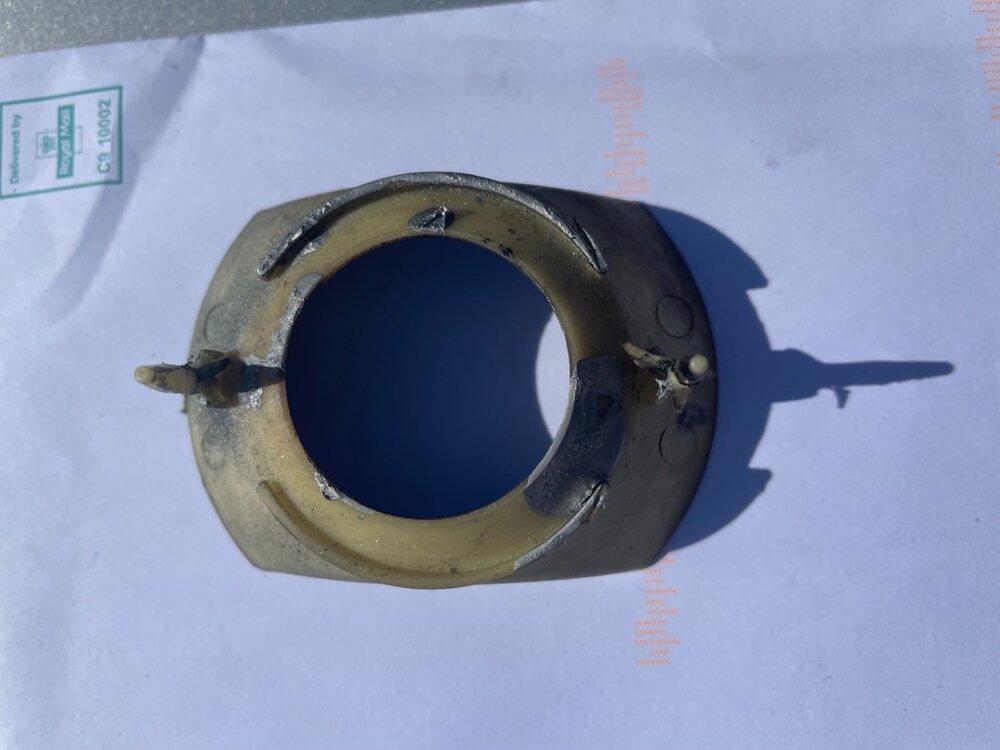
After filling any cracks with a flexible filler I recoloured the rim using a kit from The Scratch Doctor. Missing bits of the rim on the spokes were replaced using an old spectacle case!
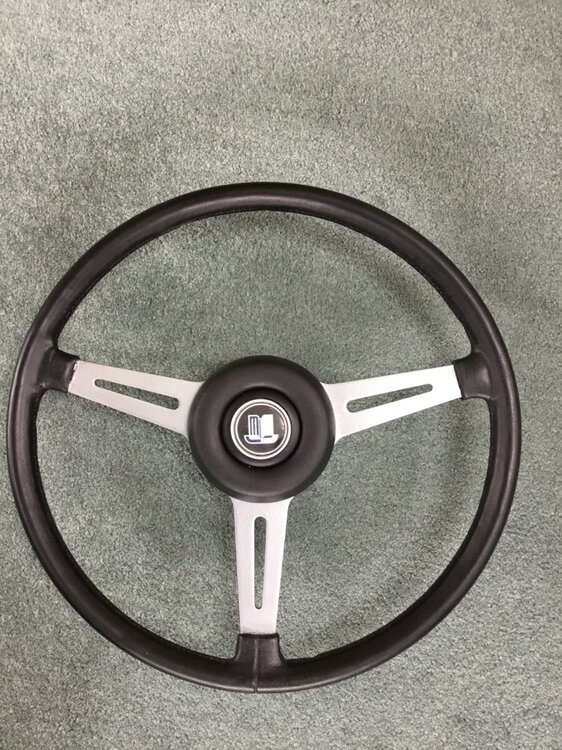

Hi Richard,
I sent you a PM about this, but I've not heard back, so if you read this or someone else knows, was the recolouring kit the type used for leather, as I wasn't sure the moulded rim would absorb the dye.
Thanks
Gareth
-
14 hours ago, Bill944T said:
First time I’ve added images, well I hope I have! Disappointing that OP hasn’t been back since request…..
Regards
Bill

The OP has only got a post count of 2 since 2009, so I'm guessing doesn't frequent this fine forum very often! I read his request as requiring the reflective lens not the internal reflector? Anyhow you've learnt a new skill in uploading pictures, so something positive came out of this
 .
.
Gareth
-
What were your plugs like? If it could have melted a piston, your plugs should be destroyed also.
Gareth
-
On 6/13/2022 at 6:57 AM, saffrontr said:
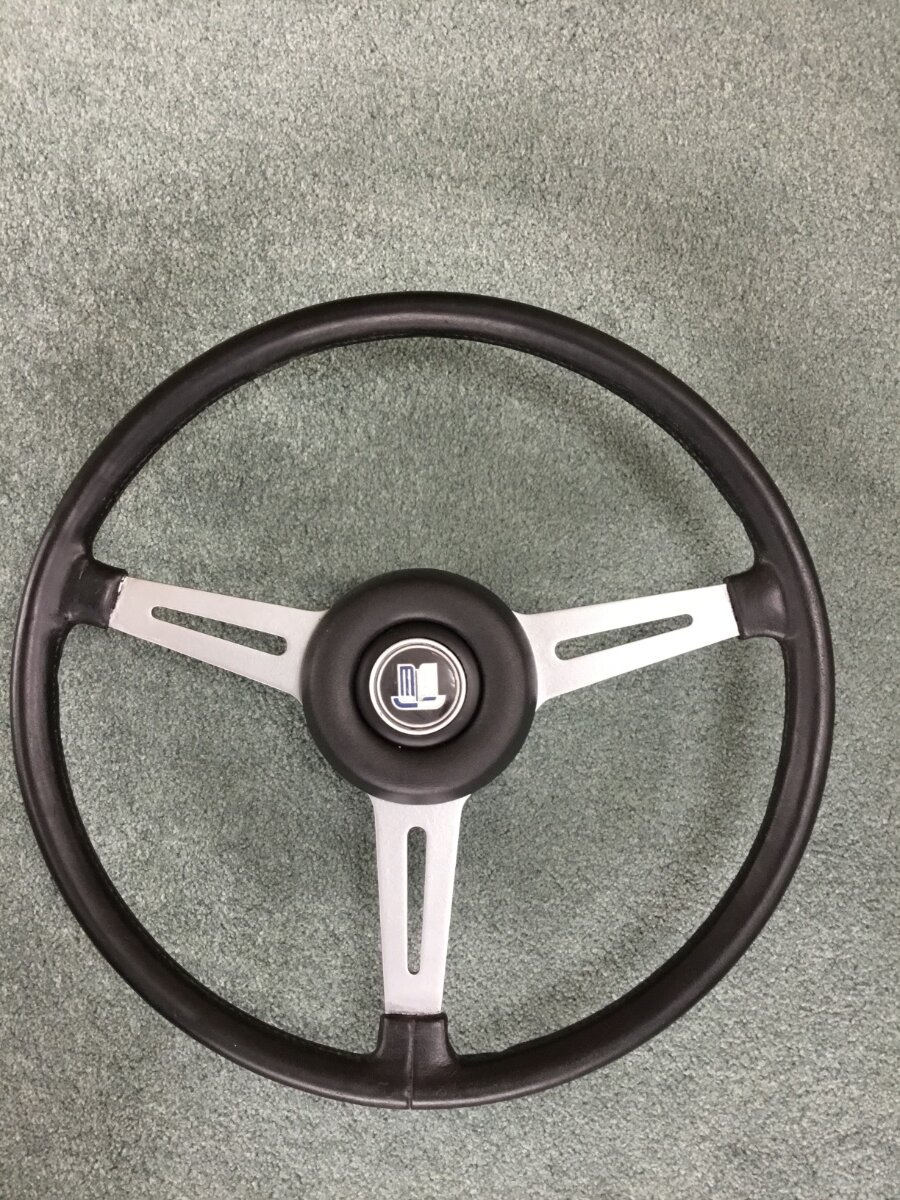
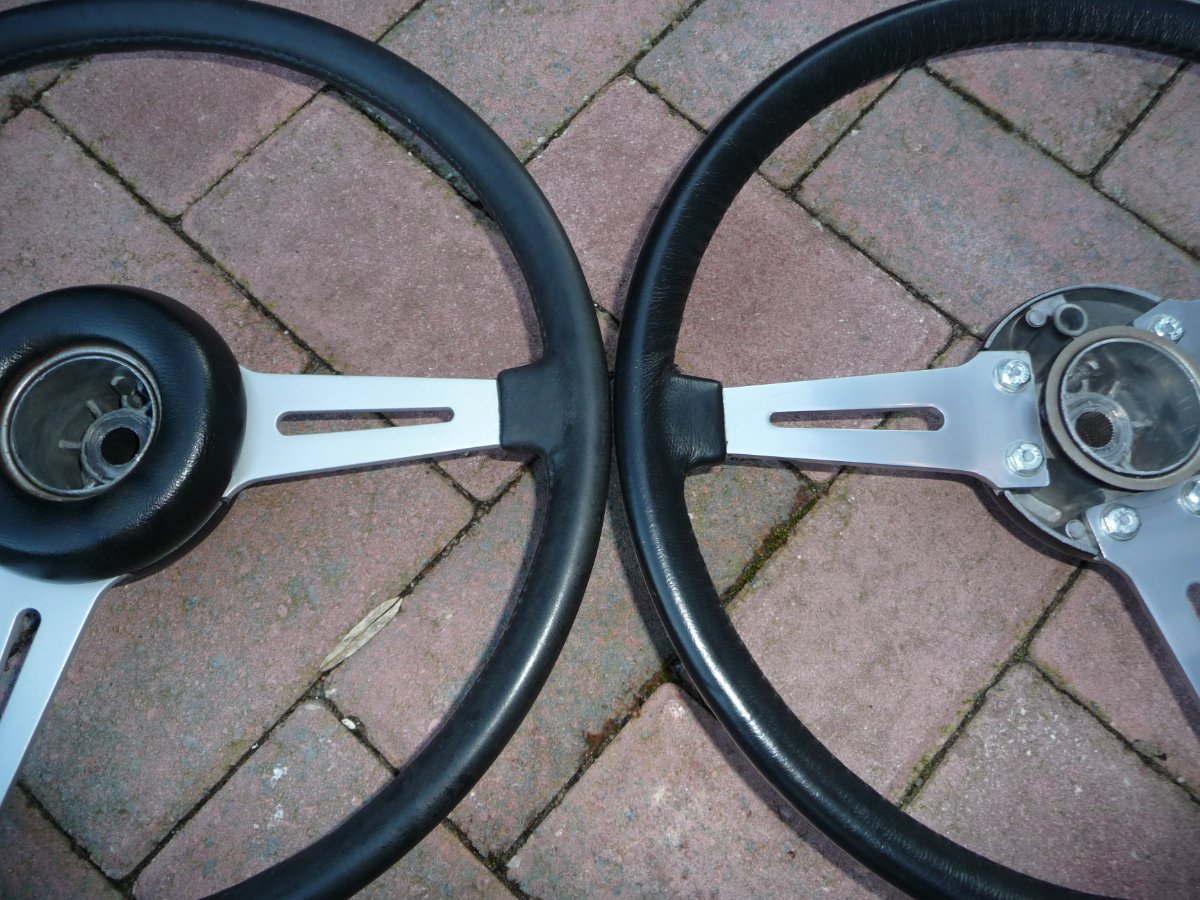
John, Renualt Silver Grey is spot on for colour. Image follows showing an NOS wheel on the right and one repainted by me in Renault Silver Grey of the left.
Derek

I must dig mine out and paint the spokes and put it on the car, the rim is in good condition.
How do I tell if its an earlier wheel, is it the diameter?
Gareth
-
That's disappointing to fit the vented cap but finding it doesn't do its job! I'm guessing the slit is just resealing and a physical hole as you suggest would work better. Have you contacted Revington to see what they say?
Gareth
-
How many further layers will it need, I guess I'll stay tuned to find out! Looks like a very satisfying thing to do though... and after watching the jubilee parade and seeing the Daleks, I couldn't help wandering on to their website and seeing the mould for constructing parts of the body, now that would be a fun use of this technique!
Gareth
-
This is fascinating stuff, really enjoying the step by step process you are going through to make a new mould and eventually from that a copy of the Surrey top metal roof.
Looking forward to the next instalment.
Gareth
-
It's certainly a tricky nut to get to, an adjustable spanner may help as you can have it slightly more open and not be so precise on the angle required to get it engaged.
Gareth
-
Sounds like it's all come to plan for you, well mostly. You'd have thought the rear glass would slip out with the air flow at 70mph, so whatever you managed to do sounds like it's worked.
Looking forward to your pictures from the Sandringham pageant of motoring.
Gareth
-
Once it fires up do you immediately push the choke lever back in around half way?
Just to confirm that your vacuum pipe is fitted between the throttle bodies and the MU? If it is you could try a test to make sure the diaphragm is OK in the MU by taking that same pipe off the throttle body and suck on it and the press your tongue in the hole to see if it holds that pressure. The diaphragm is what changes the fuel amount (mixture) when you open the throttle.
Gareth
-
He also comments on aftermarket linkage and how they are inferior to the original set up here.
Gareth
-
5 minutes ago, johnwill said:
Thanks Rob & Gareth
another question. Best route to run new positive cable from front to back, and what’s involved? Need to remove anything ?
I assume LH side of car
The main loom enters through a grommet near the fuse box area into the passenger area, you'll need to peel back some carpet and the trim panel over the rear wheel arch to get the wire into the boot.
Gareth
-
24 minutes ago, johnwill said:
Then this negates running a new thicker wire from battery to pump, just from the relay to the pump? If so, wonder why Steve Denton didn’t do that?
There are four connections on the relay, two are the low power to switch the relay (via your original wires) and the other two are the higher power that gets switched on and passes that power to the pump (from your new thicker wire from the battery, through the relay and onto the pump).
Hope that makes sense.
Gareth
-
47 minutes ago, nickw71 said:
Otherwise what do folks to with the original feed wire in the boot?
In his video Steve Denton just runs a new earth for the pump to a fixing on the tank.
Others on the forum have run a completely new earth wire all the way back to the battery. Any advantage in that??
Cheers, Nick
If you are siting the new relay in the boot, you may as well use the original feed wire and earth to switch the relay. Then add a new earth wire for the pump along with your new pump feed wire. I chose to earth the pump in the boot, I don't see any advantage to running one back to the battery.
Gareth
-
13 minutes ago, johnwill said:
I must watch Steve Denton's video again. Can't recall if he mentioned that.
Thanks
John
Early cars don't have them, I don't recall what age car he fitted it to.
Gareth
-
2 minutes ago, johnwill said:
1973 CR
John
So you should have the inertia switch that cuts power to the pump as a result of an accident. You must make sure it's still wired into the new set up so it still does its job should the worst happen.
Gareth
-
6 minutes ago, johnwill said:
Errr… ok..
is that wired too?
(just got the car, and haven’t looked at these items yet)
What year is your car?
Gareth
-
On 5/16/2022 at 6:27 PM, johnwill said:
To understand (I'm an ignoramus when it comes to wiring) you connect the fused 20a wire from the battery to the relay, then use a 20a wire from the relay to the pump? This effectively makes the existing white (white/green?) wire redundant?
John
Yes that's pretty much it.
Where I mounted my relay near the fuse box I used the connection on the fuse box that goes live when the ignition is on to switch the relay, or if you site relay in the boot you could use the existing wires to switch the relay. The only reason i didn't was if the relay went bad it isn't as easy to get to it.
You might want to add another earth wire from the pump to the body, so that's new too.
I've now taken my 'battery' power from the alternator so it's the right side of the ammeter - and now the ammeter operates correctly again.
Gareth
-
This is exactly how it is with classic car ownership, when your of an age to have any responsibility.
It takes time to build up confidence in the car over time, the way I see it, if anything goes wrong, it's only money at the end of the day to sort it out. If you don't have it you can't sort it, and you've got to wait. Another age related thing is learning patience which helps.
Enjoy the learning process of the car and its particular foibles and just looking at it as you point out is good therapy!
Gareth
-
Carpet is an interesting choice, but you've done wonders with making it presentable.
Must be great taking her out in the sun how it was intended when it was made.
As for to do lists, I think we've all got them, I'm currently restoring a standard rocker cover for my '6, but there's plenty of other stuff on the list, which may or may not get done in the near future.
In the end just enjoy.
Gareth
-
Great stuff, having fun with her?
Gareth


Puzzling horn problem.
in TR6 Forum
Posted
Normally something is shorting out to cause that, have you removed steering wheel recently? Might be a clearance issue there or the column itself. Could be a tricky thing to find if it's intermittent.
Gareth