


TR Mitch
-
Content Count
970 -
Joined
-
Last visited
Content Type
Profiles
Forums
Calendar
Posts posted by TR Mitch
-
-
That's a pretty ugly switch. Vehicle Wiring Products have much nicer looking stuff and a fraction of the price of the kit offered above.
Eg ..

For £4.30, half the price without the symbol.

-
I assume I can simply run a wire from the outlet side of the fuse in the fuse box (there is a spare terminal) to the spare cockpit mounted switch, & then back out to the horn live terminal
The horn button in the steering boss completes the connection from the horn (permanent live) to ground, so the switch is just a connection to earth/negative/body. Your suggested method would not work as the horn already has a 12v feed to it. It is different to the lights, for example, where you are feeding a switched 12v to the device. The horn is electrically "back to front" in this respect.
My suggestion would be to find the bullet connector that is the horn connection in the loom just under the dash (purple & black wire in some diagrams). Pull this apart then make up a new lead (bullet termination into a bullet snap connector with your existing horn wire) off to a momentary push button switch with the other side of the switch down to the chassis or convenient negative connection somewhere.
Example switch that could be mounted in one of those under dash right angle brackets.

Vehicle Wiring Products sell all the bits you need.
I don't know if the TR6 has a horn relay as standard. If so, any momentary push button switch will do as current through it will be minimal. If it doesn't have a relay, then a 10A switch will be more than enough.
-
If it already has the tags, post it straight into the reply window, the forum knows what to do with those tags (ie parses them into a displayed image).
-
The alternative way in Photobucket is to click on the box to the bottom right of your image:
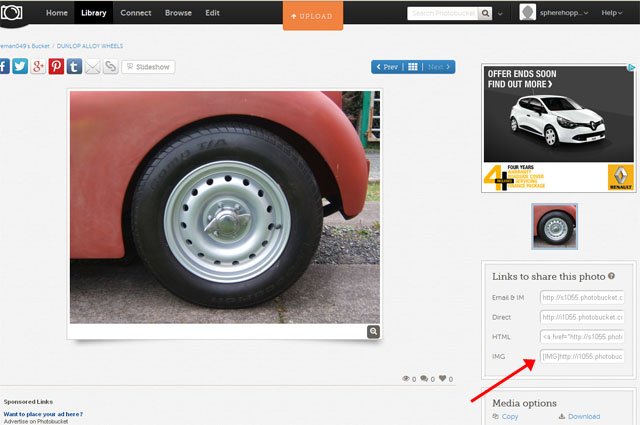
This will then light up "COPIED"

Then click back to the tab that you are replying to a post in this forum with and paste into the place in your reply you want the picture.

Clicking that bottom right of the Photobucket page automatically adds the required IMG tags so this link can go straight into the post.
If you accidentally pasted the IMG tagged photo into the IMAGE dialogue window then it would have two IMG tags and give you a warning:

-
Tom, you are almost there but the link you have provided is to the image without the image tags (the {IMG} and {/IMG} bits that are necessary for the forum to understand what you want doing with the link).
The easiest way to do this is press reply but then click "More Reply Options"

Then press the little button that looks like a Polaroid photo at the top of the page

This window then appears:

Paste the link to your image in that dialogue window ..
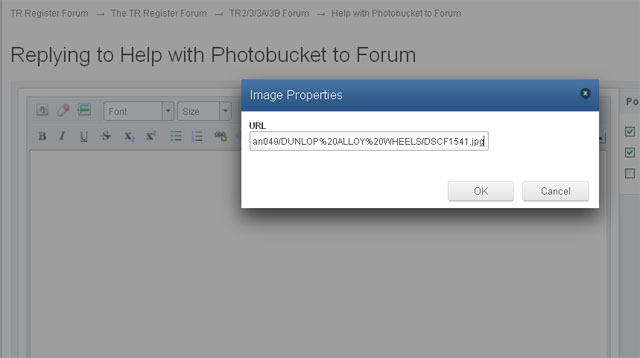
Press OK then your post should look like this. Then press ADD REPLY.
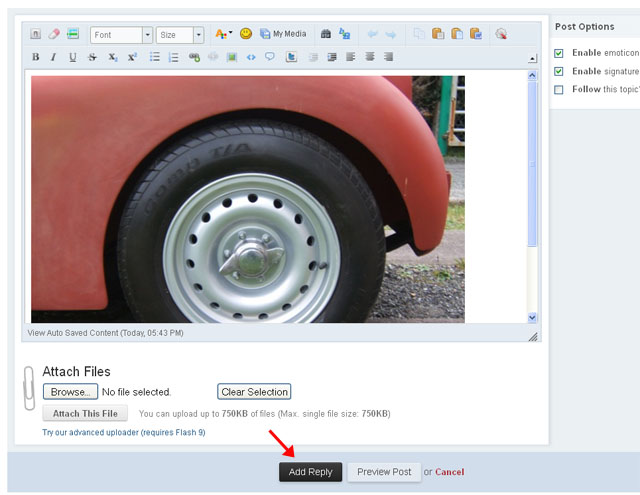
Your post will then contain the picture like this:

-
Forum search won't accept a word of less than 4 letters . . .
There is a way round that problem ..
Open Google. Click down the bottom right on "settings", selected "advanced search".
Now put your three letter words into the search window and in the "site or domain" box put "http://www.tr-register.co.uk/forums/"
Press search, and bingo.
This tip was stickied here a while back, so not my doing, but it was easy to retype than search for the thread!
-
Timing light method was rubbish on my 5. I used the vacuum method and she runs really sweetly.
-
Photobucket seems to have changed the IMG tag to a URL tag, so it won't easily work.
Try this tip. Open the photo you want to post here in Photobucket (open in another window or tab makes it easier).
Right click on the photo and choose "Copy Image Location". You can't see it at the moment, but your computer should have saved something like this to your clipboard - http://i476.photobucket.com/albums/rr129/sphereh/winter_tyres1_zps90972fa4.jpg
Click on the browser tab to come back to this forum and your post create/edit window.
Either click the little polaroid photo icon in the post edit window and then paste the url into there or paste it into your post in the appropriate place and put an image tag before {IMG} and after {/IMG} (but use the straight parentheses [ and ] not the { and } as I just used those to show them to avoid the browser software mistaking my post explanation for an image).
You should then have your post looking like this:
Blah blah - my picture -
{img}http://i476.photobucket.com/albums/rr129/sphereh/winter_tyres1_zps90972fa4.jpg{/img}
That would then show up as:
Blah blah - my picture -

What you are looking for is a complete link to your hosted image as a proper url (ie http:/www.xyz.com/image.jpg) then refer to that here using the IMG and /IMG tags (case not important) or the easier image button above which adds the tags for you automatically.
-
on a positive earth car, should the battery cutout be on the positive or negative side?
Technically it doesn't matter as the switch will still be isolating the battery whatever side it's on. Although all your components will be "live" in that they are still connected to the "hot" side of the battery if the switch was placed on the positive terminal of a positive earth car, nothing would happen as no circuit could exist anywhere for current to pass back to the battery.
However, the most correct way would be to switch the "live", ie the negative terminal on a positive earth car or vv.
Another recommendation too for Rick Astley's book.
Ammeter vs voltmeter? I just swapped my ammeter for a voltmeter (TR5 with alternator). The ammeter is pretty inaccurate in the region where you need to keep an eye on things, ie slow but steady discharge of battery due lights, heater fan, rad fan etc. A voltmeter on the other hand always shows the current "health" of the battery and it is easier to spot a trend, eg slow discharge of battery by gradual reduction of volts on the gauge.
Edited to add that Roger would probably prefer his unfused cable runs were all done in pyro!
-
as does a coil on its way out
I'll second that. Exactly this problem a few weeks back. Checked the spark by holding the lead from coil pulled out from dizzy top near to block when cranking. Tiny little sparks. Changed coil ... new " crack crack crack" sparks. Problem solved.
-
looks cheap
At the moment the £3,500 is his start price, there are no bids so we can't see if he's set a reserve (I'd bet he has). It would only be cheap if someone got it for that. I almost always start my auctions at 99p with no reserve, even on expensive items, as this encourages a lot of bids by people who don't understand how Ebay works. By the time I get near to a reasonable price on my item, there are already 20-30 bids and mob mentality takes over near the close.
Might be worth popping round to look at it as he's fairly close to you. A bit suspicious of the motive for sale as his other feedback indicates some experience fettling motors (Rover V8s by the looks of things) so it could be this one was bought but the sums don't stack up since he got it into the UK.
Not sure why he didn't set a fixed price for this.
-
I spoke to Peter Burgess as well. He sounds like he knows his stuff. Moss use him for their heads and probably get a slightly better rate than we can for one offs. It may be worth dropping your head off at Moss who do a run up to Pete once a fortnight. That's £46 saved (or towards Moss' margin) already.
-
I had a succesful claim against our local council to replace the wheel on one of our cars after it was damaged by a deep pothole (disguised as a puddle). It took a couple of standard letters escalating the claim but I eventually got a cheque from the council "without admission of liability".
Lots of advice at http://potholes.co.uk/
-
Good idea Roger. I don't want to cut the original if I can help it, but a second plate or even a bolt on V shaped steel fabrication where the other side of the V acts against the cam might be better.
In the meantime, may just bend the bolt as it's locked in place.
-
Thanks Tony & Roger. From my "mechanically sympathetic" viewpoint, I can see that sharp edge forcing a split in the rubber one day. Now, where can I find those cupped washers? Nothing on Koni website.
-
Sorry to duplicate post title, I posted this question over on the TR5 forum but know many 6's will have the same set up. Repeated here in case you can help.
Link to Revington overhead throttle linkage cam question post on TR5 forum
-
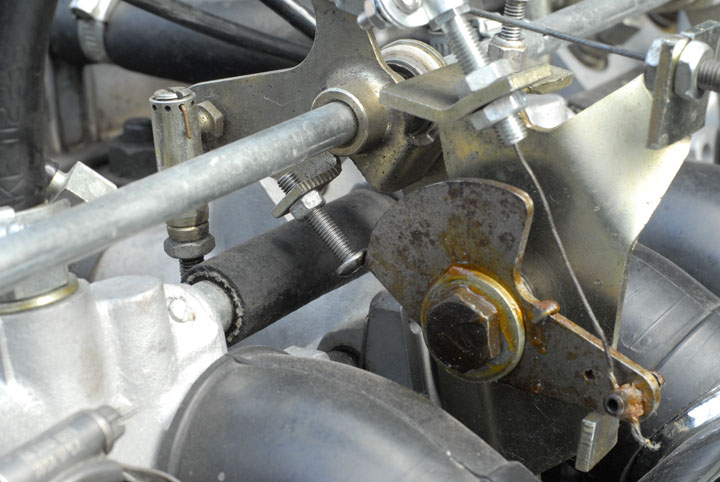
I have the Revington overhead throttle linkage system on my TR5 (looks like their part number RTR4211DK.
I've always had a problem with the idle speed cam not lining up properly. I fitted a round head bolt and filed the cam slightly to try to round off the action but as you can see from the picture, the angle of the threaded plate on the overhead bar doesn't allow the bolt head to nicely line up with the leading edge of the cam. This causes the rpm to stick sometimes and requires a flick of the throttle or opening the bonnet to reset it as it catches under the cam even when the cable is slack again.
I was going to try putting a small saw cut in the 90 degree plate holding the screw and then bend it upwards slightly towards the cam. Before I do this, does anyone have the same set up or any other advice?
Many thanks.
-
I had fitted the CTM Koni shock conversion and had some differences of opion from my MOT bloke, the guy who fitted them and the bloke down the road.
My question is .. would you have fitted washers (domed or otherwise) between the rubber and the top metal bracket on this conversion?
I don't like the look of the rubber trying to squeeze itself round the bracket. Some say it's OK, others not. I emailed Colin but no reply yet.
What's your thoughts?
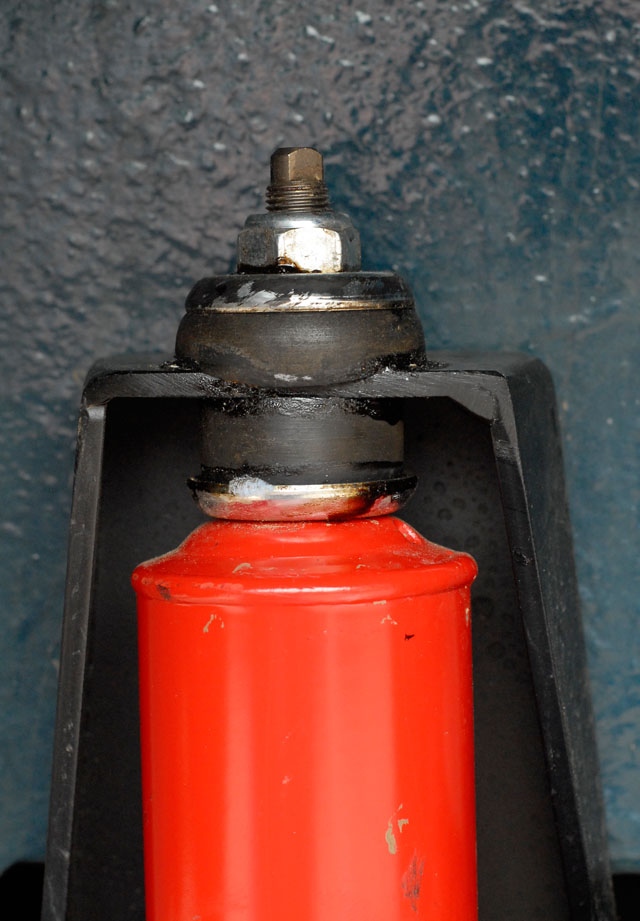
Edited to say, rear conversion as per image.
-
"Honest John" first mentioned Hunter a couple of years ago with an article on his website here.
Haven't tried them myself but the "Align My Car" website looks like it might help find a local workshop.
-
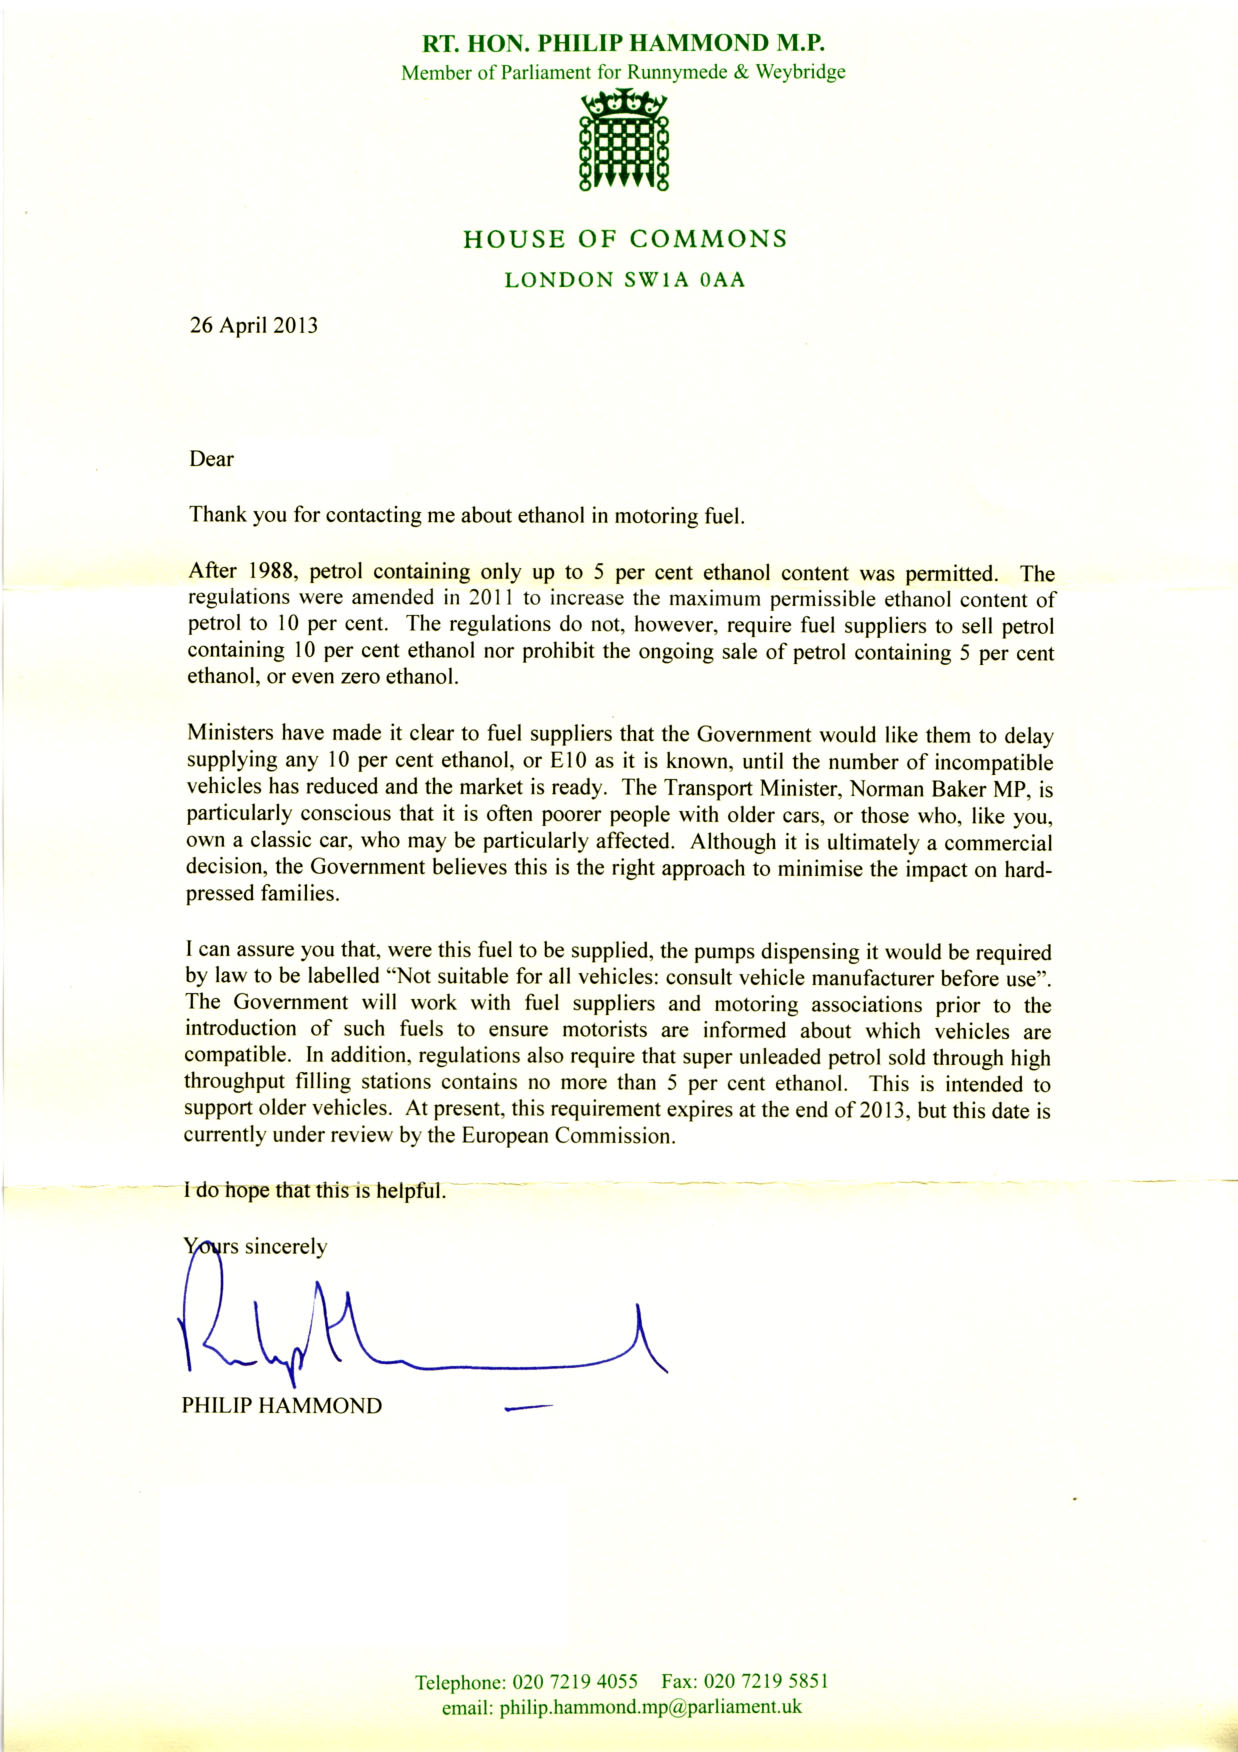
I wrote to Philip Hammond about this issue earlier in the year. This was his response:
And the leaflet picked up when purchasing some (non E10) essence earlier this year:

-
I reckon Thursday is going to be nasty, after that, looks stable for a few days, perhaps even some sunshine and 20 degrees again over much of England at the weekend according to the Met Office Synoptic Chart. Mind you, I don't like the look of "Humberto" mid Atlantic on Friday. (More info on the National Hurricane Center website).
-
to overcome the fan running as a generator when in the off mode you could wire it in so that there is a dead short across the motor in the off condition. When the fan spins the generated current will act as a brake. I'm sure one of our resident electroBuffs will explain/disprove.
Roger is correct. The term is "back EMF" (electromotive force). When the terminals are shorted (when not powered) the generated voltage acts in opposition to the way the motor wants to turn thus acting as a brake. When transporting large loudspeakers eg those with > 15" drivers, it's useful to short the input terminals of the speaker as the back EMF then helps to hold the cone in place, greatly reducing the odds of it getting accidently displaced in transit.
Fleming's Left Hand Rule (for motors) then becomes his Right Hand Rule (for generators) as the function of the coil/magnets is reversed.
-
Part of me thinks that a few hundred miles of bedding in could also cure it, but its difficult to do that without an MoT!
As well as Neil's tip, you could pop her on axle stands and leave it running in second gear with light pressure on the brake pedal for 20 mins (and fans on the drums!) to bed them in nicely. Or take the long way round to the pre booked MOT.
-
Need to find a suitable switch and location that is sympathetic to the cabin environment
How about a pull switch on a bracket under the dash? Quite discreet and reasonably "period".
VWP part E118ST -

Mallory Park Goes Into Administration
in TR Motorsport
Posted
Bit like the thickies who move to Crawley because of all the work thanks to the airport, then moan about the noise from planes
Overhead American passengers talking as their plane flies into Heathrow, landing on 09L .. "Windsor Castle looks so nice, but why did they build it right under the flight path?"![:D]()