

SteveB21
-
Content Count
187 -
Joined
-
Last visited
Content Type
Profiles
Forums
Calendar
Posts posted by SteveB21
-
-
Thanks Mike
CDD was my preferred option, so will go with them in the absence of any other views!
-
Hi all
I am looking to replace my rear damper links and there are upgraded ball joint options from Revington, CDD and Rimmers - has anyone any experience of these?
Thanks
Steve
-
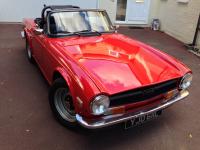
Hi John
Here's a picture of mine, which is pretty standard, with about 1/2" visible below the rear valance. I'm sure this can vary if work has been done on the car, especially as the rear valance is a common rust victim...
There is no substitute for checking out any purchase on a ramp, or at least having it jacked up so you can see underneath, but I realise this is not always possible.
Cheers
Steve
-
-
Hi Dan - I also enjoyed the article. It all looks very impressive - are you planning to get it to the IWE next year? It would be great to see it in the flesh one day!
Cheers
Steve
-
-
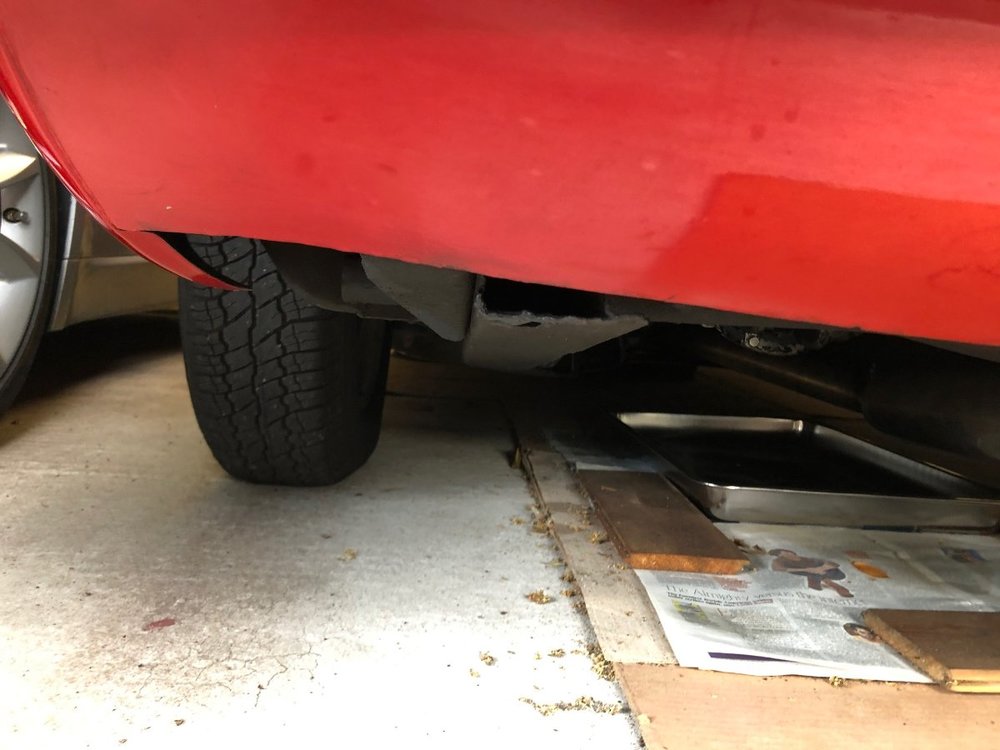
Hi Nick
A bit delayed, but here are some pics of my setup that may help. The driver's side stay has some extra foam to push the cowl down a little further and take pressure off the overflow hose.
Cheers
Steve
-
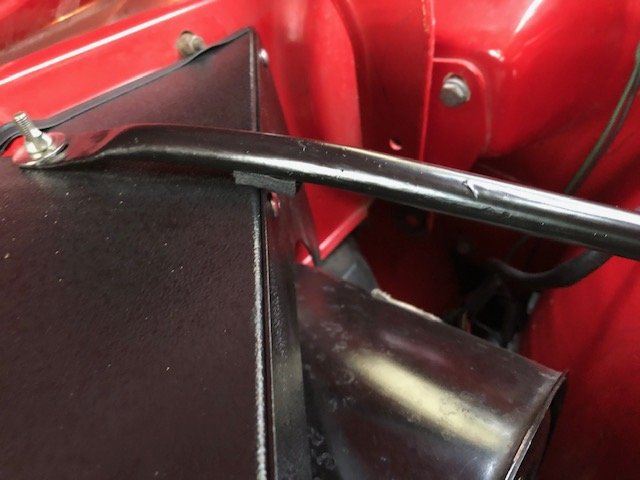
Hi Nick
it pushed the top of the cowl down by a couple of millimetres - not much at all. Re-reading your post it looks like you will need much more adjustment. Unfortunately every TR is different!
CheersSteve
-
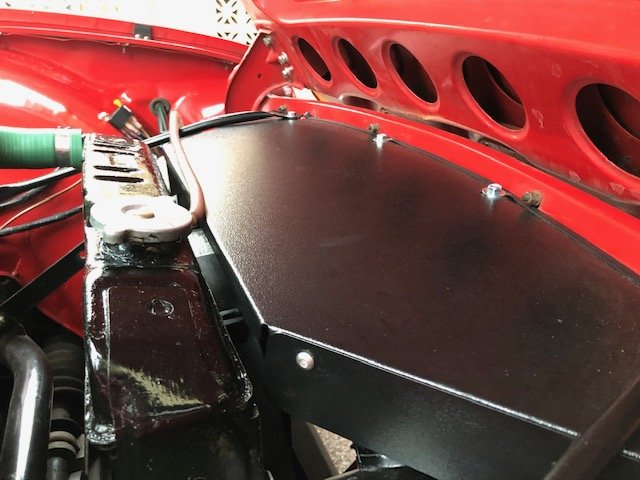
Hi Nick
Mine had the same issue. I just put a thin piece of self-adhesive foam under each stay bar where it touched the cowl and bolted everything down!
cheers
Steve
-
Hi Anna - the car belongs to a member of the London group - I will PM with you his details.
Cheers
Steve
-
Hi Geoffrey - PM sent (you can access it by clicking on the envelope at the top right of the forum page).
Cheers
Steve
-
Hi Geoffrey
I don't know of a TR6 available for hire around London, but once lockdown is lifted you are more than welcome to come along to one of the London Group meetings (we tend to alternate between Richmond and Malden Rushett (near Leatherhead) and our members have a selection of TR6s (including myself), so we can tell you all you may want to know about a 6 (and much that you probably don't want to know as well!). One word of caution though about hiring - I have driven a number of 6's and they can vary considerably in their setup and feel, so do bear that in mind if you do find one to hire. It is well worth buying "The Essential Buyer's Guide" by Roger Williams and "Triumph TR6 (1968-76)" by Paul Hogan is also useful book.
Best of luck in your search - a good 6 is well worth it.
Cheers
Steve
-
Hi Phil & Ian - thanks for the info and Ian thanks for the prompt dispatch of the steering lock - I'm now back up & running with Ian's steering lock and an unmolested crash pad. The PO had used standard bolts rather than shear-bolts to refit my steering lock at some point, which made it easy to remove and then fit the new one. If anyone needs to know in future, the threads are 5/16" UNC and 1" bolts do the trick.
Cheers
Steve
-
Hi Ian - PM sent.
Thanks
-
Thanks Phil - that's useful as I hadn't appreciated there was also a metal plate to deal with in the pad. Will see where I get to with my investigations next weekend on the steering lock.
Cheers
Steve
-
Hi Phil
It looks like I now have a similar problem - did you end up modifying the crash pad and making up a square mounting clip for the new steering lock?
Thanks
Steve
-
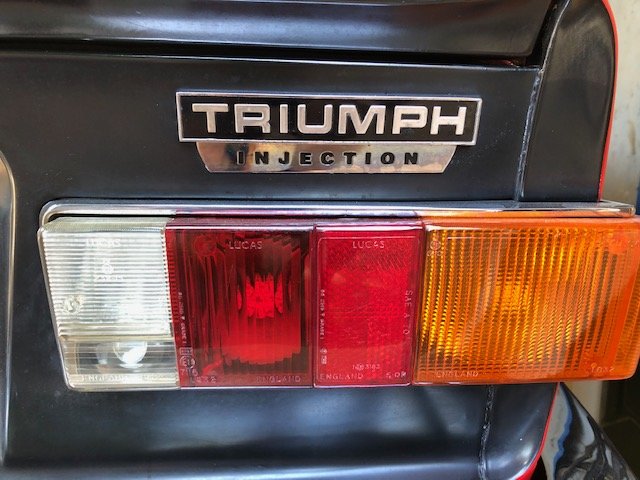
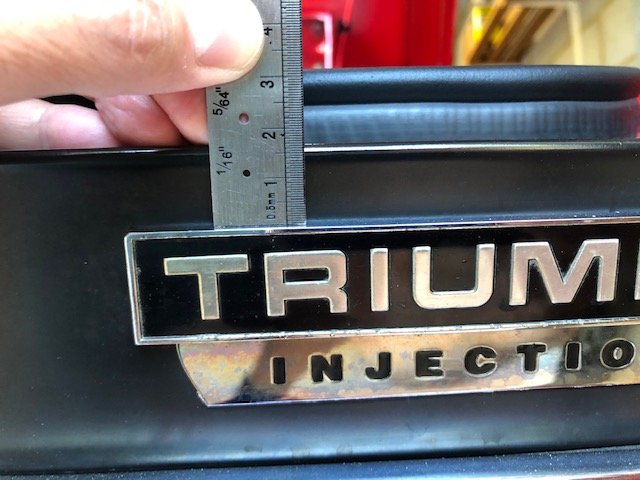
Hi Mark
Hopefully these pictures help. The top of the badge is about 17mm below the boot lip and it is about 4mm to the right of the red lens line - on my car anyway!
Cheers
Steve

-
Hi Rich
They are #6 raised head countersunk pozidrive screws. You should be able to get them from places such as Namrick, Spalding or Kay’s. The lengths for the cubby door and the side fixing into the dash are different. I can dig them out if needed as needed to order them myself recently.
Cheers
Steve
-
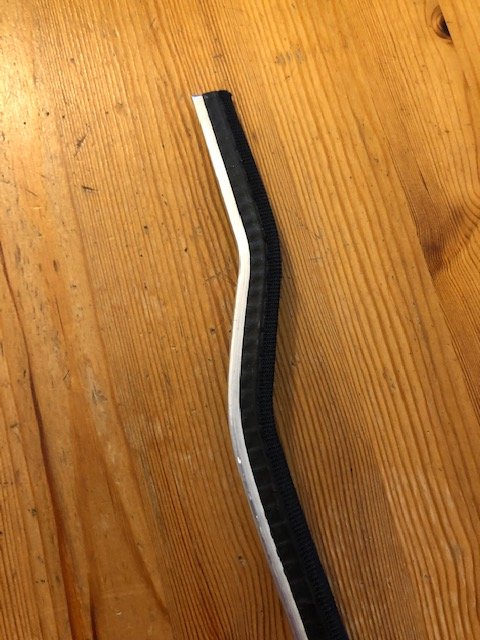
The ones I got from Moss a few months ago were the right shape, but the outer seals were rubbish - far too floppy - here's my post on the subject!
Cheers
Steve
-
Hi Keith
I think I have an old base plate in my box of bits - will look tonight.
Cheers
Steve
-
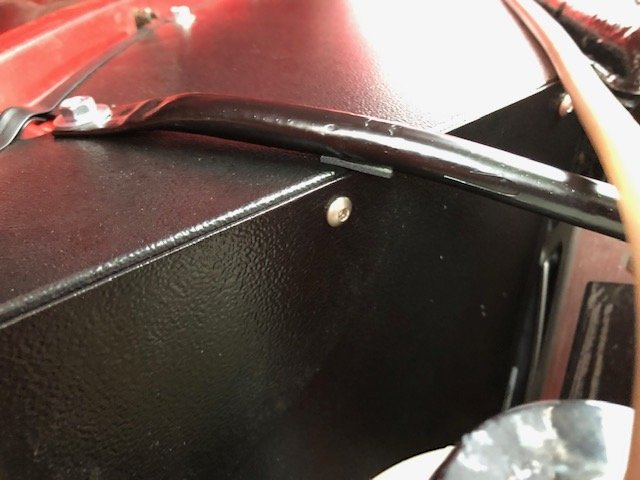
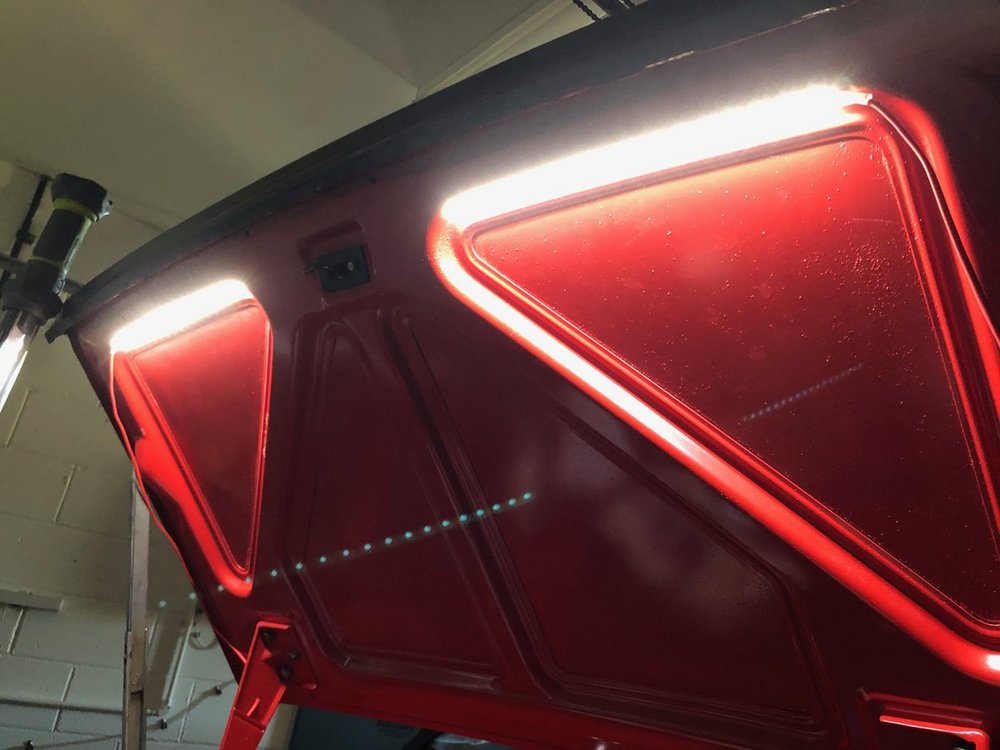
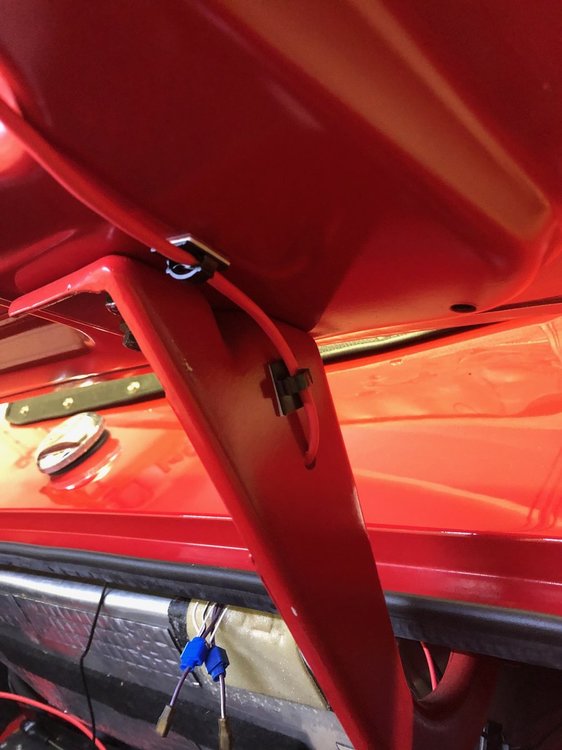
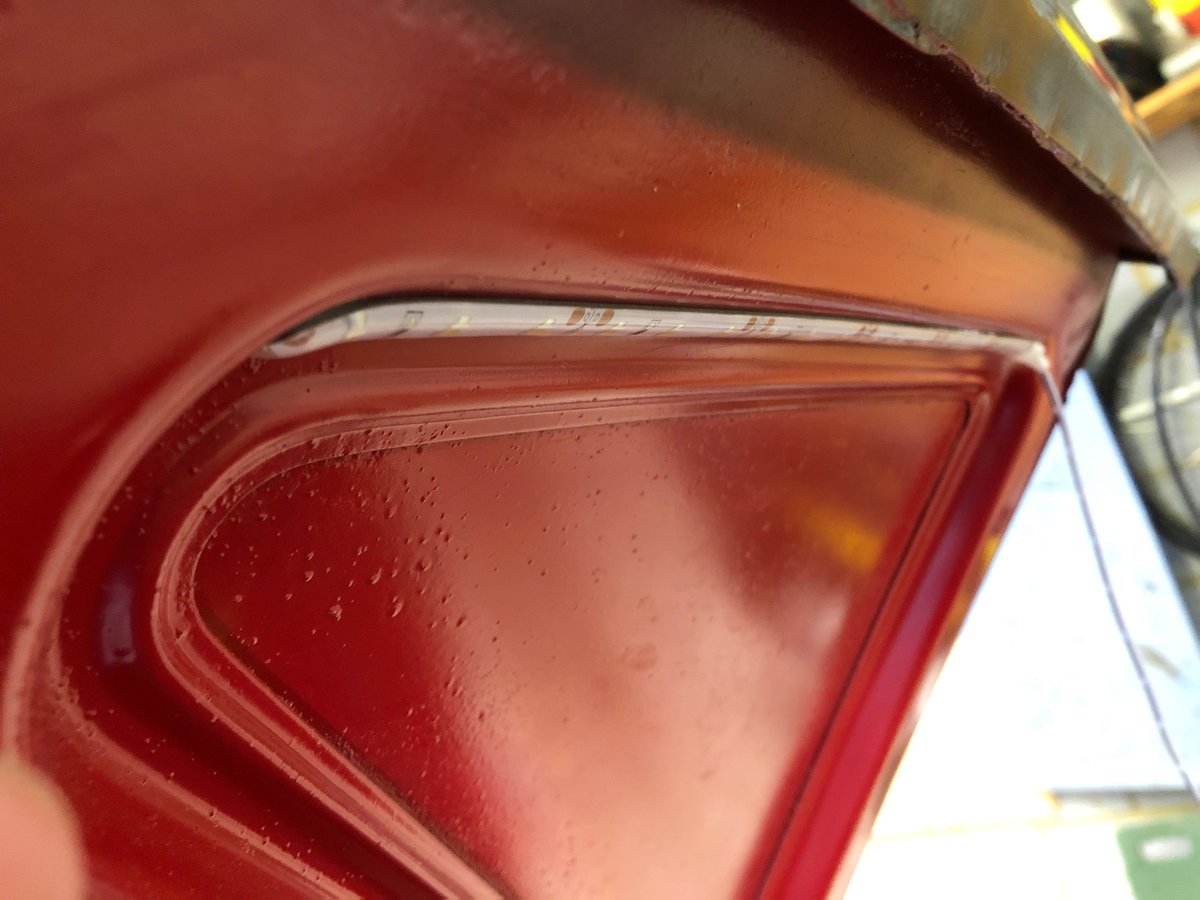
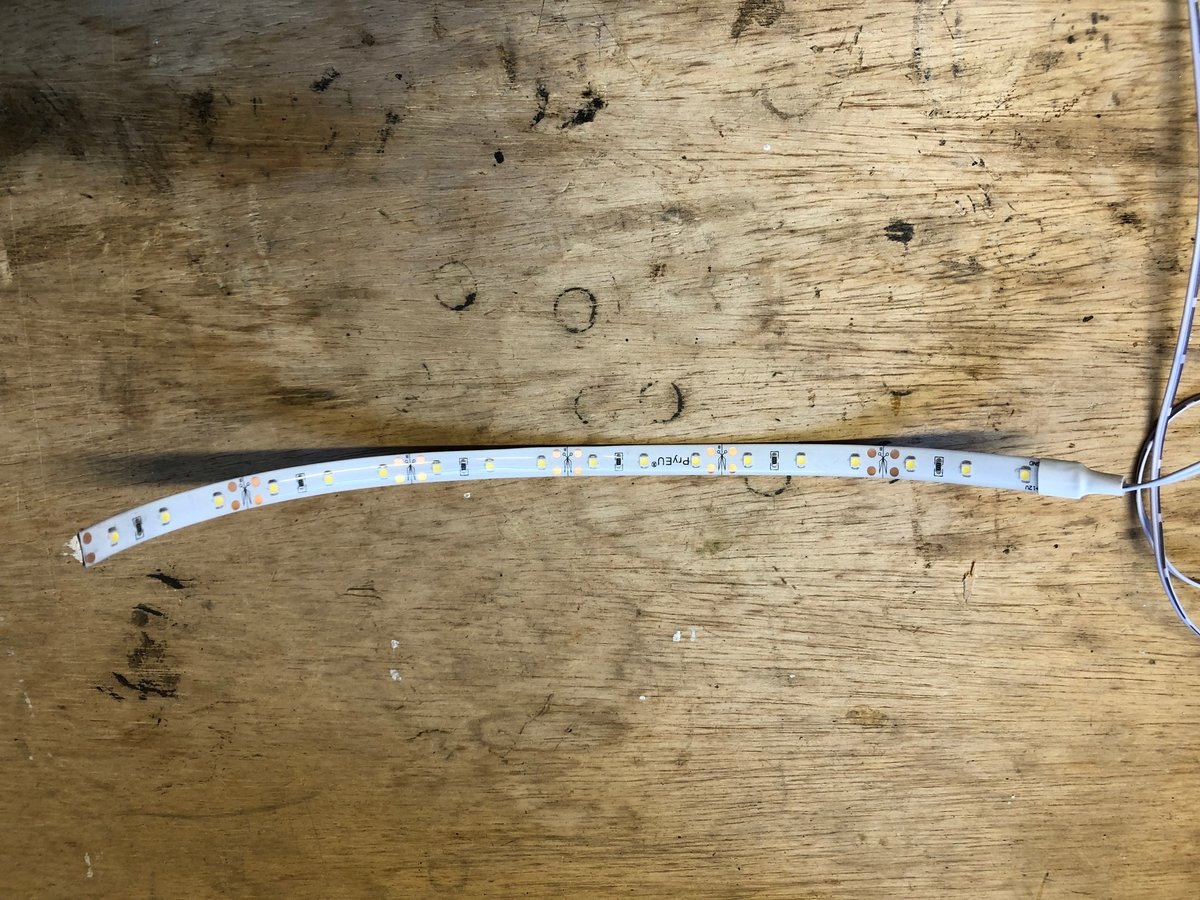
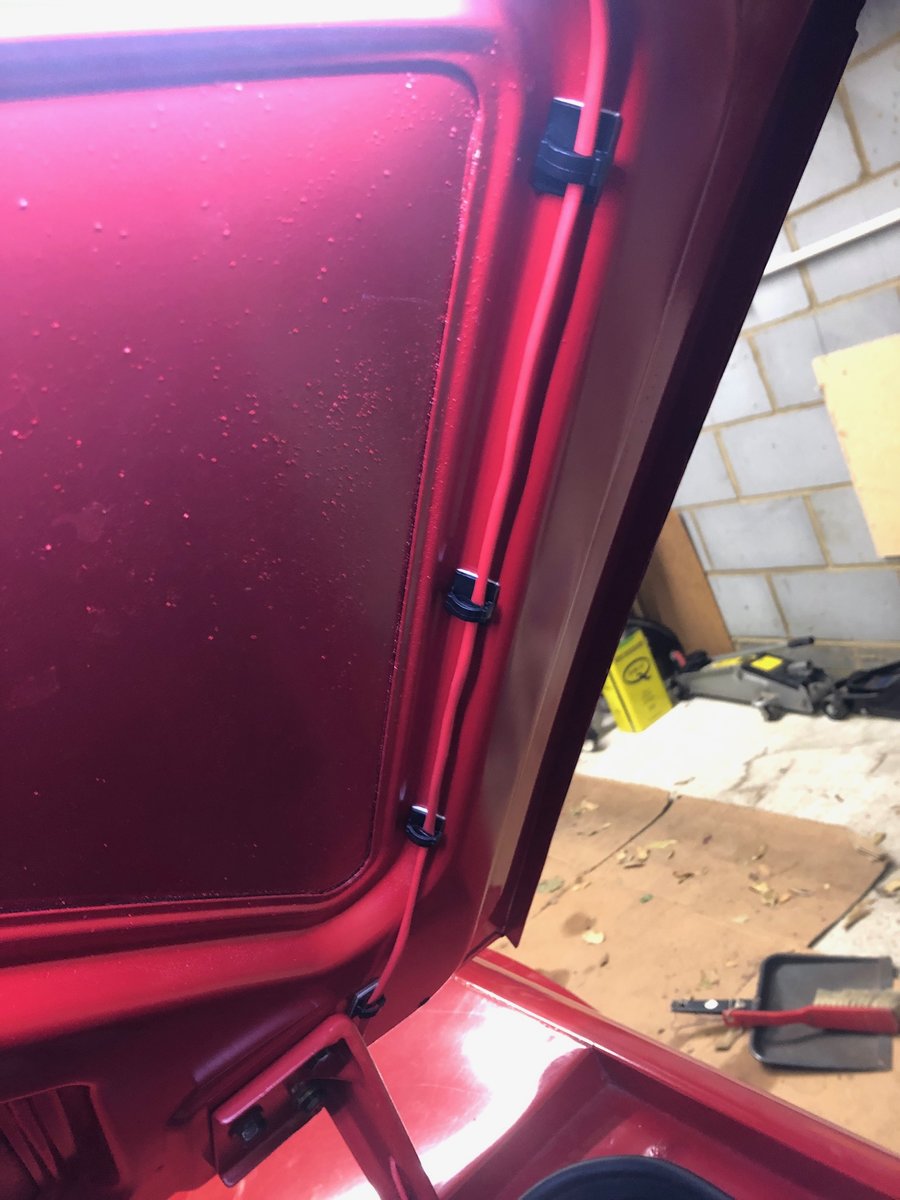
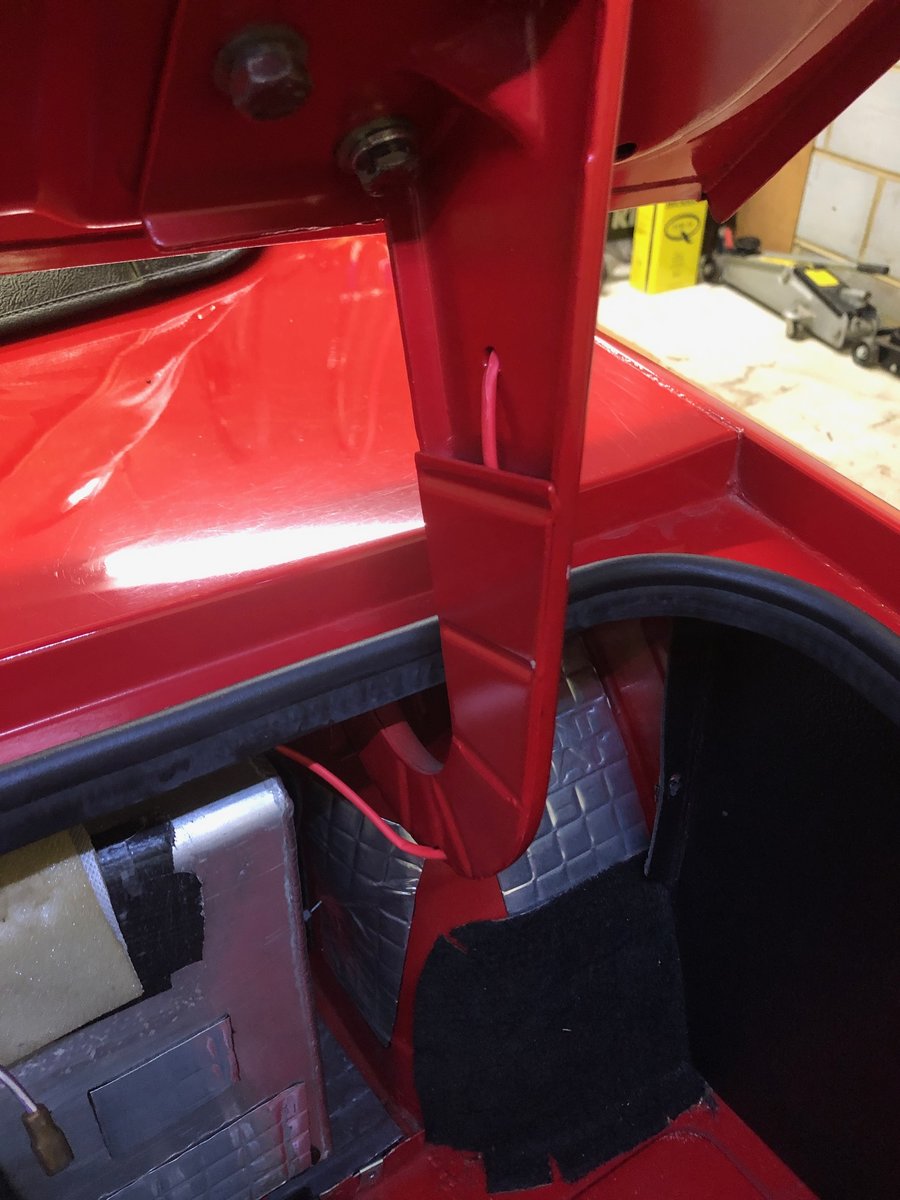
I thought it would be useful to post some words and pictures on how I recently fitted LED strip lights to vastly improve the illumination in my boot. Hopefully the pictures tell the story, but here are some points to note:
- The c.45 degree edge on the boot frame provides an ideal mounting point for self-adhesive LED strips 30cm long as the angle means they flood the boot with light when the boot is open.
- I used red heatshrink to protect and camouflage the wiring to the LEDs.
- The wires are fed into the space behind the boot card by using the boot hinge assemblies and connected to the existing wiring using plastic self-stripping cable lock connectors - not my usual connector of choice, but OK for this non-critical low current wiring.
- The LEDs I used had a 1metre wire already attached, but don't seem to be available any longer - however search for "LED white strip 12v 30cm" on and you will find what you need.
I hope this is of use to someone.
Cheers
Steve
PS) I can't claim the credit for the idea - I was inspired by seeing a similar arrangement under the bonnet of Mark Bulford's TR4!


-
+1 for Penrite GB40 - used in my gearbox with overdrive and no problems.
-
Hi Paul
If you do go the relay route, Moss have posted some useful instructions on their website. Search for “117-515” and then click on instructions.
Cheers
Steve
-
Hi Paul
Apologies if you've already picked up on this, but if you click on the "further reading" tab on the Revington link they do a very useful info sheet. The inline gauze filter goes between the tank and the pump as shown in the photo.
Cheers
Steve


Experience with upgraded rear damper links?
in TR6 Forum
Posted
Thanks everyone - I wish the TR6 ones were as cheap as the TR4 ones!
Steve