


Lebro
-
Content Count
12,016 -
Joined
-
Last visited
Content Type
Profiles
Forums
Calendar
Posts posted by Lebro
-
-
This one is 5/16", & cheap at £10 + £5 postage
Bob.
-
-
qim.
The one you show above would work on early cars which used Dzus fasteners to attach the stanchions.
Later 3A's (& B's) replaced the Dzus fasteners with a simple screw Initially still using the spacer between stanchion & body,
& then later the spacer was deleted, & thicker stanchions were bolted direct to the body.
In either case no drilling or any modifications are required. The Dzus type simply replace one of the fasteners (would I trust that method ?) the other (HD) type replaces one of the screws.
HD does refer to Harley Davidson.
Bob.
-
get it re-cored.
Bob.
-
Good luck fitting the dust seals

Bob.
-
My pennyworth
A good electric fan (eg Revotech etc) should work well provided it is realy close to the rad.
Mine is a "sucker" fitted withing a couple of mm of the rad surface, and works very well.
Bob.
-
If it's really blocked then I would ask an old school radiator shop to 'rod' it...meaning desolder the header and then mechanically clear all the tubes. Then resolder the top and do.the coke treatment
+1
Bob.
-
165/80/15 on my 4" steel spare. fits in no problem.
I run 165/80/15 on the other four as well, but on 4½" steel rims
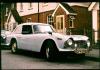
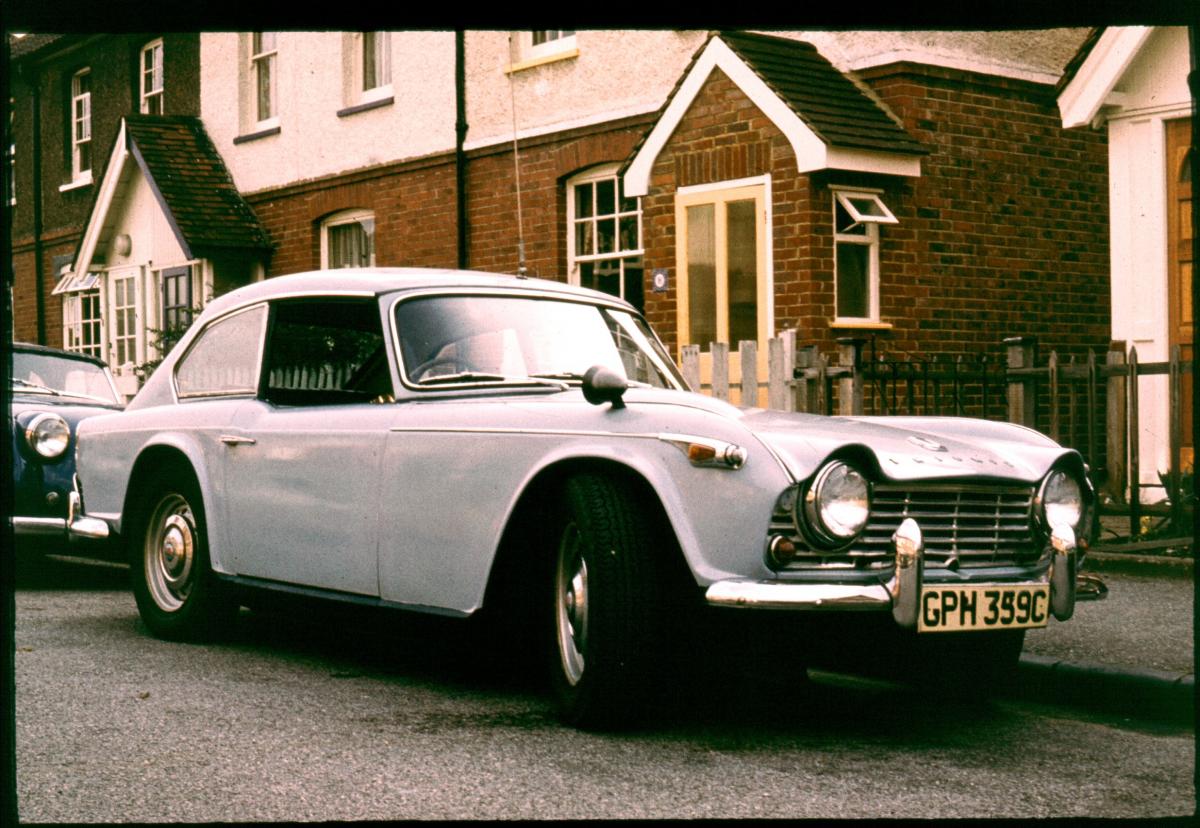
1955 TR3, but rebuilt using post 60K boot floor
Bob.
-
Hi qim.
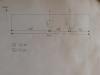
I can't say (without measuring mine) if those top & bottom figures are correct, but they sound about right.
The main thing is that there is a smooth progression from one to the other.
That sender is definitely suited to the early type of gauge fitted to the side screen cars.
These react instantly to ignition being switched on, & can be a bit "flicky" when going over bumps etc.
The later ones fitted to more modern TR's & other moderns are much slower to respond due to the different way they work, for that type the sender is wired the other way round i.e. low resistance for a full tank.
Bob. -
Entry removed.
Bob.
-
I would just highlight the whole lot, copy, and past into a PDF writer (I used Soda). Create a PDF, and :
If multiple pages, the add each page to the PDF as you go.
Bob.
-
IMO the sprint engine would not be as reliable as the original.
Bob.
-
I have a Truimph 2000 gear knob with O/D switch in it which I was thinking of fitting to my '3.
I even ran the wires up the gear stick, & along the tunnel prior to fitting the gearbox cover.
But I find that I actually like the O/D switch in it's normal position, just right of the steering wheel.
Bob.
-
Why? he has done three for me send both units and they come back spot on
Neil.
I meant "wrong" this was not the person who repaired Richards gauge - which is what qim asked !
I'm sure your man would do a splendid job.

Bob.
-
Hi Bob
That is very kind of you, but bearing in mind that I would come and collect it (I am in Oxford, regularly) I would insist on some sort of reasonable compensation.
Probably, we would have to wait until January, when I will disassemble the car and be without it for a couple of months.
Regards
qim
That's fine, send me a PM when you are ready, & we can exchange contact details.
Bob.
-
Hi Bob
I will take it to an electrician but just to make sure he knows what to do, could you expand on the "remove the nuts on the terminals"? Where are the terminals?
Qim.
The terminals are the two threaded items sticking out from the top of the sender (in your photo above) Actualy one is the earth connection, & is part of the cover, the other is probably brass, & will slip through the hole in the cover once the nut is removed.
I repaired, & re-calibrated Richards sender, & gauge, If you would like me to do yours, I am quite happy to do so.
I would only seek payment for the return postage.
Cheers
Bob.
-
-
And me
-
-
Some top covers are held on with metal tabs bent over, your photo shows the cover held on with two screws.
Note, to dismantle you will need to remove the nuts on the terminals before removing the cover, as the terminals are part of the lower workings, & must withdraw through the cover.
Once the cover is off it will be fairly clear how it all works, & which bits to clean.
Bob.
-
Ben.
You photo does not show the front carb end of the choke "rod" it would normally rotate when choke is applied, & work on both carbs ?
Bob
-
The slit in one end is correct, it is there to allow the horn / indicator assembly to lock into the tube with a corresponding key.
To fit you 1st need to assemble the horn / indicator stuff, with the loom / wires connected, the pass the wires down the stator tube all the way, then push the two parts together fitting the key into the slot, then slide the whole thing down through the steering wheel as far as it will go.
Then with the indicator switch central & at the top, & the wheel at the straight ahead position, tighten up the 3 grub screws behind the wheel to clamp the metal disk to the wheel (this will have to be rotated first to get the self cancelling to be in the right place).
Finally slide the olive, & brass nut onto the bottom of the tube, & tighten up till the horn / indicator assy cannot be easily rotated.
Fill steering box with oil & check for leaks, connect the wires to the main loom
Bob.
-
Here yer go
Bob.
-
In EBay's defence ---
There is not a lot to go wrong with the vacuum unit, mine from Ebay has been on since 2013, and is working fine, car is smooth, no flat spots, & returned 41 MPG on the Lincoln run to the IWE.
No personal interest - just putting things in perspective.
I would not buy a complete dizzy from Ebay though.
Bob.


Clip On Overtaking Mirror
in TR2/3/3A/3B Forum
Posted
Because the ebay title says 5/16" UNF
It looks to me that it is adjustable for right side or left side.
Bob.