


MilesA
-
Content Count
1,218 -
Joined
-
Last visited
Content Type
Profiles
Forums
Calendar
Posts posted by MilesA
-
-
Experienced the same yesterday on the same road. Ignorance regarding use of lights is common these days. My belief is that people assume that their daylight driving lights are doing the job in poor light conditions or heavy rain, so do not think about putting lights on.
Had just this discussion a couple of weeks ago with my two adult daughters. It hadn't occurred to them that they should put their lights on in port light conditions/visibility and had no idea about the front and rear fog lamps. I now bore them by reminding when they go out during the day and visibility is poor. There is no excuse. If you leave them on when you get out of a modern car most will alert you (as I was yesterday!).
Not helped by the difficulty in finding the front and rear fog lamps amongst the multiple options in modern cars. I struggled to find them and find out how they worked on our Outlander.
Miles
-
Thanks Deggers. Testament to quality of original engineering.
Miles -
Happy birthday Roger. Have a relaxing day and looking forward to another year of your wisdom.
Miles
-
Rod
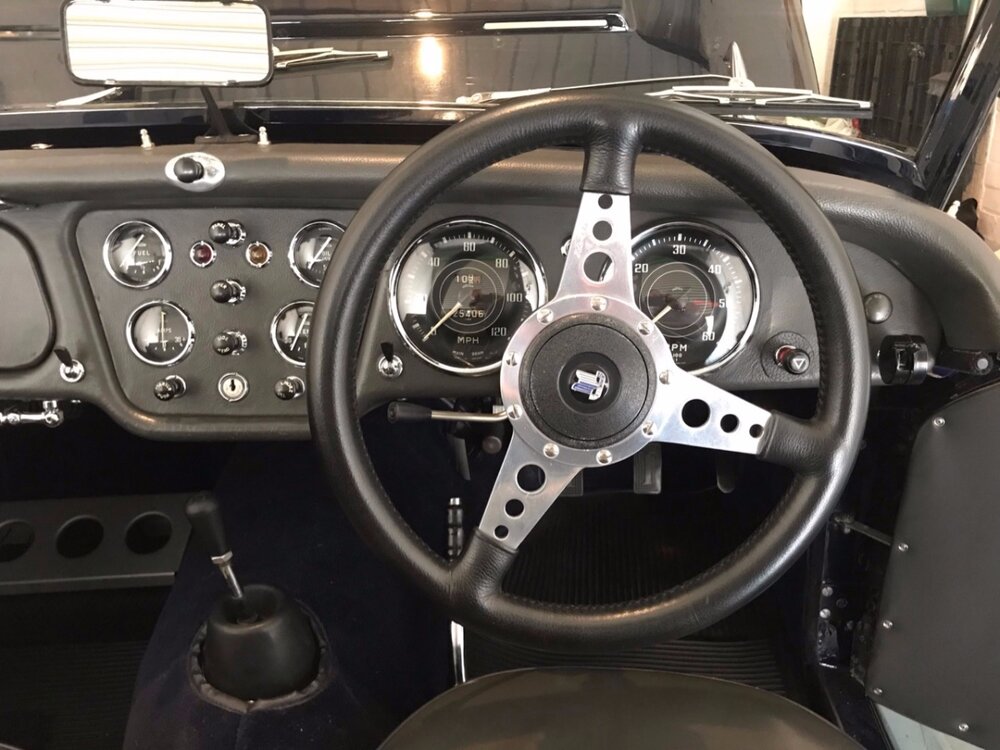
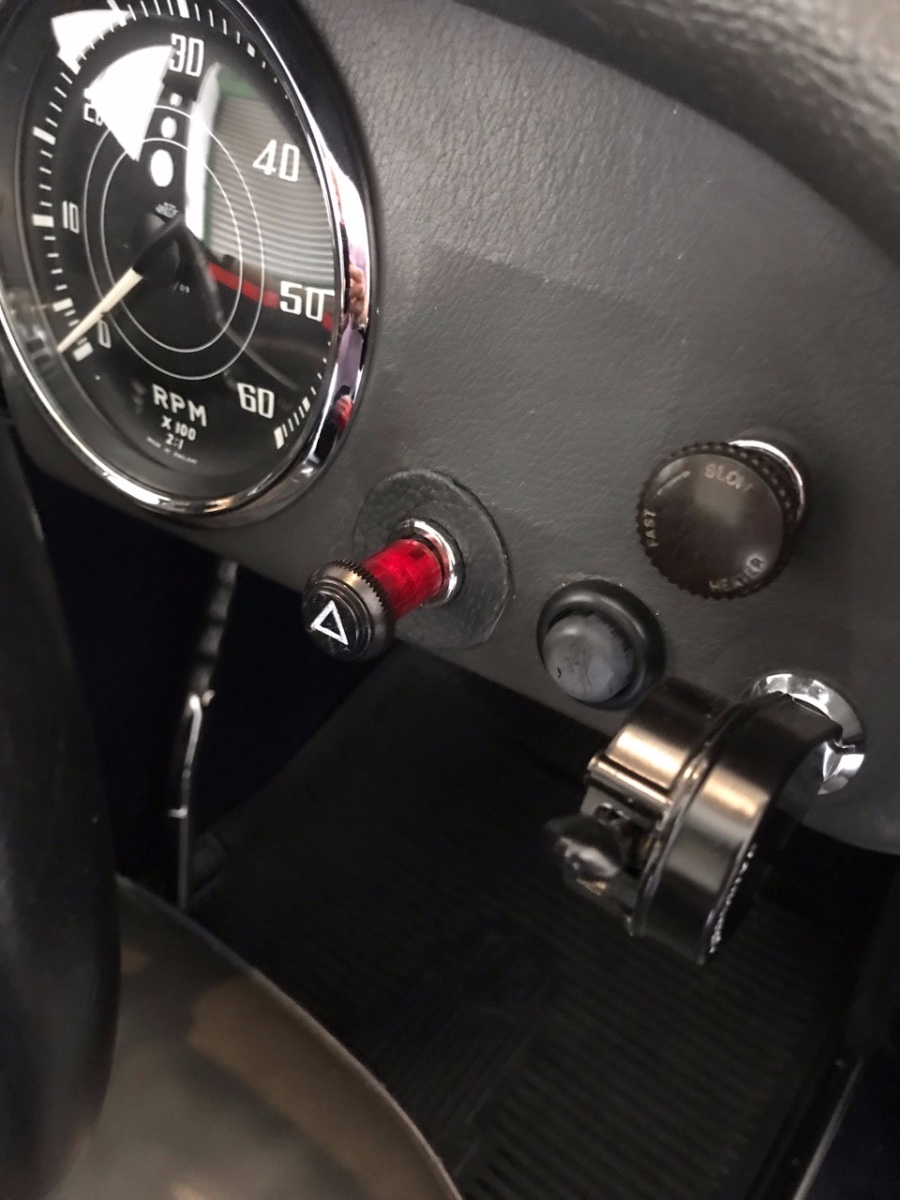
I anticipate that you will now go for a combined indicator / horn push, but for the sake of completeness this is what I installed. I already had a horn button installed in the dash and did not want yet another hole and so used a simple indicator stalk from Car Builder Solutions (other suppliers are available!):
.jpg.71bfeb8d33b4ff8ce4535e7b1a7fa97b.jpg)
As the unit was angled downwards when installed to avoid partly obscuring the Speedo I had to bend the arm upwards. I also needed to bend it towards the steering wheel so that I could operate it without removing my hands from the steering wheel:
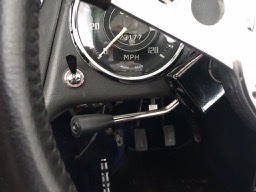
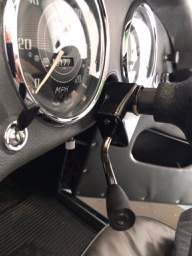
I worked out how to do this with a single bend. I am no engineer so it was imagined using a couple of biros taped together, an old school ruler and protractor. I dismantled the unit, installed the arm in the vice at the calculated position and gingerly bent it to the desired angle. A bit to my surprise I was spot on. I tsubsequently drafted instructions on how to do this for another sidescreen owner who wished to do the same.
Whatever you deploy, it is a small but valuable imoprovement to the driving experience!
Miles

-
Stunning response from Rob, Ralph and Rich. Us lesser mortals are so lucky to be the beneficiaries of their generosity and that of other stalwarts on this Forum.
Miles
-
Love that.
My one regret of exchanging my 3A for the 6 cylinders and wind up windows of the 6 was the loss of style of the body and interior of the side screen. Even considered a big Healey as a compromise but they drove like lorries!
Miles
-
Not a problem Bob. Just drive faster!

-
Before you drill holes in your dashboard you might want to consider installing an indicator arm (don't think there is any alternative to putting the horn button in the dash). I replaced my dash mounted indicator switch (installed after R&P steering) with a simple steering column mounted arm that I could operate without removing my hands from the wheel. Safer but also once less thing to think about when moving between moderns and my 3A. If interested I can load some photos and a bit more information.
Miles
-
Excellent and rightly deserved for the team that had the foresight and drive to develop and roll out the App.
Miles
-
Good point chaps!
For once, I had it easy!
Miles
-
I fitted one to my 3A about 6 months ago.
I had a redundant hole in the dashboard to the right of the steering wheel. As you can see from the photo the hole was too large and I had to create a covered washer to improve (not entirely successfully) the aesthetics.
This was a convenient location for access to the cables from the indicator switch to the two indicator circuits, a live feed from the fuse box from the other side of the bulkhead and the cables from the existing indicator relay also just on the other side of the bulkhead. All the connections were completed under the dash and secured there too.
NOTE: if you have LED indicators as I did, you will have to replace the relay that comes with the kit with a 2 pin electronic version because the original bi-metallic relay will not 'find' the LEDs. Subject to that it worked well.

Miles


-
Thank you Pete
I had forgotten that mod amongst the numerous projects great and small you have undertaken on Katie.
Whilst I too endorse the KISS philosophy, the addition of a single relay as in Rob's second option is a simple improvement.
Once I have located my step drill all I need to do is pluck up the courage to start drilling into the headlamp bowls!
Miles
-
On 9/3/2020 at 2:31 PM, RobH said:
To use the front sidelights as bright daylight running lamps and if you are concerned about your car passing the MoT, it is probably necessary for the front sidelights to act normally as well. i.e. They should come on at normal brilliance when you have just the sidelights switched on and with the ignition off, to act as parking lamps. That adds a bit of a complication as you will need a dimmer-resistor as well as a couple of diodes.
This circuit will do that provided the led bulbs are of a type which can be dimmed by reducing the voltage. The actual value for the resistor may require a bit of experimentation as it will depend on the characteristics of the particular bulbs. 100 Ohms is just a starting point based on experiment with bulbs I have:

At this point you may be thinking that is a bit complicated and it would be easier to use separate running lights either fed from the device Peter linked to above, or using this to turn them off when the headlights are on:

As I line up a number of 'sensible improvements' for the 6 when I get it back from the workshop, I wondered if anyone has actually implemented either of Rob's solutions for achieving daylight running lights.
In relation to the first solution, has anyone identified what value resister works best and with which specific LEDs?
In relation to the second solution, has anyone mounted additional 'running lights' in a 6 and if so how / where?
I suppose the alternative would be just to run on dipped headlamps (with rears illuminated) and try to remember to switch them off (perhaps aided by a normally closed relay which activates a buzzer when the ignition is switched off like a modern car - although nothing is simple!).
Many thanks
Miles
-
On 11/21/2022 at 4:34 PM, Mk2 Chopper said:
Hey some progress and at least you have the ultimate drive shafts to go on next.
Did you have new rear hubs to go on too I can't remember? I would certainly get the wheels balanced again and also change the front bearings as that's a fairly easy thing to do after you've switched the drive shafts.
Fun these old cars eh. Bet you'd find mine quite a rattly, noisy drive trained car, I'm just used to it.
Gareth
The other pictures from my trip:
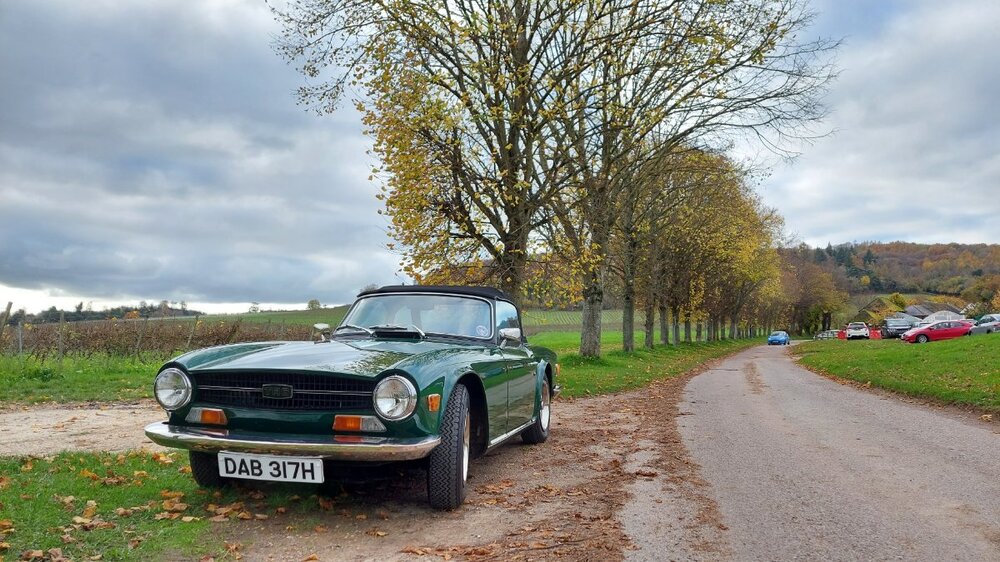
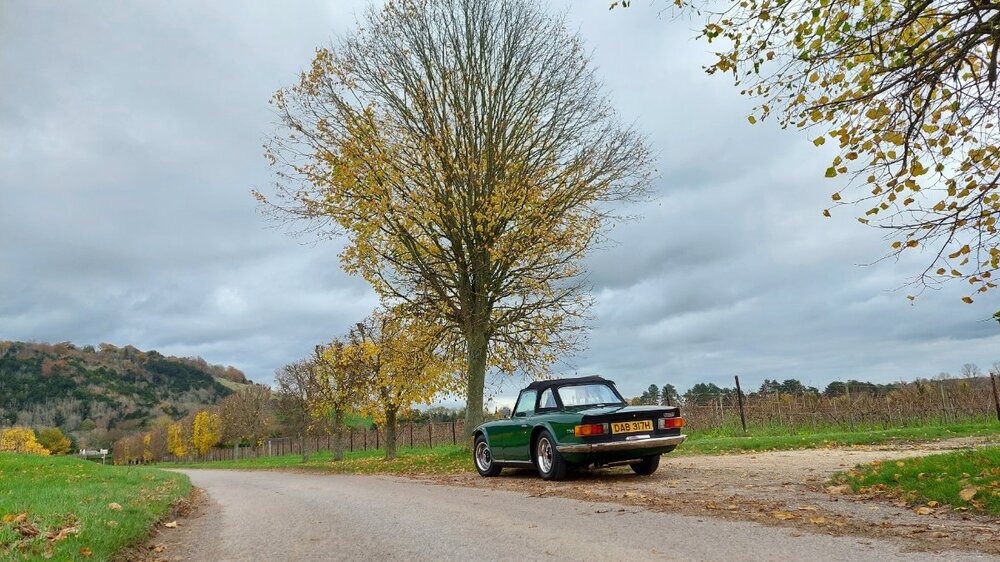
Denbies Gareth?
Miles
-
Looking forward to seeing your new name painted on the sides of the car in place of "H Roscoe"!
Congratulations.
Miles
-
2 hours ago, harrytr5 said:
The Dukes TR3 at the time (Apple Green) now unfortunately sold to make way for a silver grey TR6. Both cars top of the tree.
The TR3 sure suits that colour.
Regards Harry
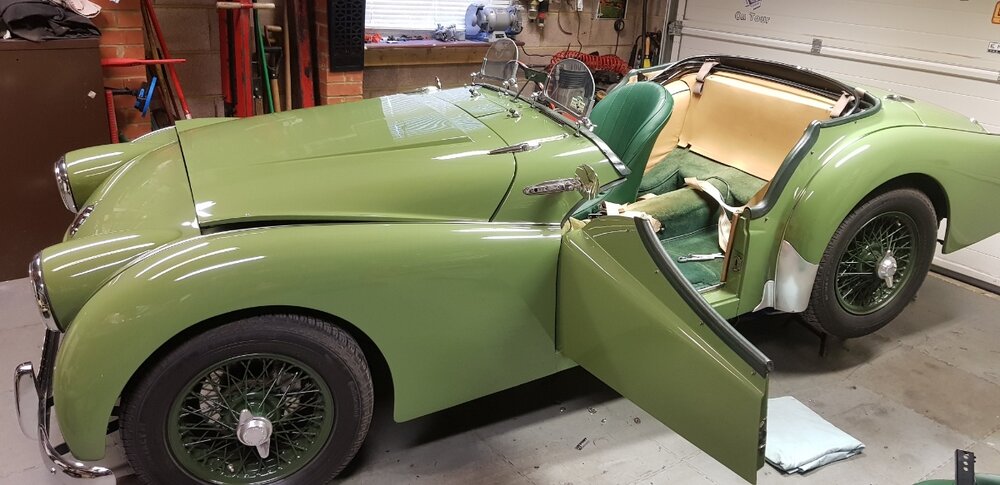
Love that and the green wheels make it look even more purposeful Harry.
Miles
-
18 hours ago, stuart said:
There was quite a lot of underage soldiers back then, it was a different world and they wanted to get to do their patriotic duty. My Grandfather was a boy soldier in WW1
Stuart.
My grandfather too. Joined the East Surrey Regiment. They seemed to be present at all the big ‘shows’. Got gassed and had permanent damage. Pneumonia eventually got him. No support in those days. Regiment stepped in and my grandmother was employed as a housekeeper by the regimental padre.
Stunning photos. Quite a range of nationalities.
Miles
-
Looks like a very attractive area to drive in.
Miles -
Thanks chaps. Good, practical advice as ever.
Miles
-
Sometime shortly, I am going to install a firewall in my 6 in place of the piece of plastic sheet roughly held in place by some ageing gorilla tape.
I have gathered together my old metal snips, assorted pliers and hammers, hand-held riveter, masking tape, box of assorted rubber grommets (for the loom), some cardboard for "CAD" purposes, a cartridge of intumescent sealant, and to minimise the potential for a cock up, a pre-shaped aluminium firewall and 'ears' bought a well-known supplier in Somerset (that I know I will have to fettle). Proposing to rivet the finalised aluminium pieces to the steel bodywork.
So, ali' or steel rivets or doesn't it matter on this kind of job?
Thanks as ever.
Miles
-
Personally, I am sceptical of the value and potential (mis)use of smart meters. There is already too much documentation and control of individuals and my constant refusal to fall for EDF's blandishments to have a smart meter installed is my tiny act of resistance.
However, one benefit of the huge price rises has been to make the family realise how wasteful we were of energy when it was less expensive. We no longer heat and light rooms that are not in use. The heating is put on when needed rather than automatically. Jumpers are once again fashionable in the house and curtains are deployed. But we are not sitting around in some Dickensian scene. The same happened when we forced to have a water meter. We thought more about our water usage and changed our behaviours accordingly. There is only so much that one can do in a thermally inefficient Edwardian house so I doubt whether it all makes a material difference to our bills - but it does have some effect. No-one in the house resents this change in approach (including the 2 adult daughters still who live at home).
Miles
-
-
Agree with Bob. In my case, to get the front of the glovebox to fully meet / mate the back of the dash, I had to wedge it from underneath with a piece of wood. This slightly deformed it but it was firmly mated to the dash. In addition to the two screws at the front bottom edge of the dash / cubby there was a self-tapper at the top centre, adjacent to the lip for the lock arm.
Miles
-
Looks great but only a distant dream for those of us who have to rent cramped, sometimes damp, unsecure and crumbling lock-ups from occasionally Rackman-type landlords.
One day though, one day...and I will know what to install!
Miles


& Another ‘New Game’: Can you name this car?
in Social Scene
Posted
Here is another from a friend's marvellous collection of family photographs.
Took me a couple of hours research to find what I think it is. Probably, pretty easy for our readership I suspect....
Miles