I started off stripping the bodyshell using a DA (Dual Action) sander and some 80 grit production paper. I found I was going through the paper at quite a rate so I looked for alternatives… and found two, both of which I used and found to be far more effective and easy than the paper. Firstly, a product called 'Abranet' sanding discs, they're more expensive than paper, but I found them to work much better, and tended to last longer per sheet. Secondly, Norton SG 'Blaze' rapid strip discs… these are incredible, again expensive, but my God do they do the job. So armed with my new latest finds, off I went…
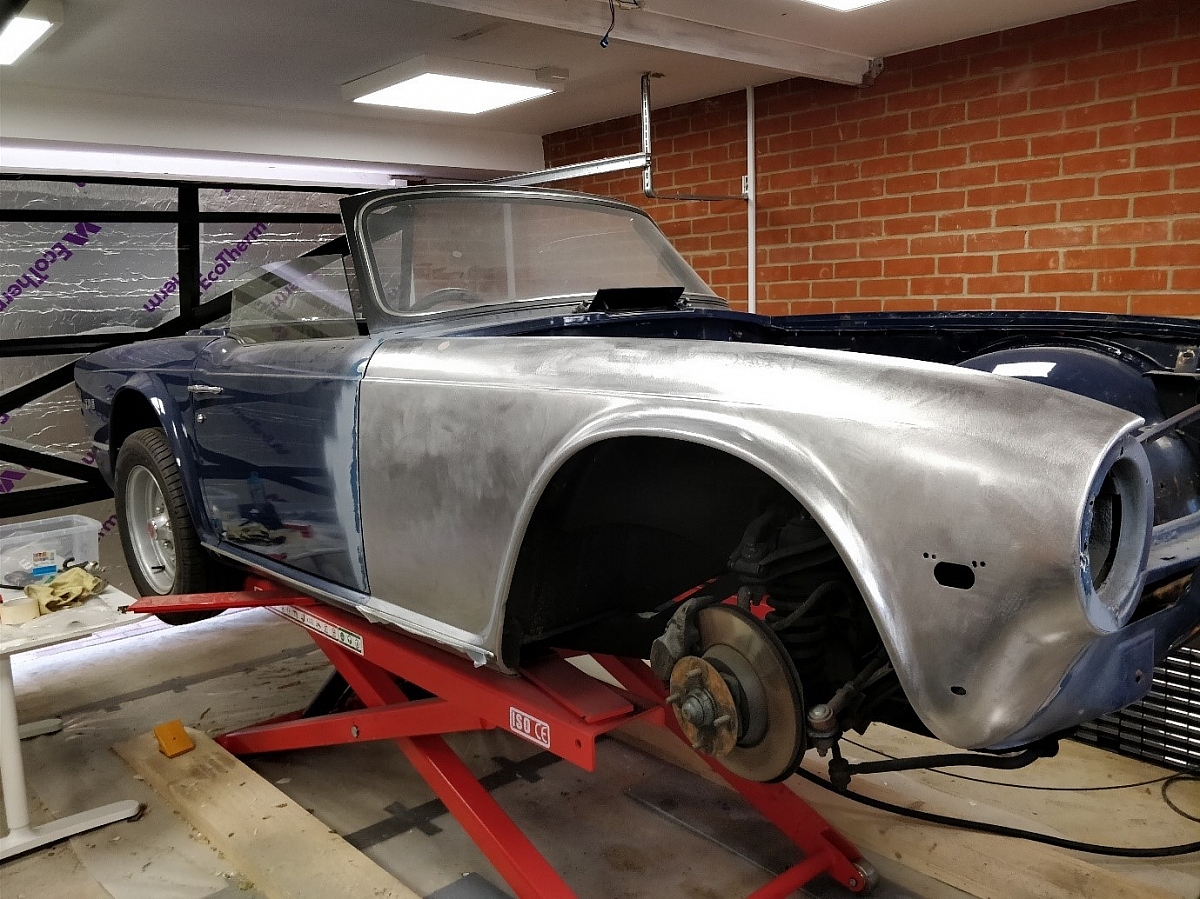
First panel done… that wasn't so bad. A couple of points to note here:
1. Make sure you get every little bit back to metal. I found some really small brown lines like 'veins' on the surface, and I wasn't going to worry about them until I spoke with a professional who told me to make sure I got rid of them completely. Anything that doesn't look like bare metal is probably surface rust (however small it might seem) and will probably come back to bite you at some point in the future.
2. Get etch primer on it as soon as you possibly can once you've got it stripped. Don't leave the panel in bare metal overnight, and definitely not for a couple of days (ask me how I know!). The cheapest way of etch priming is obviously to buy it in large cans and use a compressor and spray gun (if you have one) to lay it on. However, I tended to find that I was doing this process at the end of the day, I was tired, and the last thing I wanted to do was to load up the gun with etch primer and then clean everything afterwards. I therefore bought a number of rattle-cans of etch, which meant that when I was ready, I could just use this to lay a coat onto the metal and walk away, which was both less time consuming and easier. The flipside of this of course that it is more expensive to do it this way.
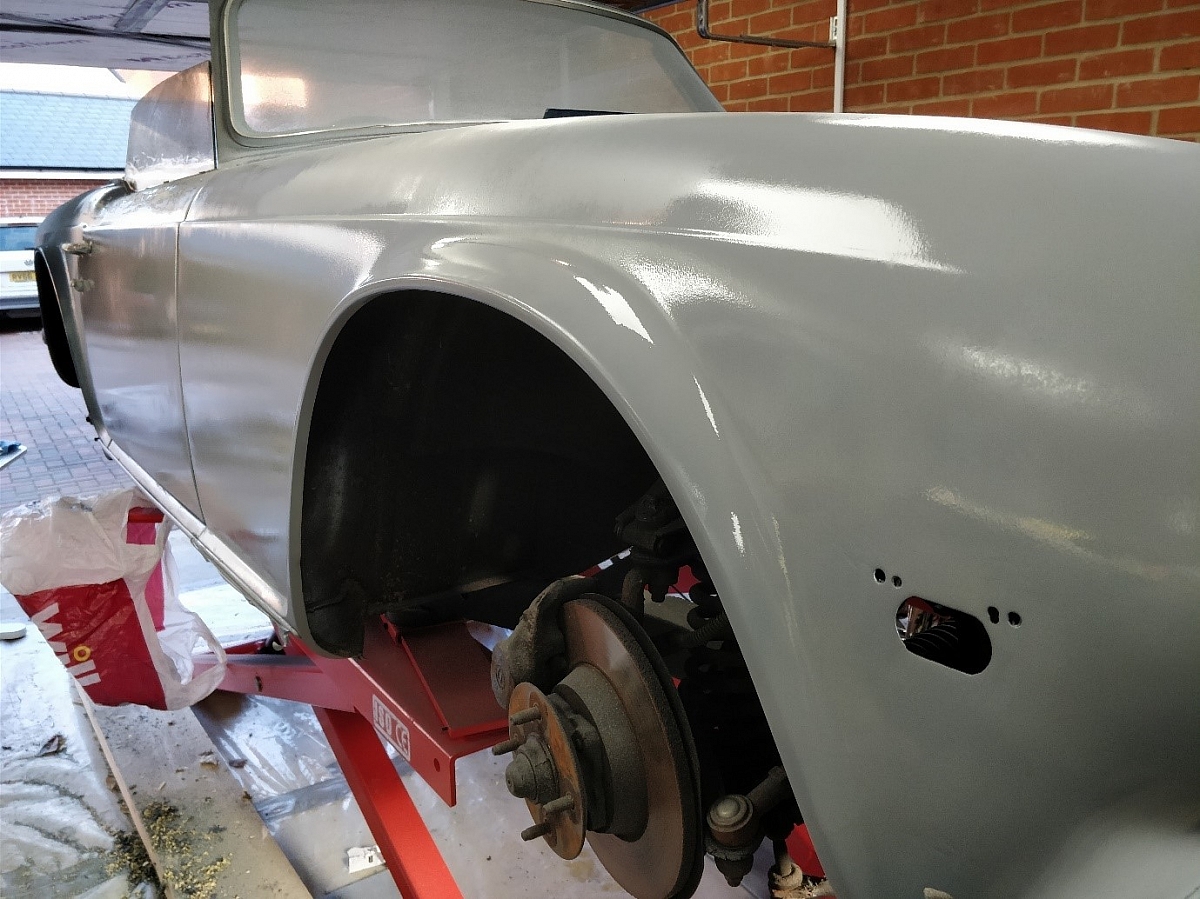
Rear wing, here I come…

Hmmmm…. I thought it was going a little too well!There had obviously been an issue in the past, and filler was the answer. I could have just filled again at this stage, but I knew that by doing this I was only storing up issues for the future. The first option for a professional would be to cut it all out and weld in repair pieces… but there was one small issue with that.. I can't weld. Well that's not quite technically true, I can weld, but the chances that the panel would look worse after I had finished than it did in the picture above were pretty high. So, option 2, find a good offside rear outer wing which I could replace this one with. Fortunately, I managed to find a new original stock panel as I understand that the modern copies are not a perfect fit and I didn't think I would have the expertise to 'tickle' one enough to make it do so.
Undaunted, off I went with the next few panels. However, during this process, it occurred to me that the amount of time it had taken me so far to get the bodyshell back to bare metal and etch primer, I might well be six foot under before I managed to complete the process! So, this is about the point where the 'project' became a 'mission'. I did some reading around, and found out that I could farm out this stripping process in a number of ways. Having looked into all the options, I chose to 'dip' the bodyshell rather than 'blasting' it, and here's where I came across Bill and his excellent 'Patience' blog. I ended up choosing Envirostrip (https://www.envirostripgbltd.com/) to do the dipping and after a couple of conversations with Vaughan (exceptionally helpful and very friendly), I arranged for them to come down and pick up the bodyshell. All I had to do now was to brace the bodyshell for transport and split it from the chassis… easy!