Getting towards the home straight…!
The original heater matrix was truly rubbish, and completely failed to keep the car even remotely warm, so my choice was to either refurbish, or purchase a new high-output blower. I went for the latter of these options, and whilst the units are eye-wateringly expensive, I can safely say that it's made an enormous difference… so much so that I have to turn the thing off at times as the cabin gets too hot.
All the cables were replaced with new items – accelerator (we used a left hand drive cable as it was longer and would therefore reach the new EFI throttle body located at the front of the engine bay), brake, heater, rev counter, speedometer and bonnet release (we fitted an additional emergency bonnet release as well).
I purchased the Racetorations gearbox and prop shaft split tunnel covers, just to make access to the gearbox and overdrive a little easier in future.
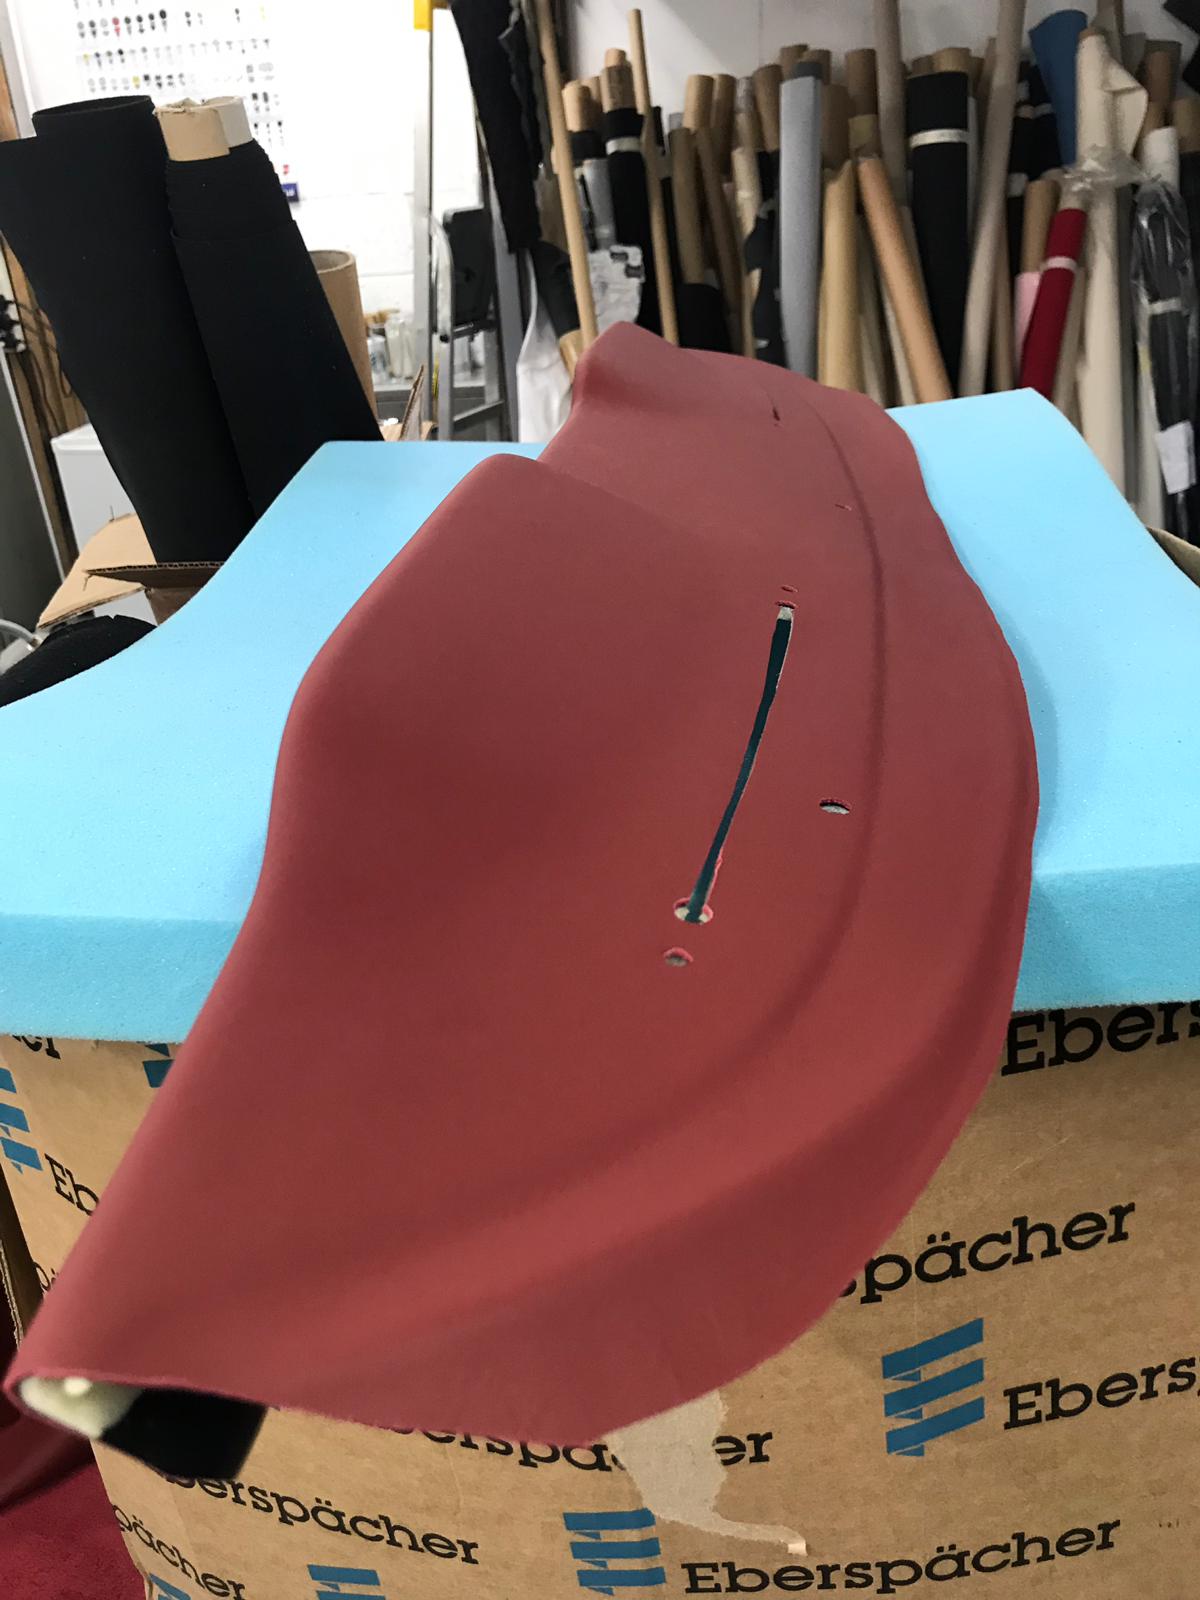
Through some contacts in the industry, I managed to obtain a few hides of Napa leather originally destined to be used in a Bentley… the colour is called 'Hudson'. I contacted Jonathon at John Skinner in Cheltenham (https://www.john-skinner.co.uk/) regarding the interior trim panels and carpets, and he was happy to use the leather and carpet supplied by me to do the panels. It's a kit that they have as a standard template, so it only took about three weeks for everything to arrive… all was good, apart from one panel… spot the deliberate mistake…!
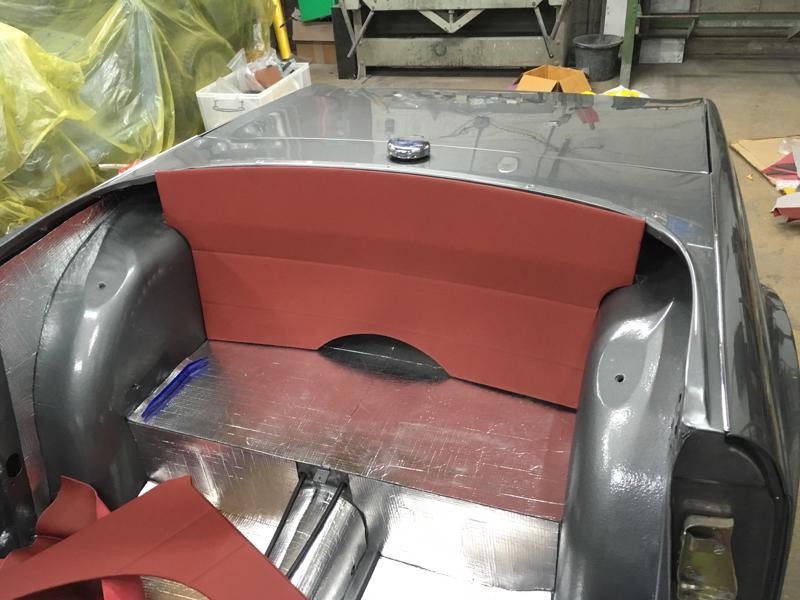
Remember I said way back that we removed the diff hump as it wasn't required on the TR6… well I didn't…!
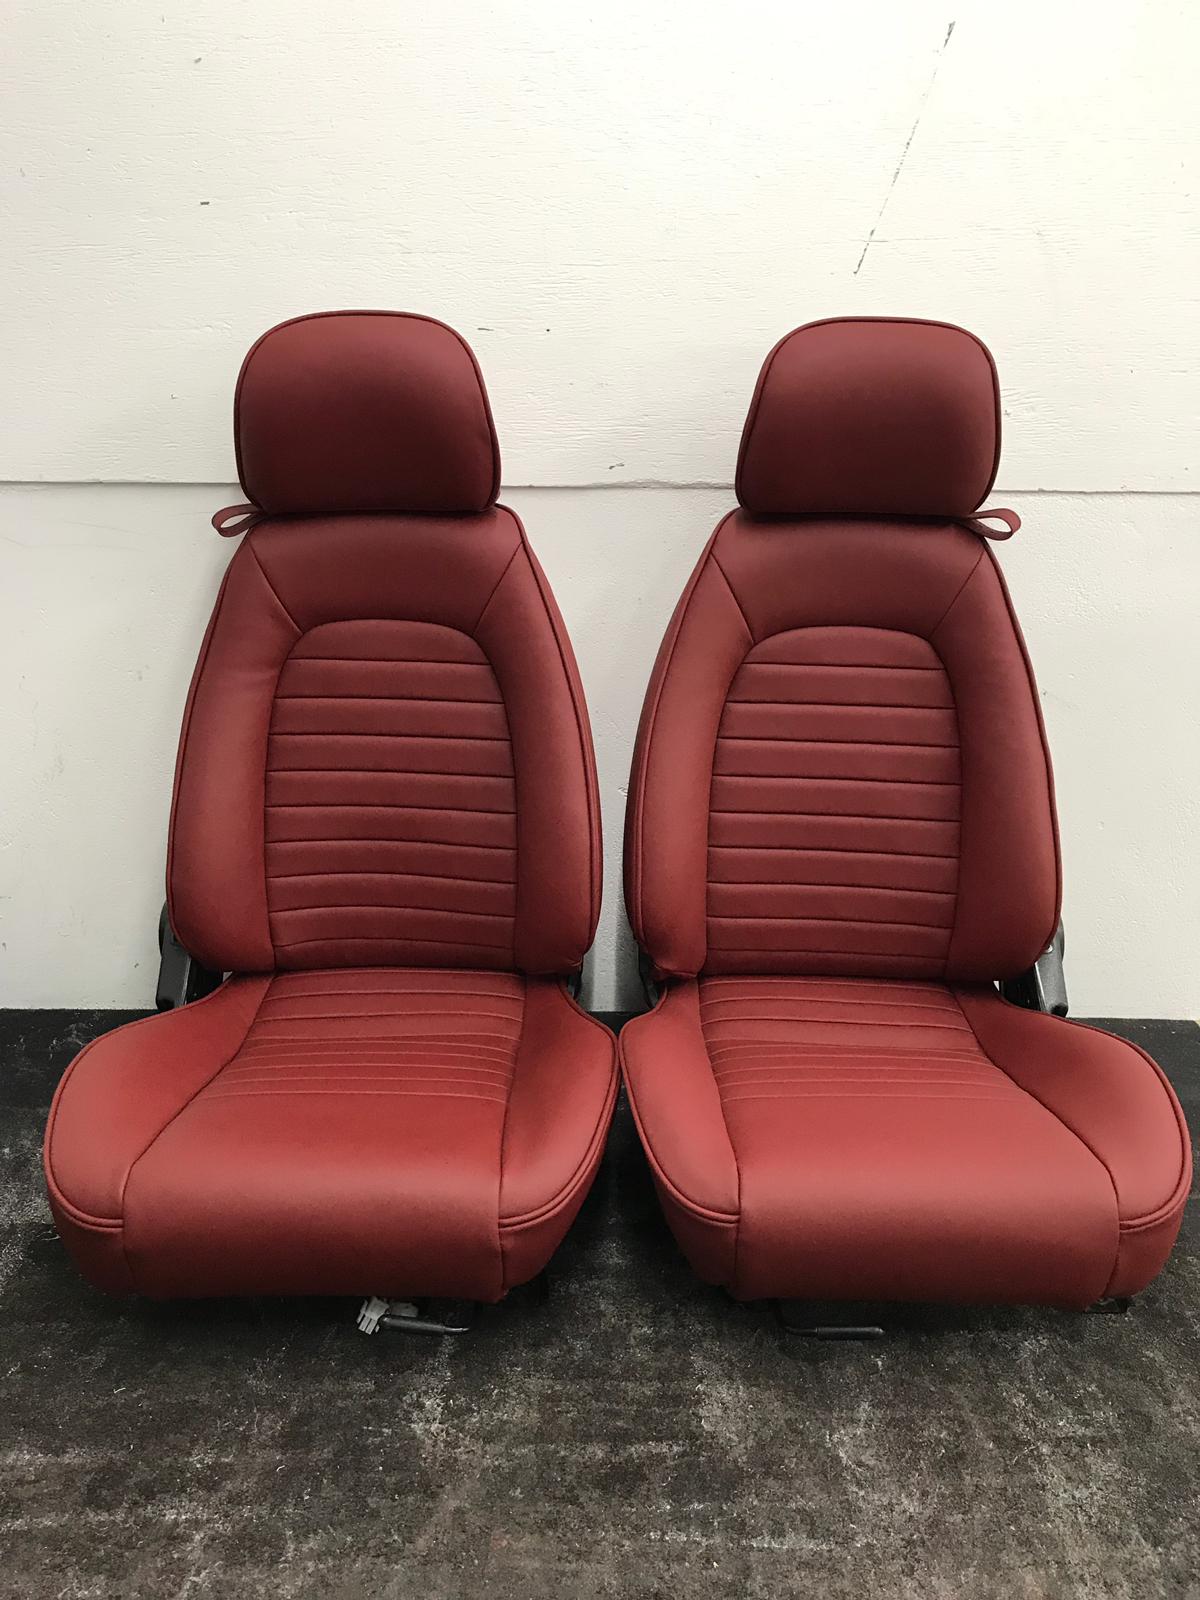
The seats were replaced with MX5 ones as I wanted headrests and a little more seat room, and these, along with the armrest console which I purchased from Moss, upper and lower dash dash pads, switch plinth, sun visors, H-frame and seat belt ancillaries all went off to my chosen trimmers, East County Customs in Colchester (https://www.eastcountycustoms.co.uk/). Tom's work is truly superb, and I rate him as one of the best trimmers in the UK… from the pictures of the work below, you'll see why I think this.
Dash top
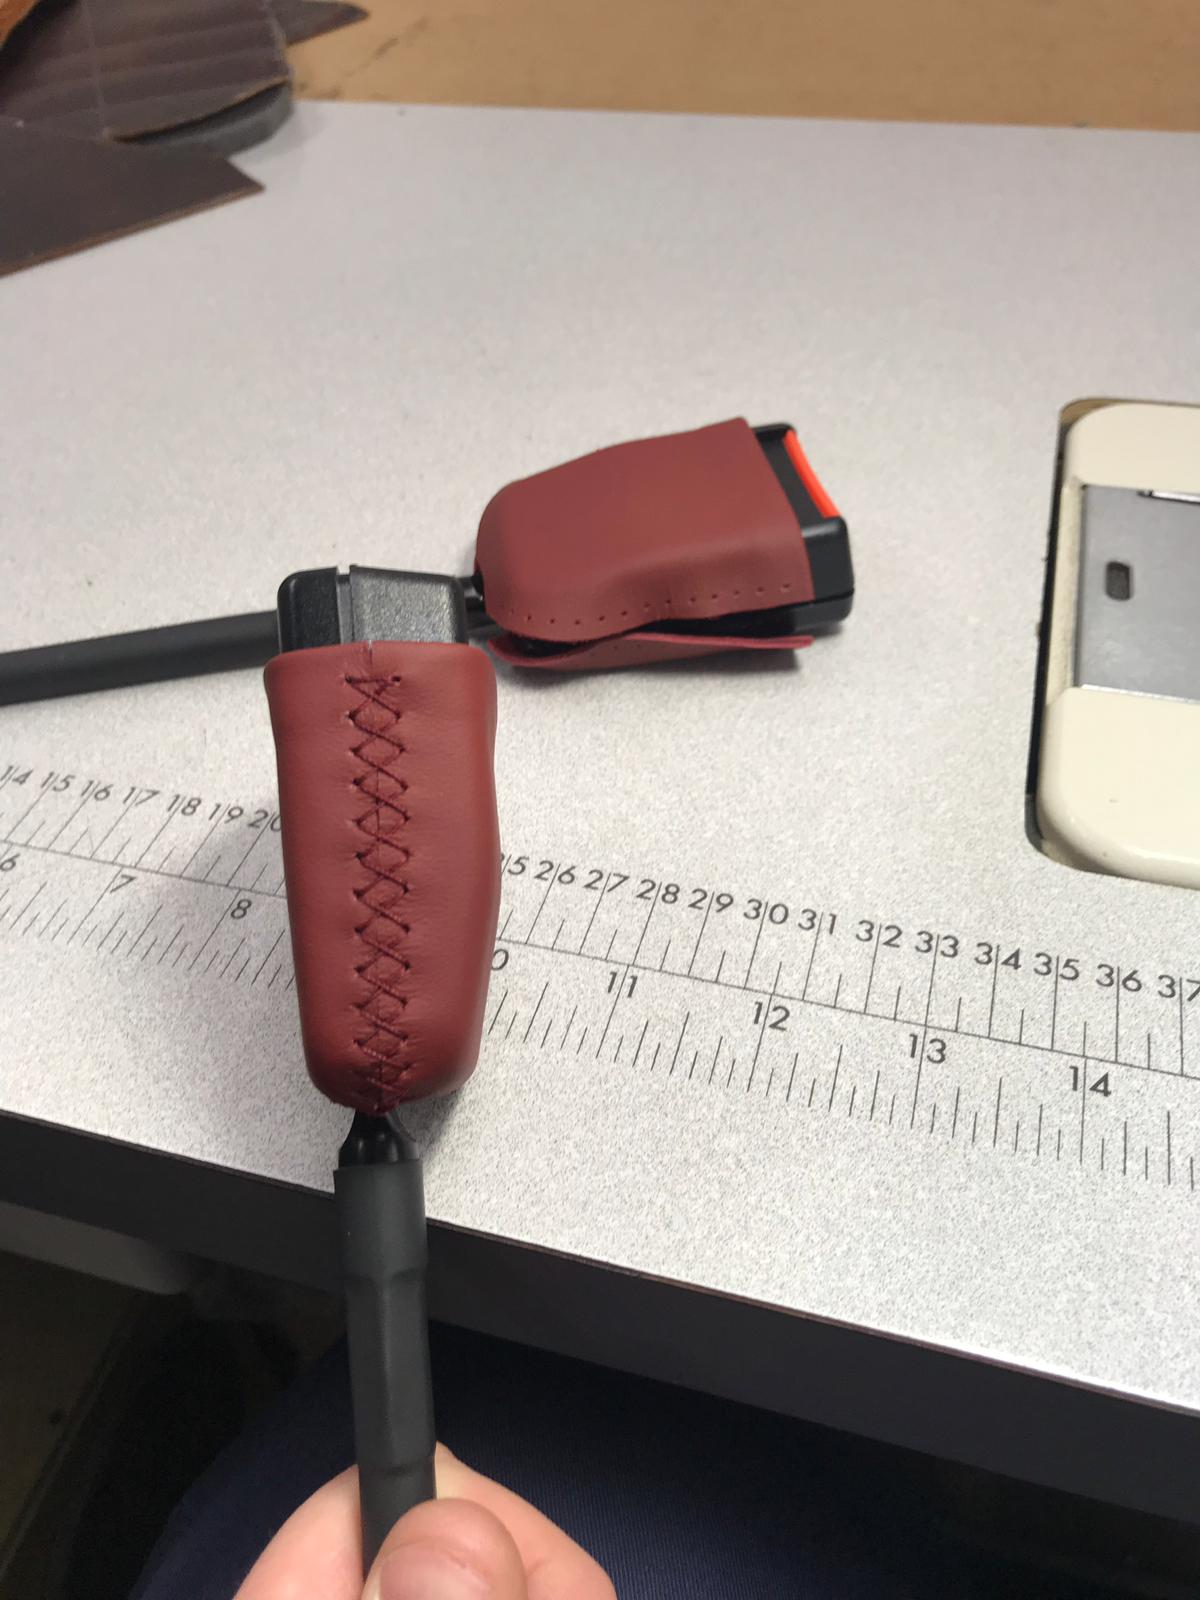
Seat belt ancillaries
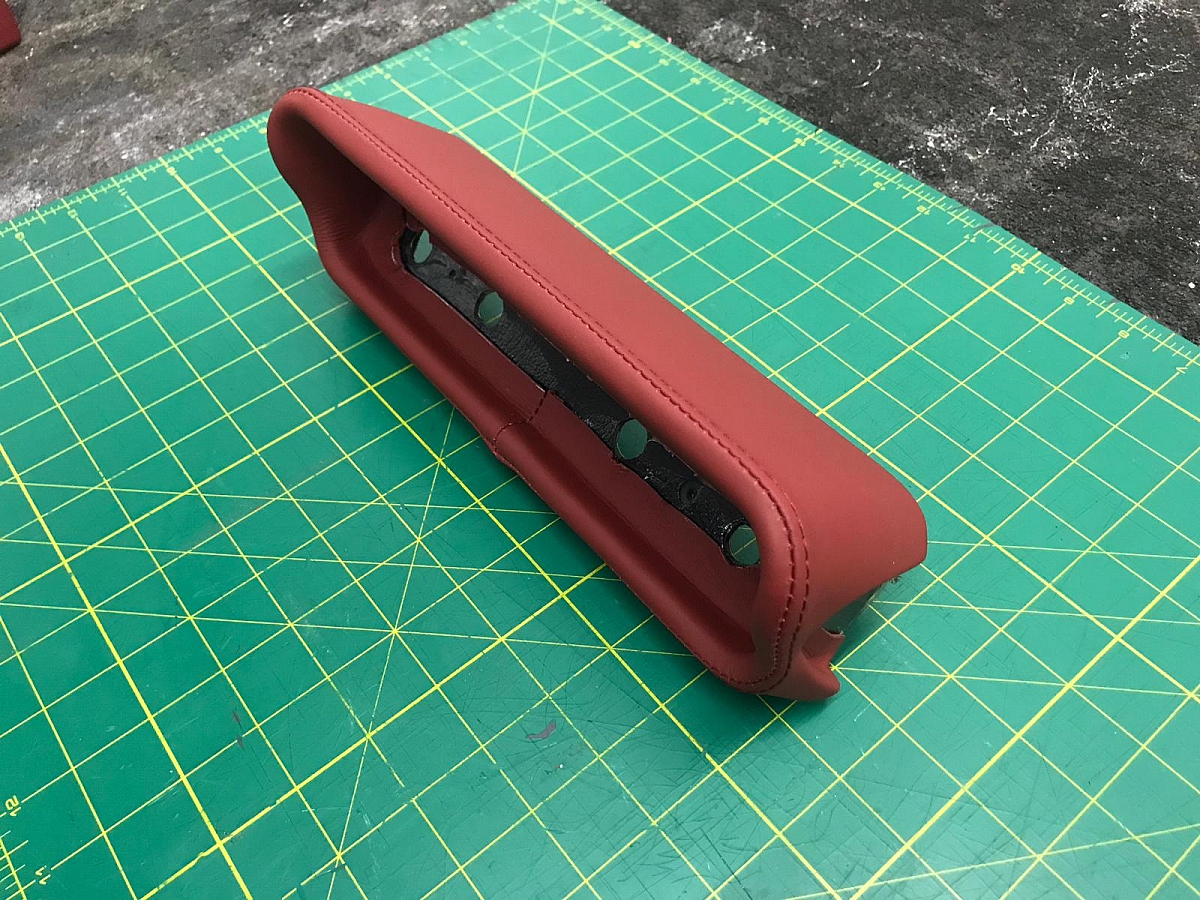
Switch plinth
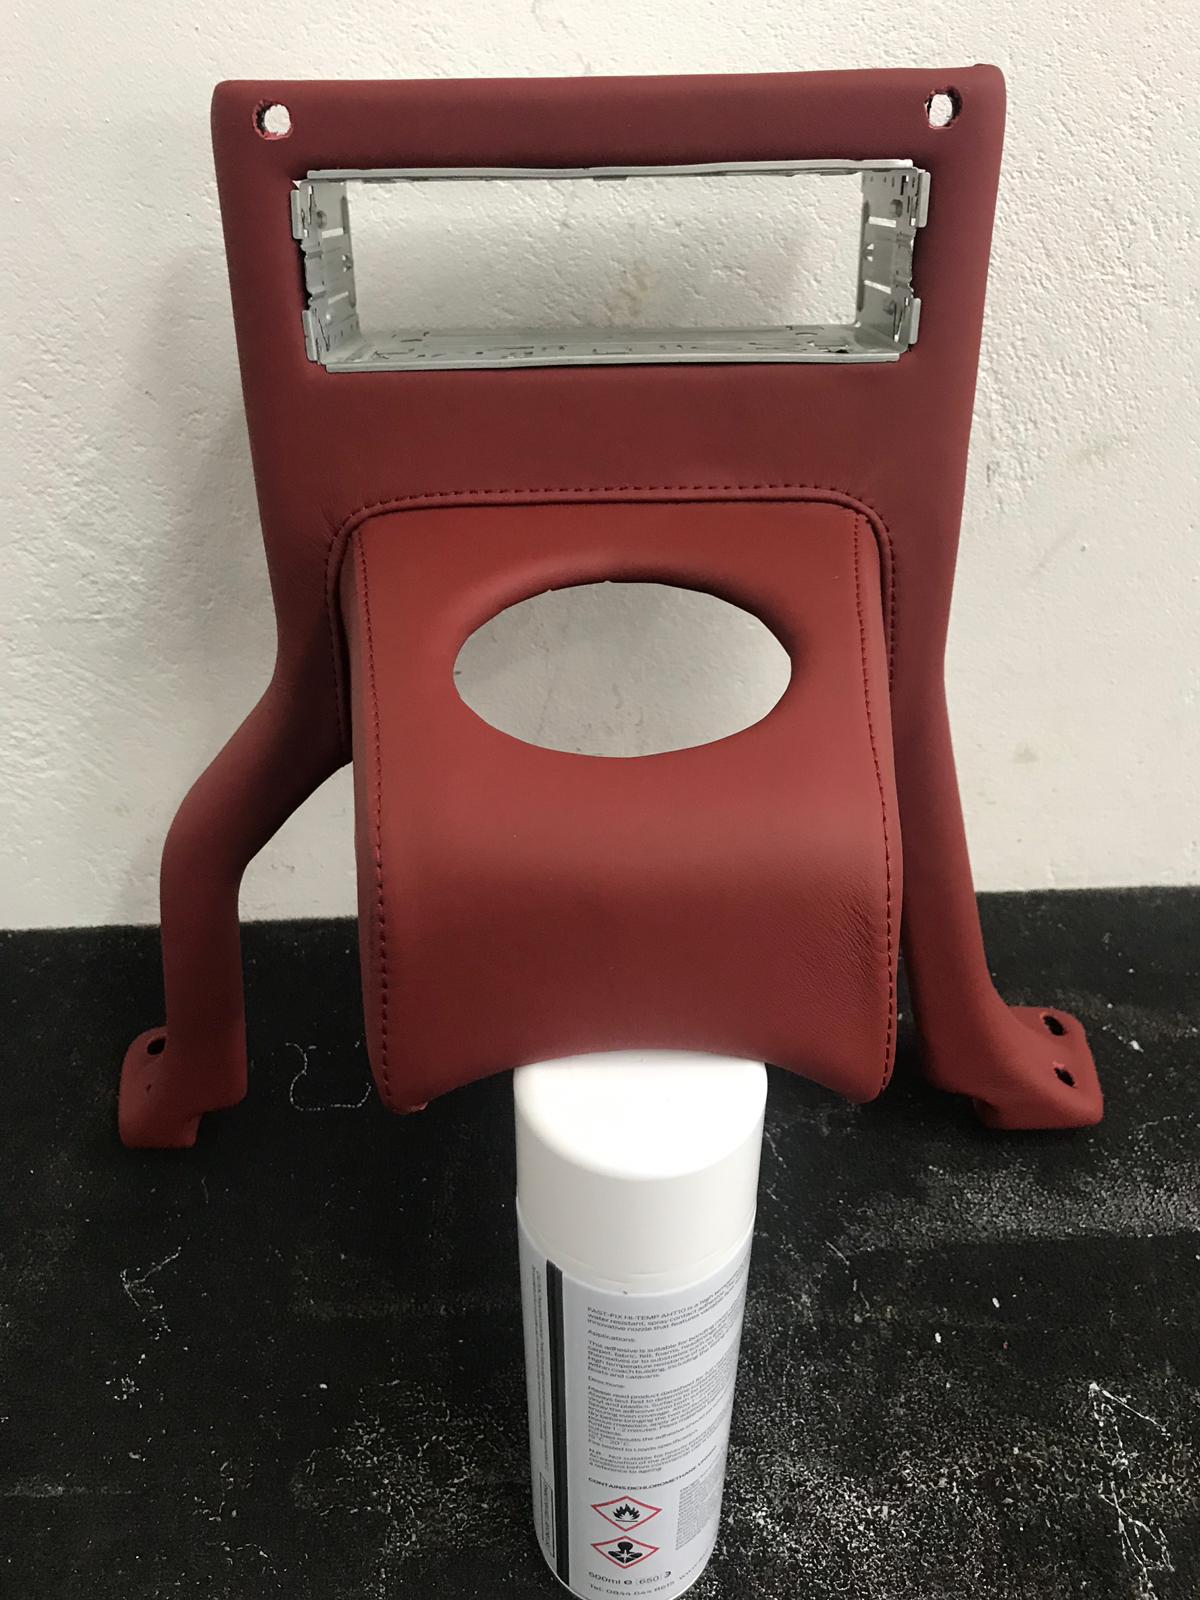
H-frame
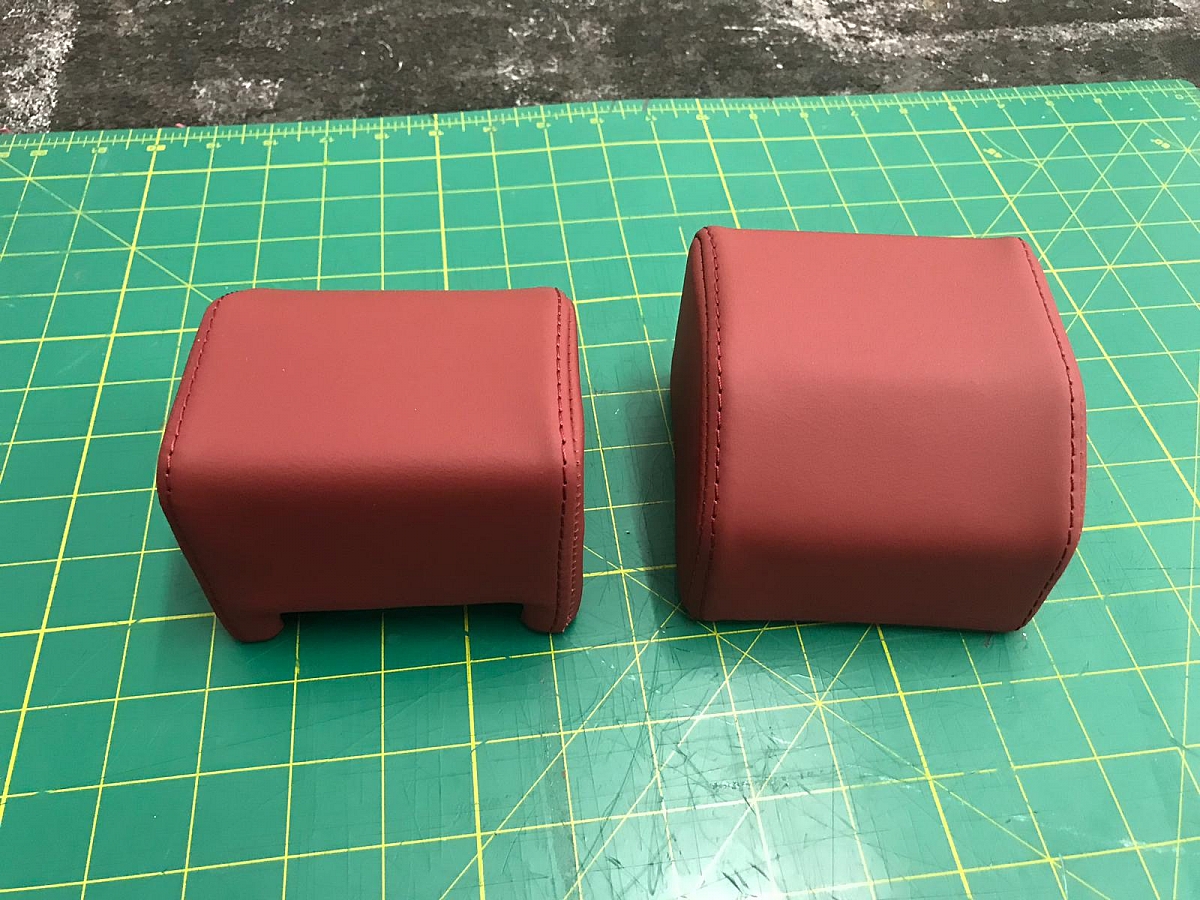
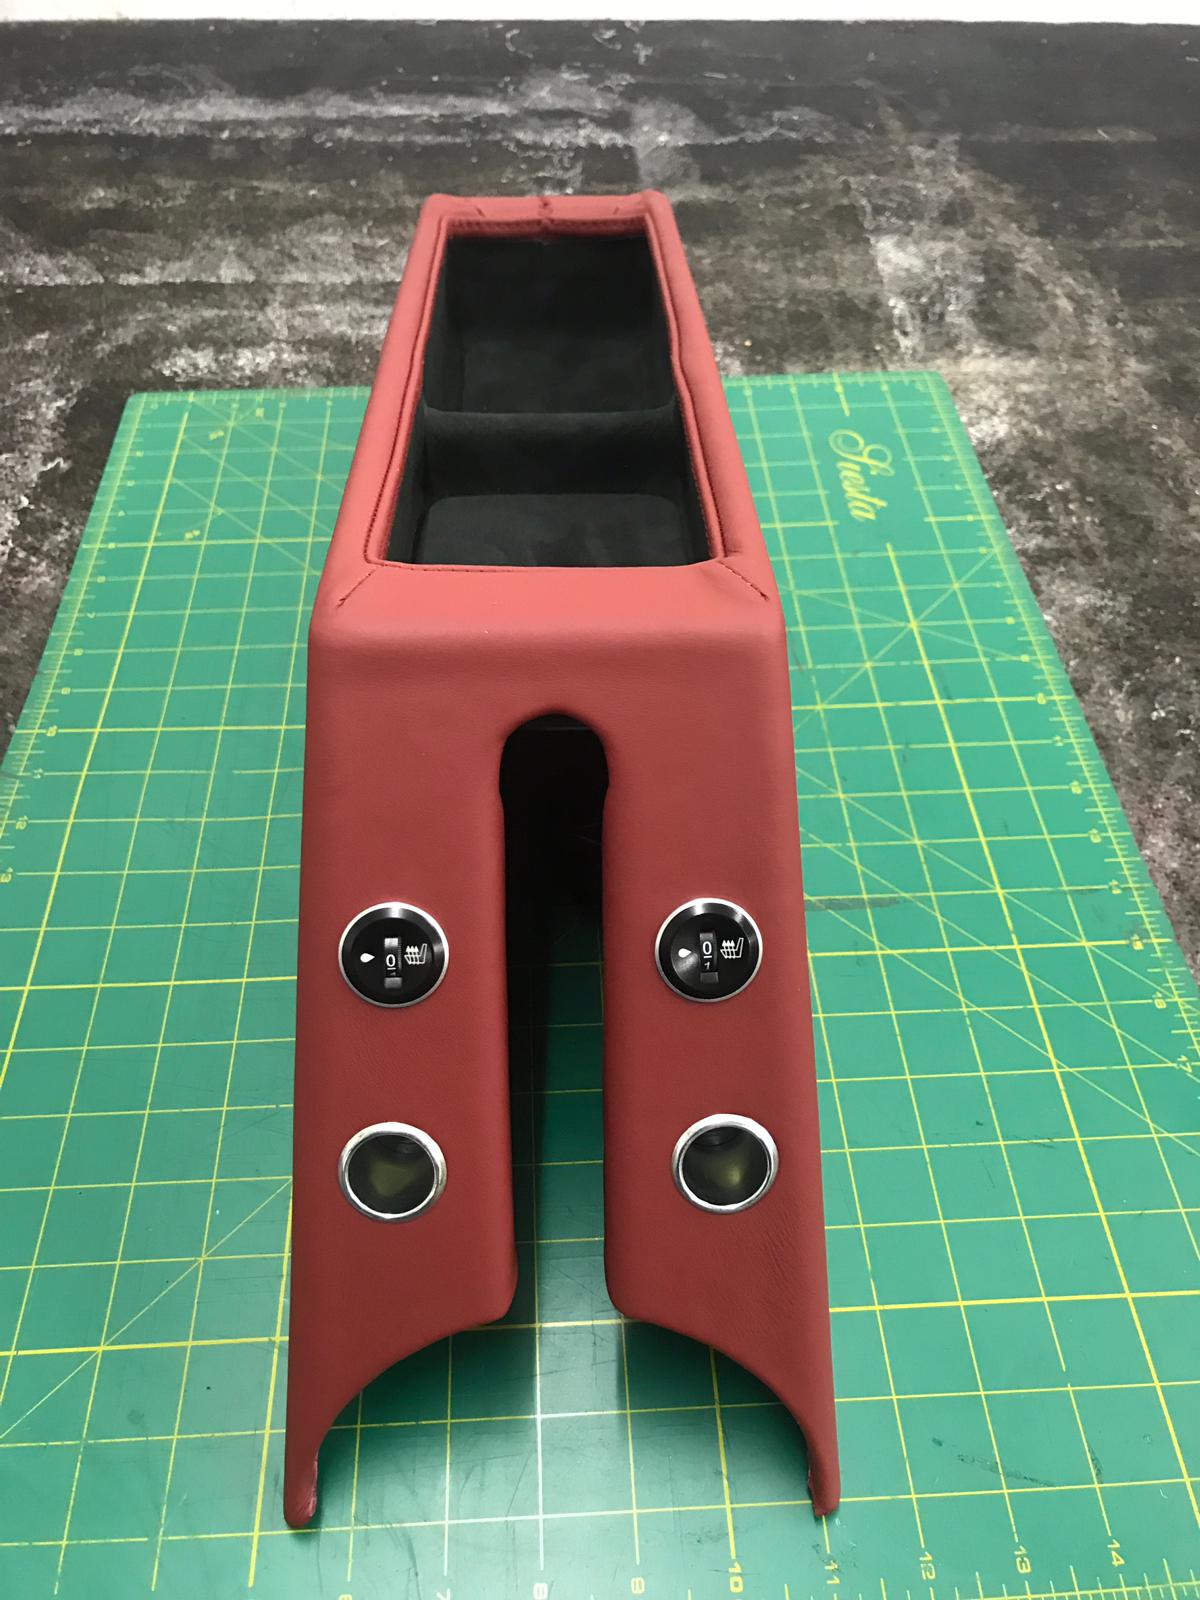
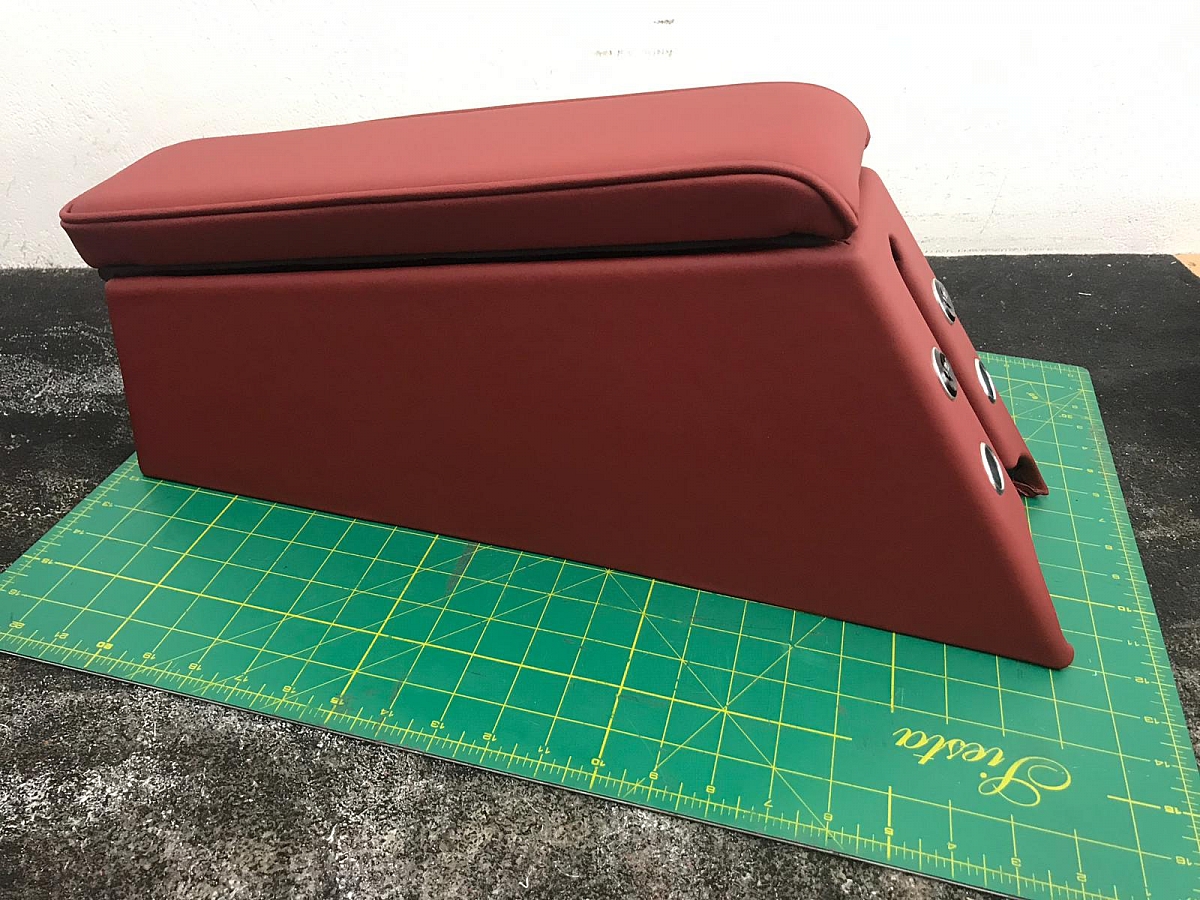
Centre armrest. If you're wondering what the switches are for, they'll be for the heated seats.
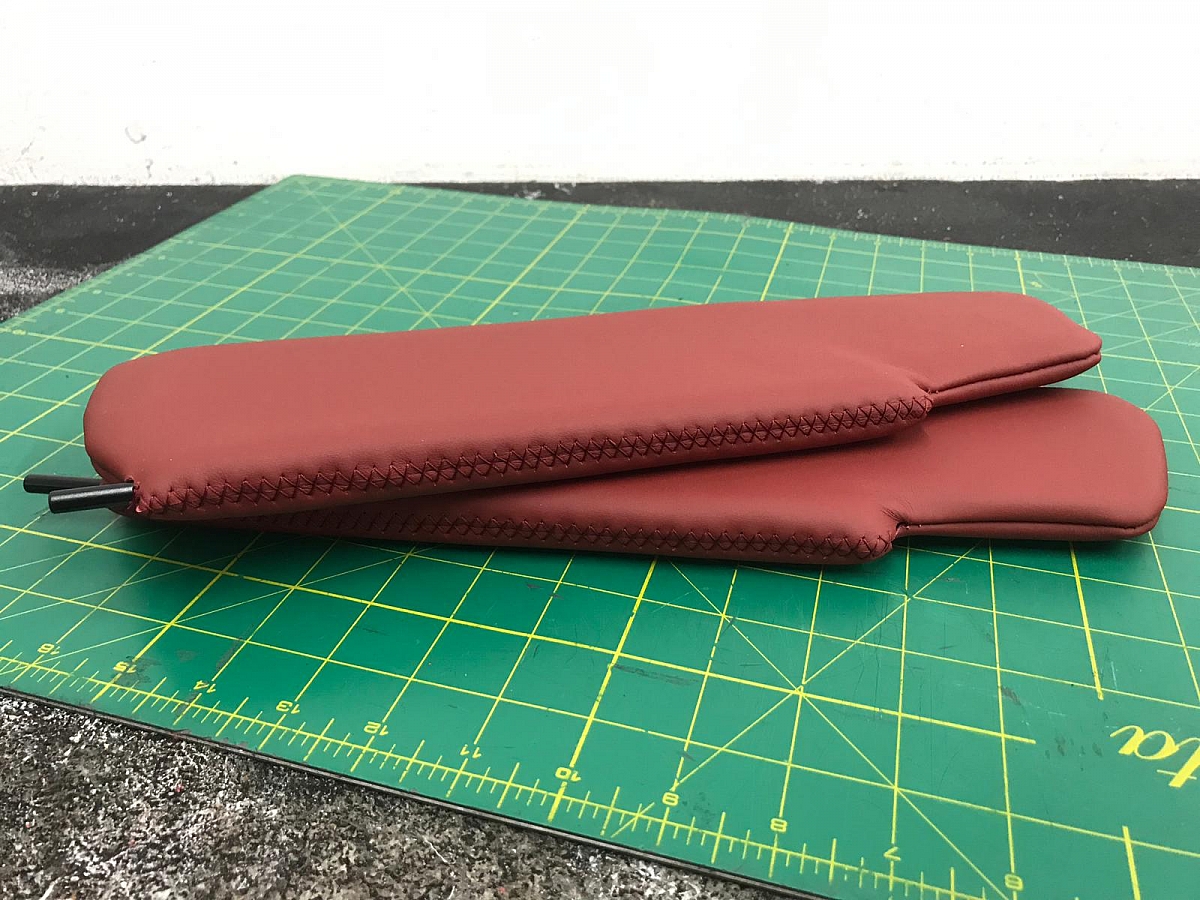
Sun visors
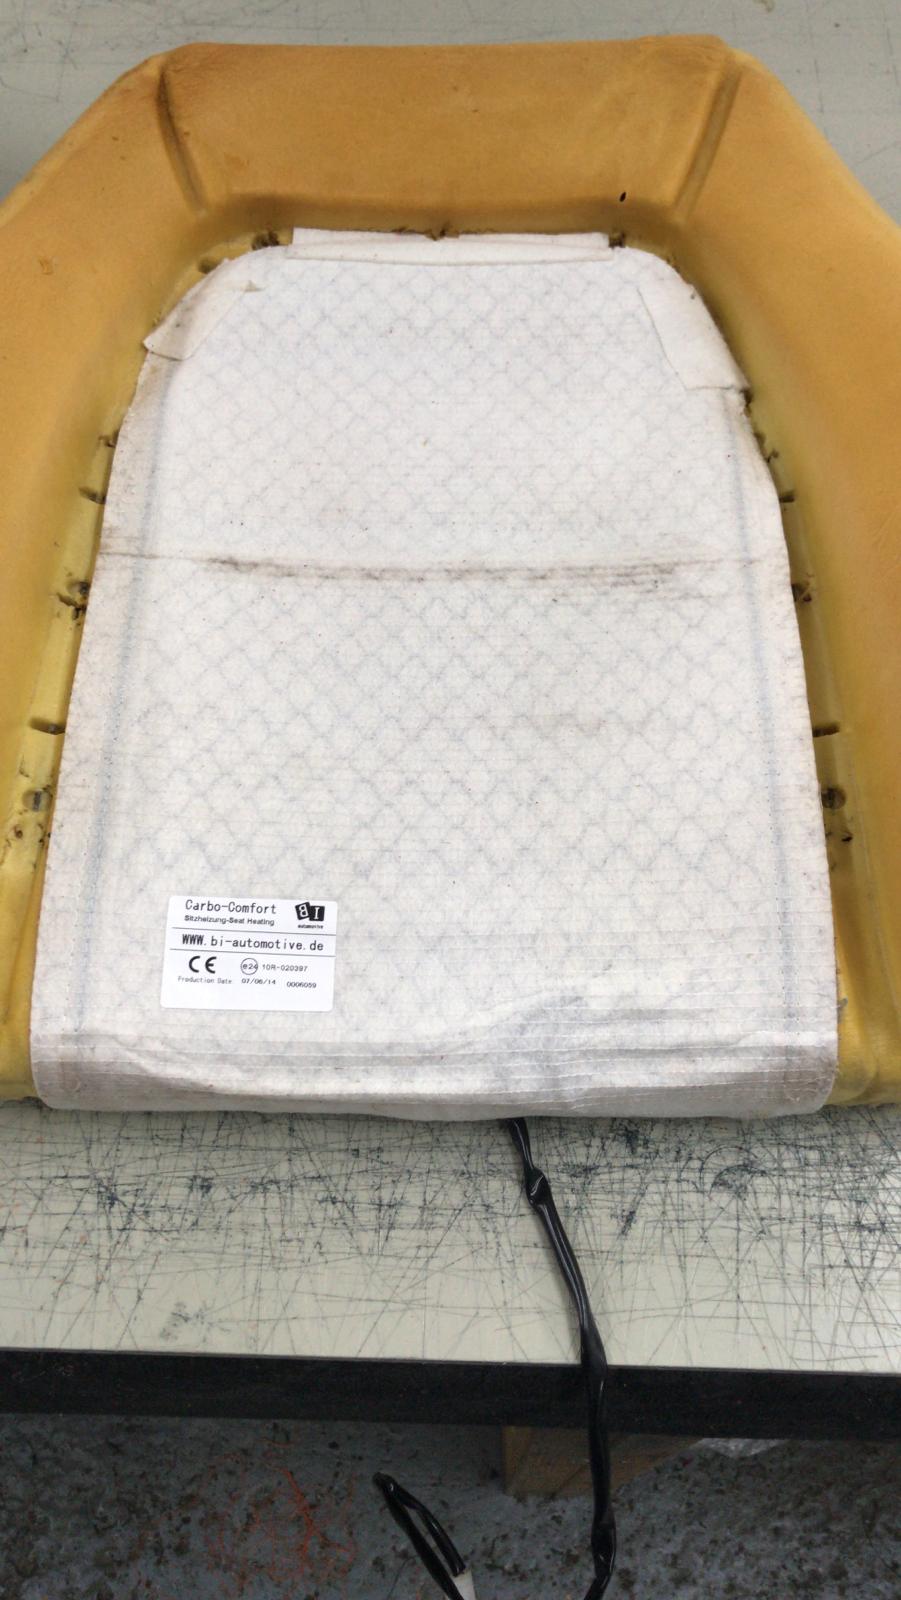
Heated seat pads installed in base… there were a pair installed in the seat backs too
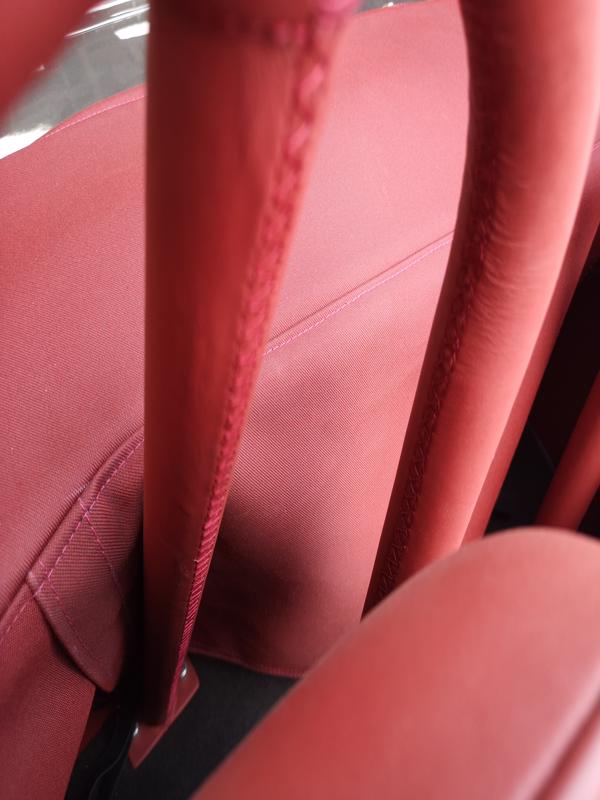
Finished seats
I got the idea of the seatbelt loop to hold the seatbelt buckle forward when retracted from an Aston Martin seat.
I thought that the standard cardboard cubby boxes felt a bit flimsy, so ordered a plastic one and had it flocked in black… I nearly considered doing it in red to match the interior, but thought it might look a bit odd as it was a completely different shade of red.
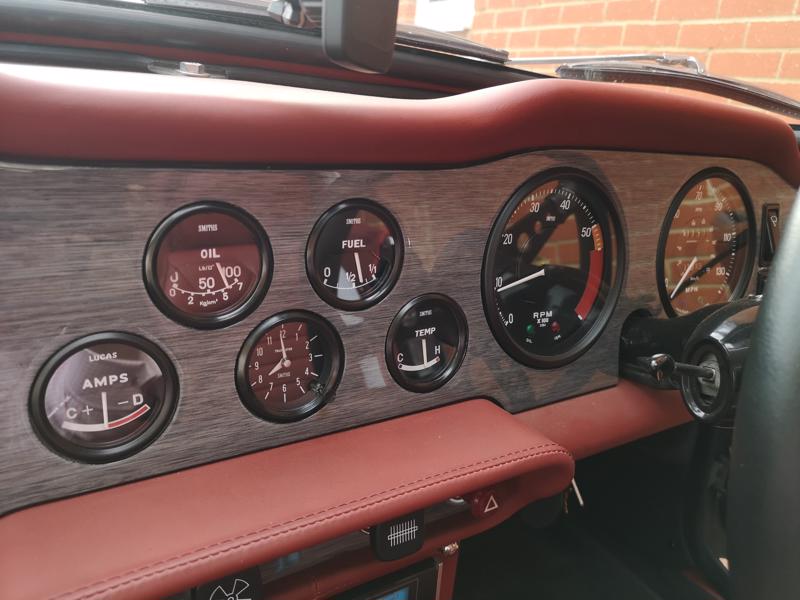
I spoke with Ian at Classical Dash in Stokenchurch (http://classical-dash.co.uk/) regarding replacing the dashboard, switch plinth and door caps. Again, I obviously wanted something a little different, and having trawled through the many options available, he sourced a rather unusual mid-grey veneer which worked really well with both the interior and exterior colours of the vehicle. From what I understand, he had to redo the door caps several times before he could get the veneer to lay properly without cracking due to the contours on the panel, so I don't think he'll be in a hurry to knock up another set in this veneer anytime soon! You'll also notice that the dashboard doesn't have the usual fixing screws in it... that's because Ian bonded some thin machine screws to the rear of the panel so that we could bolt it in place from behind the metal dash frame… a total pain in the backside to do as some of the fixings are barely accessible, but the end result looks much cleaner than the standard dash I think. I also replaced the rather redundant potentiometer in the middle of the smaller gauges with a clock.
Since the new door caps didn't have the usual notches to be able to pull on to close the door, I had to source some door pulls. There were two options here, fit the chrome finish handles at the top of the door from the earlier TRs, or use the door pulls from a Triumph Spitfire in the middle of the door card. I preferred the look of the latter, so once I'd sourced some good condition ones, I took the door cards off to fit them. However, it looks like there are two types of door on the TR6, the type that fits this sort of door pull, and the type that doesn't... guess which type I've got!
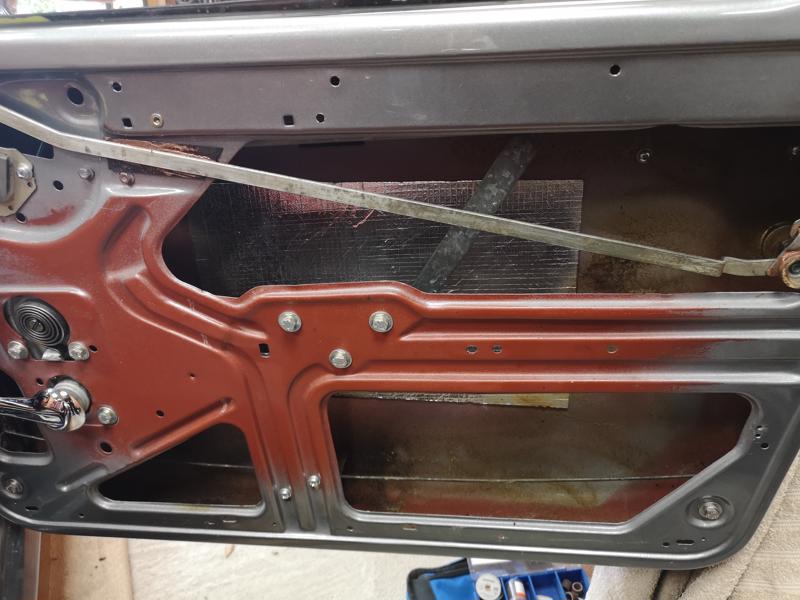
The area in which the plastic for the door pull would need to be screwed into place in the door frame is pretty much directly where the door release bar and the window regulator cross in the middle of the door. Plan B then, fit the door pulls from an earlier TR.
The dash gauges were all sent off to Speedy Cables in Swansea (https://speedycables.com/) for refurbishment… can I suggest that if you are planning a rebuild or restoration project, you do this as your first job. The restoration of dash gauges is obviously a VERY time-consuming process, and it took approximately six months for the mine to be completed and returned to me.Having said that, they did a beautiful job on the gauges and they looked brand new after the restoration. I had all the dials repainted, all the bezels and glass replaced, and all the internals rebuilt. They can also modify the gauges to accept LED bulbs, which I had done and would highly recommend doing as I can now read mine in the dark!
Before…

After...

The new dashboard knobs had stem diameters that were a little too large, so the knobs seemed to rattle and move around on the switch stalks. I managed to pack them out slightly which meant that they fitted better fortunately.
I wanted to fit Inertia reel seatbelts, but wanted the webbing colour to match the interior rather than just be black. I found a company by the name of Quickfit Safety Belt Service based in Stanmore (https://www.quickfitsbs.com/) who specialise in making all types of seatbelts from lap belts and inertia reel to full harnesses. They can do a range of colours for the webbing too, and the quality seems much better than the standard Securon ones that you get from most of the usual suppliers.
Whilst the standard steering wheel is fine, I wanted a leather one, and also wanted one that was a bit thicker for a better grip and feel, so went for a Moto-Lita wheel as a replacement. I thought about trimming this in the red leather too, but felt that it would be a bit too much, so stuck with the standard black leather.
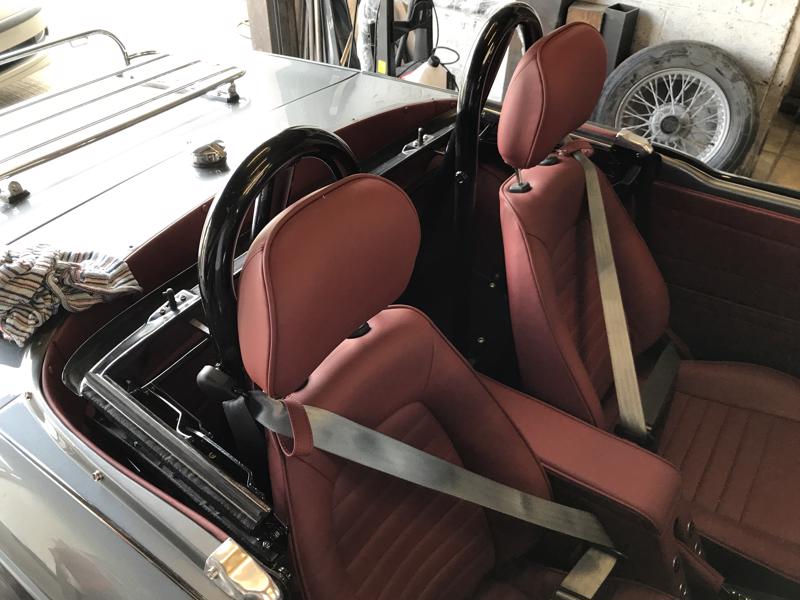
Finally, for the interior, I purchased a pair of roll hoops from TRGB to bolt in behind the seats. Shall we say I'm a 'spirited' driver, and whilst I'm not anticipating rolling the car anytime soon, I liked the added level of safety that these would give me should anything untoward happen. They came in a gloss black finish and once installed in the car, just didn't look 'right' against the red leather of the rest of the interior.
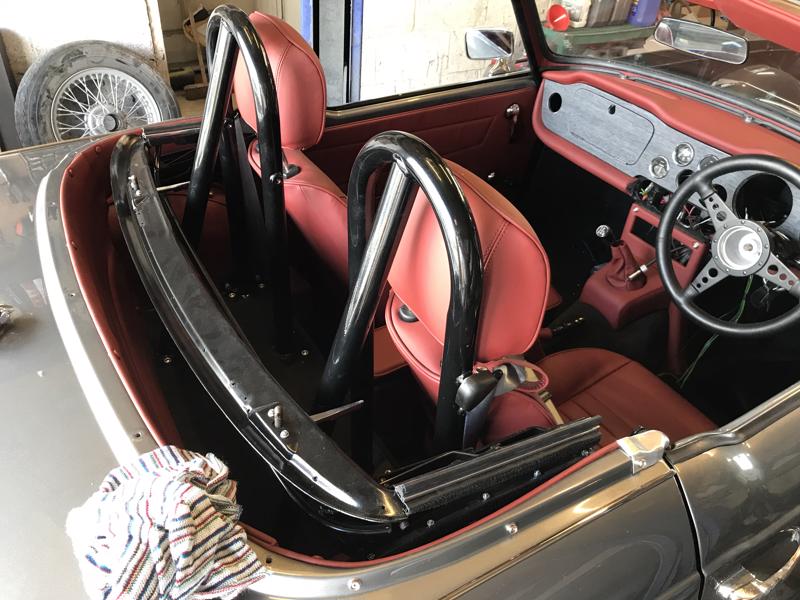
I therefore spoke with Greg at Auto Audio, who had the car for the audio installation but also did trimming (along with a whole host of other stuff), and asked him to trim the roll hoops in the same leather as the interior… much better…the hand-stitching really finishes it off beautifully I think.