9th October 2016
Hand brake fitted, adjusted and working to Fiona's liking.
3rd November 2016
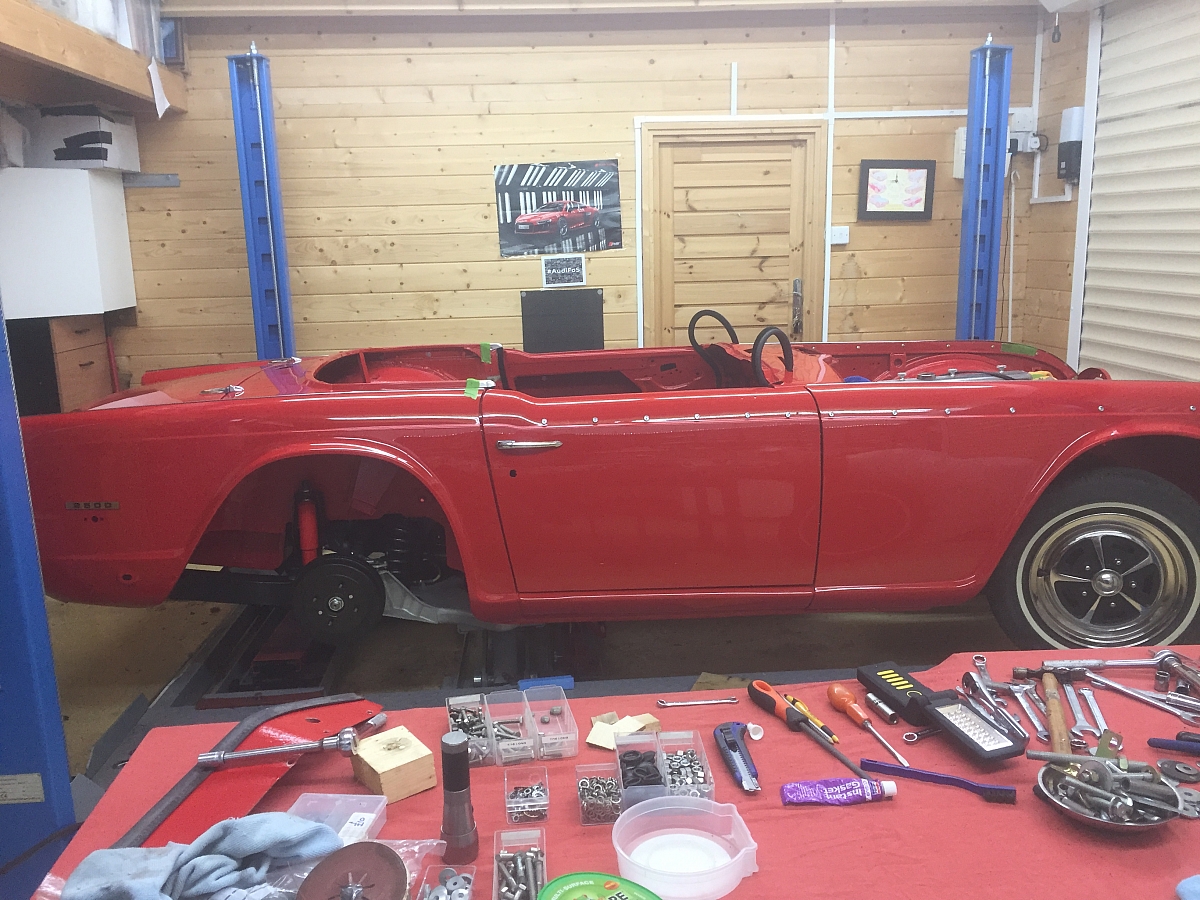
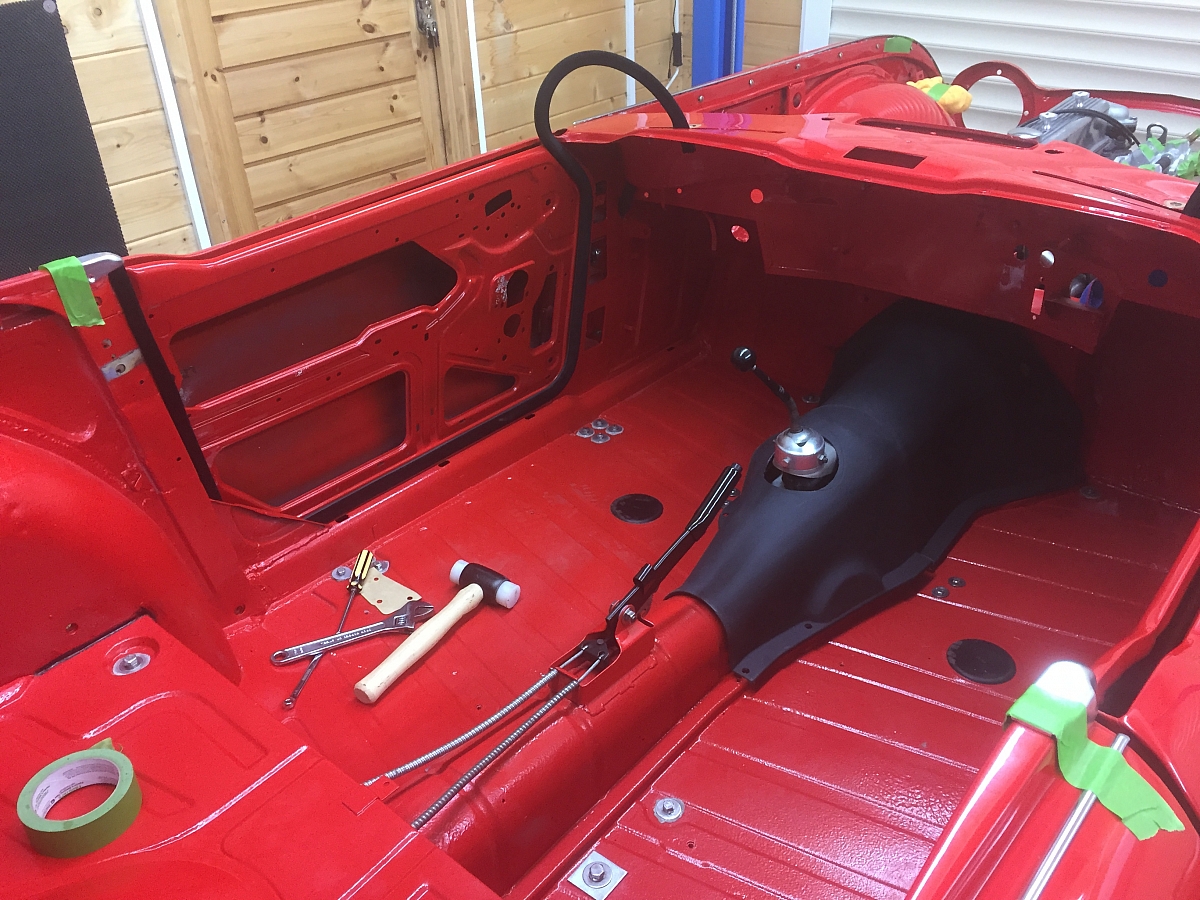
Paul and I are currently checking to make sure everything fits which takes a long time. Well more Paul than me. Coming on though. I've bought a gearbox tunnel cover from SC parts - It's a split type in rubberised/plastic. Considerably less cost than others that are around and I prefer the plastic/rubberised ones compared to the fibre glass type. I find they are easier to fettle and make fit. This one is just laid on top for the moment, but the line ups don't look too bad. We will see how good or bad it is, when the time comes to fit it.
5-6th November 2016
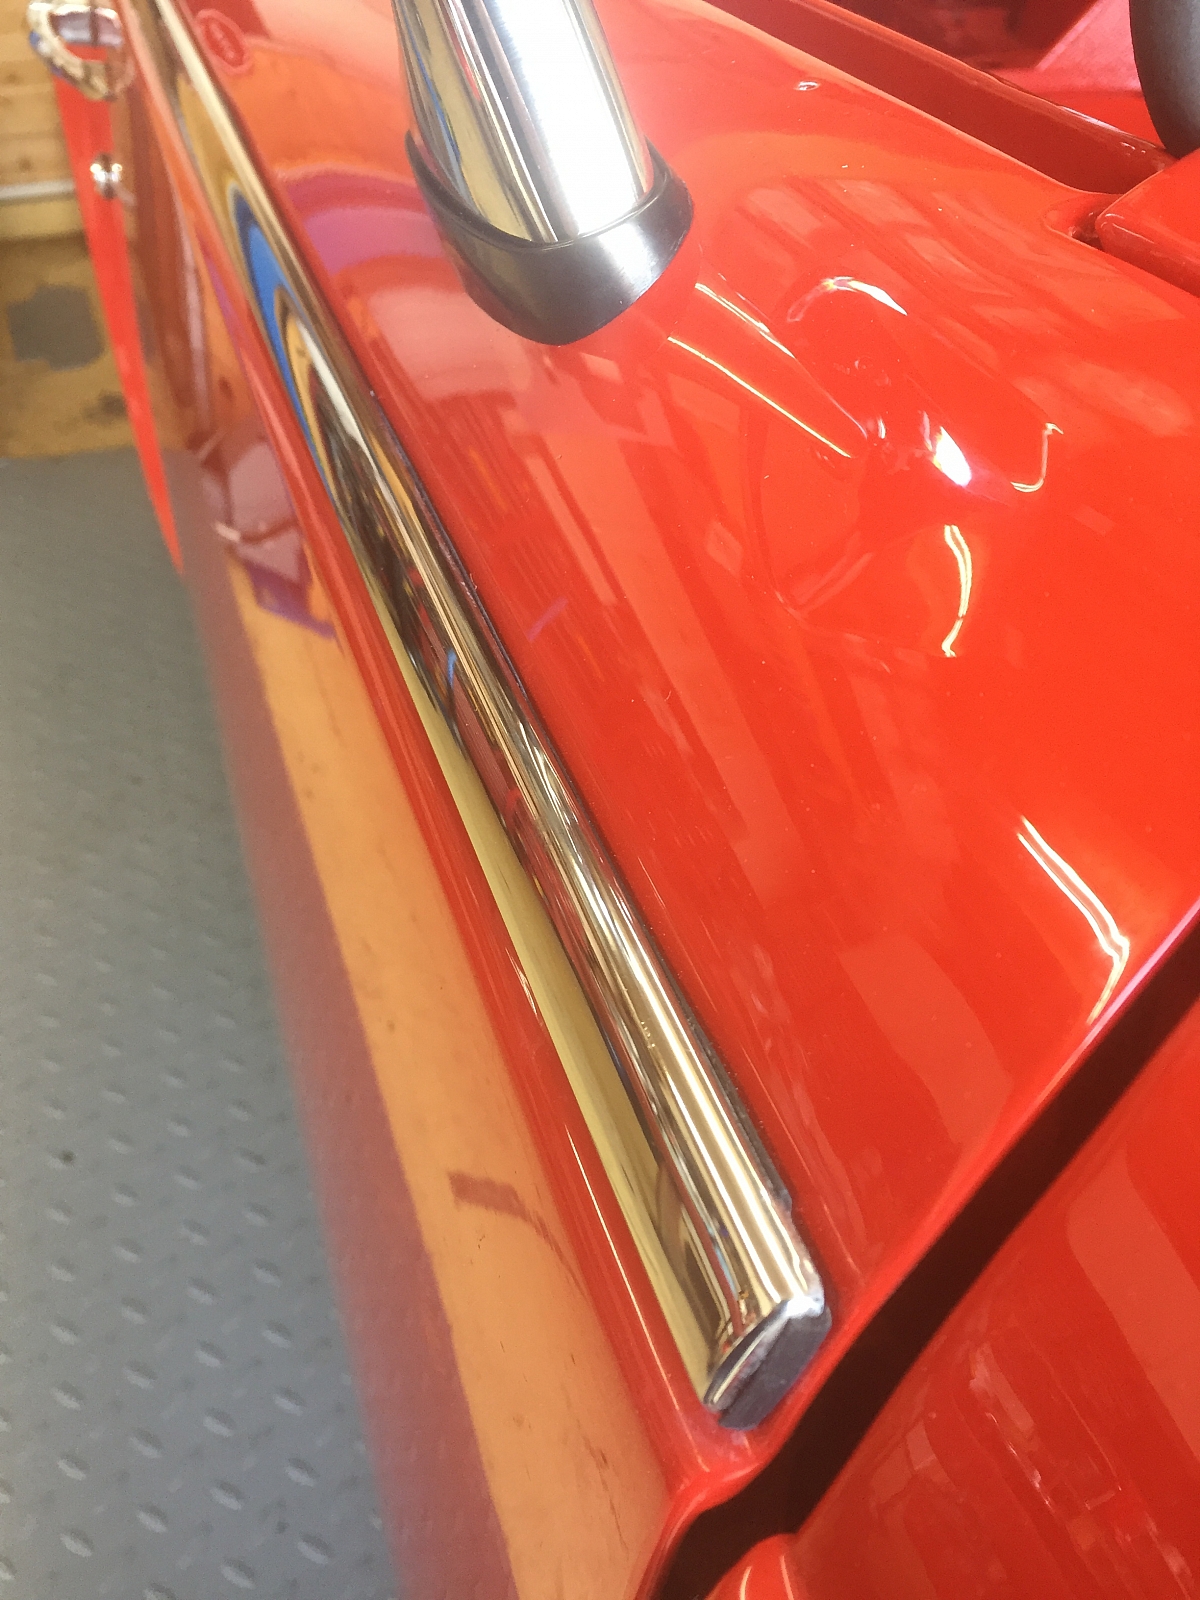
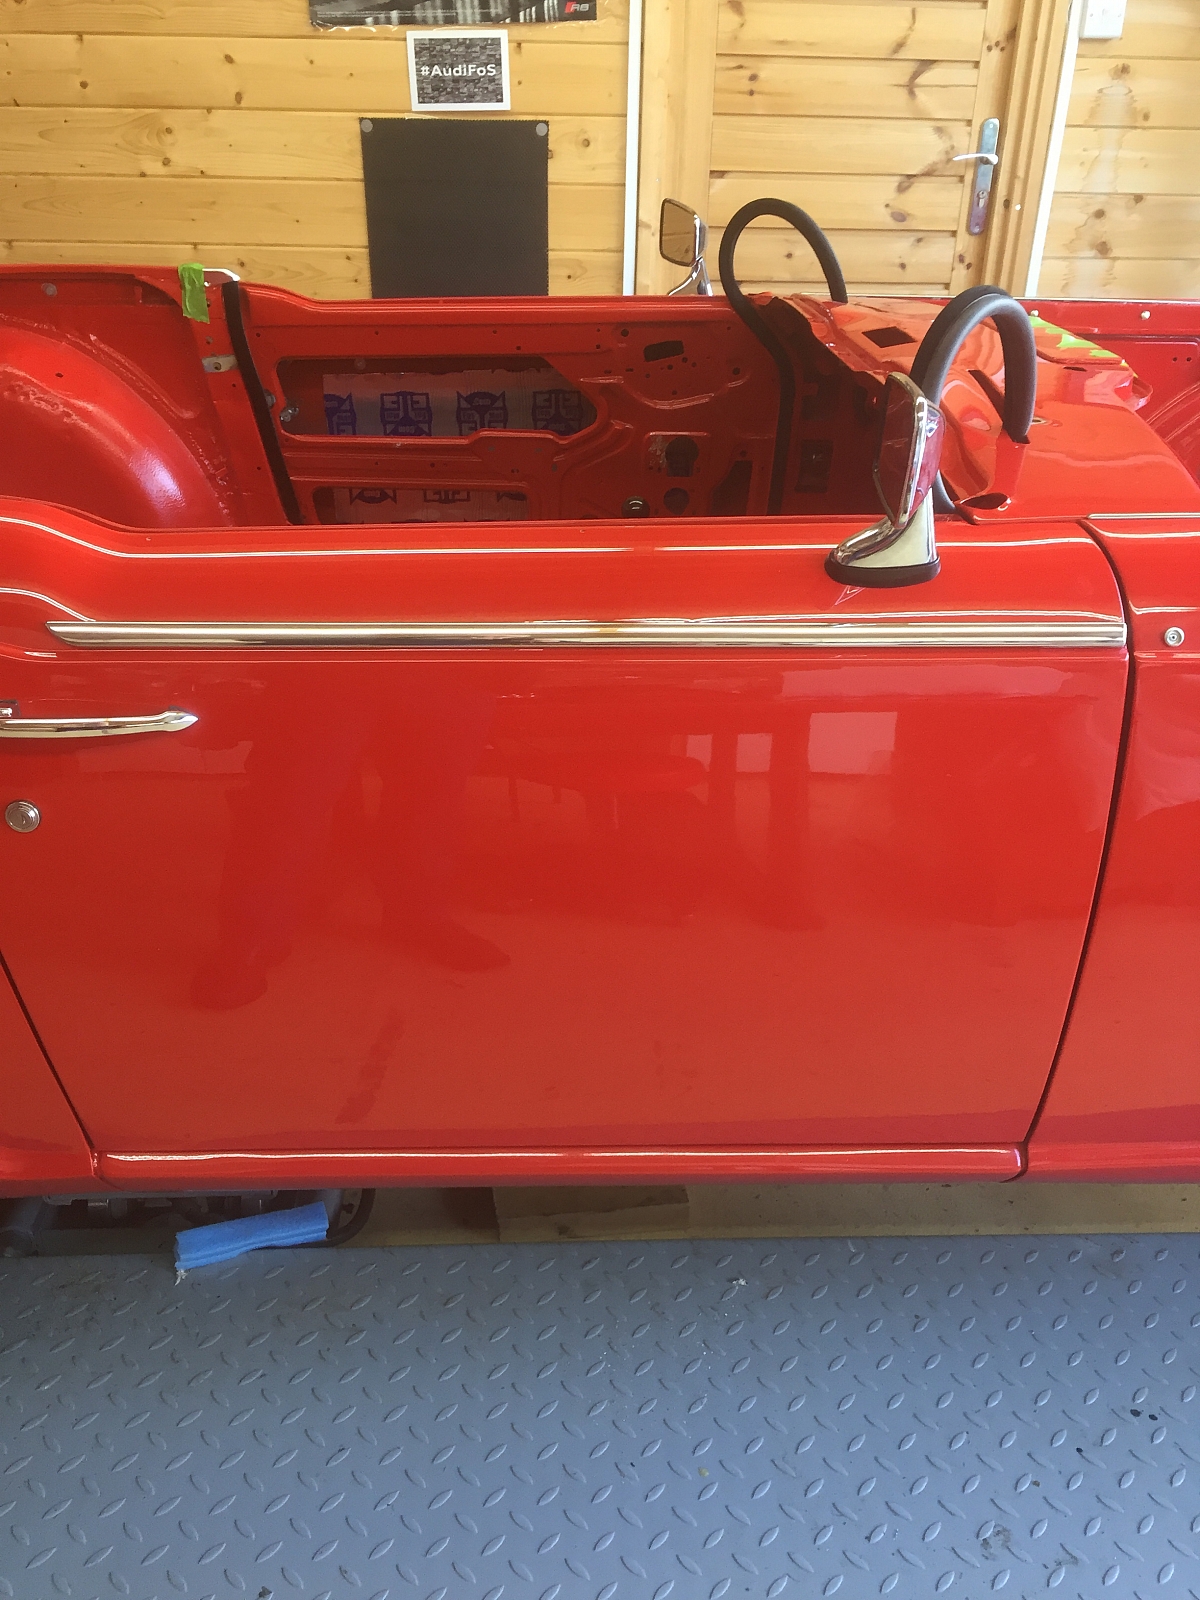
Door and wing strips. I found when fitting these that the riveted clips are too small for the moulding's. I even cleaned up the old ones and tried those. Result - still far tooooo loose ! So I've used T.bolts and rubber edging, taken out the riveted clips and re-fitted. This was really fiddly, but well worth it and I am very pleased with the result. Here's a couple of pictures of the T.Bolt fixings.
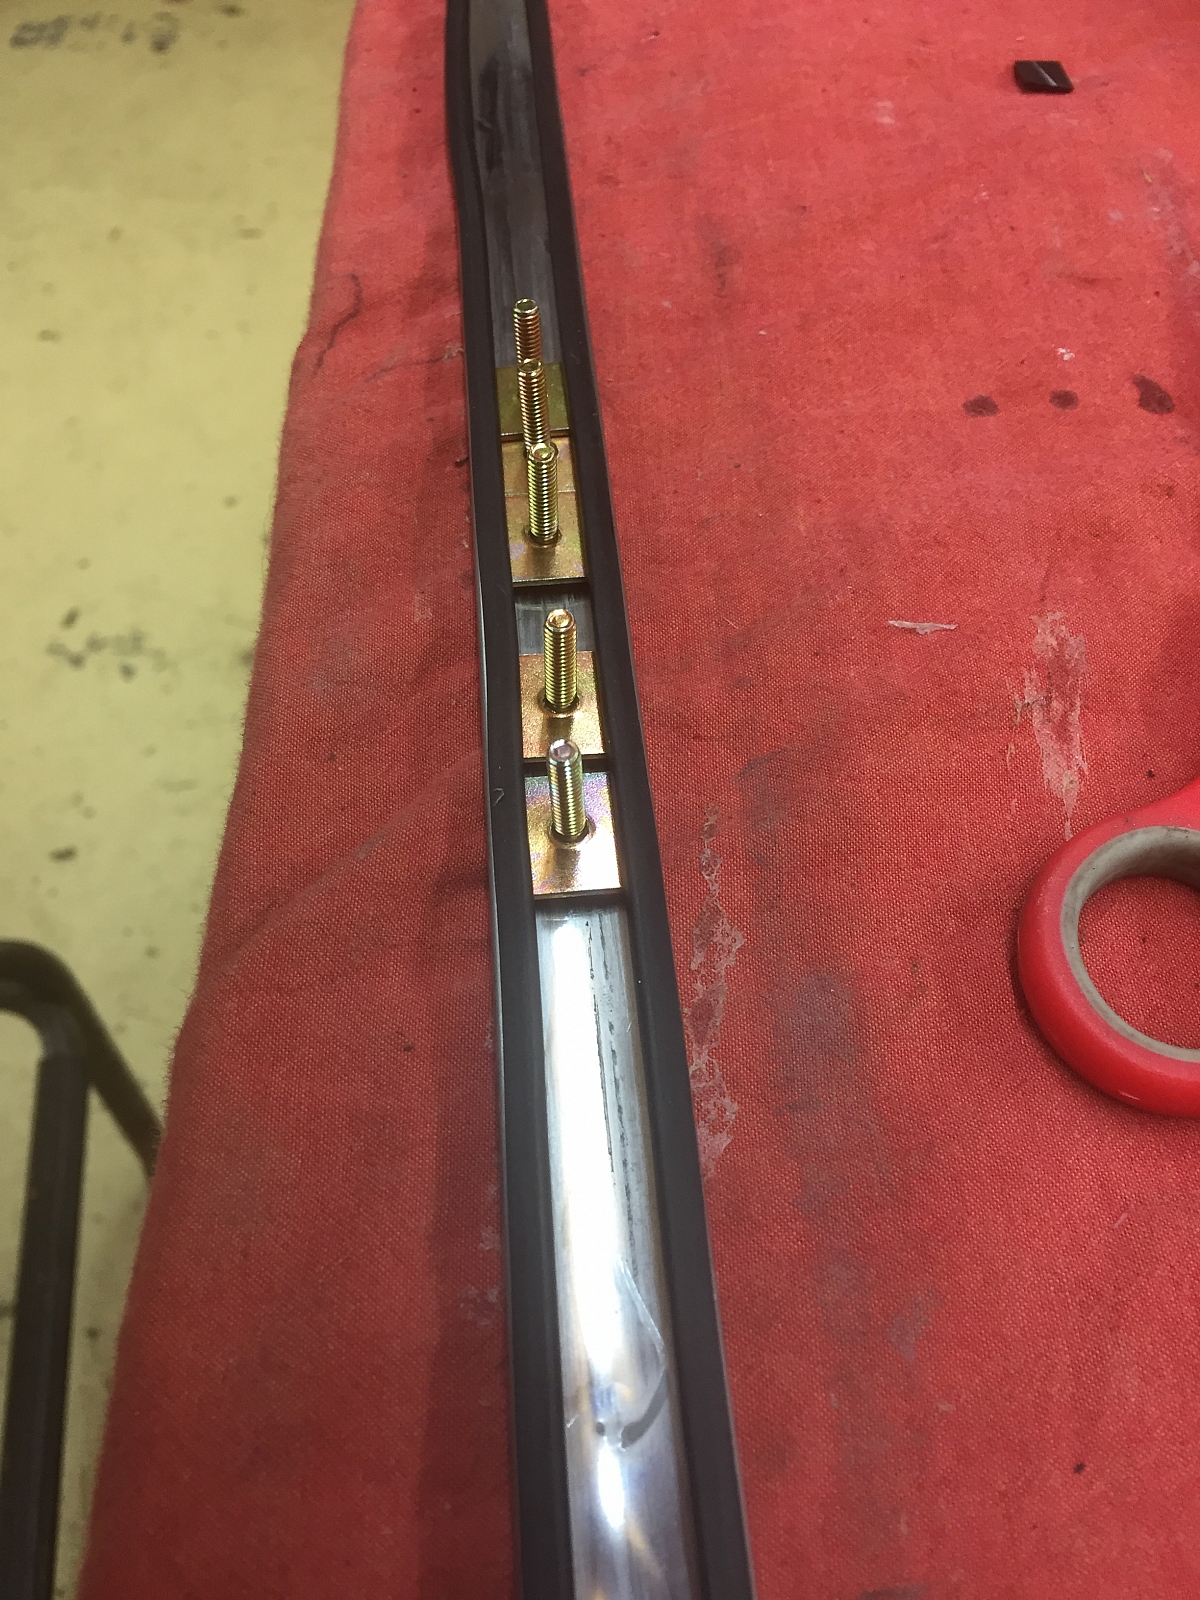
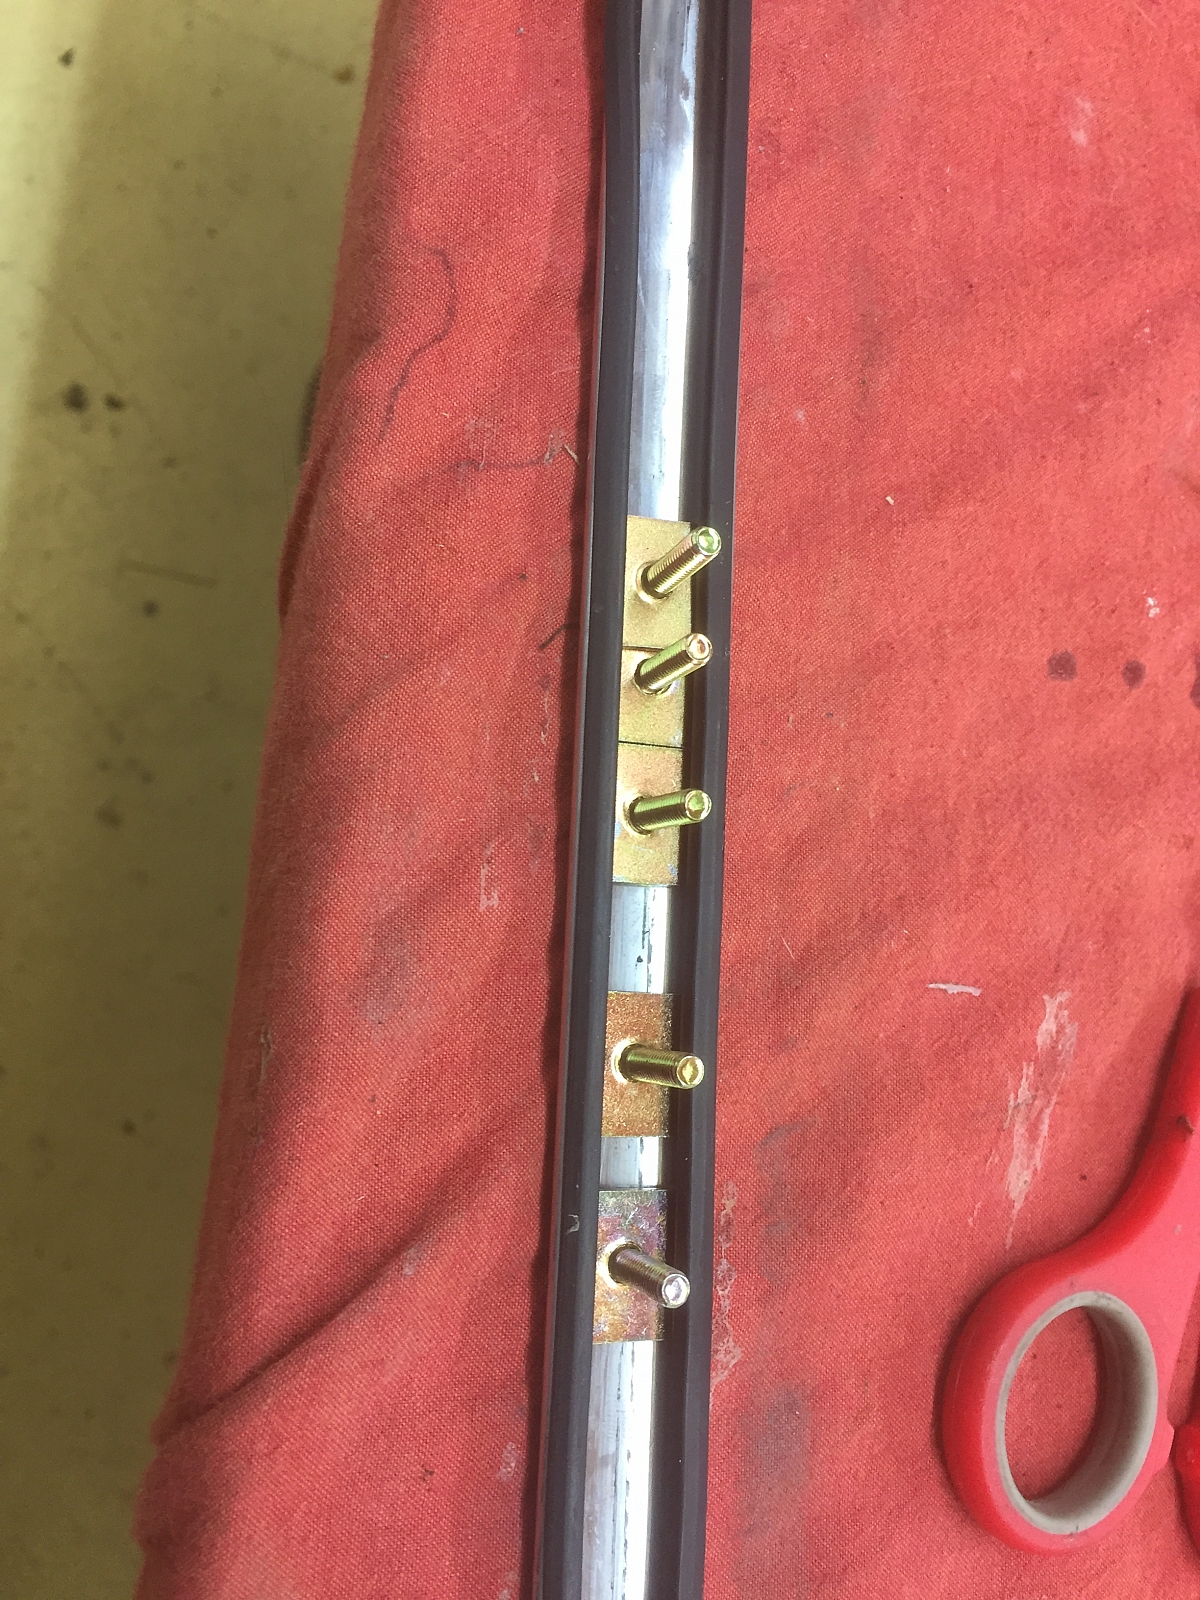
And fitted. I used captive nuts and bonded stainless steel washers on the inside. They act like a spring washer, provide a seal and you don't have to over tighten, just pinch and then a quarter turn on the nuts.
19th November 2016
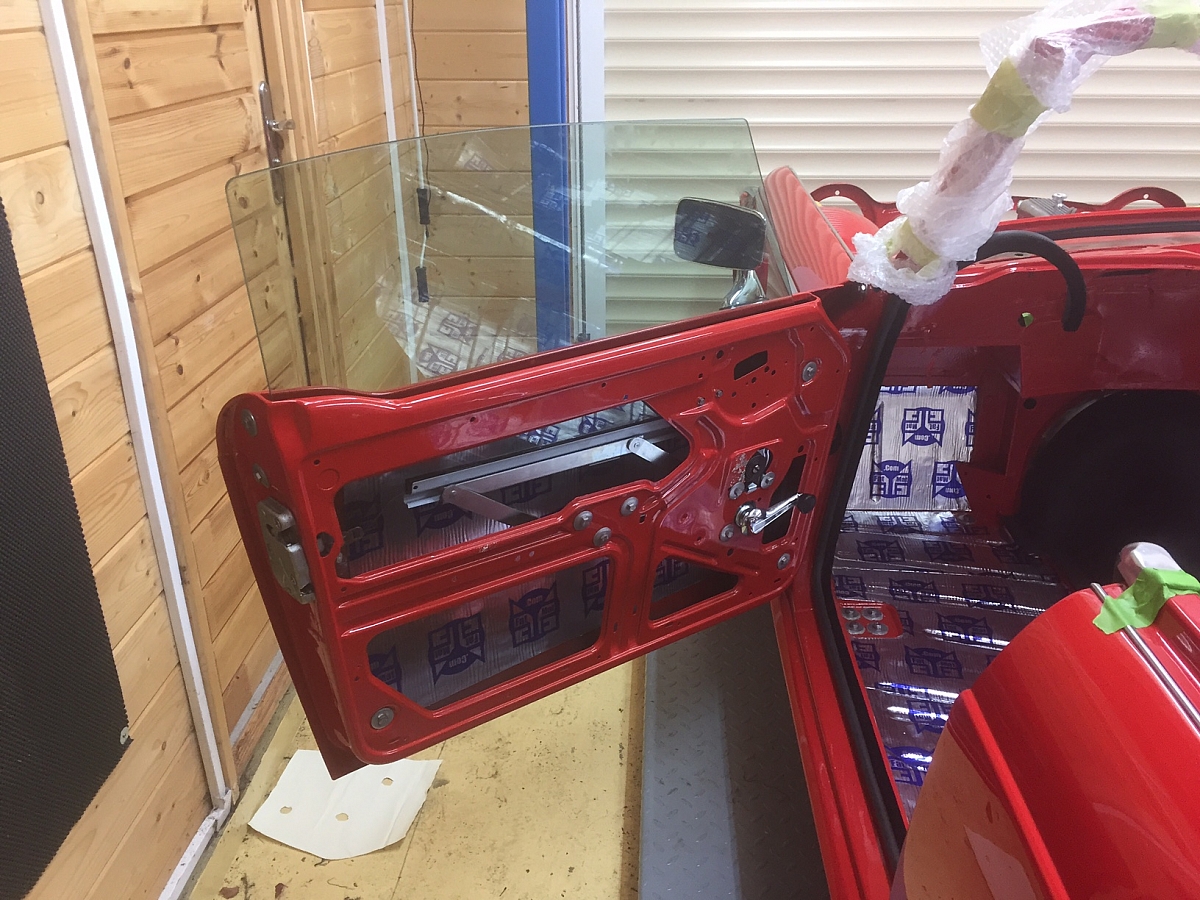
Paul and I spent the last 2 weeks or so evaluating the doors, the boot lid, windows etc for final fitting, and seeing that door handles, boot handles, locks, latches will actually fit and work as they should. As we all know, we are forced to use reproduction parts and some of them are awful, but if you can't get anything else, then you have to modify and make them fit. For example the new window winders are not made properly. One area of the mechanism is shown below. It's the part of the winder that bolts as an anchor to the door frame and is the main pivot for the winder to work properly. When I bought this, the rivet shown was way too loose, causing the arms to start bending and pushing the glass towards the front of the door and jamming the glass. The original is the dirty one and you can see the rivet is a very tight fit. Paul made a modification, by simply welding in a washer in the gap to take up the slack. Heh presto, it now works really well. Just got to do the other one now. Where's Paul ?, Paul....
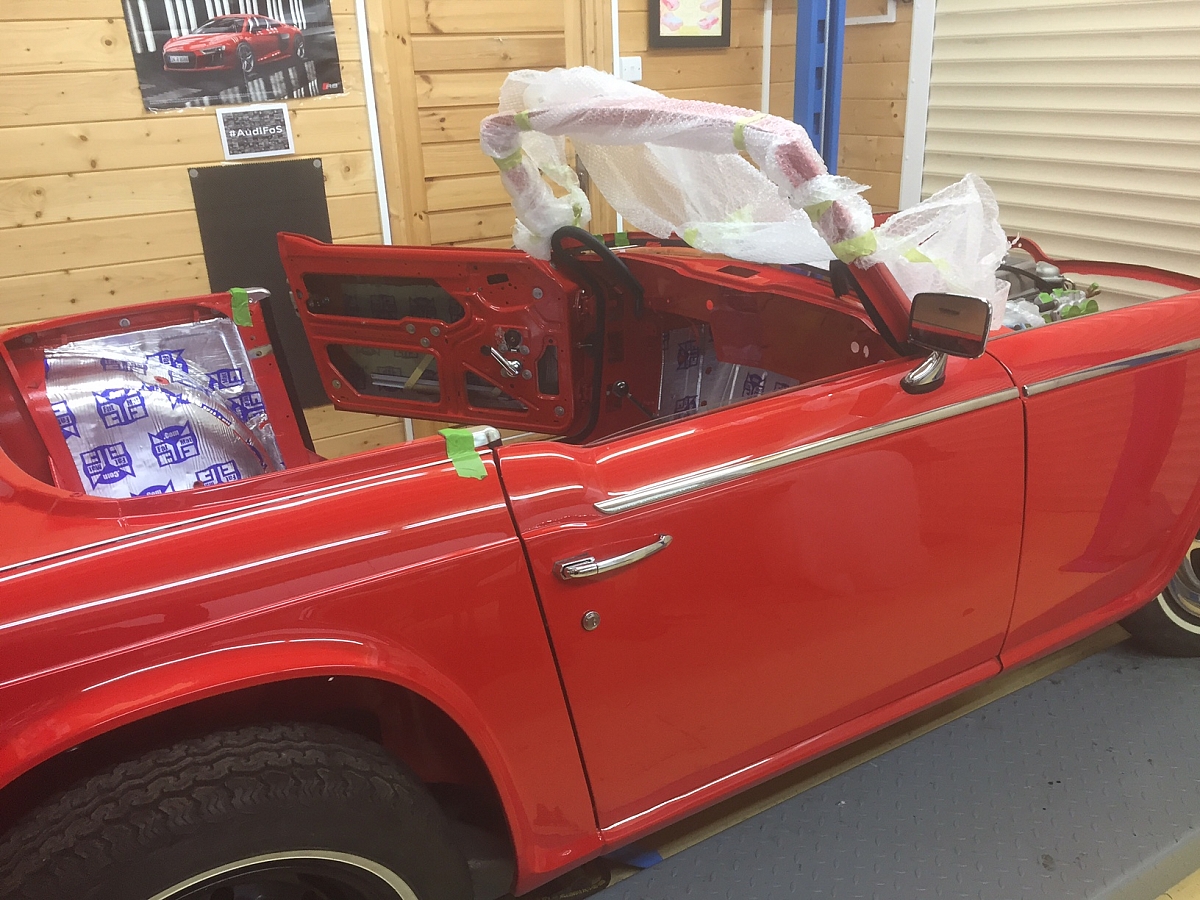
So,all the parts for the windows have now been refurbished, painted and new door glass's fitted. This is a trial fit, as we want to ensure the door glass's align correctly with the windscreen frame. The original glass channels were in super condition. Very lucky, as I understand you can only get new channels now. No brackets.
The windscreen frame has been brought out from storage to loosely fit the bottom rubber, so that will take some shape and settle down after its twisted condition during the delivery etc. That should make it easier to fit when the time comes.
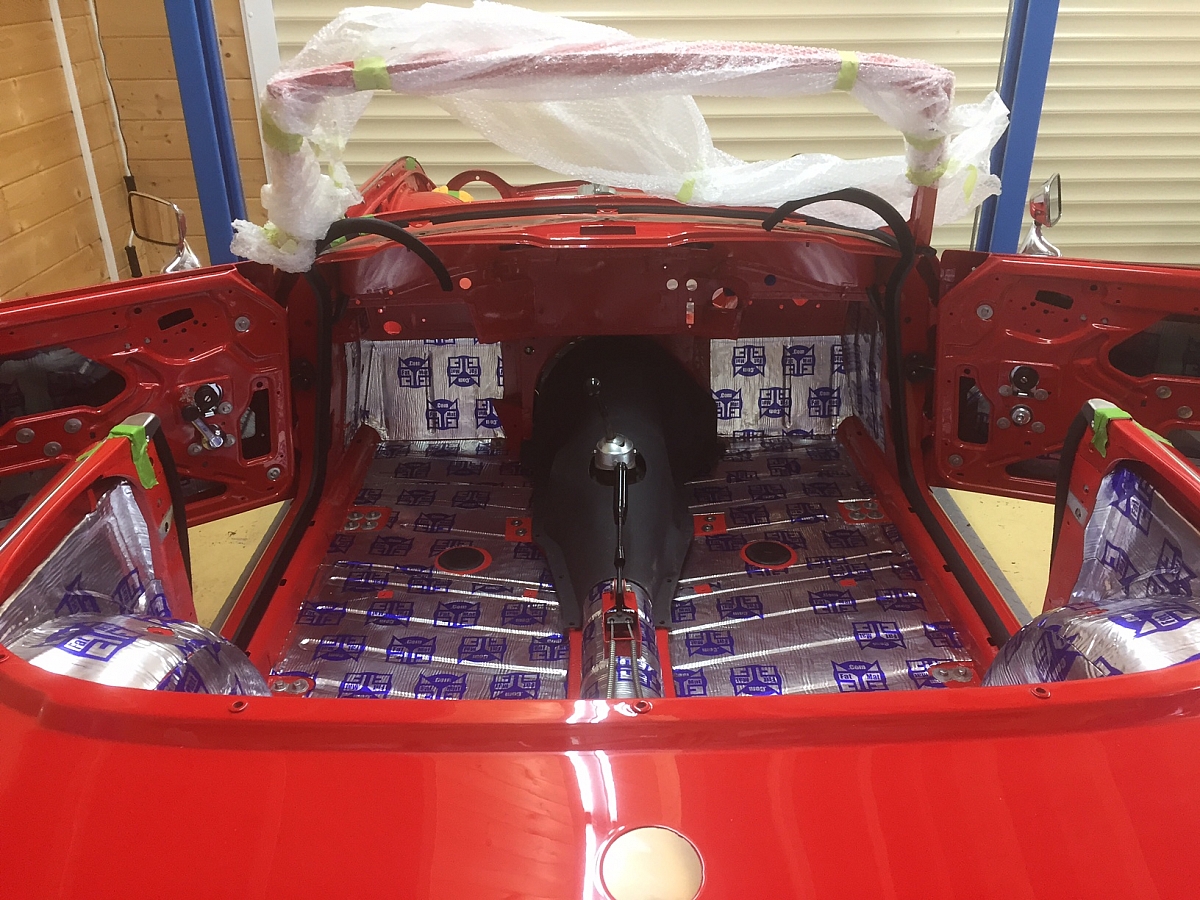
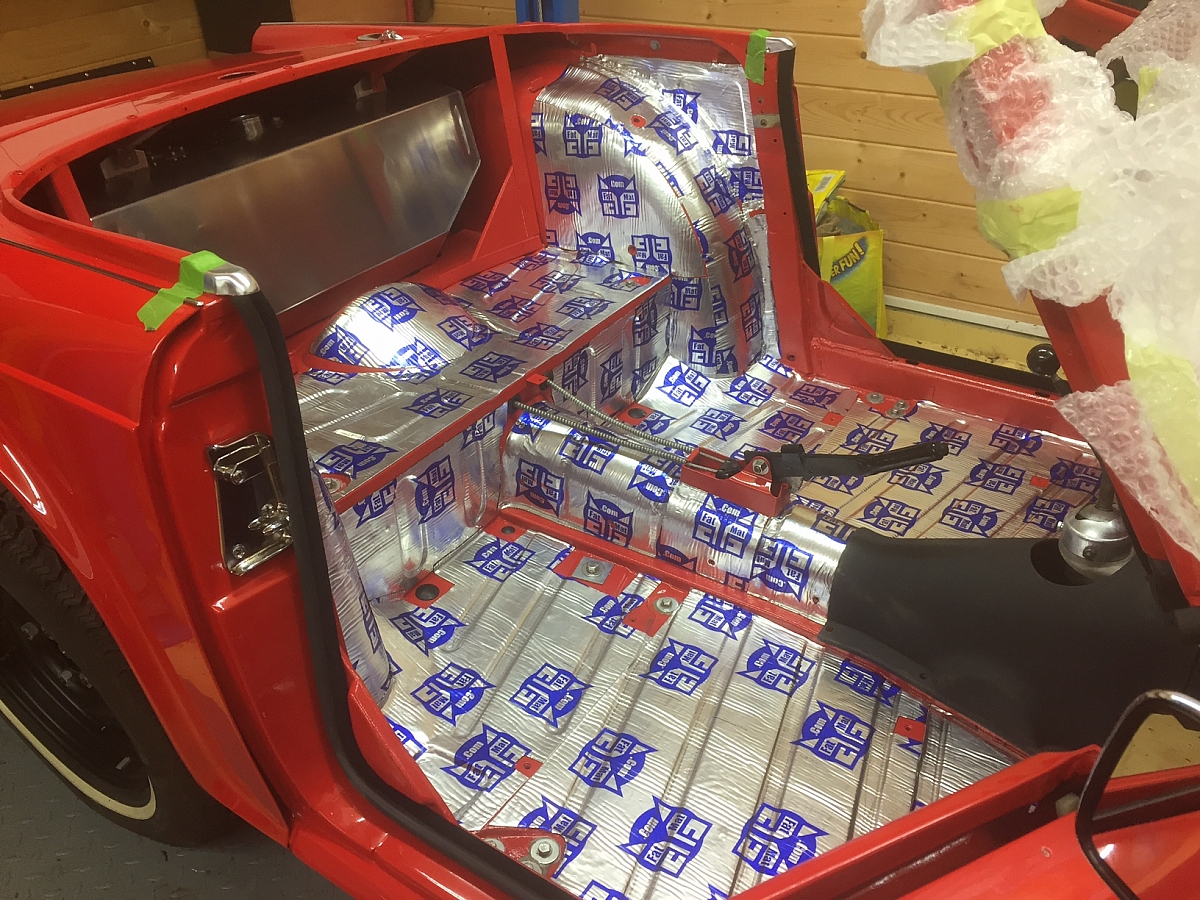
I've now also fitted all the sound proofing in the cabin area. I used "FatMat" - Very easy to use, cut and fit. I've never used it before, so here's hoping for a good result when she's on the road.

20th November 2016
Trial fitted the boot rack - it fits !! Thank goodness. This is a Mazda MX5 - stainless steel.

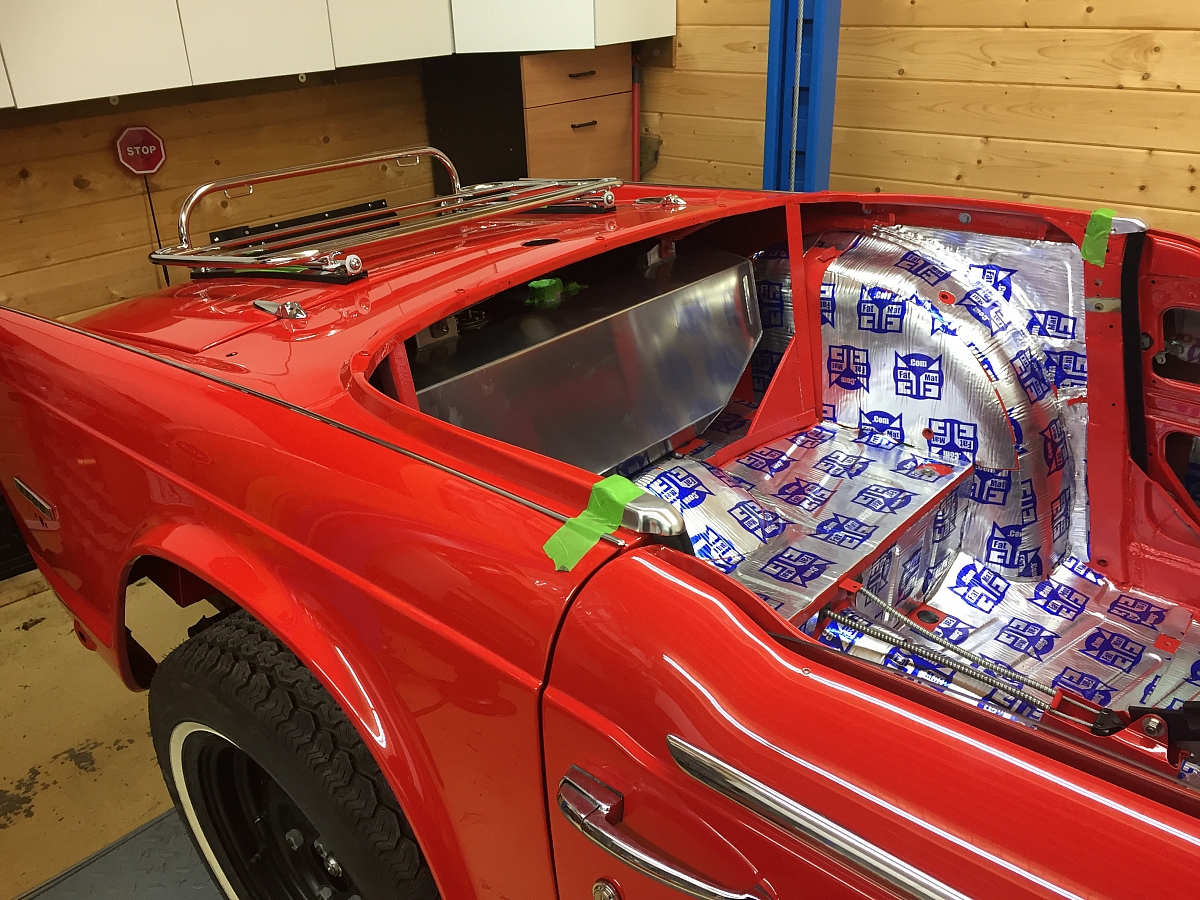
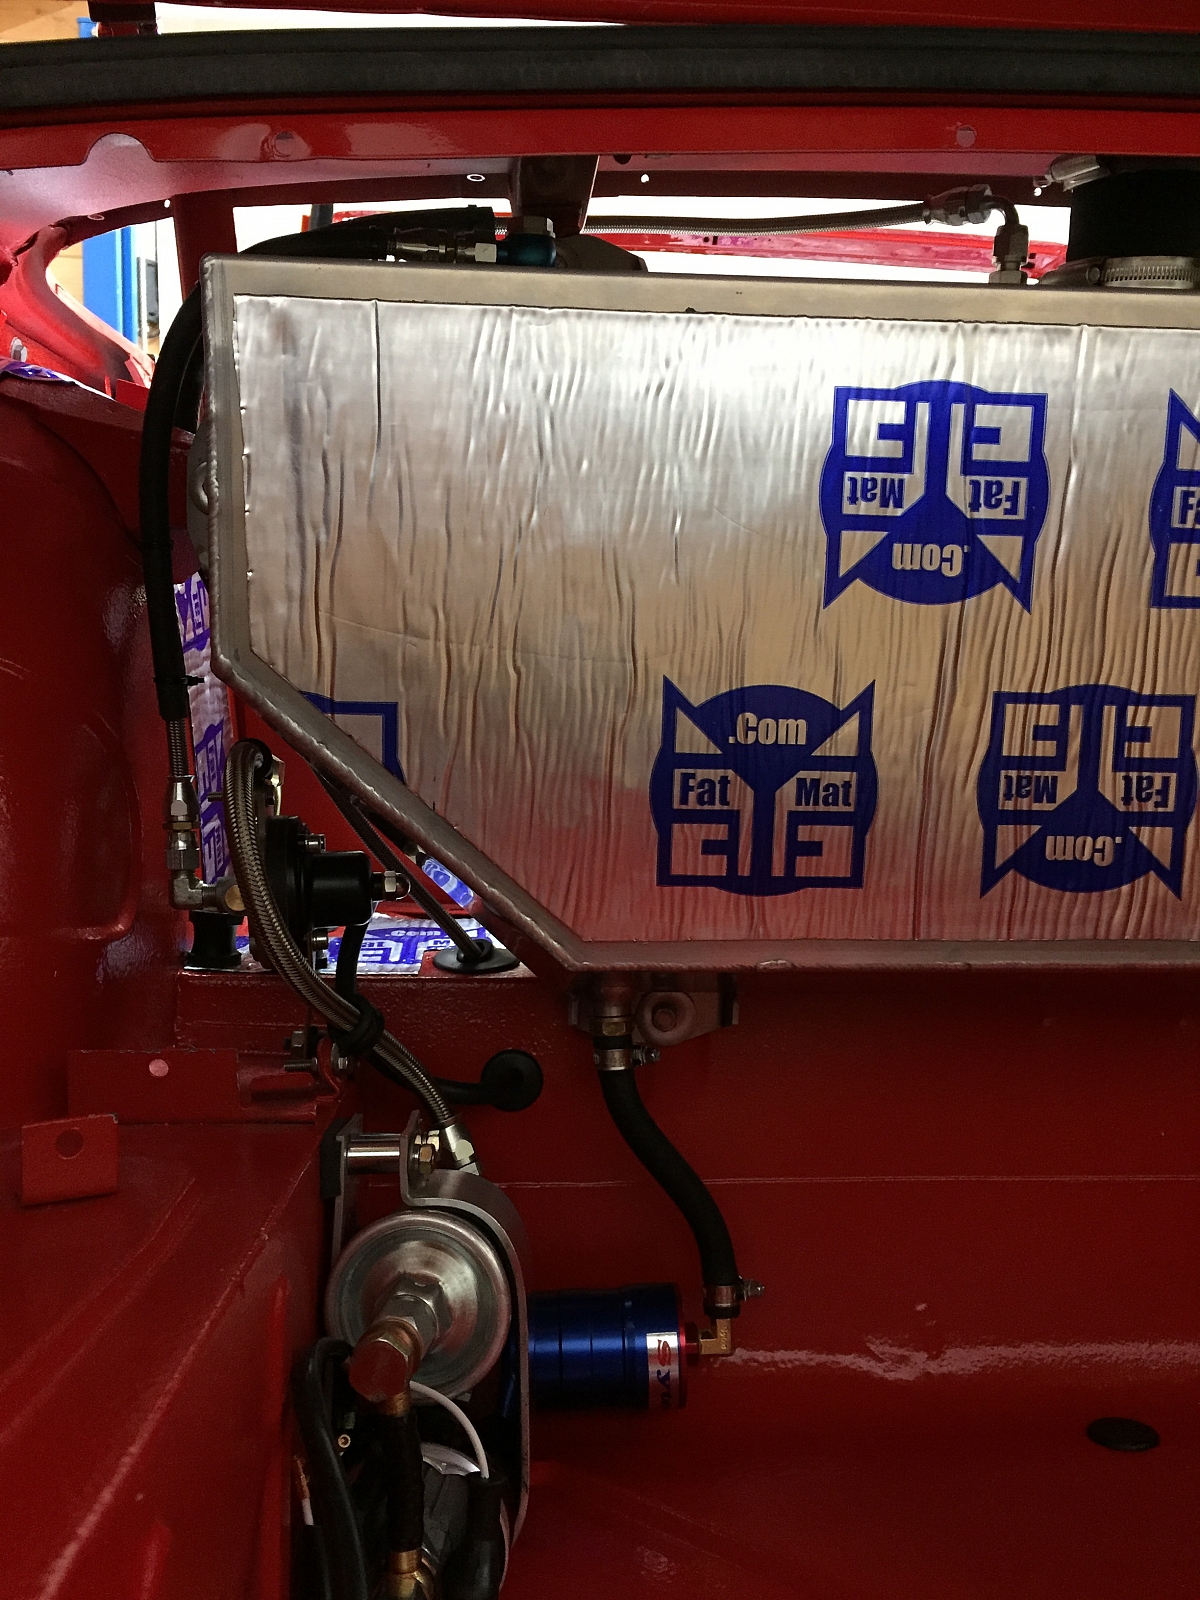
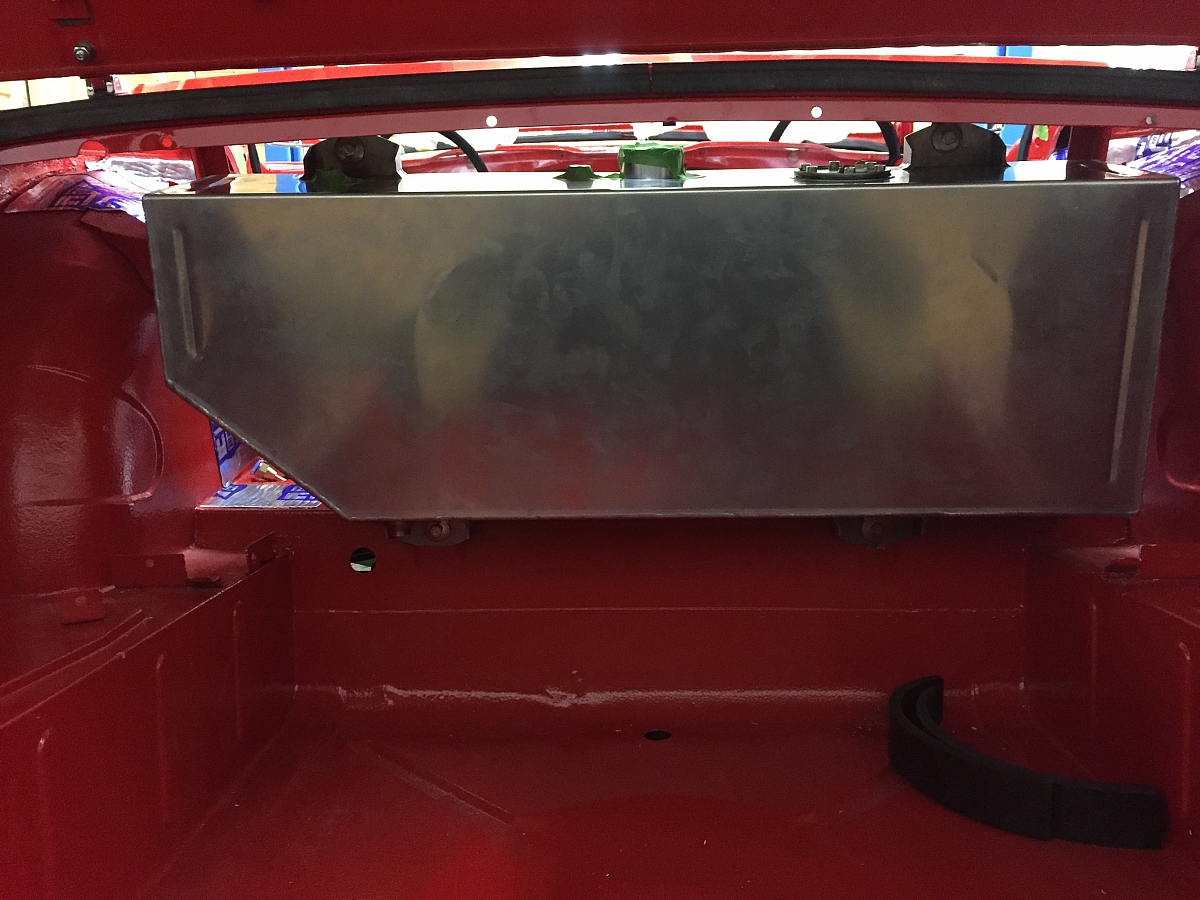
And so does the fuel tank. Just ! - as I did have to modify it a tad. This fuel tank is from Andy Wiltshire. It's slightly larger and has a bigger capacity than the standard tank. I think from memory 51 litres as opposed to 46 litres. Just got to plan the plumbing now. I should have done that earlier, but.. too late now.
January 3rd 2017
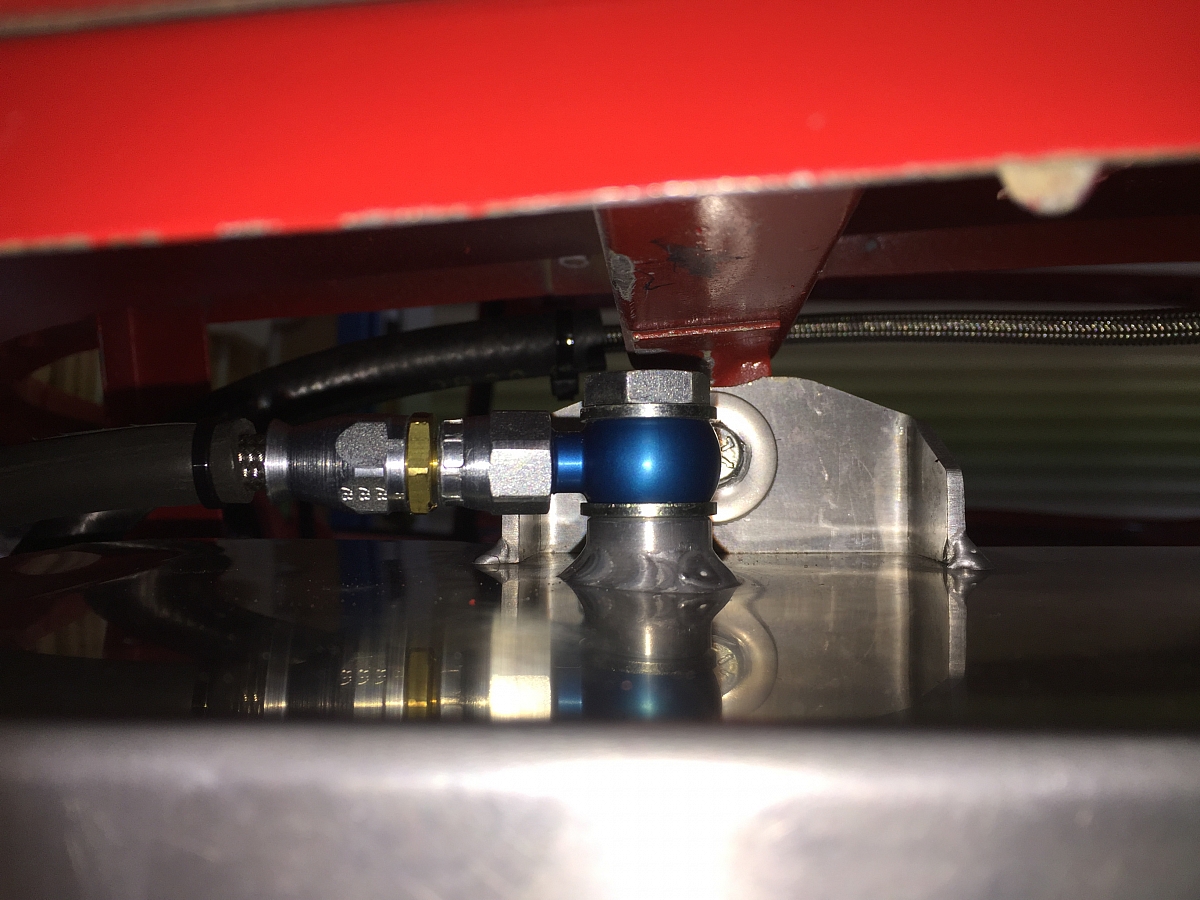
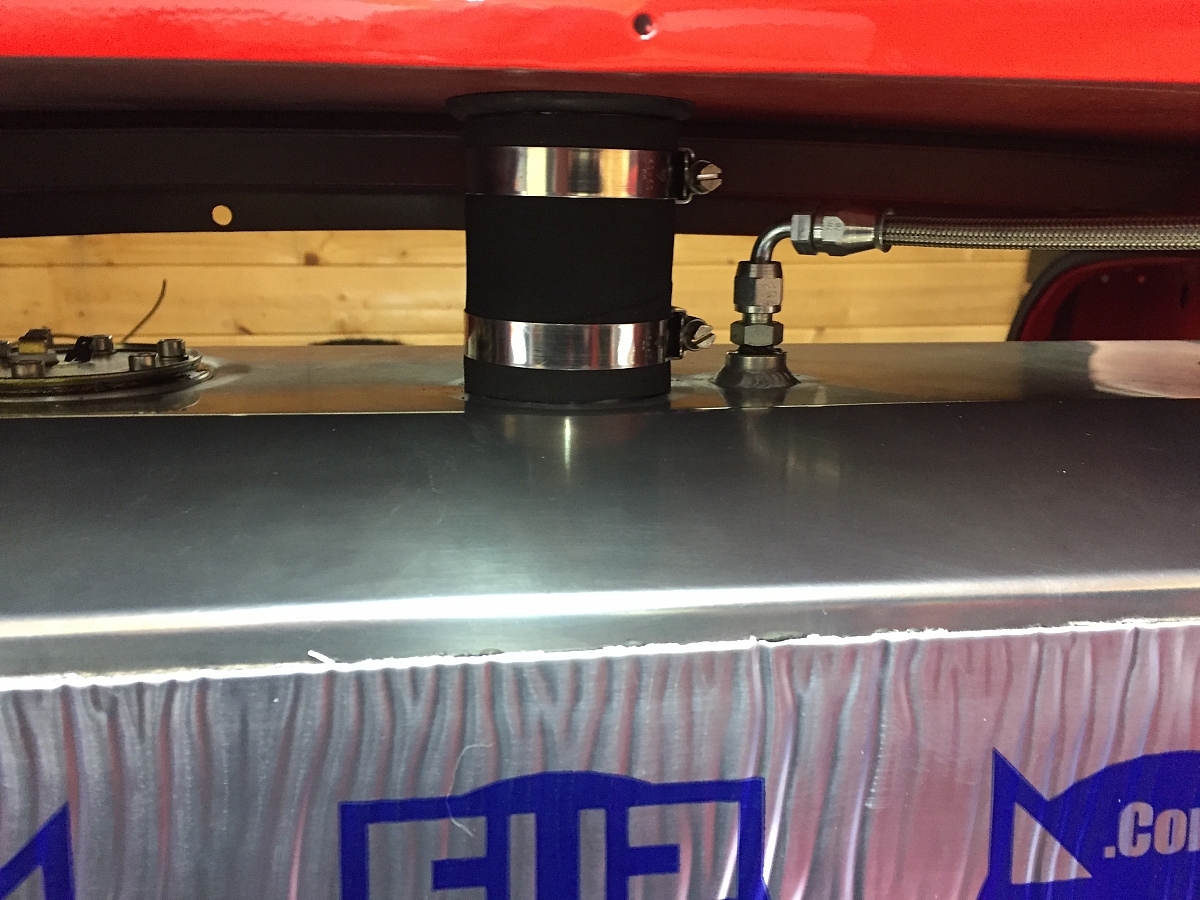
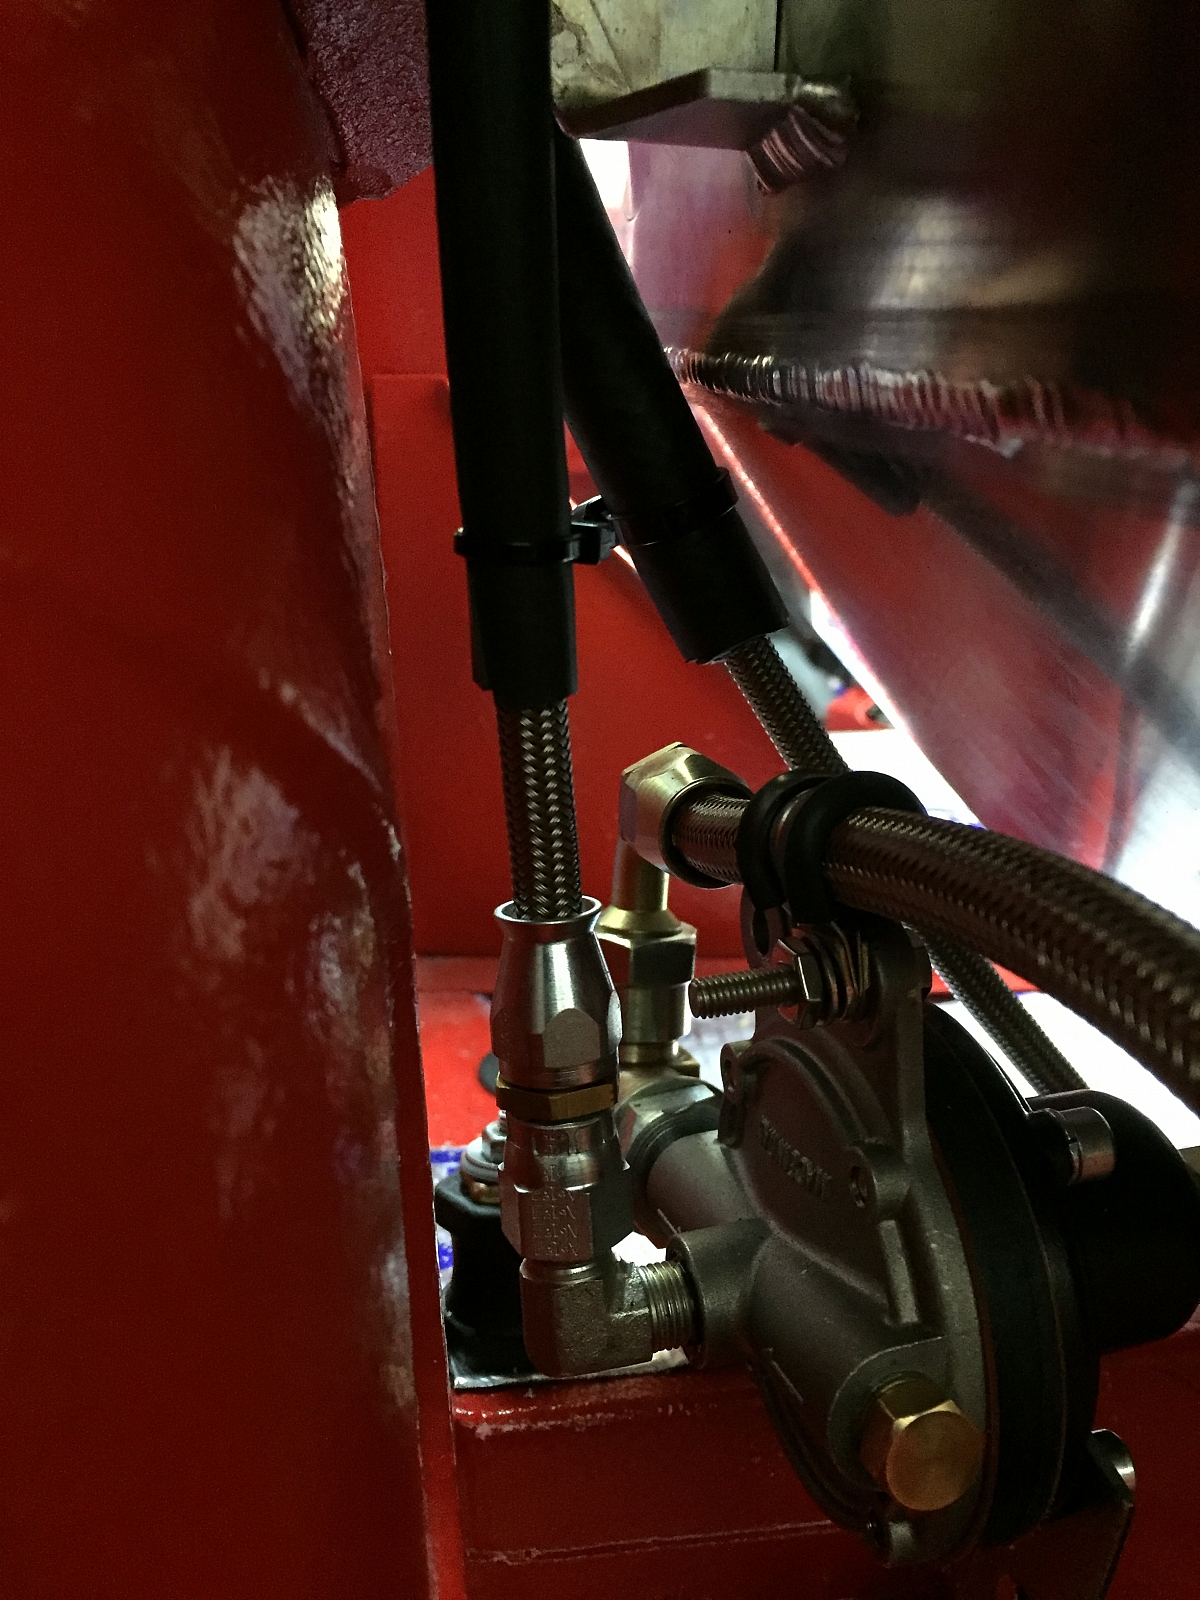
Finally finished the tank installation and the plumbing to the tank over the xmas period. This took a very long time as we had to plan and configure where and how we could run the pipework, given the error of not fitting this before the body was mounted this wasn't easy. We have managed to run the standard copper pipe for the main feed. It was a real faff, but it's done, be it with one extra joiner and having to make up a copper pipe run with double flares etc. Paul came to the rescue again and used a very old pipe flaring tool and it did the job superbly. I also had some new pipework made up by Mocal "Think Automotive" in Isleworth. They are very helpful and will do most things on the spot. Several issues. I wanted to use Teflon (PTFE) pipe to reduce and hopefully eliminate any risk of petrol smells, but that can only be crimped using JIC thread unions. I'd never heard of JIC threads before, so that was new to me. The tank has BSP threads, so I had to use adaptors to make the connections. That was OK, for the connections to the PRV and the MU return feeds, but wasn't OK for the return feed from the PRV to the tank. I had 2 problems here. 1) The position of the inlet to the tank has been positioned just in front/left of the tank mount and 2) The height between the tank and the support bracket is far too low to enable the usual union to be fitted. So I had to use a banjo fitting, which you can see in the photos. The banjo had to be reamed slightly to enable a BSP union/bolt to be used. This has to be done very well to ensure a good fit. Thankfully Paul has a reamer and did this for me. Then we used doughty washers to seal. I had to modify the tank brackets some more, so that I had some wiggle room to position the tank properly as the fuel tank filler pipe was slightly off centre. I also had to buy a longer fuel filler pipe, so that I could make the cut straight, as the ones you get from the usual suppliers are cut scew wiff and are awful. I've also changed all the rubber pipework to Teflon (PTFE). The pump and filters have been fitted and insulated against the body using rubber mounts etc. Hopefully we won't get any resonance. I've made up a support bracket for the PRV. Life isn't perfect though as I'm not entirely happy with the alignment of the outlet pipe to the filter/pump as I think the outlet is in the wrong position and the length of the filter pushes the pipe out of the vertical, but It should be fine. (I hope) The last issue in fitting the tank, was the drain outlet on the bottom right hand side. I don't have a photo of this, but the outlet is too long to enable a grommet to be fitted in the access hole. So I used a block of close cell foam (about 1/4" thick) and cut to shape around the outlet and glued this to the tank before fitting. It seems to be a good solution and should be water tight. Last job, will be to fix and secure the pipework underneath. It's all in the right position. but it needs securing.