


RobinTR6
-
Content Count
2,716 -
Joined
-
Last visited
Content Type
Profiles
Forums
Calendar
Posts posted by RobinTR6
-
-
The long bar is the bar that opens the vent flap in front of the screen. I believe they are NLA .
-
Ha---been in SI as wife is in Australia....time to sort garage.
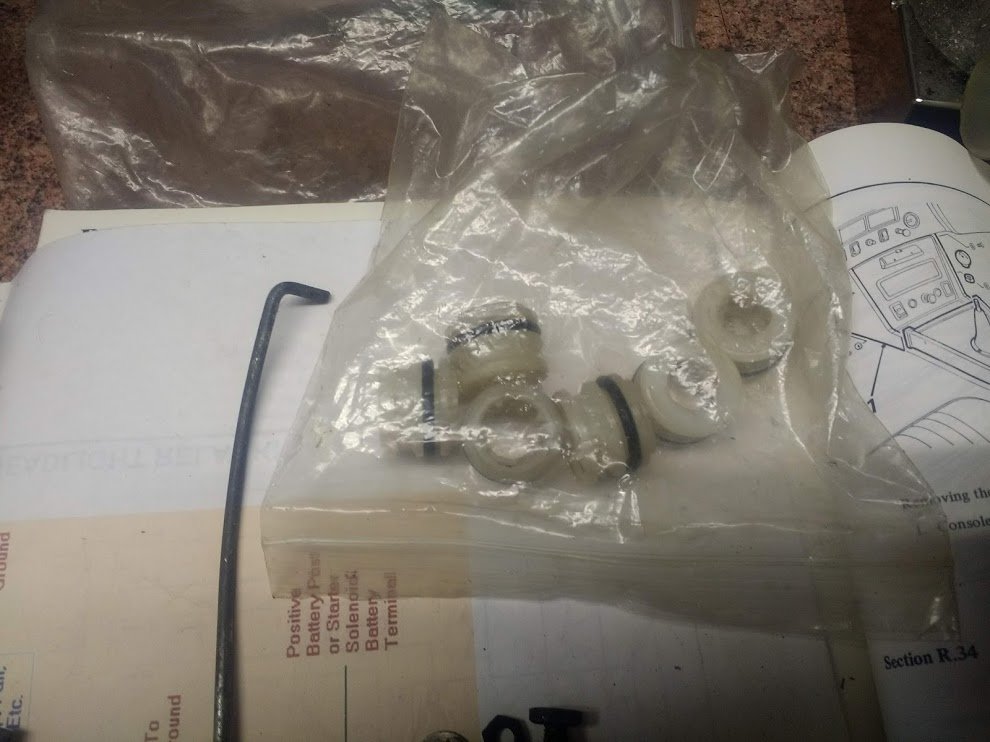
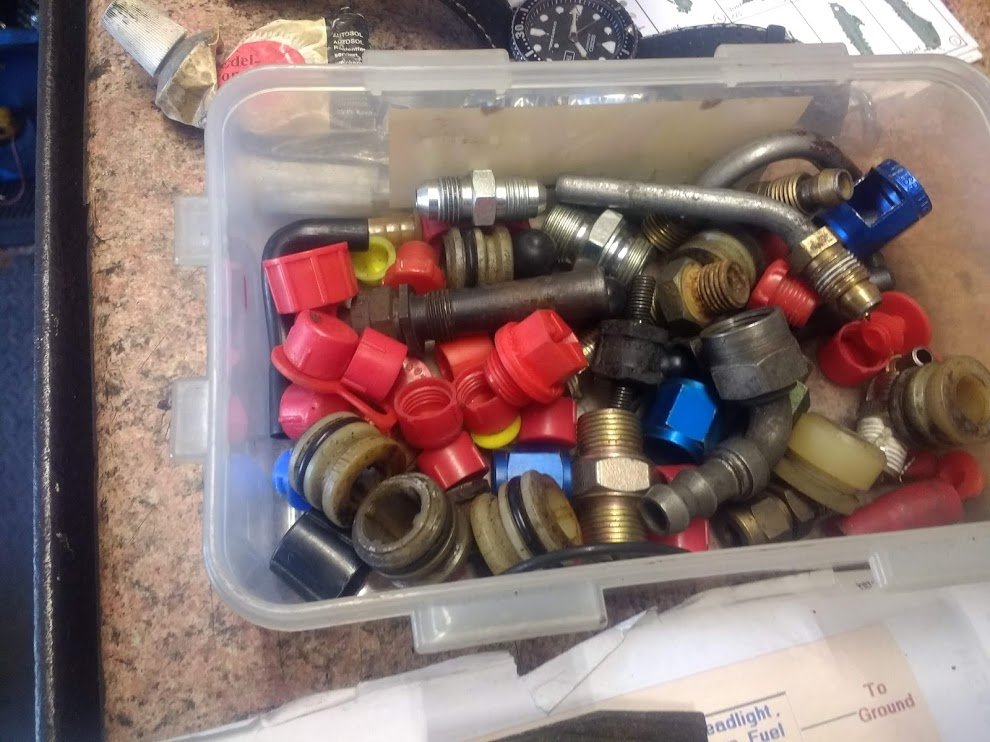
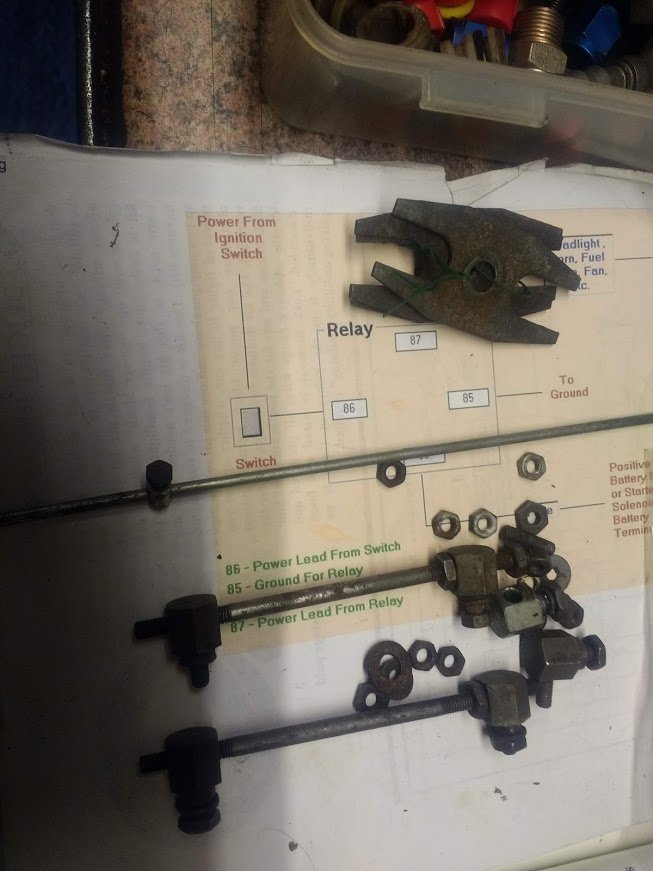
I have the following bits, Triumph with Injection badges: rod for vent flap(quite hard to get ), plastic injection sleeves; 2 PI link rods (old type); 3 Injector keep plates,: box of mostly PI bits (broken injector,plastic sleeves, other bits).
As an old TR6 man myself these are just bits from my ownership days now no use to me. Given all the help I got on here they are available for FREE (you pay postage tho and packing if I need to buy a bag or box): dont make this too hard please so more bits in one go better for me(when we are allowed out that is)
Robin


-
Mine is from TRGB now done 15k Ian without issue, they are pretty good at what they sell and stand by their spares. So shouldn't be any problems.
-
Neil has done loads of returns on my Tr6s. MU, injectors, Lucas pump and injector hoses and PRVs, all very good and sensibly priced, so can commend his work.
-
heres some of the detail from the links above
I had always wanted to build a “fast” British car and wanted to craft something unique. My intentions were to build a virtually stock appearing TR6 that performed at insane levels while delivering exceptional reliability. Various V8’s have found there way into these cars over the years but require many modifications that I was not willing to live with (steering geometry, firewall cutting, weight changes, etc.). While this was no mere “bolt-in” process, the net results lightened and balanced the overall car and required absolutely no changes to the steering and suspension system. It was almost as if BMW had this engine bay in mind when they designed their S50 M3 Power Plant. Engine Mods were held to Head-Work, 8.5lb Aluminum Flywheel, HD Clutch, Cold Air Intake and a custom Chip by Jim Conforti taking into account this particular application with the installed exhaust, no Cats, Intake, Oxy Sensor, Flywheel, Curb Weight and 7000 RPM Limiter. It’s absolutely ridiculous how fast this thing is.
I stripped the entire TR6 down to a pile of nuts and bolts and shipped off the tub and panels to be Soda Blasted before taking them to the body shop. This gave me the opportunity to tackle the frame and drive line. I started by having the frame sand blasted then welded in a lot of additional steel at all the known and unknown weak spots including the TSI Rear Strengthening Kit and ¼” plate added atop the rear spring mounts. Every factory weld was ground and re-welded to insure zero issues with frame cracking, twist or degradation due to the added HP and suspension modifications. I also had a local race car fabricator custom make a 6-point roll cage that ties into the frame directly via the four body mounts in the cockpit and thru the rear bulkhead and down to the aft frame sections (clears the roof). This is probably the most torsionally stable Triumph Frame you’ll ever find and the driving changes it made are very obvious. Next I coated the frame with POR15 along with all the suspension bits as it holds up much better to rock/road debris than Powder Coating. I utilized all of Richard Good’s suspension upgrades which include Lowered Springs, Sway Bars and Adjustable Trailing Arm Brackets. Due to my prior experience with Koni, I selected Spax Adjustable Shocks all the way around which once set-up match the over-all handling perfectly. I must admit, I had Roger Hurst (local Triumph Racing Legend) actually “set up” the suspension once loaded to insure the proper geometry required to provide the best handling and ride. I also added a new quick ratio steering rack combined with Richard Good’s Aluminum Rack Mounts and a slightly smaller diameter Leather Moto-Lita Steering Wheel. I’m in the aviation business and have access to all sorts of great hardware so all the suspension and brake nuts and bolts were replaced with AN series or Grade 8 at a minimum
I changed out the front brakes to Toyota 4-Runner four piston calipers mated to Toyota Cressida vented rotors which as many of you know is a very simple conversion. For the rear I ran across a couple of guys who campaign a full-race TR6 that designed and machined a race-approved disc brake conversion kit to install Wilwood Aluminum Calipers clamping on 280 ZX Rotors. They were in process of commissioning a machine shop to make a few more sets for a new car they were building and were nice enough to have a set made up for me at the same time while sharing their engineering. This is not one of these cheap kits that come around every so often but a serious chunk of machined aluminum that has been approved for use on the track. I also had Classic Tube make a complete set of Stainless Brake lines and sent out the booster for o/h and replaced the master cylinder and filled it all w/ DOT5 fluid. I installed a Wilwood lever-style brake bias adjuster which can be manipulated on the fly by the driver if you want to change the proportion of force front to rear. I have installed a B&M Launch Control Kit (line lock) in the front circuit but I did not wire it up. It’s just one more thing to get me into trouble either by shredding too many tires or by the local law enforcement. It’s fully plumbed and the wires terminated under the dash, just need to hook up the button. The hardware combined with the Bobcat pads make this 6 stop on a dime with no wheel lock-up and much reduced fade.
The rear differential is an obvious weak spot along with the rear axles on TR6’s especially when horse power is added. I opted for the Nissan/Infiniti R200 dif as it was extremely easy to adapt to the frame, provided unquestionable strength (the dif of choice in the drifting crowd), super LSD performance and available in a ratio (3.54) between those used by the stock M3 and the full-race M3. I commissioned Kevin at Constant Velocity of Ocalla (FL) to design a set of rear axles utilizing CV-Joints and able to take the added stress of HP I was going to throw at them. As with everything on this car, they weren’t cheap but with out question one of the most required parts to change out which many Mod’ers forgo when hopping up a TR6.
I had the entire interior, fender wells, trunk area and bottom of the tub shot by the local Rhino Liner shop after blasting and priming. This stuff totally encapsulates all the known rust areas for future protection and offered an indescribable reduction in noise and heat and increase in solidity. For the body, I chose a BMW M3 color, Imolla Red II which is a beautiful deep and slightly dark red. My body guy sprayed all components and panels separately with a PPG system utilizing Base and Clear Coats. The body is completely assembled with Stainless Steel Fasteners to alleviate any future corrosion and they simply look nice and actual DumDum was sourced in the UK to seal the seams between the fenders/wings and tub. I shaved off the front side markers on the fenders and door locks to clean it up a little but left the original front turn signals under the grill to accommodate state laws. New front and rear light assemblies were installed too. I have two new Bullet Mirrors for the doors which I have not installed as I preferred the look and they are not required in the State of KS. The hood / bonnet cable has been removed in favor of a direct release rod courtesy of Macy’s Garage so no worries about stuck hoods because of broken cables. No other body mods were made as I truly wanted to keep it in stock form to any on-looker.
One of the weakest points to any British car is the original electrics and wiring. I contacted Dan Masters of Advance Auto Wire who makes an over-the-top 21st century designed wiring kit for several makes of Brits and had him make me a custom harness for my project. The heart of the system is a power block that utilizes individual fuses for all circuits and relays for all heavy load items just as on current vehicles. It probably added 25bls to the car in copper as the wire gauge was quite oversized compared to the original but well worth the trade off. All the instruments were switched to electric models from AutoMeter and incorporated with the harness. I also replaced all indicator bulbs with high output LEDs. Once I completely ran the new wiring, I removed it before termination and “snake-skinned” the entire thing. Most would have just zip-tied it all but I really can’t handle the mess associated with typical aftermarket harnesses so it truly looks stock. I have wired in a CD/Stereo unit but haven’t felt the need to cut in speakers as the note of the exhaust is all the music I need. The Optima battery has been relocated to the right rear trunk area mounted in a custom keeper and a main battery cut-off switch is mounted on the firewall with the kill-key extending into the glove box for easy access. Both the fuse block and BMW computer are mounted inside the passenger foot well safe from any contact with exterior water or hazards and out of sight.
The interior is outfitted with Miata Seats that do have speakers in the headrests and seat heaters to keep your buns warm. They are trimmed in Tan Leather along with all the other interior panels which are piped in a contrasting brown (no Naugats were skinned or harmed as I went the cow skin route rather than Naugahyde). The carpet is tan wool from Heritage and has been installed in a fashion that the floor pieces can be removed on the instance they get wet. The window regulators, channels and seals were all replaced with new units that, believe it or not, don’t rattle. New seat belts were installed as well as a set of racing harnesses for track days. I never particularly liked the TR6 top mechanism as it just sits like a lump behind the seats and detracts from the clean lines of the car. I took this opportunity to modify the bows from an early TR4 as a replacement as it affords for the complete removal of the soft top for stowage in the trunk and the bows tuck out of sight behind an interior panel. The windshield frames between the two cars are the same but I did change the top finisher to the TR4 as its soft top fastens at the front to a lip under this. I never had the intention of purposely driving the car in foul weather but did feel it important to have an emergency plan just in case I got caught out in the rain. I contacted Randy Keller of Prestige Auto Wood to craft me a custom dash laid out in the stock form but for use with the AutoMeter instruments and LED indicators. I chose Hawaiian Koa Wood for this and he also matched a panel for the switch plinth. The visors, mirrors, crash pads, windshield trim, etc. are all replaced with new. An insulated poly transmission tunnel has also been added to replace the original cardboard unit. Back in the trunk, I replaced the original fuel tank with a 16 gallon custom made aluminum unit that resides in the spare tire well.
The 17x8 3-piece wheels are BMW Style 5 Composites made by BBS and are found on 5-Series Sport Models; always my favorite style of all time and they look perfect on my TR6. I was not willing to settle for any type of adapter plate to mount them and as luck worked out, the offsets were perfect. I sent them out to a shop in CA who specializes in wheel customization and they disassembled them, filled and re-drilled the centers for the TR6 bolt pattern, sent the centers out for powder coat and polished the rims. I was able to remove the BMW emblems from the center caps and with a little modification install the TR6 chrome emblems with red stickers in their place. They absolutely look factory. I wrapped them with 225/45/17 Falken Azenis RT-615 tires which are a new class of DOT and SCCA Spec race approved tires. They are a little more suitable for daily driving than the typical “R” compound tire while providing exceptional grip.
Pretty stupid as I refelct...Guess we all need a hobby. -
Stevens did mine updated....what a difference and in my view more tractable, comfortable and better handling all round. I've tried the various telescopic alternatives but found the original levers updated with stiffer springs is the best I've experienced.
-
Yep it's spring loaded but shouldn't be hard to operate by hand.
-
Think I did this from underneath, without removing anything. Unfortunately it was a bigger using a pointed pliers and lots of swearing......took about an hour. Arms will be aching...but better than removing the tunnel IMO.
-
I had one , MU, that is that rattled a bit, audible when bonnet opened, worked for ages like that then started leaking from the rear plastic cover. At the time I was told by those in the know that some 'just do that'.....
-
Not wishing to confuse but Revotec fan is a Comtec fan and very good too. I bought one, the fan that is, from them and fitted it on some brackets. Unfortunatley I had an overheating issue and had already bought a new radiator......the fan has never been used as the car has never gone past the half way mark on the temp gauge....in 3 years ...and no I didnt remove the original. So tend to agree that the original on a sorted cooling ssystem seem to be fine.
-
Hi, simply no. Original amber clear are hard to come by in good nick and expensive either used or new....
-
keith,
- main loom and overdrive loom thru big hole underneath washer bottle
- oil pressure feed half way between battery and brake pipes, bulkhead, about half way up bulkhead ie centralised
- right hand side of washer bottle about half way up cable for bonnet opening
- obs two holes for washer botttle bracket above large central wireing loom hole
hope that helps
-
Yep, oil pressure and ignition..
-
Can't help on the serial numbers but the PI dizzy has no vacumn advance so although the little hat thing is present. It, the hat, should point toward front of car. It may be that you haven't aligned the rotor arm pointing to no.1 cylinder and the metering unit feed to no.1 so the are synchronised. The procedure is in the brown book. This probably why your plug leads don't seem to be in correct orientation. Hope that helps.
-
Yep looks that way, stops the lever on the bracket travelling too far...nice idea.
-
Graeme,
the (inner) column mounted to the steering wheel and the one in the bulkhead have a flat side and can slide up and down to shorten/lengthen the wheel position inside the car. The bracket nearest the bulkhead once loosened allows this to happen. Obviously ensure its done up properly after youve adjusted the column length to suit.
-
Rich, hi, any chance of you making two, I have the same problem and fabricated a bracket but it's not very good, my skills are somewhat limited. I'll be happy to pay for it, if not no problem. Apologies for butting in
-
I'm 5 ft 10 and the were too high for me, felt like looking over the windshield not through it, swapped out for something lower...ok can remember now but if interested will remember.
-
Not really, think I used screwdriver to ease the glass out by sliding it between glass bottom and window holder frame. You could make sure it's warm and get some wd 40 between glass and rubber and between rubber and frame. Stuart probably has some whiz way of doing it. Btw, it's just as difficult getting it all back together..
-
Done this many times,different cars,no problems and works well to purge air etc. Ensure you're battery is up to it so it's getting full power to drive the pump at full pressure.
-
What symptoms make you think your fuel pressure is low ? To measure you need a take off adapter, a microphone hose and a oil filled pressure gauge, cost about £75 in total. You need to plumb in at the metering unit inlet where the thick rubber hose from the tank joins the MmU. Best describe your problem here and your location in order to get more informed help. Btw welcome.
Robin
-
Definitely the real McCoy...cost a fortune to have it and the Ali hardtop centre section restored and painted...and the rear window rubber was a bigger with the fake chrome trim.....guess how I know
-
Ah ha....yep it's fine. Neil Ferguson (Raven Smith on here ) refurbished lots of Pi stuff and is one of the experts. He recommended this filter for me and it's been in happily for 12months ++ without issue. Not sure what the diesel bit is all about tho. If needs be pm him, sure others will comment as well.
-
Stevson did mine 25% uprated, reconditioned, not expensive and the dogs. Best rear shocks I've had on a Tr including Tele. Great handling on 165 tyres and comfortable, no crashing over bumps either.
Self isolating give away bits
in TR6 Forum
Posted
Billy, Ive had a raft of Pm's and have responded on a first come first served basis. The Vent flap rod and the linkages are gone. All the other bits still available. Apologies if youve missed out. Whats left is the box of plastic injector seals (think some are new, varisou PI components, pipes , adapters, pump overflow pipe MU seal.
Regards
Robin