


jfg
-
Content Count
99 -
Joined
-
Last visited
Content Type
Profiles
Forums
Calendar
Posts posted by jfg
-
-
The final external weld along the rear edge was finished today. temporary skim around the seem (for pinhole weather protection while it's kept outside) and coated with bilt hamer zinc rich primer and then covered in lacquer.
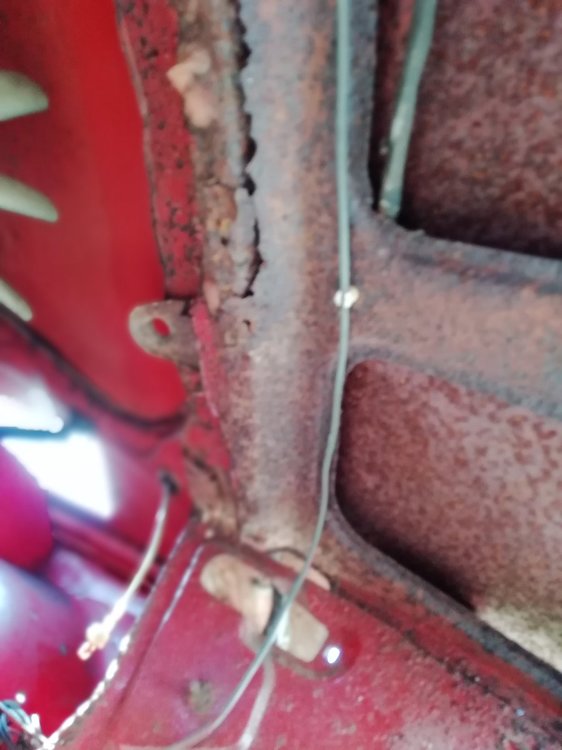
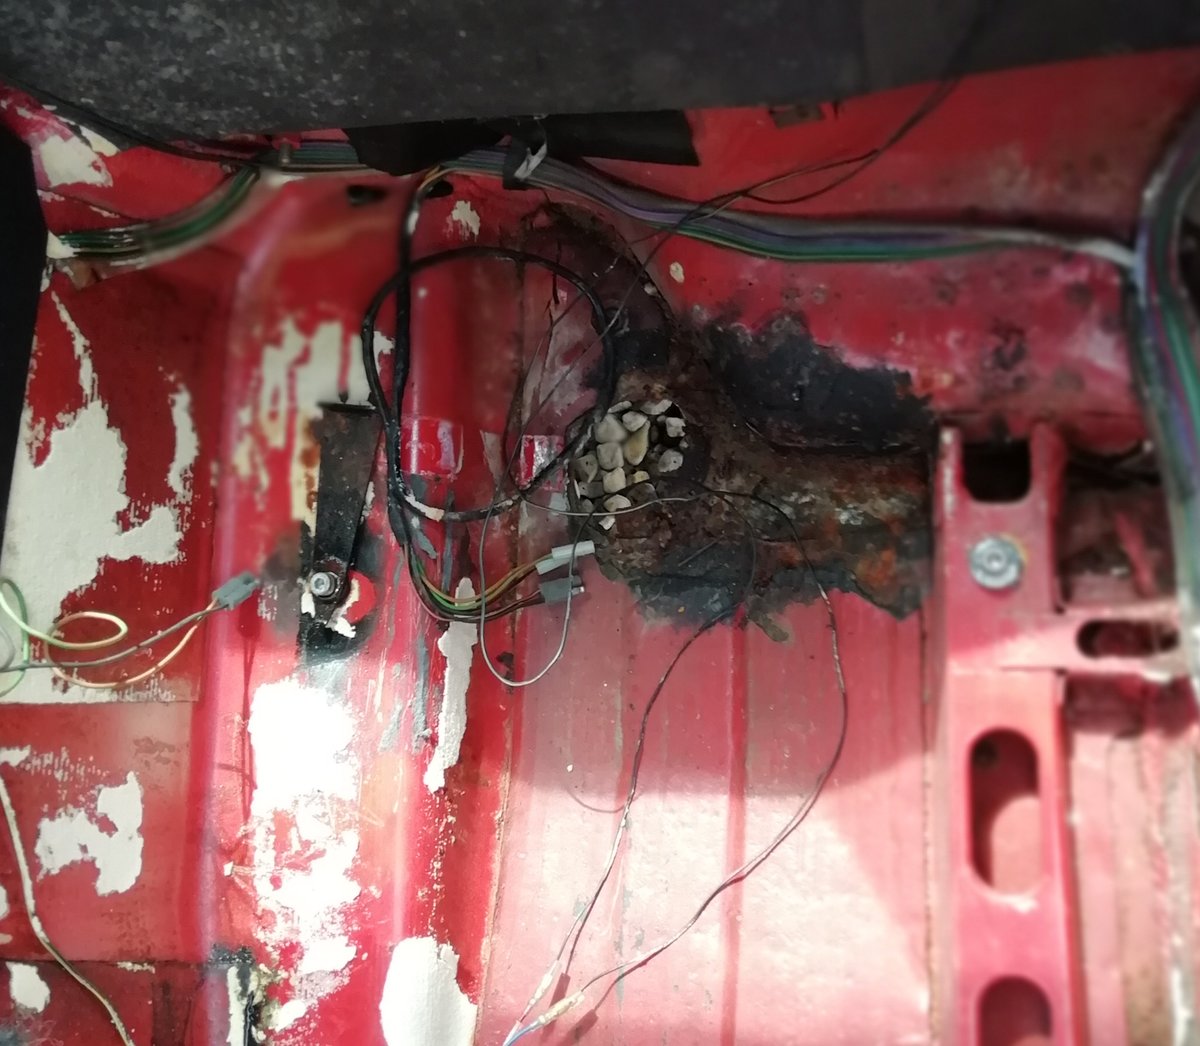
The interior was stripped to reveal the floors, not as bad as i expected. Only real nasty was the drivers side sill was full of expanding foam!!!!
-
found a previous bodge attempt with what appears to be washing machine metal
-
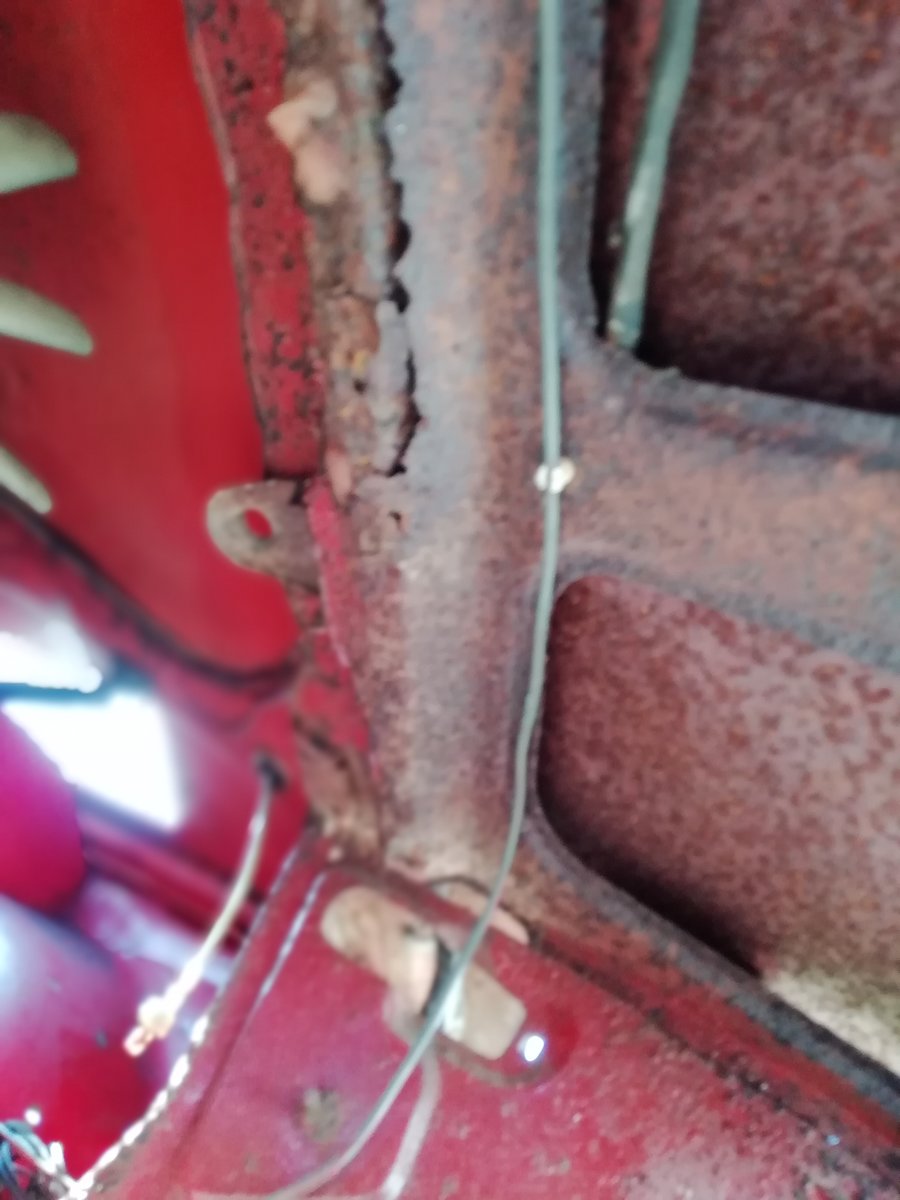
a lot less rot than i was expecting

-
found this behind the backpad
-
I got around to more front end stripping yesterday, which gave a better view of the rust and fibreglass filler!
I also removed what was left of the sunroof, then cut and tacked in the steel sheet to fill the roof. Part one of roof repair is done. I ran out out of wire.
I need to sink and weld the rear edge and then make the supports which will also firm up the roof shape/profile.
-
I nearly forgot. I picked up a replacement bonnet on the weekend. It is a double bulge one with only minor repairs needed.
-
So today began the strip down. The front bumper and vent trim came off, surprisingly easy for something that's stood for 20 odd years.
The engine runs but the clutch pedal was solid. So i figured either the master cylinder, slave cylinder or clutch seized internally.
The gears also don't select when the engine isn't running.
The master and slave cylinders both look fairly new. no corrosion at all. As soon as i loosened the bleed screw and pressed the pedal the pedal hit the floor without any resistance. I retightened the screw but still nothing just flat to the floor. This means i won't be driving in and out of the garage.
So a preliminary inspection of the front end (with bumper removed) shows a fair bit of rust. The front panel (surrounding the headlights) is rotten in the underframe and has tin can dents on top. The offside chassis leg has some repair needed. The off side inner wheel arch has had some awful previous patching done in the past that needs replacing along with both front outer arches.
I'll be back out on it on the weekend so i'll get some pictures posted then.
Oh and of course there are mixed up bolt "repairs" done in places. So a fair bit of drilling/tapping and helicoiling will be needed.
-
Is there a styling difference between early and late? What year was the change?
What other differences might there be?
-
I'm about ready to get the car into my garage for the first time (it's currently in storage a while away) and was wondering what gauge steel was used in the original build. As my van is off the road i need a friend to pick up the sheet steel for me.
My first job is to close the hole in the roof. Second is to cut out and patch the front wings. Third replace both floor pans and (hopefully) finally repair all needed areas in the boot.
-
thanks for the info. i just need to get the garage space back and i can start the restoration.
-
I've just realised that i haven't checked my car for nut & bolt sizes before wrapping it up.
My car is a 1977 tr7. Is it most likely to have imperial or metric sizes?
-
Thanks for the info. I have a 5 speed axle and gearbox ready to use (after a check and refurb) when i get started on mechanicals. I like to know all that i can when modifying things. The internet is great at giving so much advice then someone throws up a curve ball.
Looks like the parts list is going to get longer!!
-
have i read the above correctly? the 4 speed axle is heavier than the 5 speed?
-
i've been away from this project for a while but while looking again today i found this thread, input appreciated on this method.
http://tr7triumph.com/forum/viewtopic.php?t=8060
-
thanks all. can't believe i made such a rookie mistake.
-
Reg is PWS 55s!
The vin is acg
And the engine number is cghe as per the v5!
-
i have no history information with my car and would like to know more about it.
I have a certificate of manufacture available below
https://www.britishmotormuseum.co.uk/archive/heritage-certificates
but i would like to know more about it. Are there any resources available or people in the industry who know about specific groups of cars, such as a group that went out as press cars and sprint cars for example?
-
i'm looking to see how the solid roof is supported inside correctly. when i get to the point of fitting a full headlining i don't want any nasty surprises at that point.
i currently have a knackered webasto roof but i'm filling the roof to make it a full solid one.
-
will a 5 speed axle mate up to a 4 speed box?
is it worth just doing that? will the different diff ratios make any worthwhile benefits?
-
looks like the landy box is out.
is there an option to improve gearing in a 4 speed instead of doing the 5th switch?
is there even anything wrong with the 4 speed.
i can't drive ityet as it's a full resto car.
-
i have a little more information on these. there are a few types of this box. called long and short shaft, depending on their serial numbers and there is a later lt77s box but i don't know dimensions on that as yet.
looks like i have a bit of a shopping list on this already.
as far as devaluation goes, well that depends on condition & viability to keep it standard and what someone is willing to pay.
my car was advertised as a "training vehicle" but i don't know what that means yet. the certificate with manufacture details hasn't arrived yet either.
-
the car i bought has a 4 speed box in it and i have now been offered an LT77 5 speed from a land rover.
will this fit? does it need a different bell housing, prop shaft, diff upgrade?
-
hello, i took delivery of my new project tr7 today. i bought it unseen except for pictures. i know, a bit if a gamble but i'm good with a welder so tinworm doesn't faze ne.
As this is my first triumph and first classic water cooled car since my mini when in college 20 + years ago i don't have knowledge of parts suppliers and most importantly at this point body panels.
i know there is quite a difference between body panel makers for aircooled cars nd i'm guessing the same for most cars.
can someone advise me of the best to worst panel makers for the tr7?
below is an overview of what i'm looking for
spare wheel well
both front arches (just the rim repairs)
sills
inner wing
lower door repairs
front floor pans (are the metal disc plugs needed?)
the panel above the tank (where the fuel filler sits)
the front cowl (between bonnet & bumper.
there are other little bits which i can fabricate.

Bonnet release.
in TR7/8 Forum
Posted
Mine has a single mechanism in the centre of the bulkhead. Pull release next to the choke.