


jfg
-
Content Count
99 -
Joined
-
Last visited
Content Type
Profiles
Forums
Calendar
Posts posted by jfg
-
-
The turret top had already had a rust repair and the plate was not refitted.
I took off the fuel tank cover seal this week and the original colour is a nice bright red. I'm thinking pimento, that's the colour i'm going with.
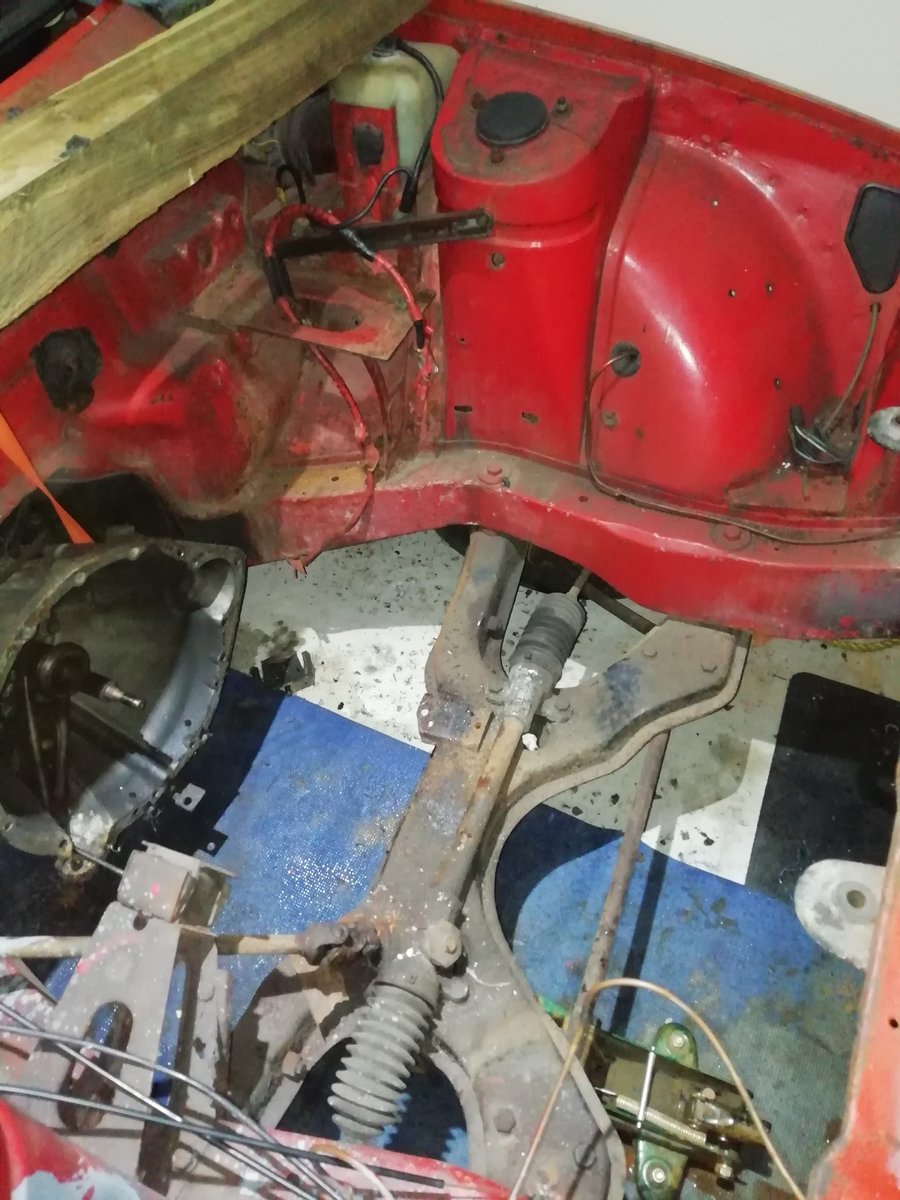
Last week and this have been very busy for me on the car. I've repaired the rear chassis (in the fuel tank area), the inner wheel arch, the boot floor and the inner wing/floor plate. I also took the rear sill off and the panel behind that. I've ordered the sill and made the inner panel. Once that is done the entire off side of the car will be solid. Apart from the front wing but that will be next.
-
I've done quite a lot more on the structural integrity. The car is now a bare shell, except for the passenger door which i can't access yet as it's up against the wall.
New bits include outer sill. Fresh steel grafted in to repair the delaminated seems. The driver side rear floor corner has been rebuilt with fresh steel. For the first time in many many years the off side from front of chassis to the b pillar is structurally solid.
I'm now on to the rear wing/wheel arch and the rear chassis leg between the rear wall and rear shock tower.
Next i need to decide what i'm going to do with the fuel filler. I'm leaning towards a custom lockable install in the same place as the original.
It's been a hell of a messy trip so far.
-
i've not got a plate on the drivers door side (i cant access the passenger one yet) there is/was a lot of missing metal so things jave gone astray. How would i get the code from the VIN?
-
can anyone correctly i.d the colour code from the inside of the door? i think it is carnelian red from what i've on the internet.
-
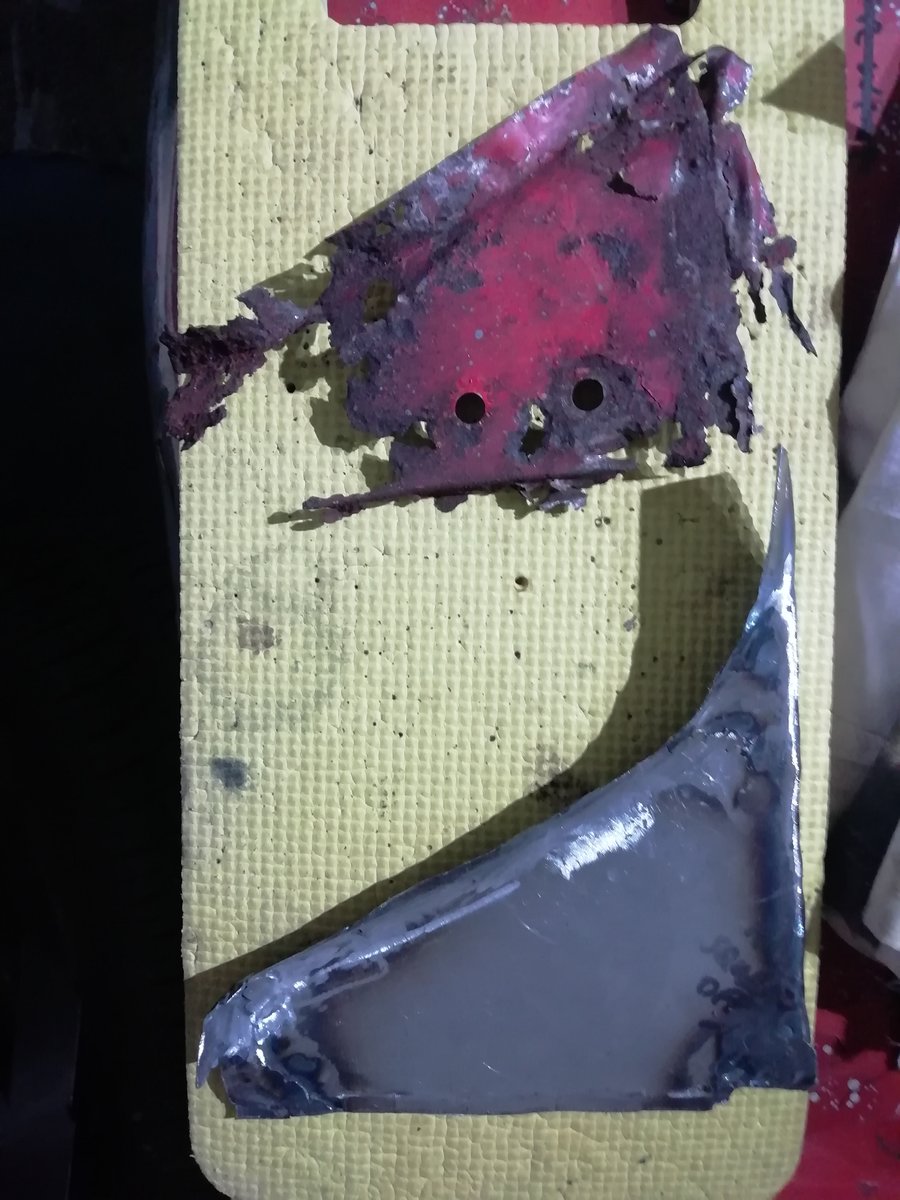
i started this resto on the most rotten corner. i'm hoping the rest takes half as much time as this (yet to be finished) corner
-
i've a little busy elsewhere so only had a few minutes here and there to work.
i started with the bit on top as my template, made the bit on the bottom. just need a little fettling and clean up the weld. you can't see the raised edges along the curved parts but they're there.
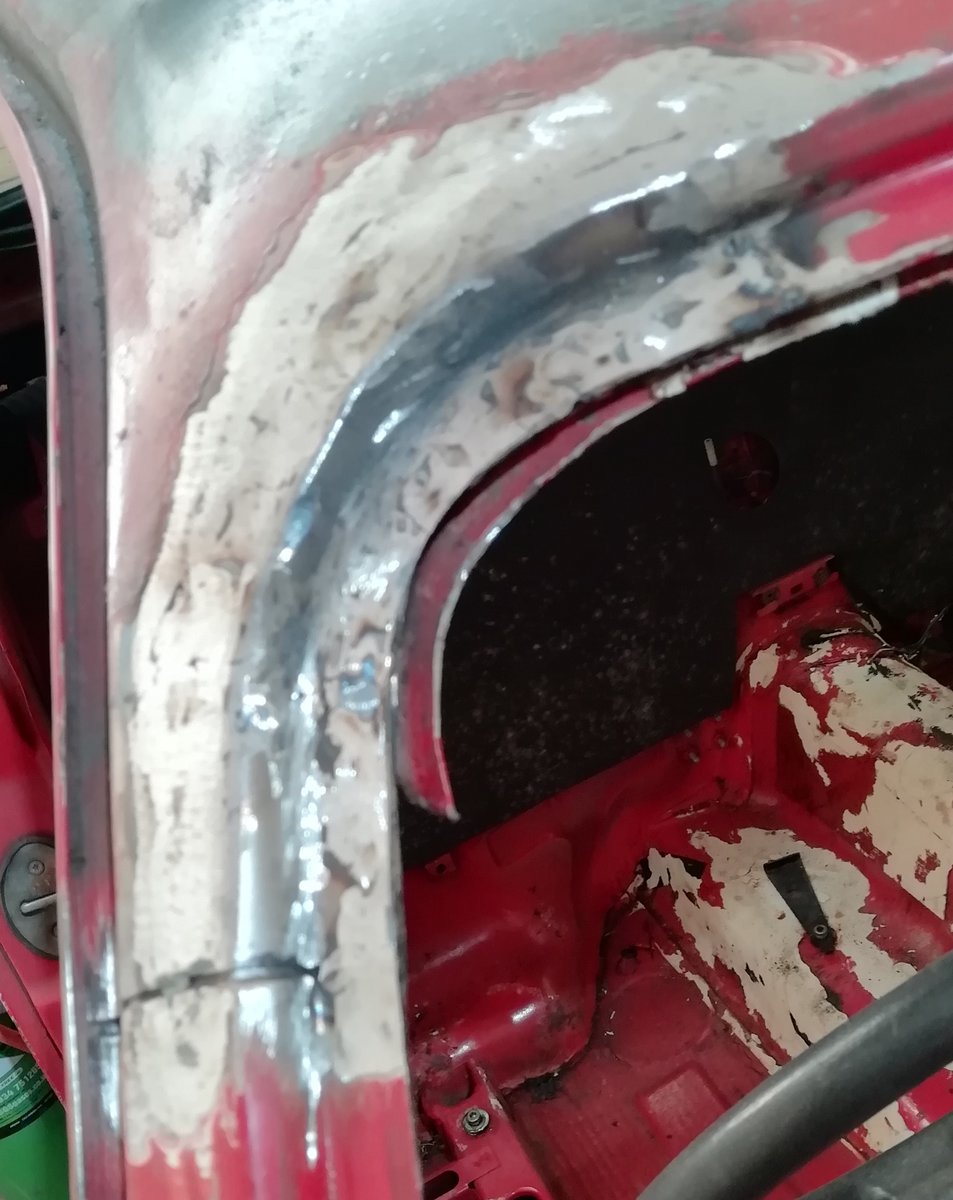
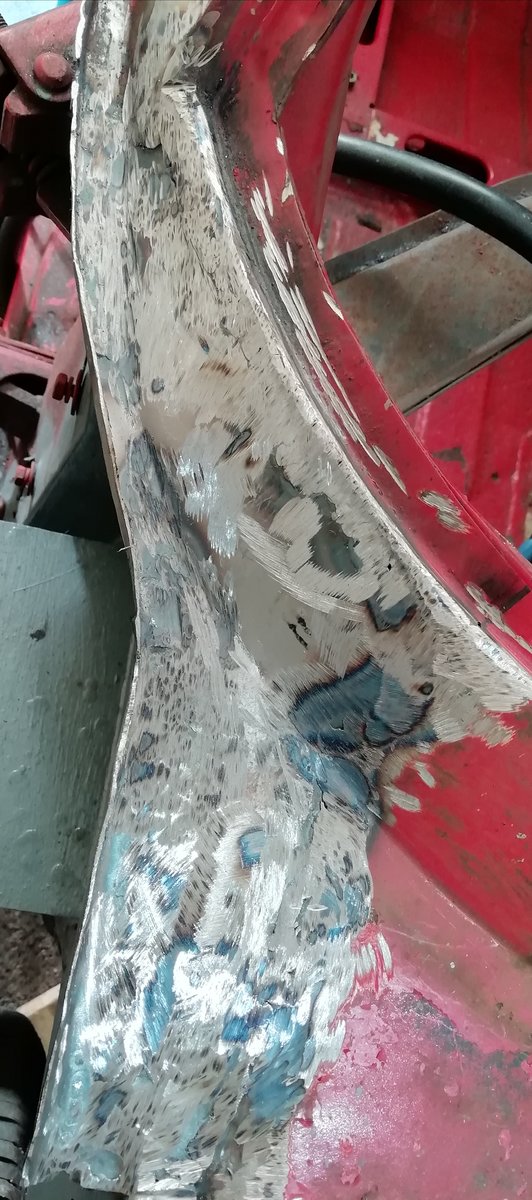
the inner wing is now structurally solid and waiting for hammer and dolly work

-
Do you mean the fixing point that is under the rear corner behind the seat?
If so it is likely to be one of the weak/rot spots.
Both of mine have gone and if memory serves me correct there are replacement sections available.
As for reinforcement, that would be an owners option. They've lasted this long as standard.
-
I still have some fettling and fine sanding to do but they're not far off
-
some very awkward contours to replicate with fresh steel


-
4 minutes ago, Topoff said:
Hi the picture is not obvious but could they be threaded, to take the 4 bolts that hold the radiator support bar?
i think these are more heavy duty than needed for a rad bar, i think the support bar bolts on underneath the chassis legs
-
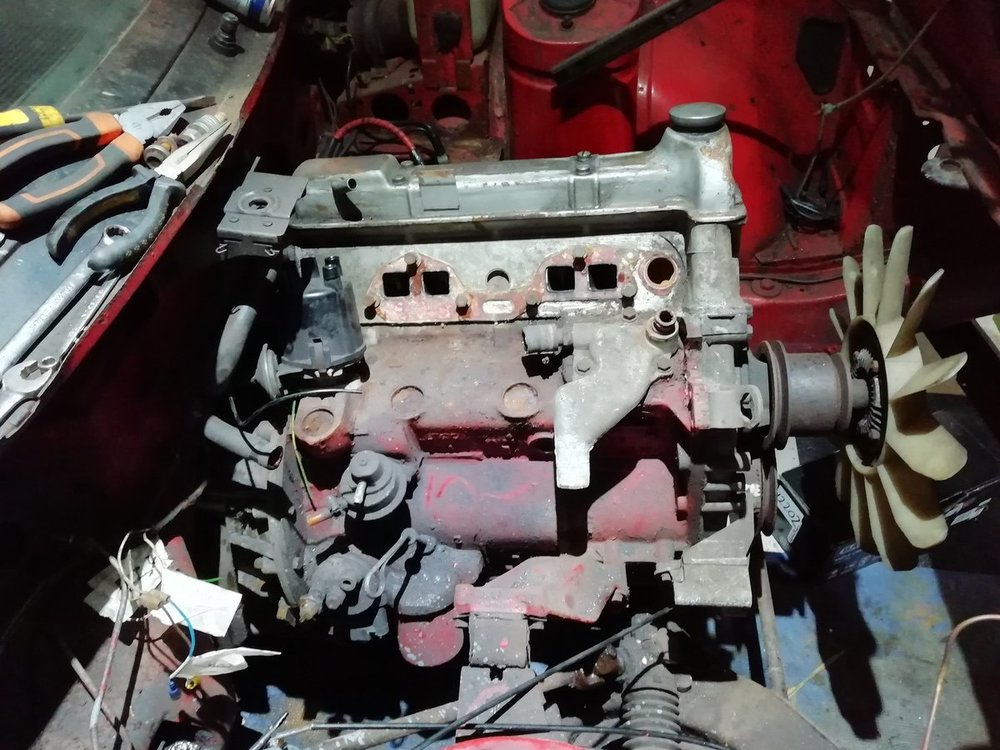
oh nearly forgot, the oil was saturated with fuel. drained nearly a whole wash up bowl of black stinky fluid from it!
-
the engine came out tonight, back on it saturday to take off the gearbox & prop shaft. Then get back to welding the front offside area and try to figure out what is going on with the drivers door

-
-
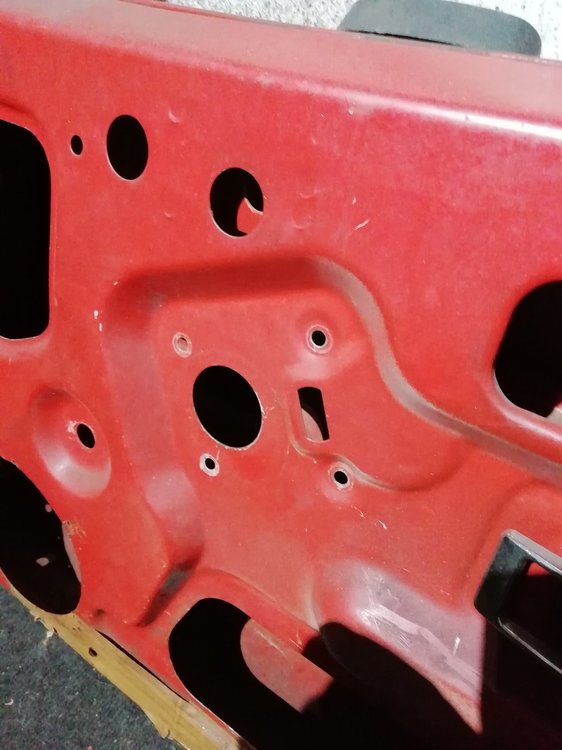
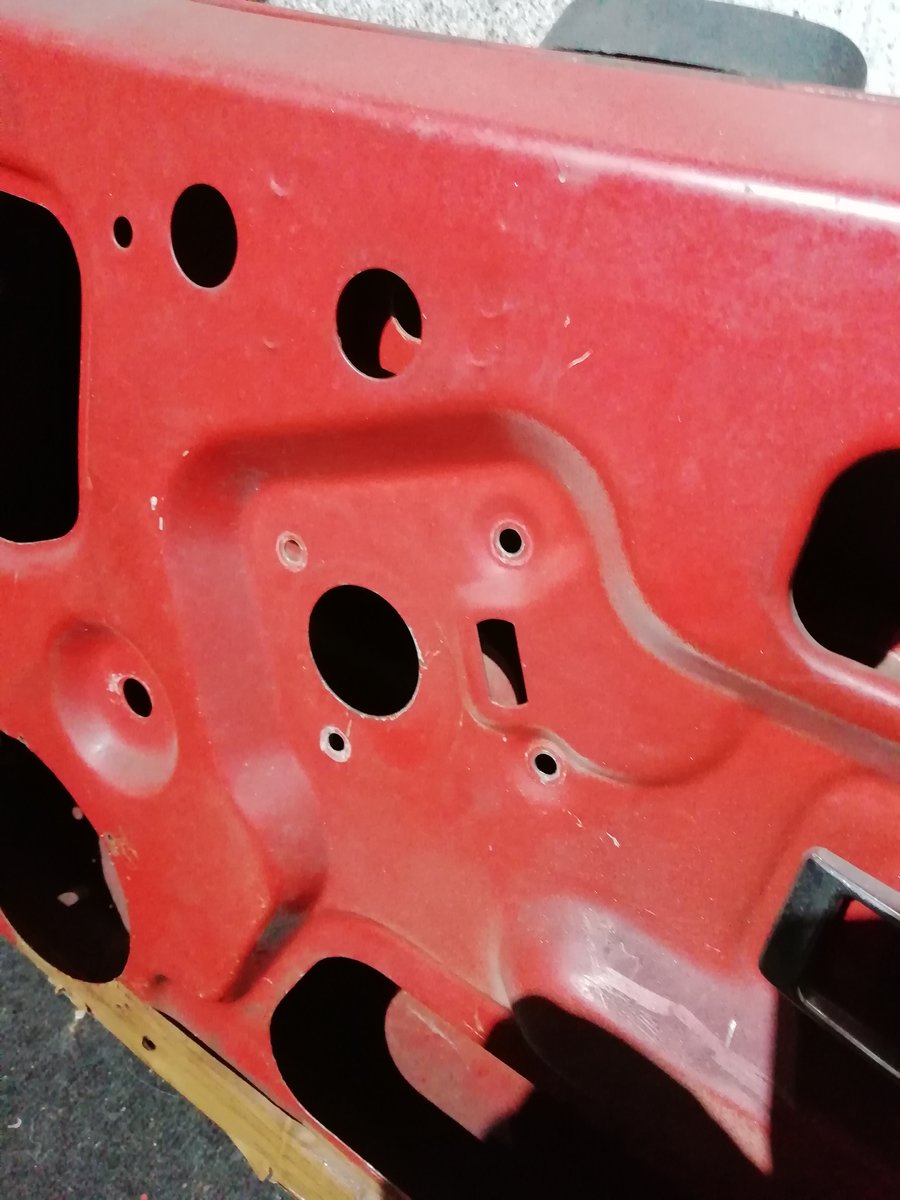
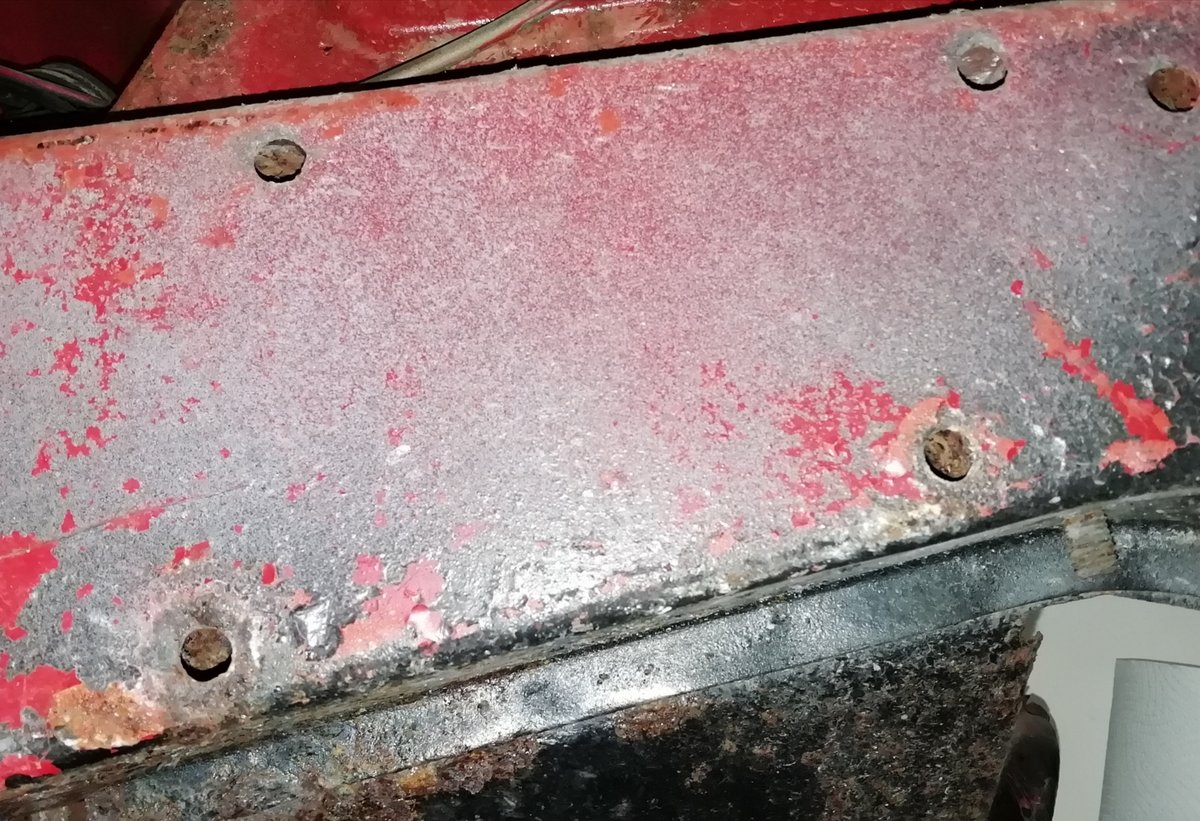
Can someone tell what these holes in the chassis are for? They look like they have reinforcements inside them.
I can't upload the picture even though it's only 2.9mb.
The holes are toward the front end, they would in line with the radiator and are in a slightly off square rectangle shape.
-
It'a 1976 model.
-
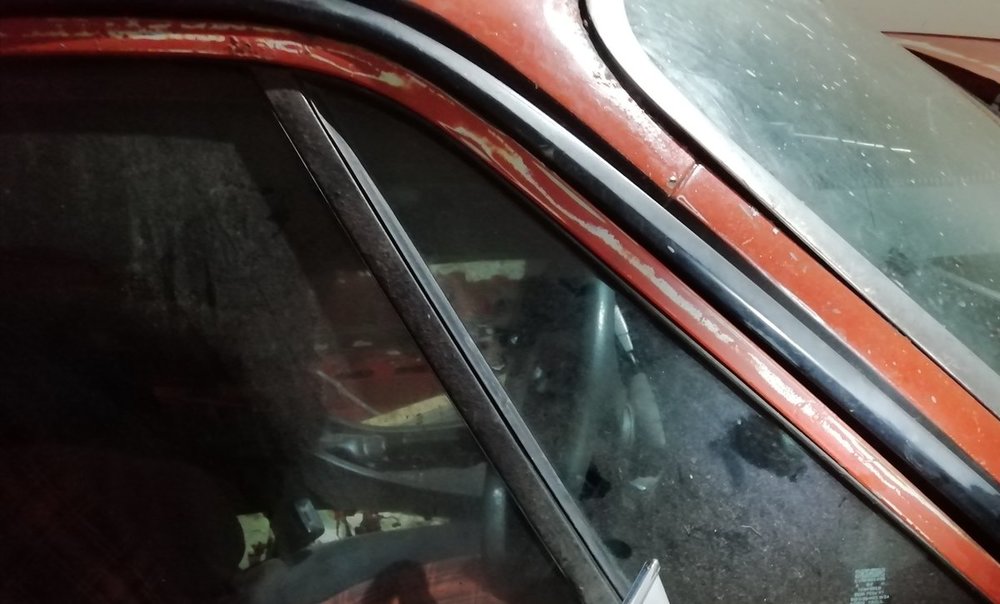
The rear corner. The car is up against the wall on the other side so i can't reference that side. However that door aligns properly.
If it's not what i mentioned above what could cause this particular alignment issue?

-
It's not very clear but hopefully clear enough
-
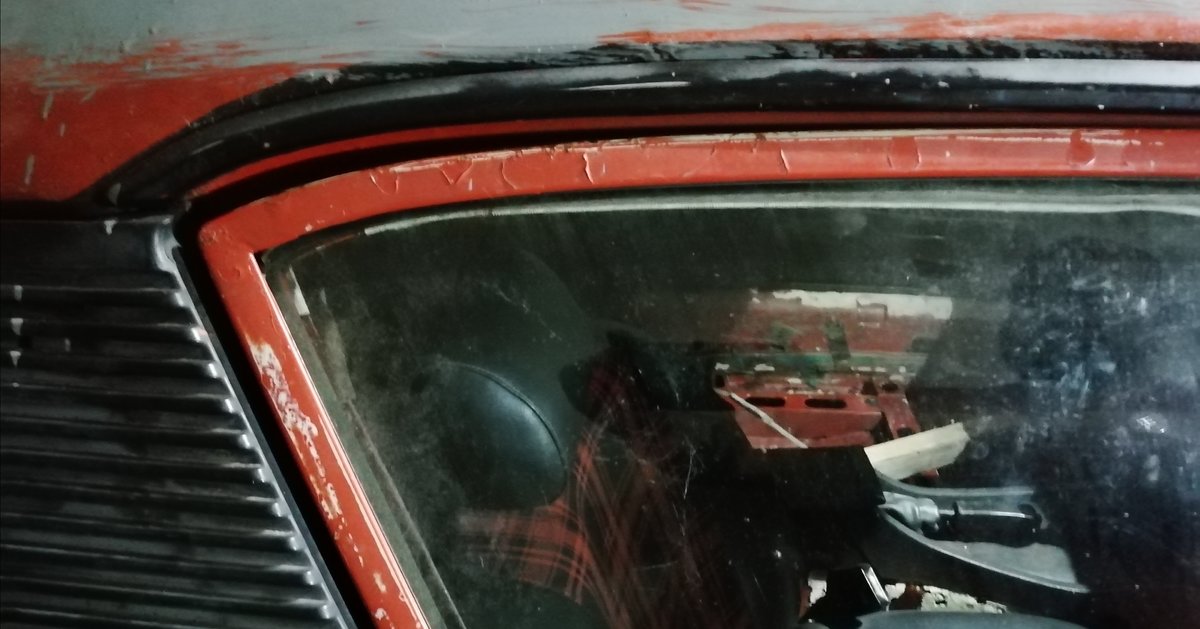
Tonight i delved into the door some more. It seems the lower half of the door is too far to the reat of the car (b pillar) as there is virtually no gap. I have the wing off for refab so can't measure that area.
The problem is that on the top half (the window frame) it touches on the bend where the a pillar meets the roof line.
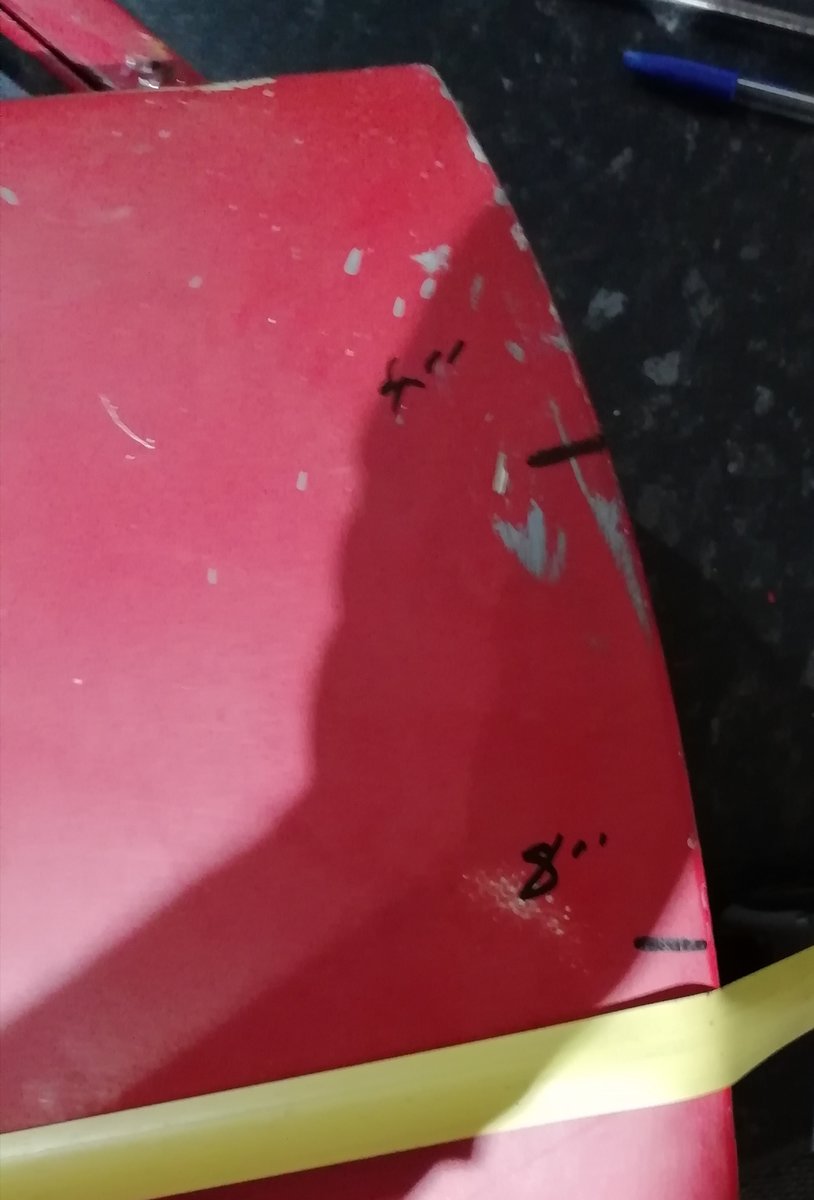
I am beginning to wonder if someone in the past has replaced the door with a dhc door and done a bad job of welding the glass frame onto it. The query here would be if the cabrio door shell is longer than the tin top door shell?
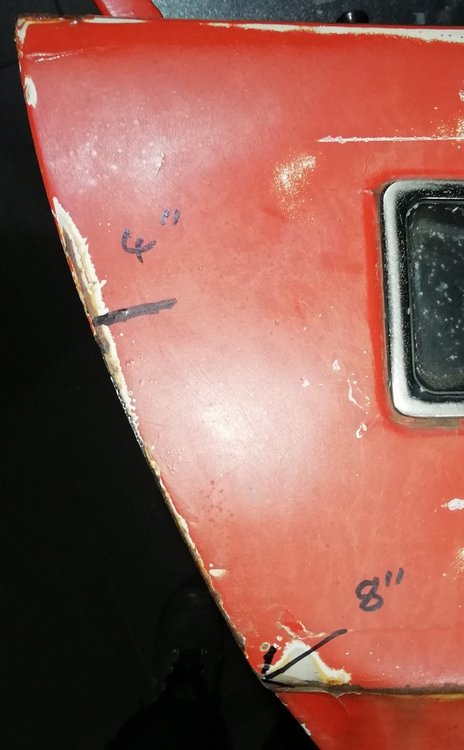
I have taken two length measurements, one at 4" and one at 8".
The length at 4" is 41 7/16"
The length at 8" is 40 10/16"
Can anyone cross reference these to an fhc and a dhc door?
Thanks

-
Now that it's in the garage i had a bit of time to for engine removal. A quick compression test first.
1 - 150psi
3 - 180 psi
4 - 100 psi but drops
2 - 80 psi but drops instantly
-
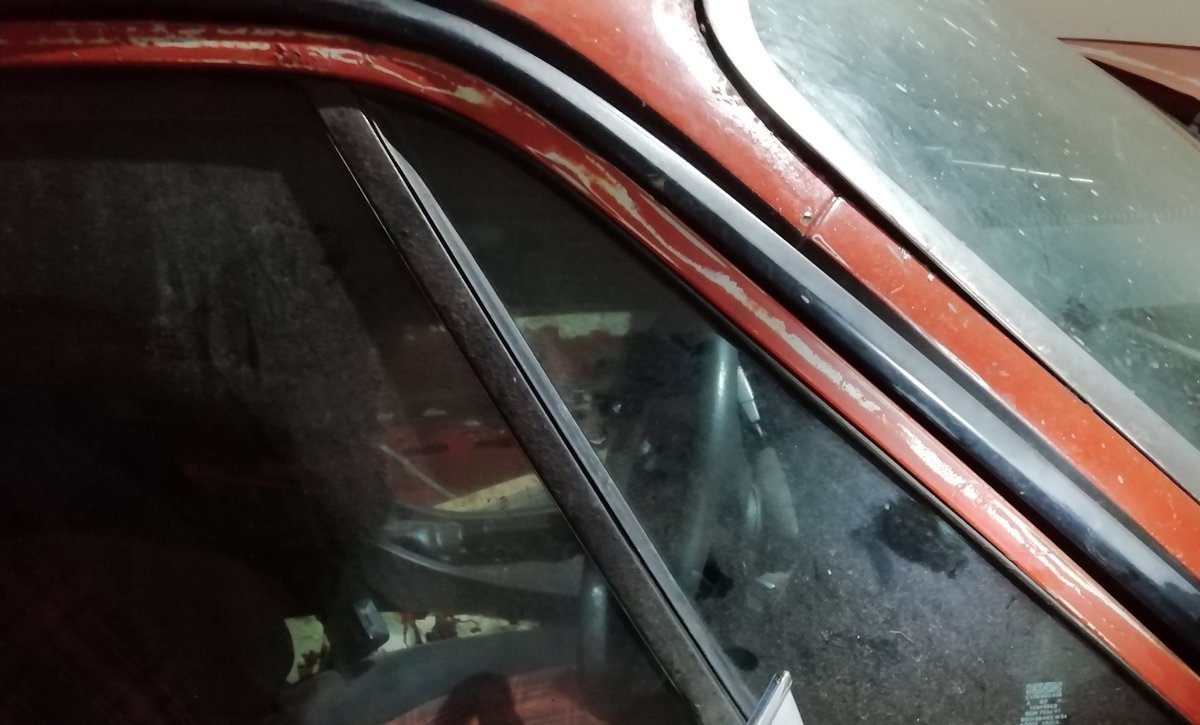
The specific dimensions i need at this point is the drivers side door apperture measurements. There may have been some movement on this side, so i need to confirm it's current status.
The image above has a couple of useful dimensions.
-
Did Triumph make recordings of the dimensions of their cars?
I'm specifically looking for dimensions of a tr7 fhc
-
Finally the tr7 is in my garage and work can begin again.
I need to know about door gaps and alignment so that i can get it right and continue refabricating the wing.
The door appears to have 2 shims behind the bottom bracket and none up top.
However the door is flush on the top against the a pillar and about 20mm down on the b pillar side.
It's an fhc model.
Any ideas before i get the fbh out?
-
Thanks for the info charts, very helpful
-
I'm deciding to do a two tone respray on my tr7 build. I've decidedon silver and graphite or gun metal grey.
To keep it Triumph i'd like to use colours that were originally applied up to 1976. It doesn't matter what model the coliurs were used on.
I'm also unsure if and when metallics were used.
All help appreciated.


FHC rebuild
in TR7/8 Forum
Posted
Having been furloughed i've had the luxury of lots of time on the triumph (apart from trying to resolve issues with a golf & clio, along with getting my van ready to sell) so i've moved on a bit with welding.
I've basically solidified the right hand side of the car. just the rear arch to do tomorrow before i move back to the front and sort the front wing.
I have a question about the rear inner sill behind the rear wheel. The cavity that you can see when opening the boot. Should there be a drain hole here? like the side sills have. Or should there be no holes in either?