


jfg
-
Content Count
99 -
Joined
-
Last visited
Content Type
Profiles
Forums
Calendar
Posts posted by jfg
-
-
1st job, take the plugs out. They will tell you what is going on inside. Next check the distibutor cap and rotor arm. Finally carburettor if you don't find the fault with the first two.
On 9/9/2020 at 1:36 AM, 1976-TR7 said:Picked up a 1976 Triumph TR7 in central Iowa on Monday. Being new to the Triumph TR7, I tried to back her off of the trailer and put her in reverse and started to let off the clutch. She then made a loud pop and decided to try again maybe holding the gear shifter in thinking she popped out of the gear. Same instance happened, she popped real loud. I decided to put the car in neutral and push her off. 1st gear works as do the others no problem.
What could cause that sound of an issue?
also a rough idle. She’ll go between 500-1500 Rpms and almost die then jump back up to 1000-1500 then back down. Is that a fuel/carburetor issue? (Also have new fuel in the tank) or would it be the timing of the distributor?
thanks
-
my porsche runs 13.8v when revved. it has no driving negligible affect. i haven't put the trickle charger in it for 2 years.
I don't run any ancillaries and rarely is it out in the dark or bad weather. electrical drain is at a minimum.
After shorting my brand new alternator 2-3 years ago i had it refurbished. cheaper than a new one and keeps these old school skilled guys in business.
if you're not sure whip it off and give it to someone who refurbs auto electrical components
-
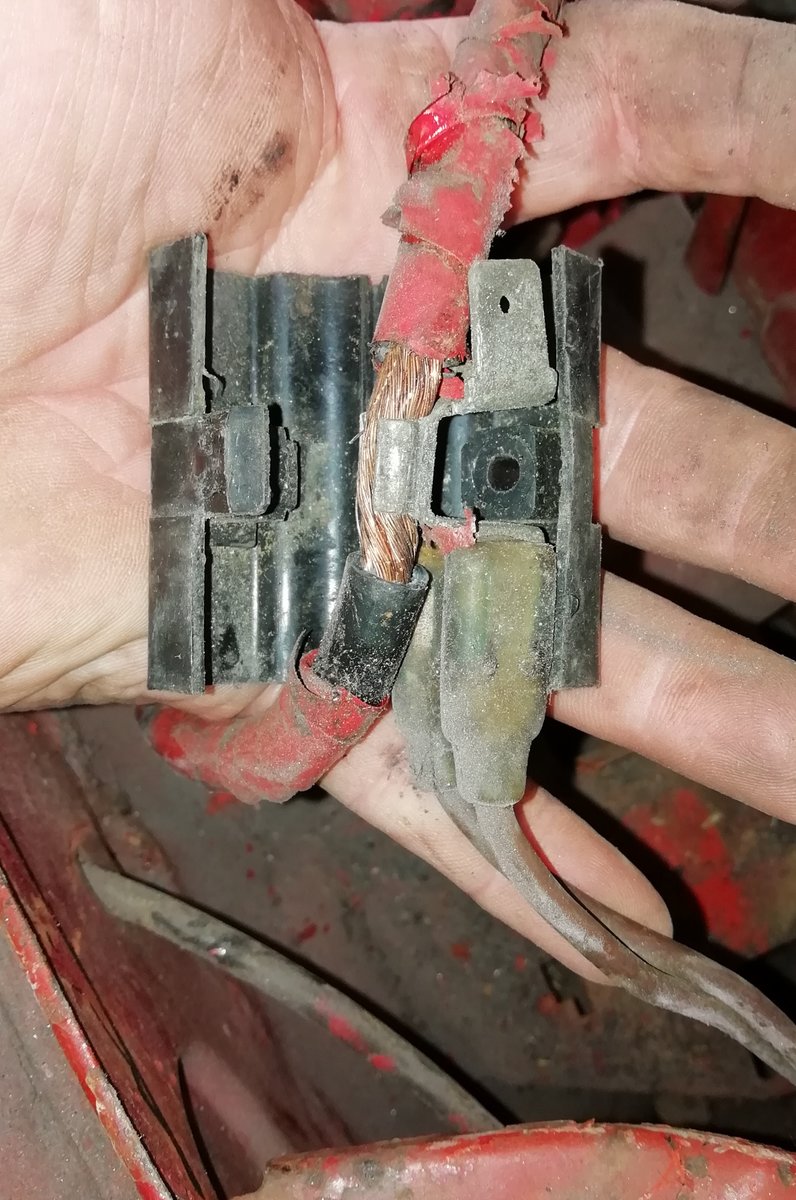
The photo below shows the current positive power configuration on my tr7. the thick red goes from the battery to the starter motor with the 2 browns piggy backed into the cable which then power the fusebox onwards.
I'm going to replace the main thick red live feed but what options are there for attaching the brown lives without piggy backing the middle of the red cable? a simple screw on to the battery clamp?

-
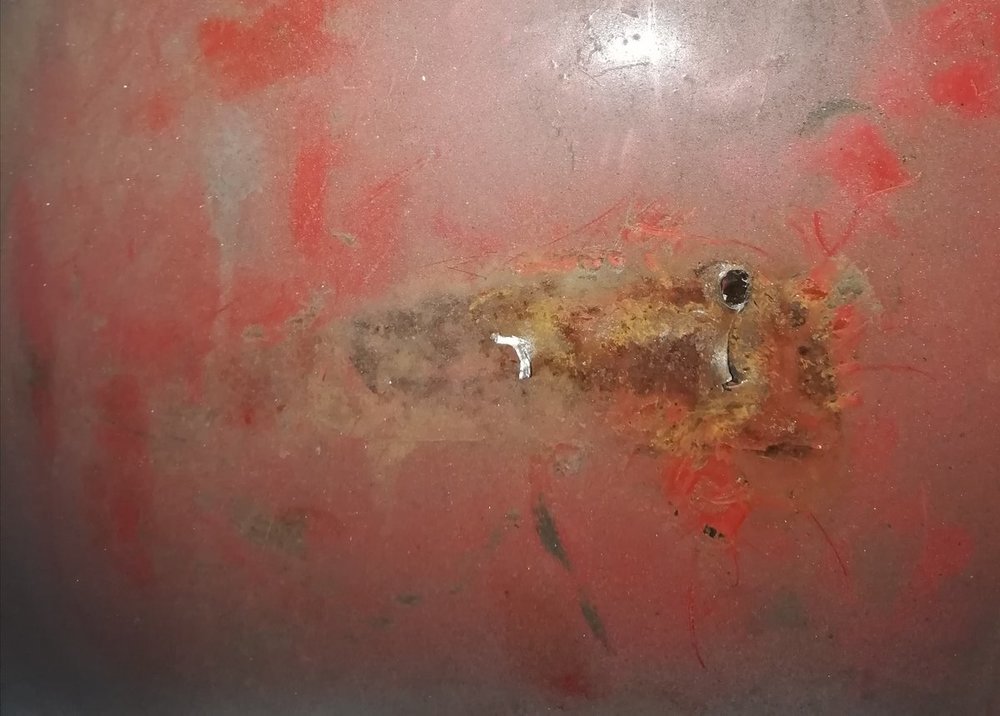
Thanks for the tips.
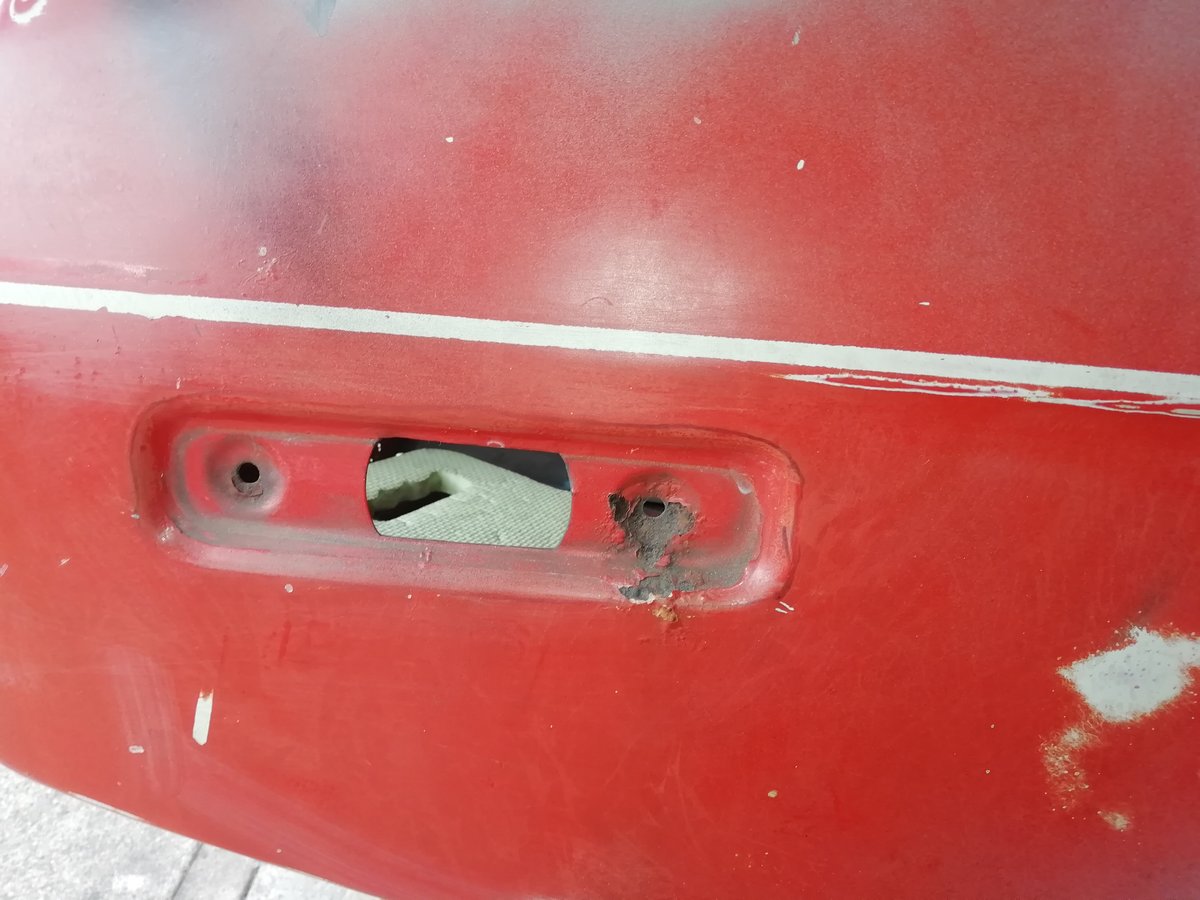
The holes are up on the n/s/r wheel tub not in the the spare wheel well.
There was snapped steel patch covering the holes but it had no markings or signs of what it may have been for.
-
I fitted the outer rear sill (behind the wheel) on the passenger side after repairs to the inner sill piece and a bit on the lower wheel tub section.
Does anyone know (from the pic below) what, if anything is originally fitted to the wheel tub inside the boot on the passenger side?
-
If you have the replacement floorpans it should be straightforward to see how much you need to remove. The pans are spot welded under the sill, across the chassis legs and up and around the transmission tunnel.
-
Glad you found it. i was going to trace mine for you tomorrow when i spin the car around.
-
I have put the replacement front clip on and lined it up nicely.
Now i can turn the car around and start the passenger side next. Before i do that i need to refit all of the running gear, then take it all off again when its turned around.
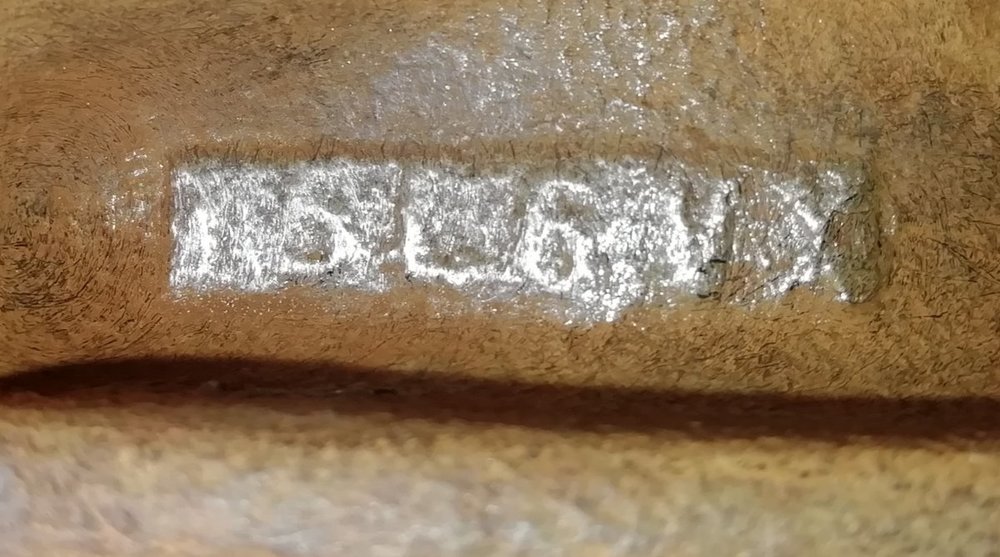
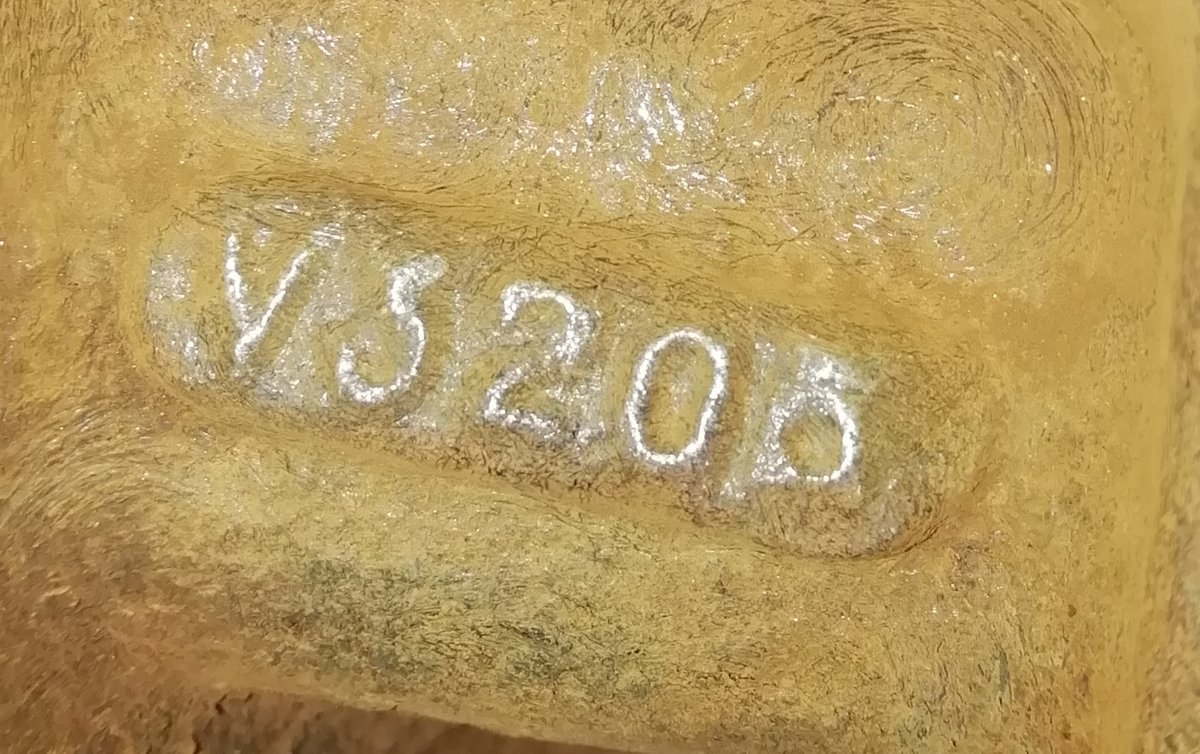
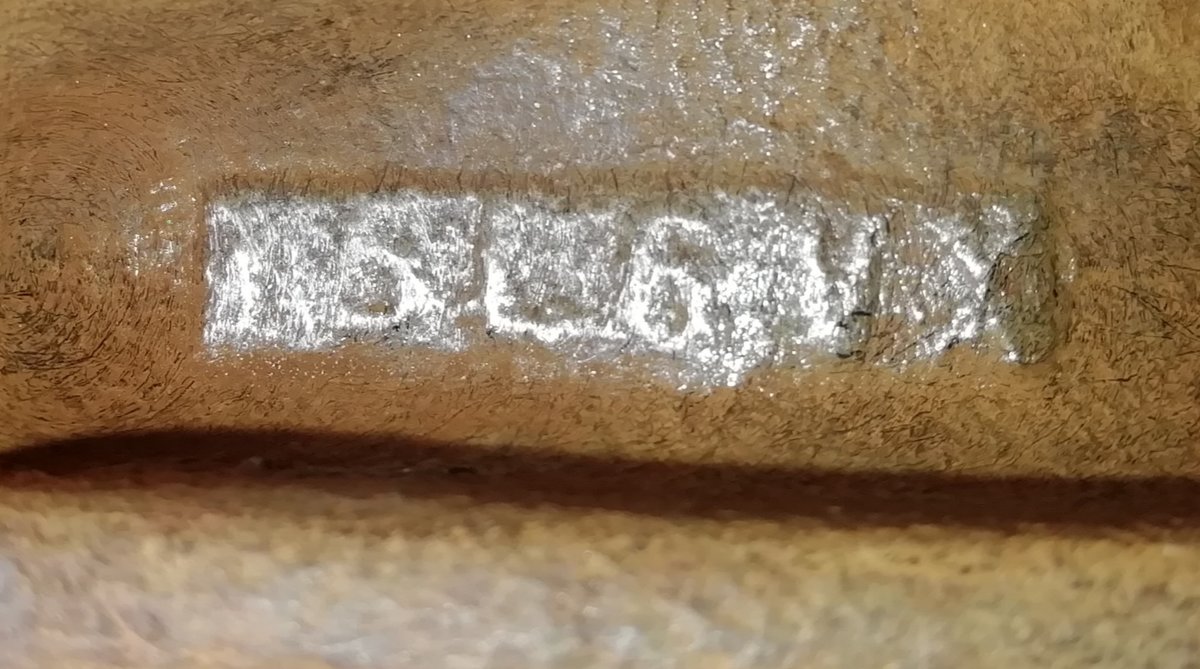
I cleaned up the rear axle today and found a whole load of numbers. Anyone know what they identify to? i'll assume some is about the diff itself, 1 a serial number but what about all of the others? There is also a cg number and a number beginning with 88 i think.
I'm not sure the diff plate is supposed to look like this. looks like i'll have to make a new back plate.


-
Only a couple of jobs today. I bought a panel from rimmers that came yesterday. However it looked like it had been at the bottom of an industrial oven for 20 years. I put a healthy dose of degreaser on and left it overnight.
I fitted that (piece behind front bumper that joins the 2 chassis rails) panel and cleared the old scrap metal. Also finished off some of the minor rust in the passenger side headlamp area.
nearly forgot, i picked up a set of mg tf? wheels. I trial fitted them to the front struts/hubs that are in the shed. The pcd is correct. I will need to put a 185 or 195 tyres on the front. This assumes it clears the front arches. I may also need to put 5mm spacers on but i can only clarify that when the running gear is refitted.
-
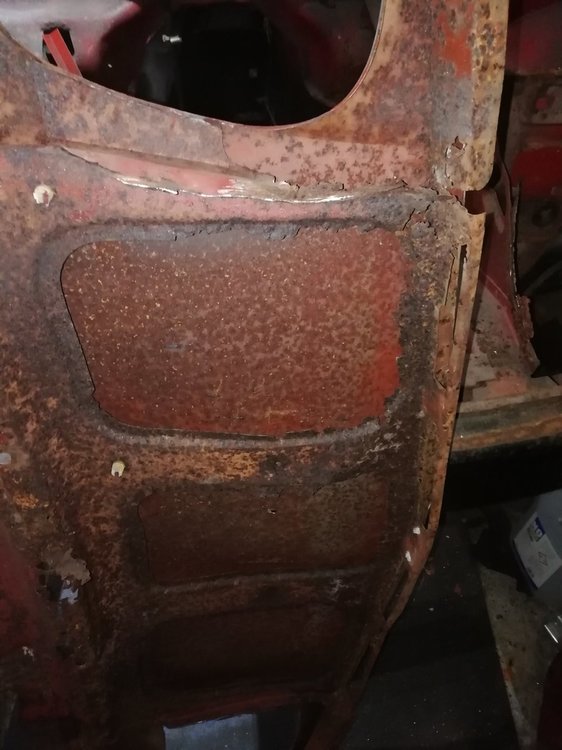
i had not been looking forward to removing the front panel but after looking at it today it was a lot easier than i expected.
The old one was shot and beyond reasonable repair, as you may be able to tell from the picture below.
I bought a replacement from robsport a while ago. It only needed minmal repair.
-
Where did you get the materials/tools and what burner did you use? I've always wondered what it would be like to do it
-
How did you bleed them? On/off at the pedal or a vacuum bleed? Did the reservoir run to low while doing it?
-
I made a nice motivational step forward today. The inner wing and the hidden side of the wheel tub have been painted, in the acky orange/red. It's mostly hidden and will be wax oiled inside once complete so i'm not bothered about it. It also saves the paint from going to waste.
I can weld the wing back on on Monday and the car will be monocoque whole again.
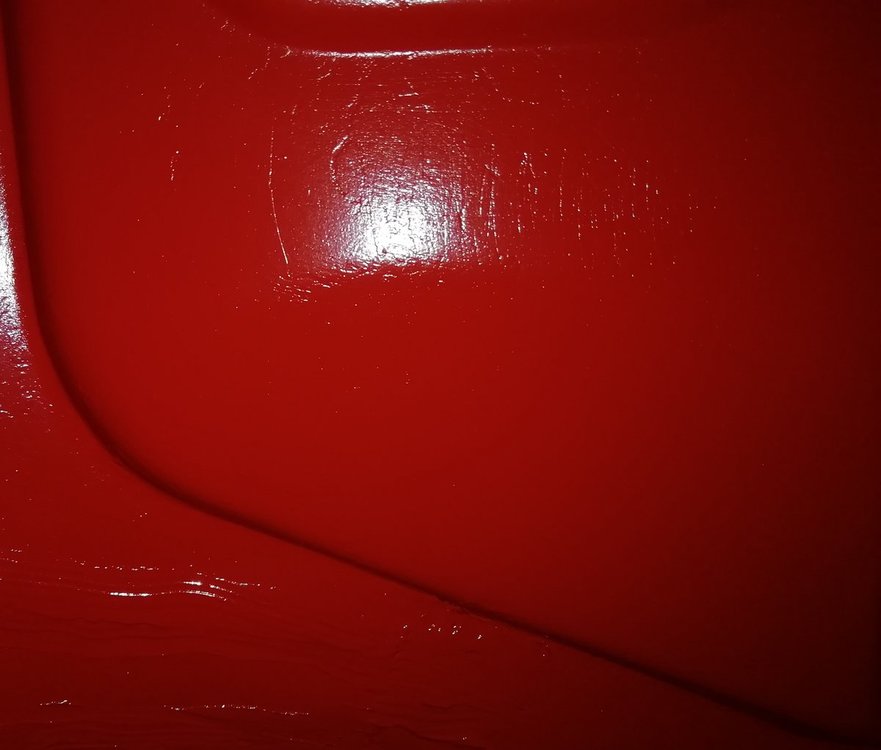
On another plus the guards red came today and it's perfect. So much deeper and richer red.
-
As for the paint, i found a piece with original paint on that is exposed enough now. I polished it up nice and bright. It is a spot on match to the new paint i used on the inner wing when compared side by side.
-
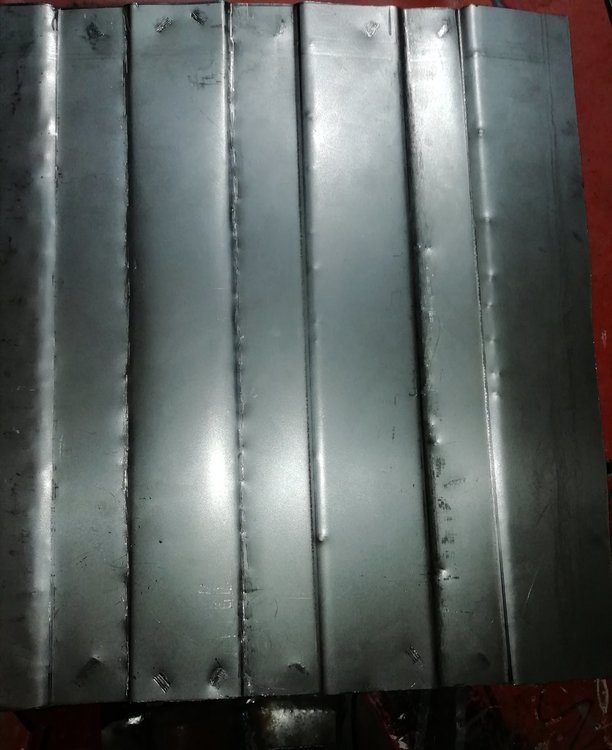
I started making a new spare wheel well floor today. It still needs fettling to smooth it but i'll do that once everything fits properly.
-
the carmine red (couldn't see carmen) is too dark, has a hint of plum about it.
I've gone for guards red, porsche colour instead
-
here is the sample of pimento red that i sprayed as a test on the inner wing. it's way too orange for me
-
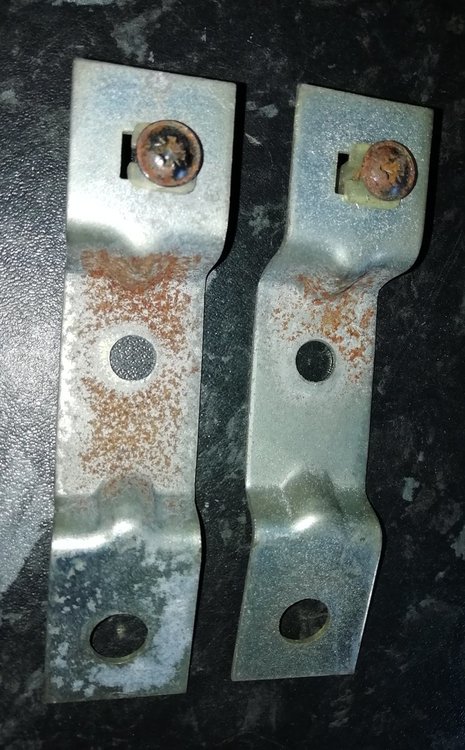
I took the crossmember off the the steering column fixes to inside the car to paint it.
I took a picture of where things were fixed underneath but deleted it!
Can someone tell (or show) where these 2 brackets fit on please?
-
I did the partial loom repair to my porsche but only because the most of the loom was ok.
I've looked at the prices of new looms and i can save a huge chunk of cash by building my own. As long as i replace like for like i'll not make mistakes, unless i copy an existing mistake.
-
i use morelli for a lot of my paint stuff, this wipe is really good as is the same brand premium thinners
https://morelli.co.uk/slow-pre-paint-wipe
https://morelli.co.uk/premium-fillers-5l
-
Has anyone made their own new loom? How did you go about it? What fuse / relay panel did you use? What types of connectors did you use (especially the lights)?
Mine is quite stiff and aged a lot in places. I can copy it like for like on the garage wall with new wiring but it's a big job for me, electrics are my achilles heel.
-
i'm not sure if i'm keeping these or fabricating it smooth yet.
The trial litre of pimento red (cab) came yesterday. I gave the front inner wing 1 coat today. It had grey primer. Damn it's quite orangey. It's like a childs toy red. Not sure if i like it, i thought it would be a deeper brighter red.

-
I am now so close to finishing the front o/s wing and fitting it finally. I've ordered some pimento red paint so by the time that arrives i should have the wing ready to paint the inner side before fitting.
It feels like i'm getting somewhere now.
-
I have now solidified the driver side of the car. I still have some body work to do but i'm doing the rust removal first to give a solid body to work with.
Before i fit the refurbed front wing i'm redoing the front part of the inner wing. I have never been happy with the first repair to it.
Hopefully Friday will see the wing refitted. Then i can put the rolling gear back on to spin it around and start again on the passenger side


FHC rebuild
in TR7/8 Forum
Posted
Things have just been put on hold for a few months with the resto. We found a house that has ample space for a 7m x 5m garage build. While the sale process happens i have to put it back together (loosely) to move to storage.