

DesNoble
-
Content Count
108 -
Joined
-
Last visited
Content Type
Profiles
Forums
Calendar
Posts posted by DesNoble
-
-
Yes I was able to get the pistons out after soaking them in something like WD40. However without something like the tool I got the skirt of the liner is very thin and a small target if your using a 4lb persuader.
Des.
-
Am I being a bit simple here. Surely if all the gauges read high then it indicates that your thermostat is duff. Have you tried replacing that and seeing what the temperature reading is.
Des.
-
I couldn't move mine using a block and 4lb hammer so I had a plug made up at my local machine shop. Cost a bit but the liners then came out easily. Don't worry about damaging the liners as you will have to replace them anyway. I ended up with 87mm pistons and liners from Racetorations as the first set I got of std 86mm from another supplier were rubbish and one split. The plug I got made is for 86mm liner so that is what the step is.
Des.

-
Count me in for the sensor in the bottom hose pipe and the override switch.
Des.
-
Hi John,
The you can buy the screws from Rimmer. The thread size I think is BA. I had a problem with the corner ones as they are very similar, but different from UNF. Note I'm doing this from memory so not 100% certain other than to warn that there is a tiny but significant difference in the thread.
Des.
-
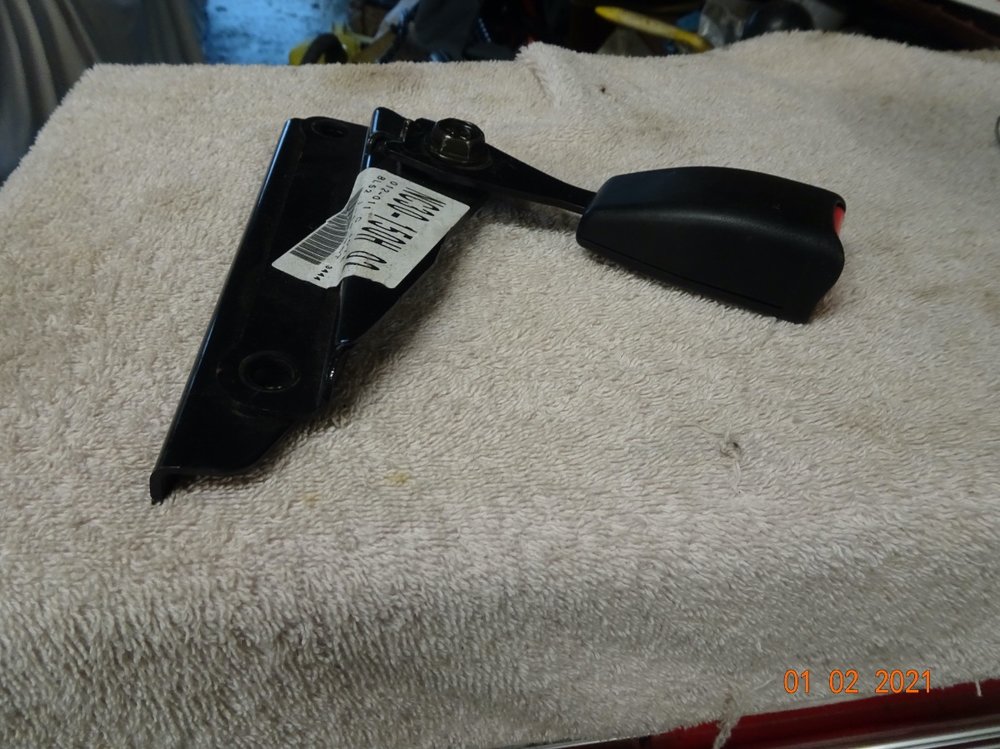
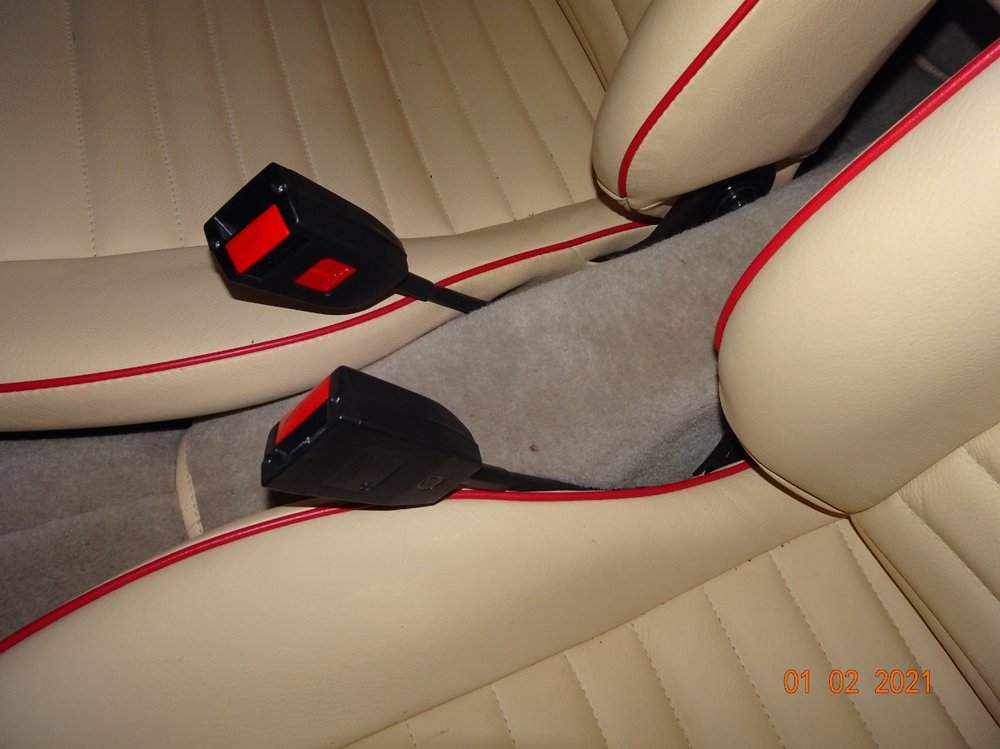
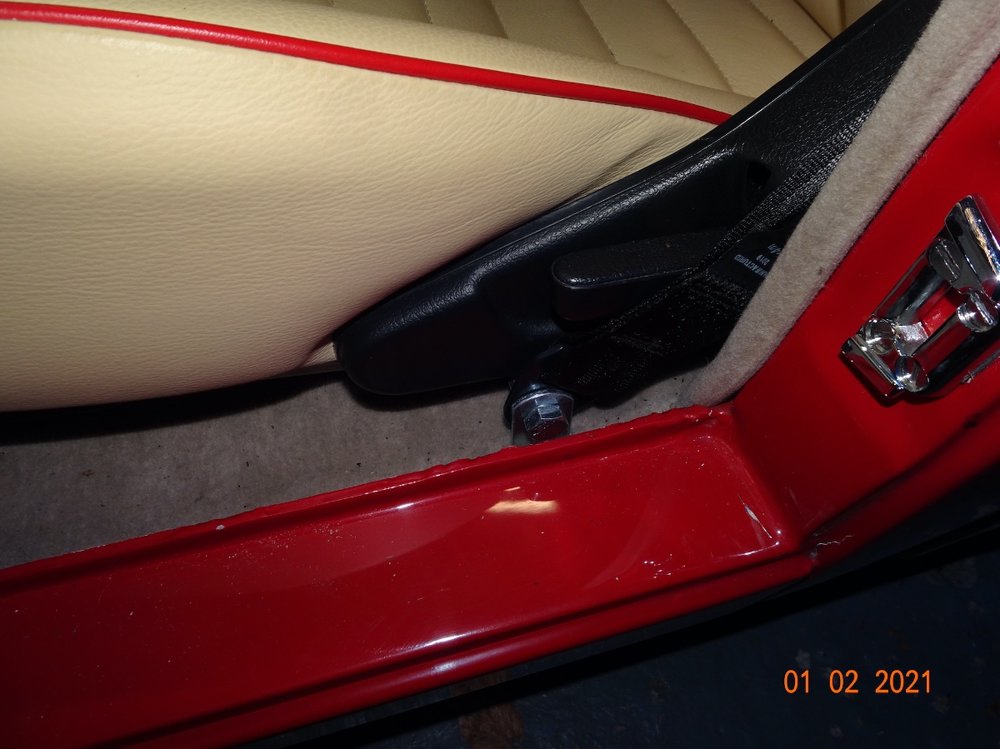
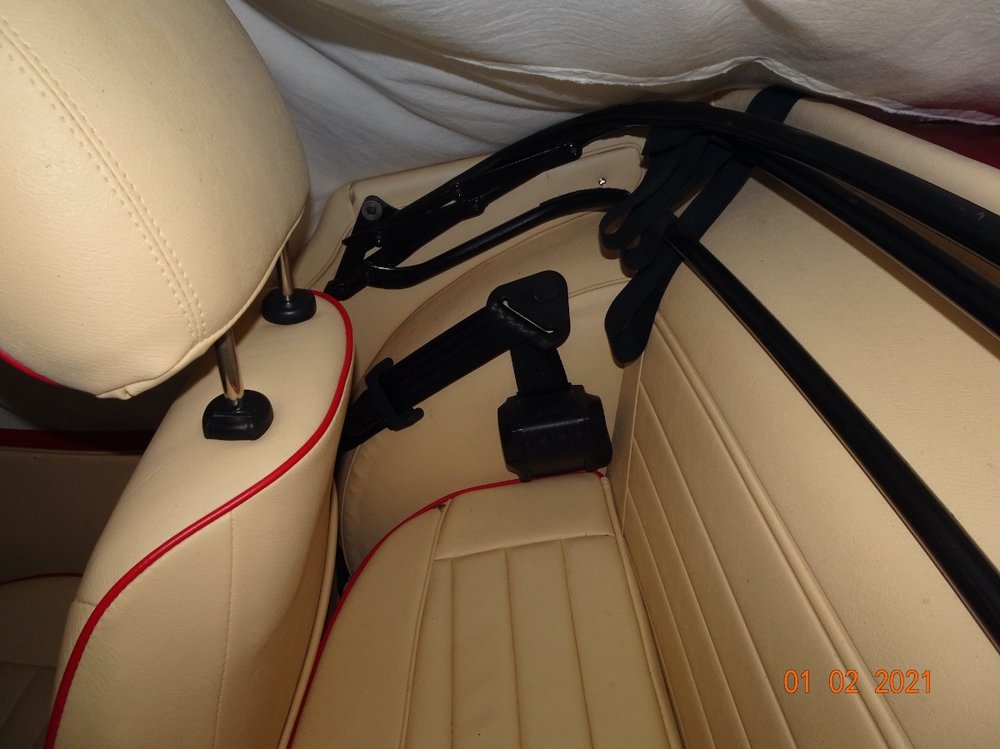
Yes I cut the seatbelt mounting off but I cut it right back at the runner so I doesn't show, see attached photo. The seat belts were a real act of smoke and mirrors as there was only mm to spare. Points to note, I used the long centre fixing point. The floor mounting should be three or four inches forward of the "B" post according to the seatbelt manufacturer sand I placed my inertia reals above the rear seat, originally I was going to try and place them below but it just didn't seem worthwhile.
The picture of the centre mounting shows the slight pinching of the prop tunnel. Actually it's not as noticeable as this in real life.
Des.
-
Yes the carpets are all in and so too are the seatbelts, and yes they were tight but as I mentioned I eased the prop shaft tunnel to give them more room also I cut the underlay and glued the carpet to the tunnel. On the outside I made sure the trim was secured tight against the rear quarter. It works well, was a shoehorn job working in millimetres but I think it works well.
Des.
-
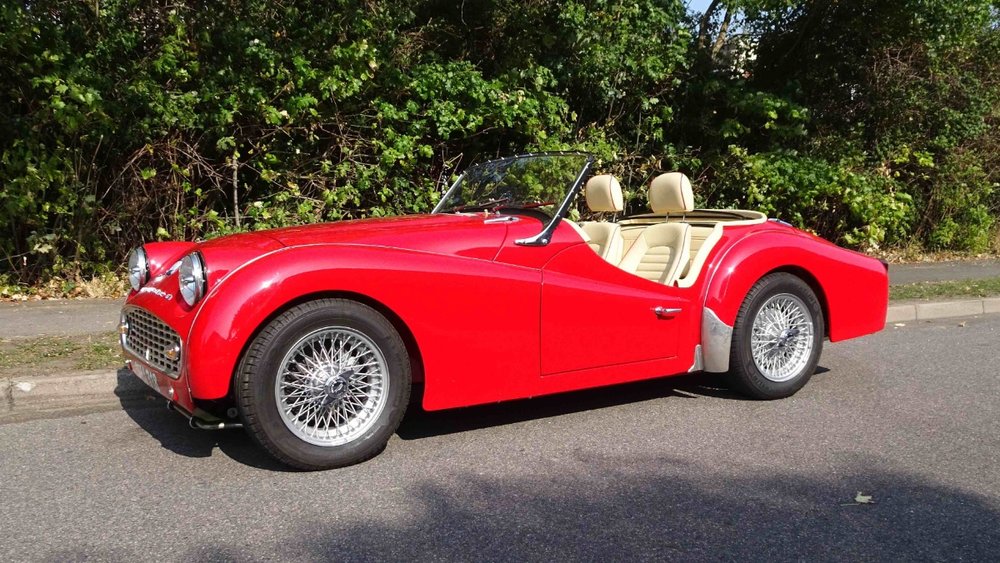
Thanks Rob,
Here are the pictures which give you some idea of the MX5 seats. One of the advantages is the ability to remove the headrests both to fit under the tonneau and be more in period when you want.
Regards.
Des.

-
Thanks Rob,
I'll give it a try shortly.
Des.
-
It has LibreOffice.
-
It's an Apple but doesn't have Microsoft office.
-
Good afternoon all,
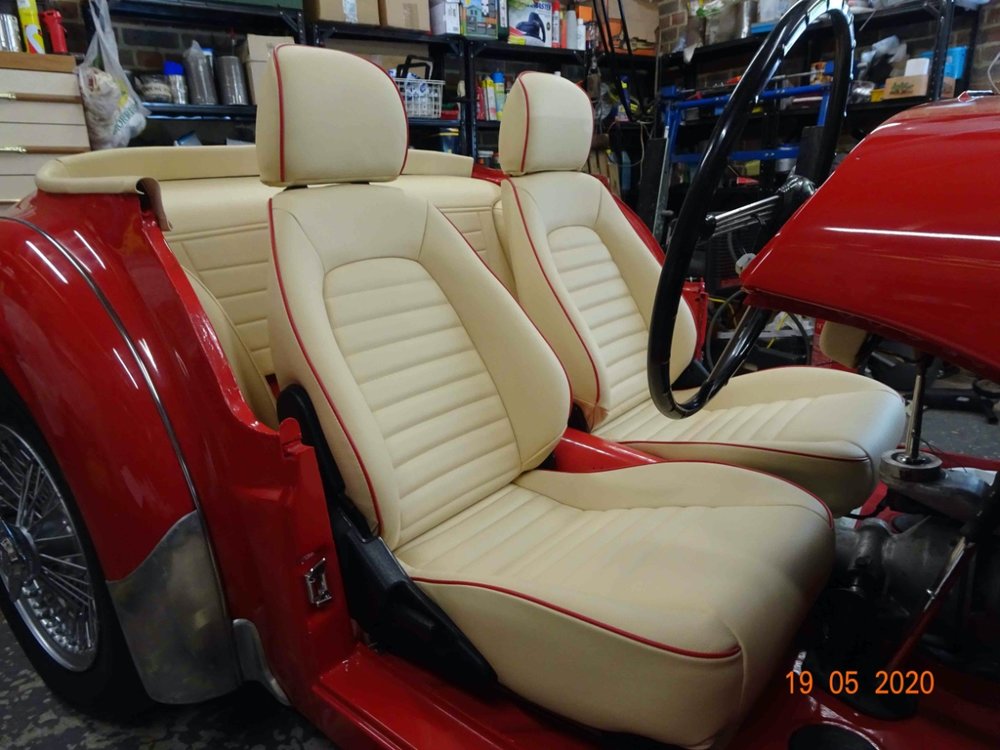
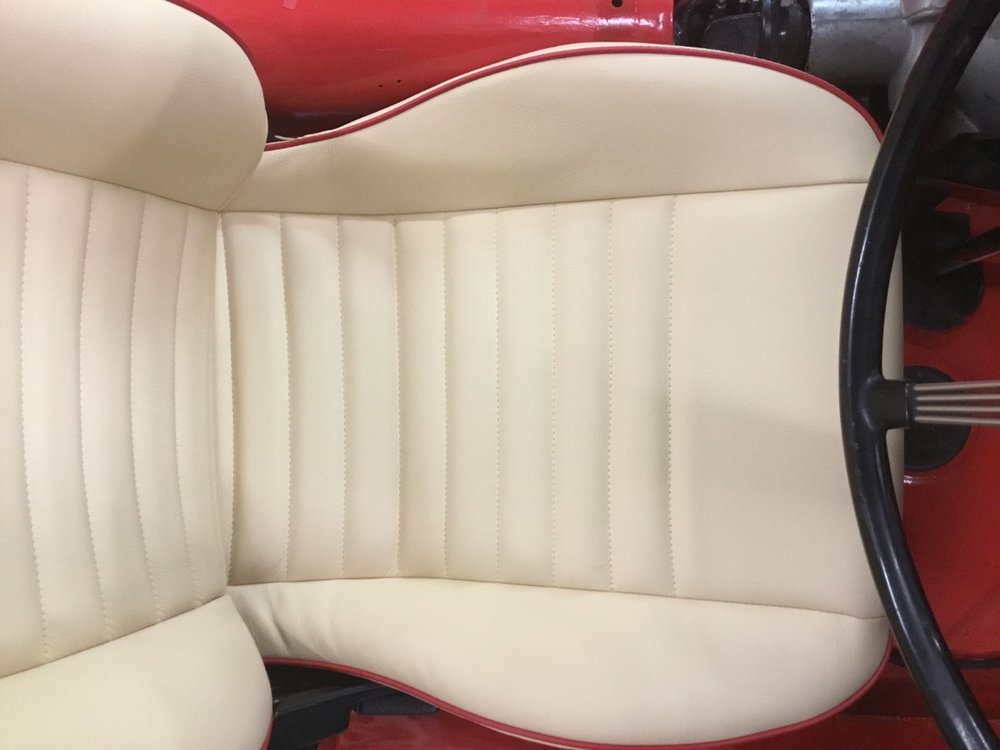
After a lot of searching I fitted MX5 seats. I was lucky to find a pair of seats in, as new condition, but fabric covered which was good for me as I wanted to cover them in leather. I then sent them to Paul Bishop, PBU, at Winchester who is an MX5 trim specialist and really does a fabulous job. He only does Mazda trim with Mazda pattern but if you look at the result the pattern is okay for a TR3A. They are a tight fit and the set swabs are handed, most people put the leaver for the back of the seat on the tunnel side but I liked it on the outside which also meant that the wider swab overhangs the tunnel. It's not possible to change the shape of the seat swab as it's all one piece.
Fitting the seats requires a new bracket for the runners which you can buy but it's easy to make up brackets yourself, I went to a steel fabricators with drawings and measurements and got them done for £20, actually it was £10 but I only had a £20 note on me and thought that even at that price it was cheap. I then pinched the prop shaft tunnel a little to give me more room. They are a very tight fit but look good, work well and are extremely comfortable. Have a loot at the pics.
Des.
PS How do I reduce the size of the files, they're too big to send.
-
Thanks Hamish, and for the photo.
Des.
-
Thanks guys,
I wasn't sure so that's a great help.
Regards
Des.
-
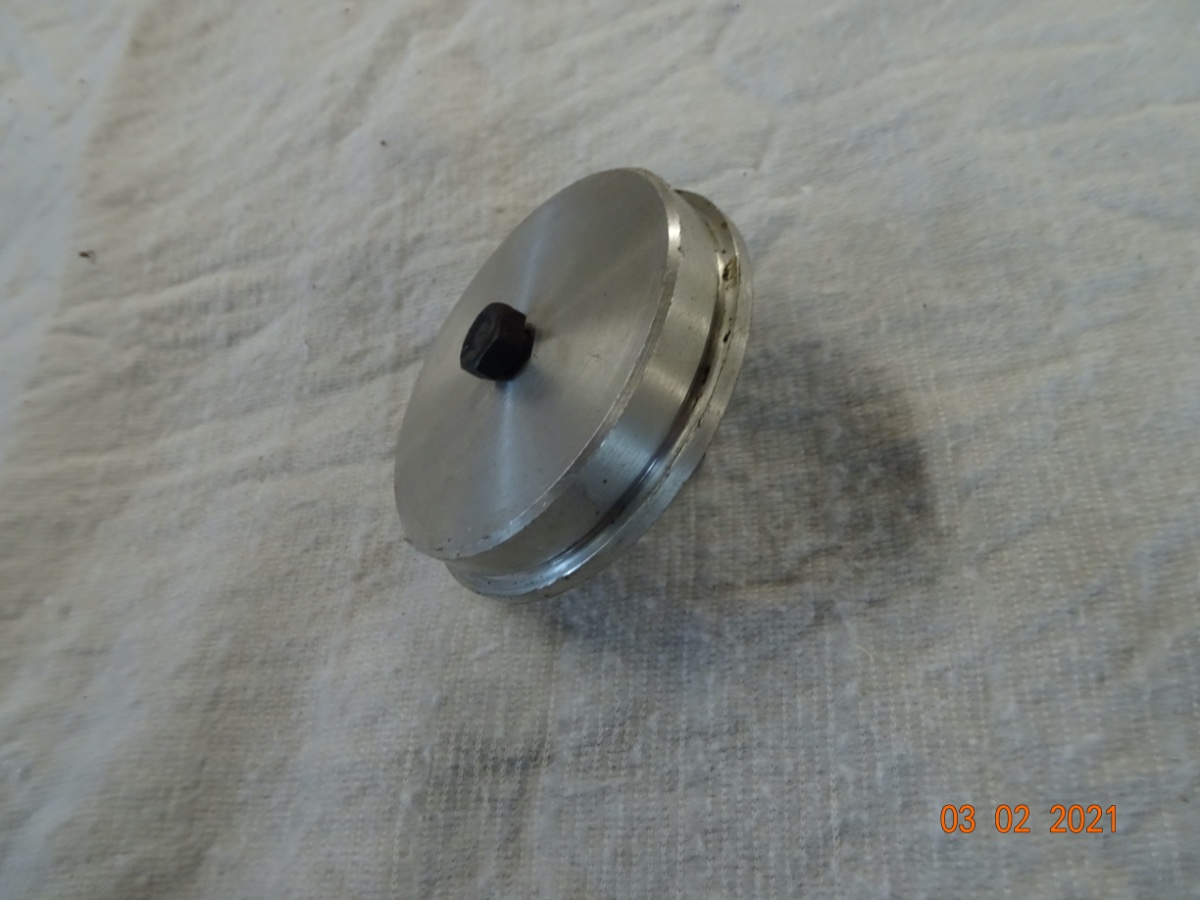
I've put an electric fuel pump in my TR3A and now I would like to add a cut out. I'm thinking of an MG TF one (part no. WQT100030) as shown in the photo, but I know very little about them, is one okay and where do I mount it.
Regards
Des.

-
Hi Mick, Thanks for the info. I had the Distributor Dr refurb my vacuum on the disco. Like yours I seem to be able to advance the ignition without pinking, the 4A inlet manifold I think has that affect, however I have currently only done 200 miles so I don't want to stress the engine until I have run it for about 1000.
Thanks.
Des.
-
Hi Mick,
Did you resolve your advance issues? I have a 59 TR3A with a DM2 P4 (40480A) distributor. When I rebuilt my engine I used 87mm pistons (2188cc), a TR4a inlet manifold, a TT 4 into 2 into 1 exhaust manifold, std cam. My advance looked like yours. I'm presently running on about 15 deg. BTDC and my advance goes up to about 50 deg all engine crank readings. I'm thinking of limiting the max advance to about 34 deg by changing the springs but really the hardest thing to get around is what people are actually talking about when they convert distributor to crank rpm. They seem to take what suits the advance curve fit regardless of doubling both the rpm and the degrees. Anyway what have you come up with.
Regards
Des.
-
Yes I looked at them today but so far there is no evidence that they have actually rubbed and the spiral hose guards should arrive tomorrow. The idea is that they will prevent damage until I give them the full Revington treatment. The spiral hose guards are designed for industrial use.
Des.
-
Thanks I'll try mine first but if I have any problems then I'll go for the TR4A hoses.
-
Okay thanks Bob, I had't picked up on that yet.
Des.
-
I've just ordered some Spiral Hose Guard HDPE from a company called Hilltop Products which I'll fit in the interim and then as a winter job make up the solid pipes as per Revington. So again thanks to all of you for your helpful inputs.
Des.
-
Thank you all for your quick responses. The Revington solution looks like the best option but I understand that SUVs with their large travel also have this problem and solve it with rubber donuts on the hose so a cable-wrap is also on the right lines. Also I understand that this is not actually a MOT failure but an advisory as it is an intermittent possibility, however I would prefer not to leave it to chance.
Des.
-
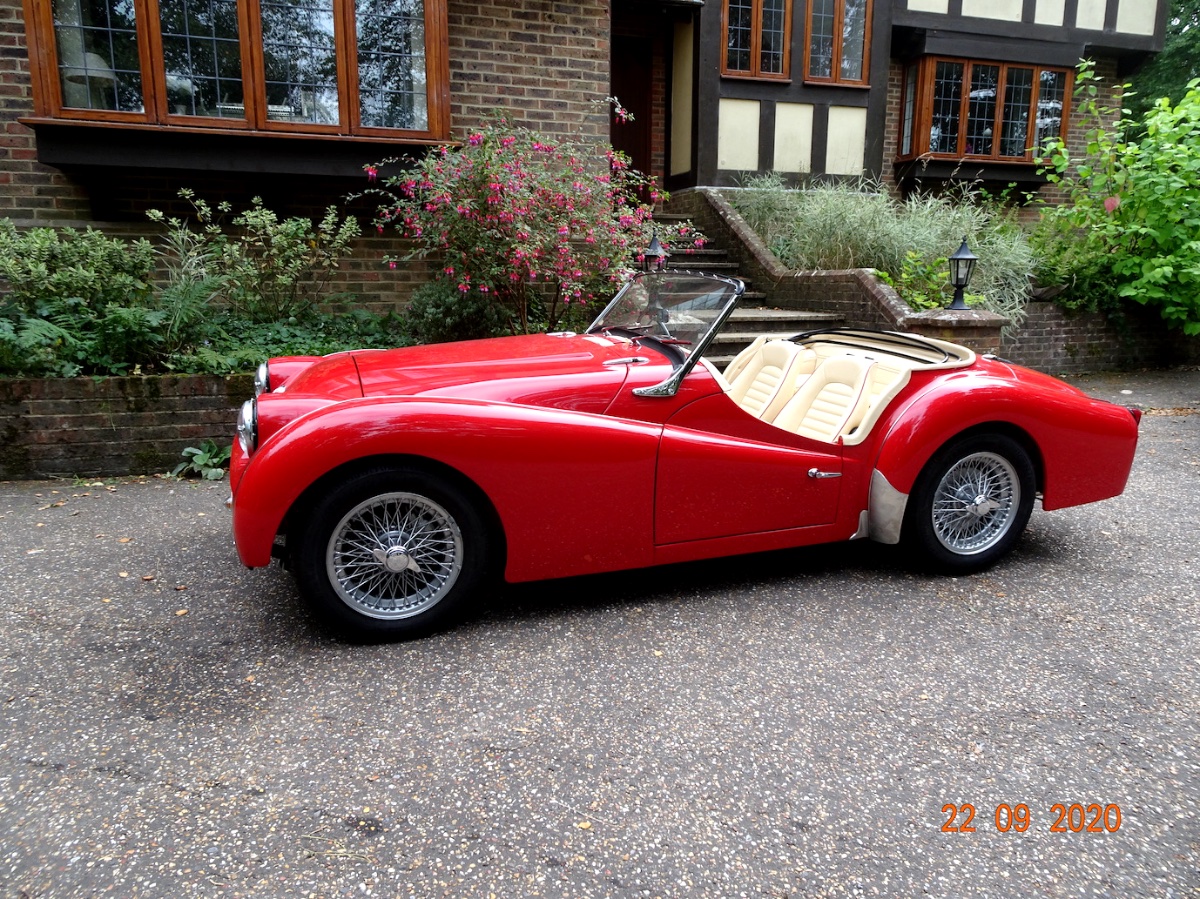
While rebuilding my TR3A I upgraded my front suspension with TR4A components to give me the 3deg castor angle. I also have TR6 wire wheels and rack and pinion steering and fitted Goodridge classic hoses. Unfortunately the hoses on full lock rub on the wheels. The Goodridge hoses I got were for a TR3A and all three hoses are the same length. Has anyone made the upgrade and if so did they experience the same problem. There is a set of hoses for a TR4 with a rigid rear axle which seem to have shorter hoses for the front, area these the ones I should have used, or is there another solution.
-
Thanks Peter.
PS Love the aero screens.


Dzus Bonnet Hole
in TR2/3/3A/3B Forum
Posted
Would the half grommet be sufficient to cover the ovality? I know it's slightly off subject but how do you compress the Dzus Half Grommet. I've tried with a nut and bolt but didn't have a satisfactory result.
Des