


John h
-
Content Count
102 -
Joined
-
Last visited
Content Type
Profiles
Forums
Calendar
Posts posted by John h
-
-
Thanks Stuart will do. on a different note I have to weld in some wiring loom. Tags on the passenger side. What’s the route for the loom as it comes into the foot well is it at the front of the foot well or down the back of the b post and along the inner sill
-
Thanks yet again, Stuart will do the welding and the loading will post results with regards to the bonnet reinforcing panels. I think I’ll have a go at making them myself if I get stuck or they turn out rubbish I’ll come back to you if that’s okay once again. Thanks for your help. Regards John
-
What to do
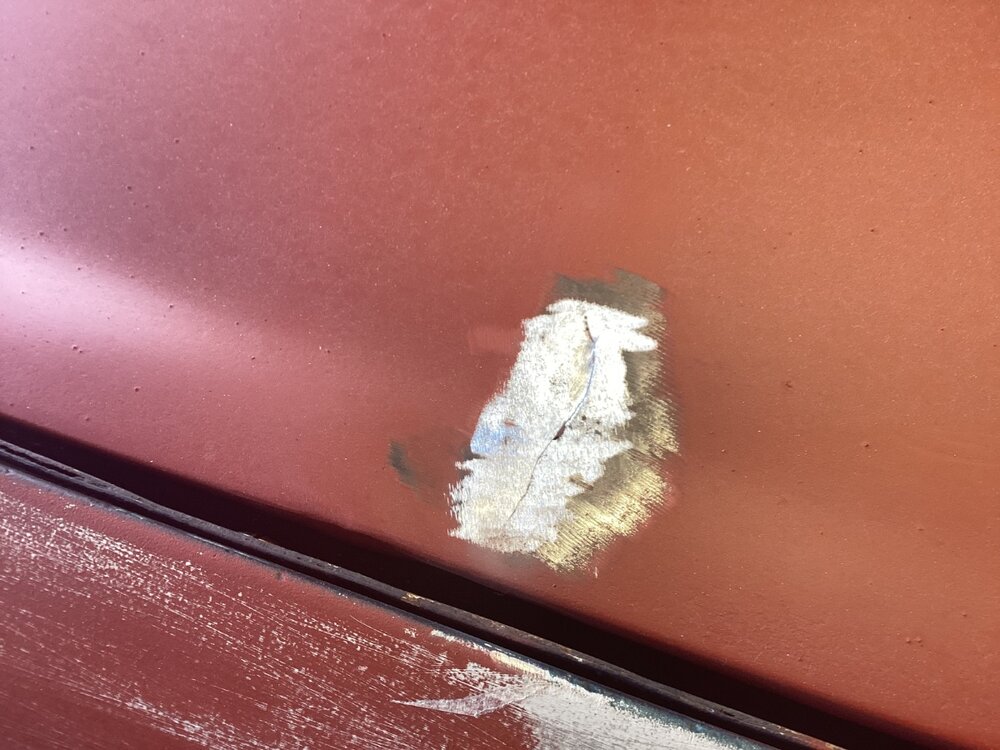
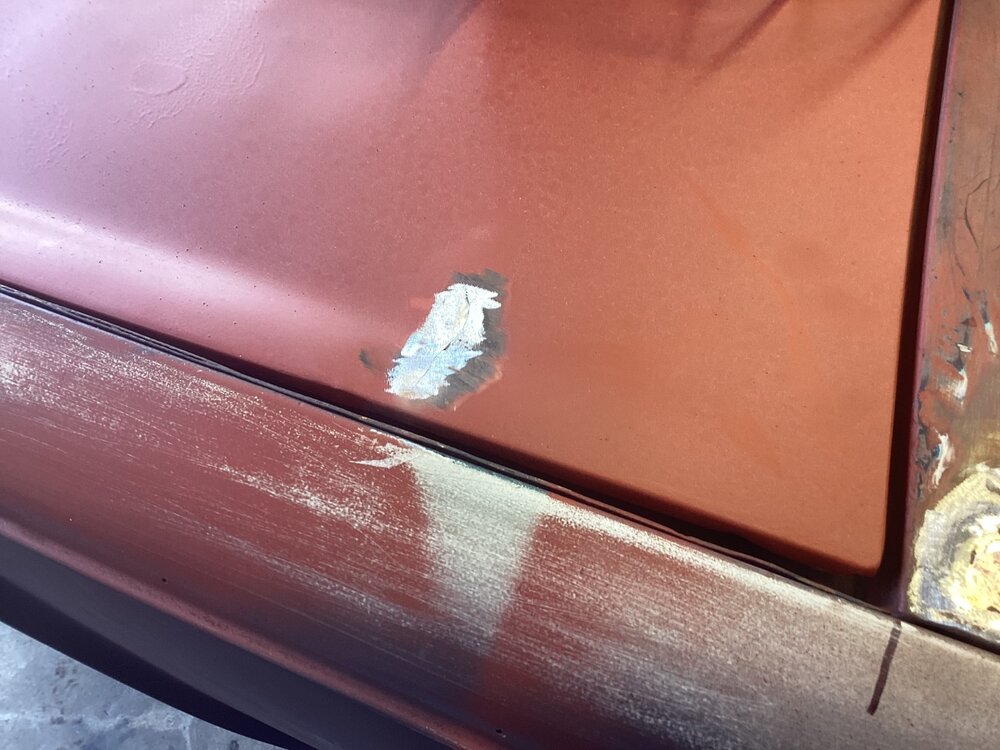
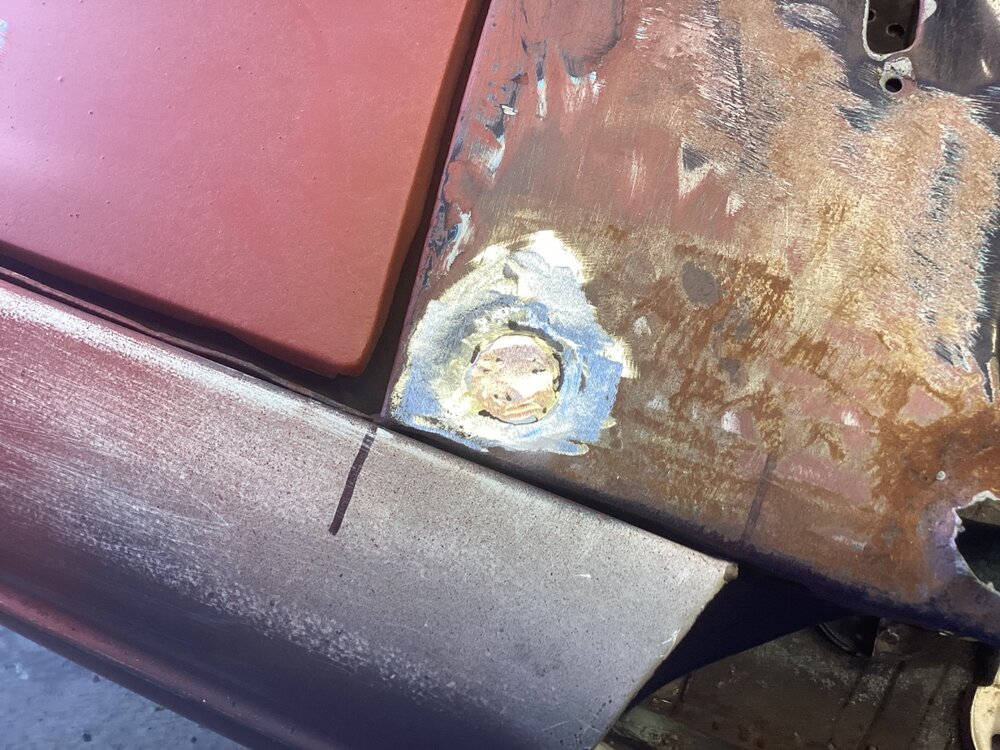
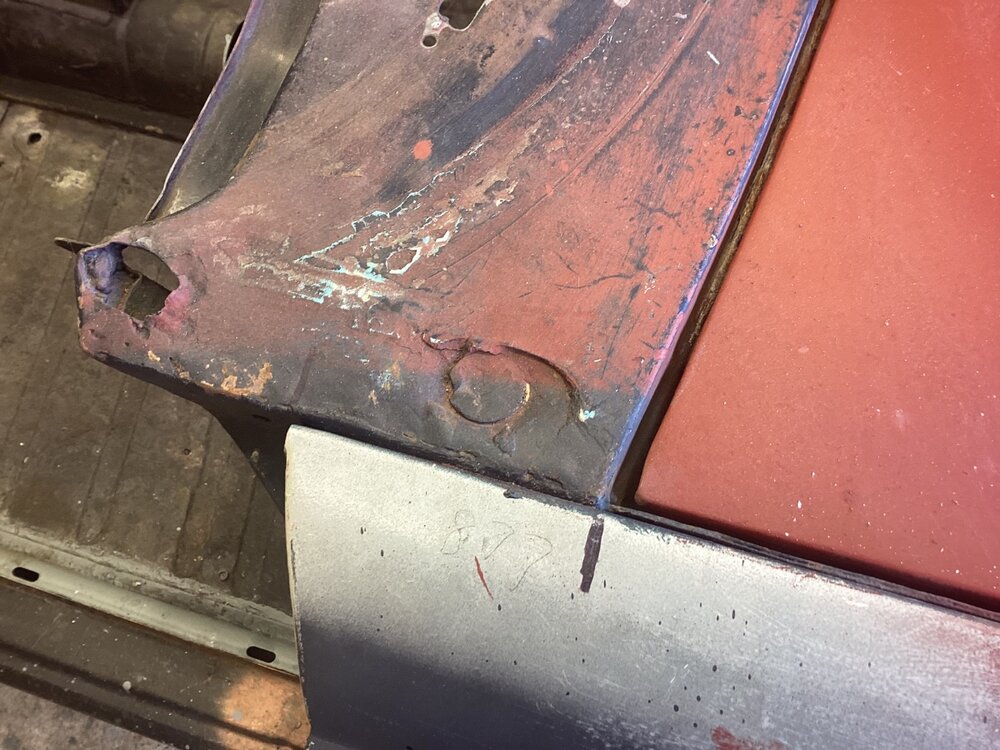
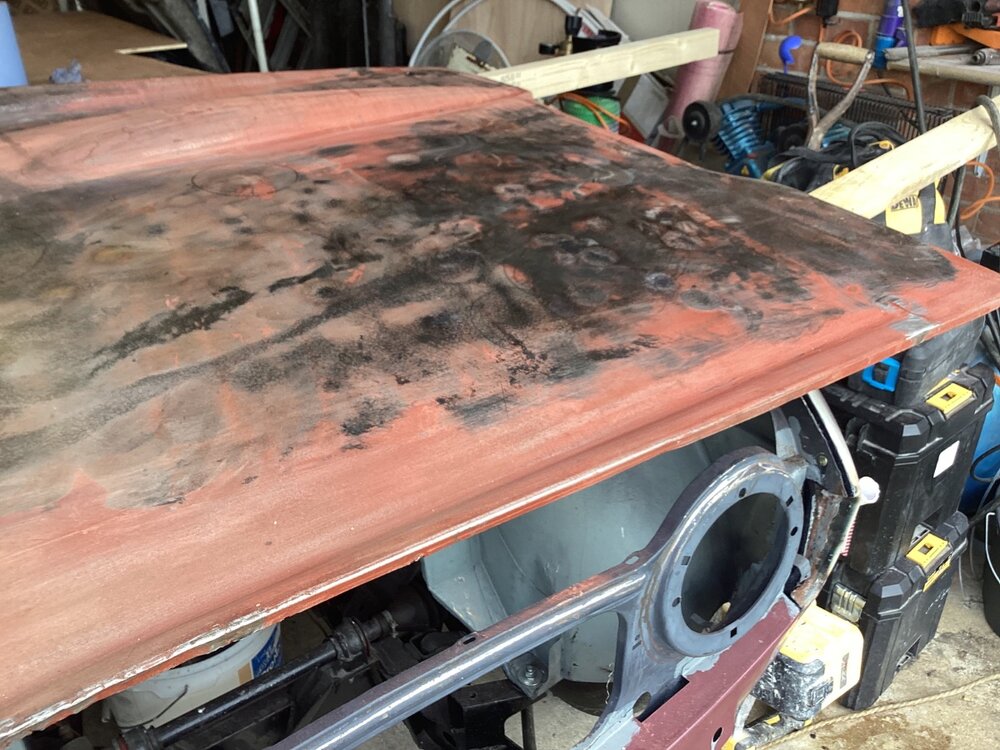
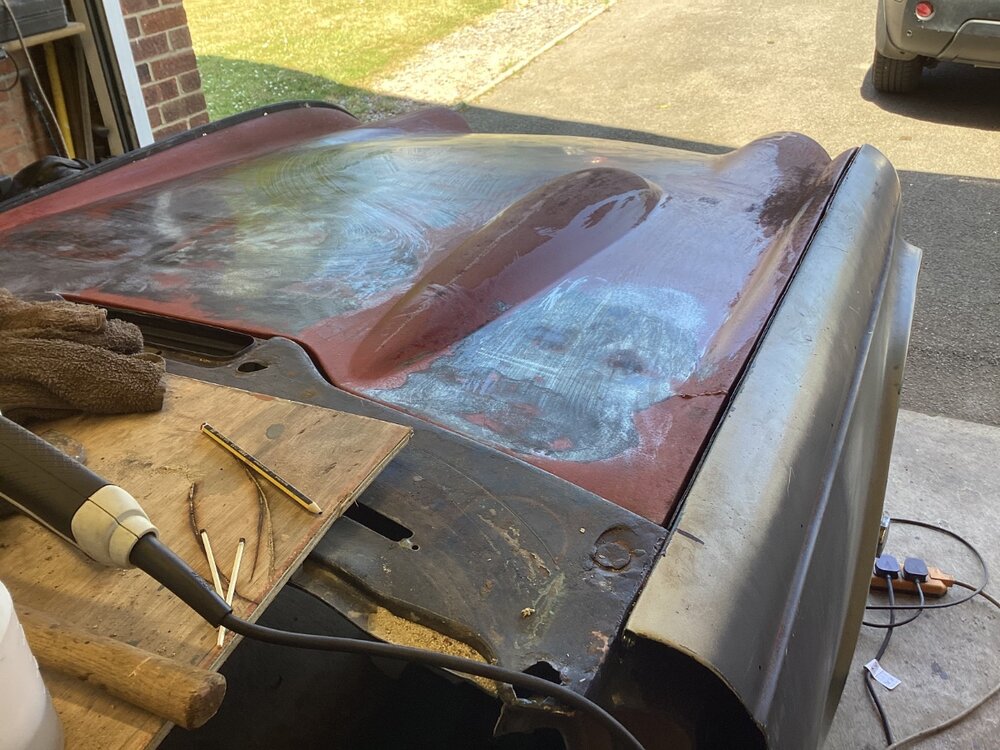
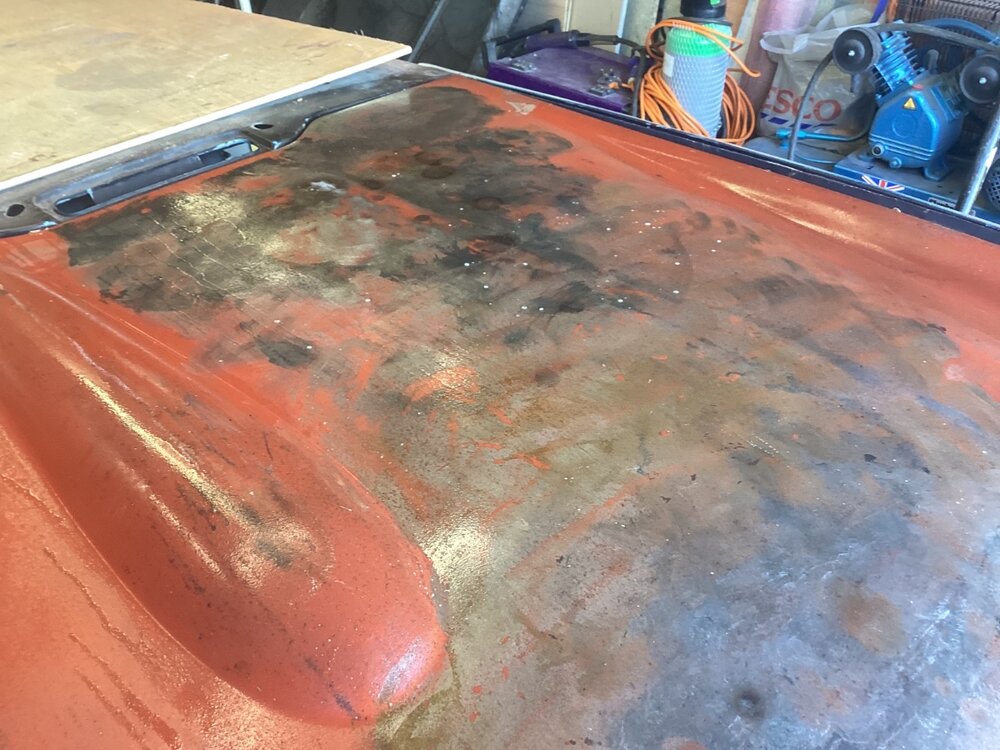
hi, to all continuing on with bodywork, slowly, not sure what to do about a couple of issues. Someone has braised in what looks like old pennies over wing, mirror, holes, was filled with body filler which had cracked so sanded off the filler. This is what I’m left with is filler acceptable, or should I have a go at lead loading? And on the bonnet has a very small crack in it as you can see again should I weld or lead load
Kind regards, Jon
-
Thanks Stuart
-
Hi to all well a week later and I have had another go. And you were right Roger it was a pig to rub down.made a couple of changes used a smaller gun and also whilst I had the gun pressure at 22 psi pressure coming out of the compressor was way up over 100 psi saw on YouTube. Someone recommended the pressure on the wall out of the compressor. Should be about 15 to 20 psi over gun pressure changed that to about 55 to 60 seems to have made a big difference. I’m pleased with results one thing I would like to know if there are any bits that I’m unhappy with once it dries out. Can I spray them in locally or do I need to start again?

-
Yeah mix was okay,will post more pics when I get another coat on
-
I have purchased a mini gun will rub it down start again, will concentrate on internal corners, awkward bits first.
When I was spraying it, it all seem to be happening too quick , the gun is very bulky in the tight spaces anyway will try again and see how we go
-
Yes using a respirator thanks for the tips Will rub down and give it another coat. See how it turns out.
-
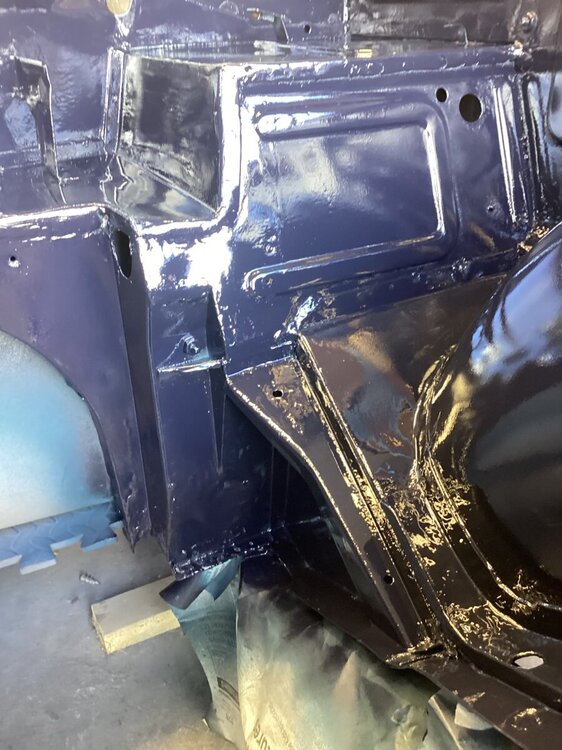
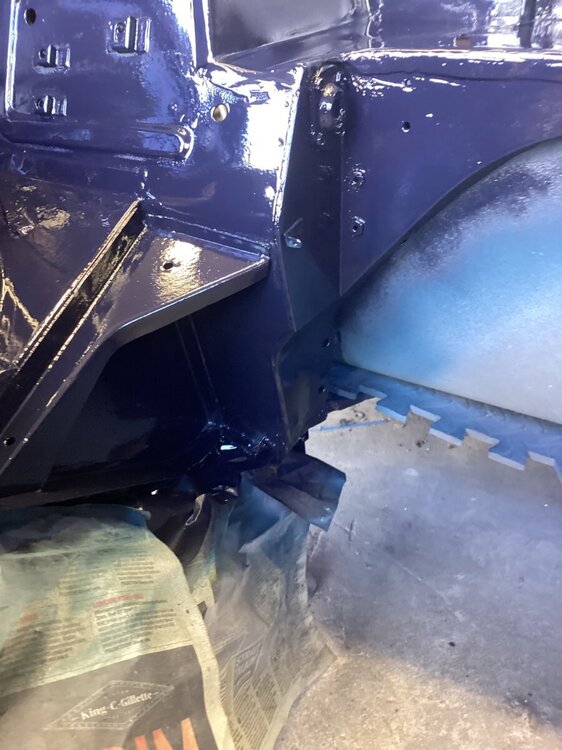
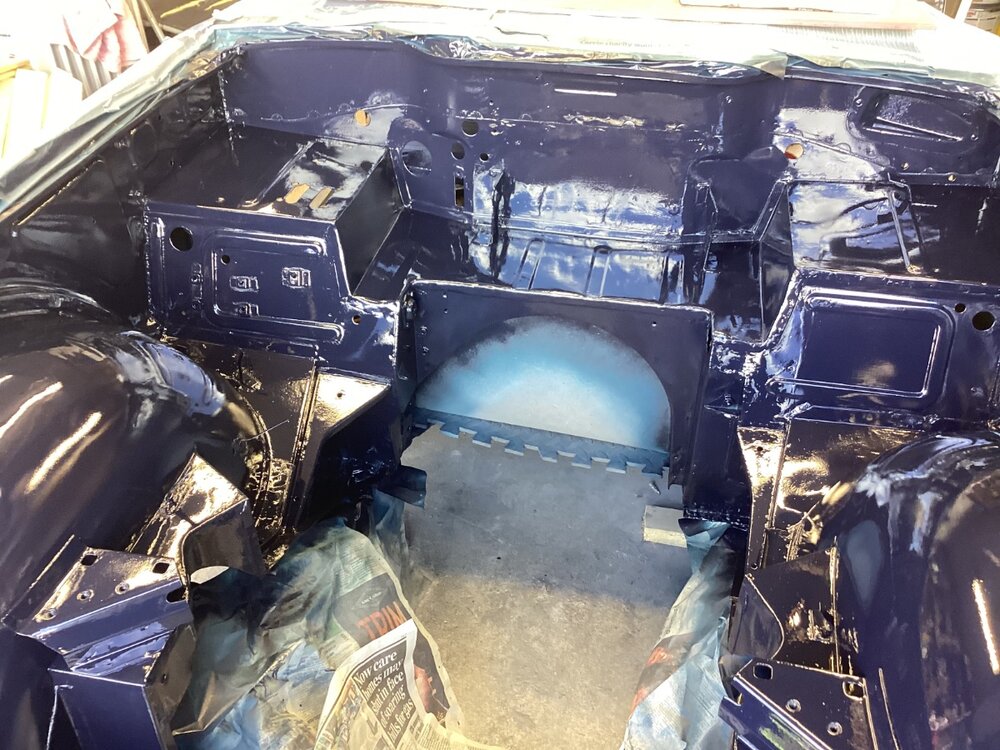
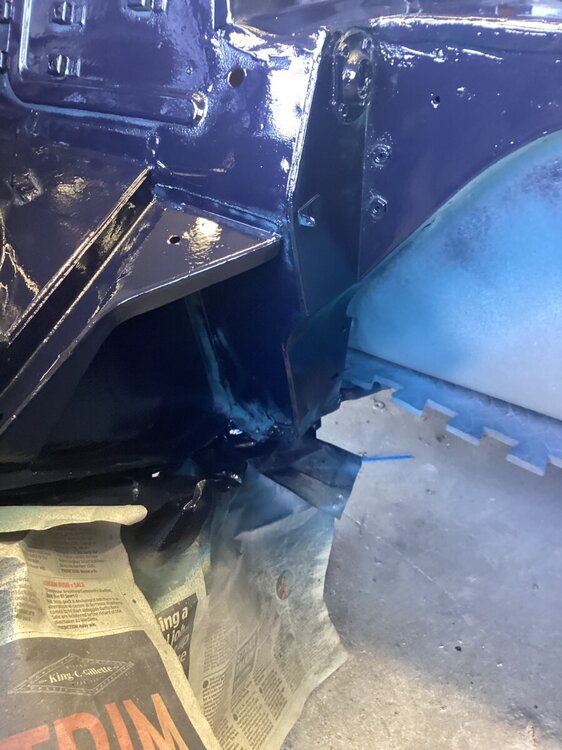
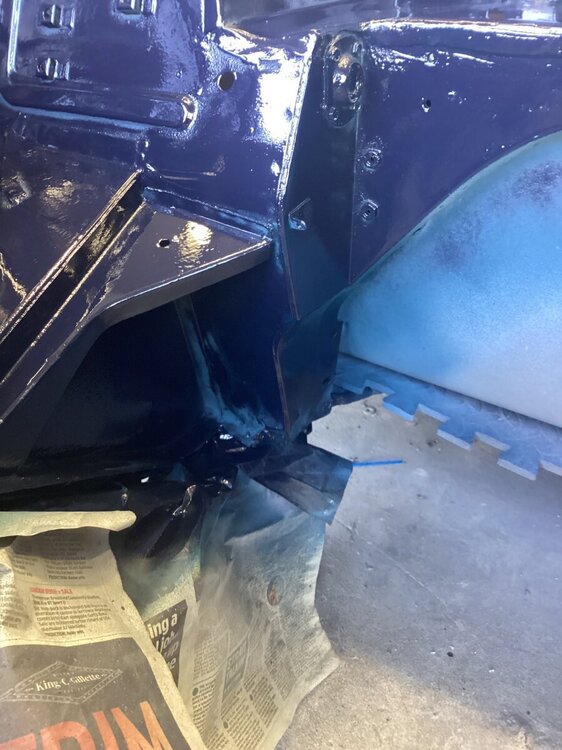
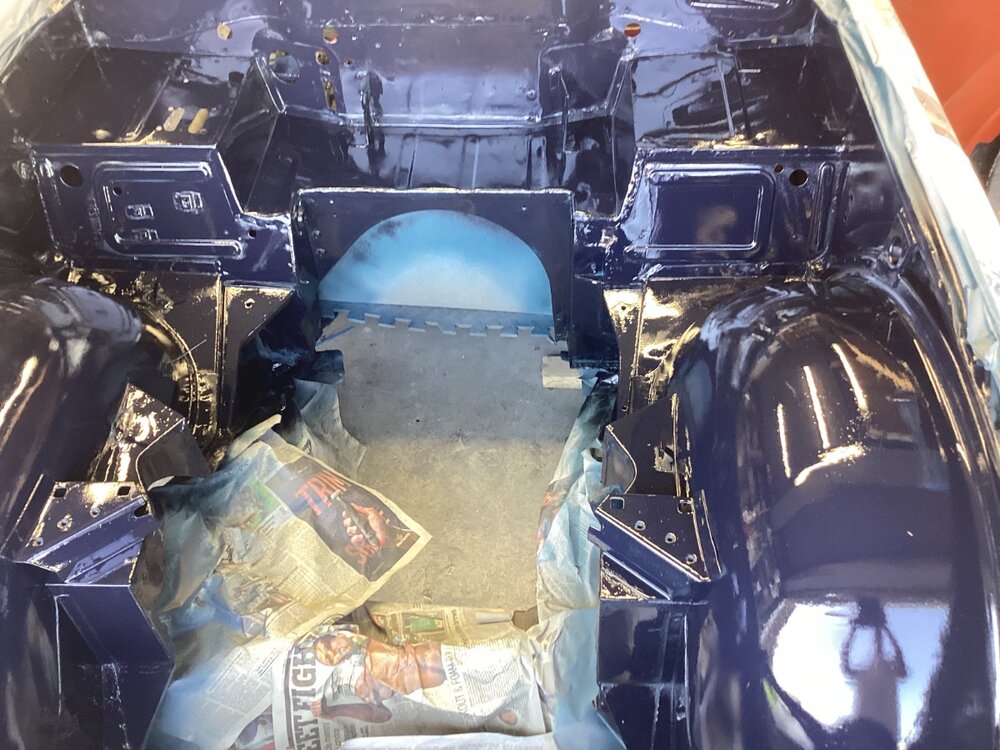
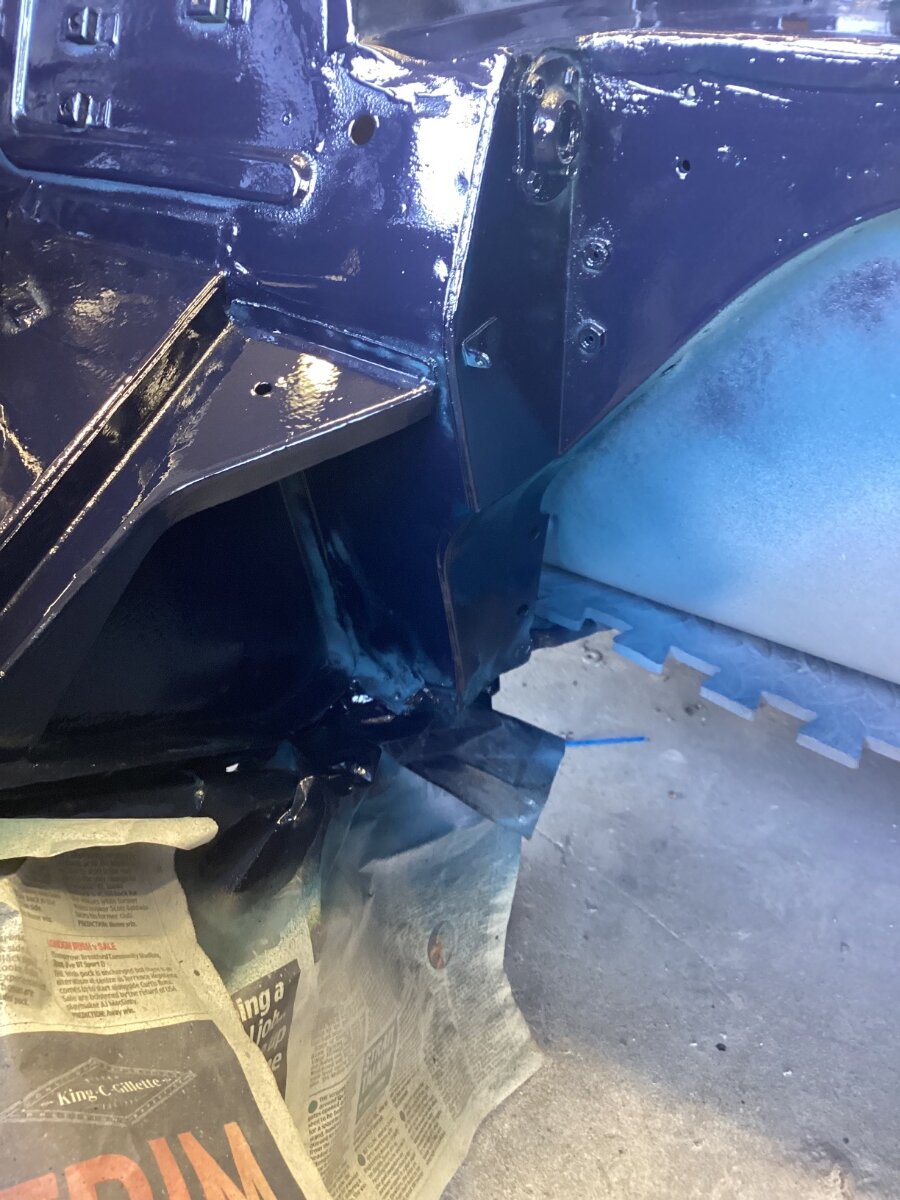
Hi to all, haven’t posted for awhile, not since the bonnet saga just painted engine bay, triumph, Royal blue, quite pleased with the result use a two pack couple of questions, the primer I used was a filler primer two coats, should I put two coats of blue on and how long in between coats also seem to be having trouble getting right into the corners. Any tips or help would be greatly appreciated the nozzle on the spray gun is a 1.4 mm
-
Looks fantastic well done keep the photos coming it gives the rest of us inspiration
-
Hi malbaby yes stripped all paint inside as well obviously very difficult around the braces and then primed with bondarust not sure what type of paint going to use haven’t decided yet whether to go for Celulose or a two opacity
-
Sorry for the delay in replying, I wouldn’t say I mastered it. It was very effective in the end. I ended up using a mixture torch and shrinking disc. Very pleased with the result turned what was basically it’s scrap bonnet back into something suitable bonnet is now in primer wrapped up and put away ready to have filler primer applied at a later date simply because I wanted to get engine, bay, painted and engine. Gearbox installed to give me more space in the garage there are some good videos on YouTube of people using shrinking discs which I found very useful. Kind regards, Jon
-
Hi Rich I’ve got one here it’s very badly corroded on the front but ido have a little repair panel if you look back on the four forum under the heading bonnet there’s a picture of it I don’t want nothing for it just don’t wanna have to scrap it. If you can make use of it you’re welcome to it
-
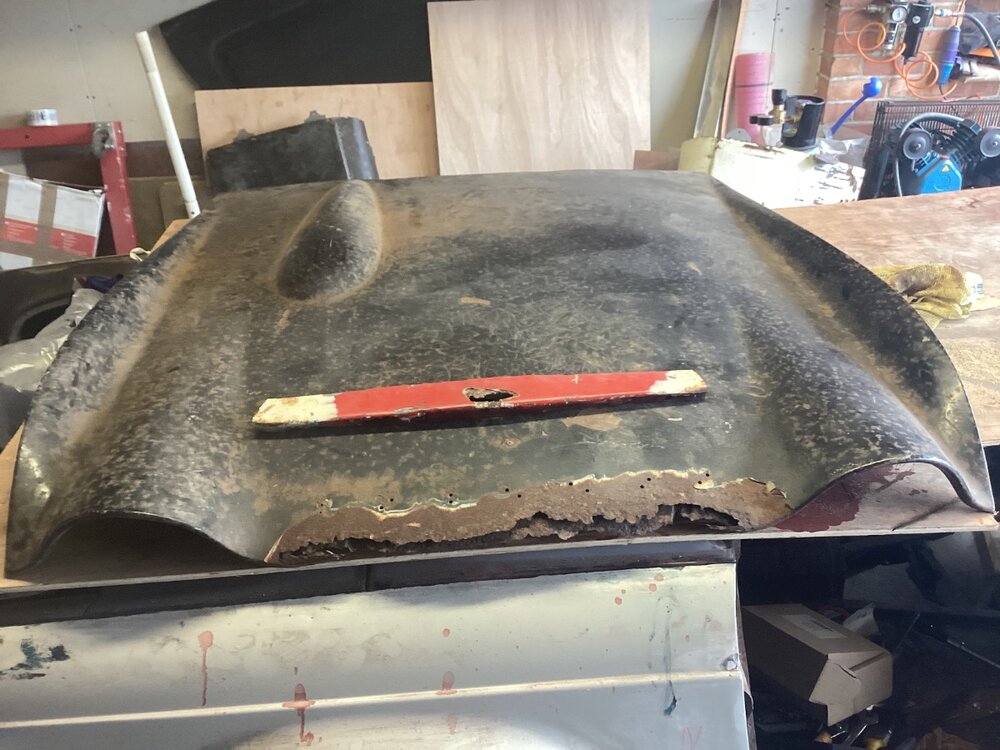
How to all have got the bonnet now as good as I can get it. I’ve coated it in Bondi rust going to wrap it put it away to get on with another stuff. I’ve got the original bonnet very rusty on the front tip have a little repair panel from another bonnet, if anyone can make use will be free to good home
-
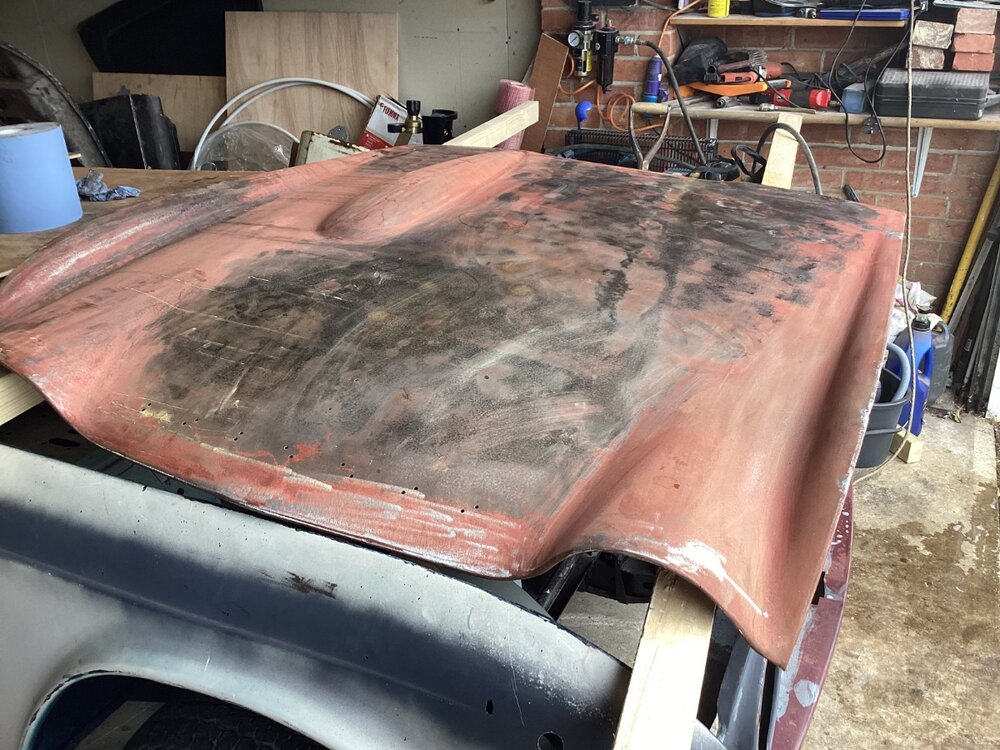
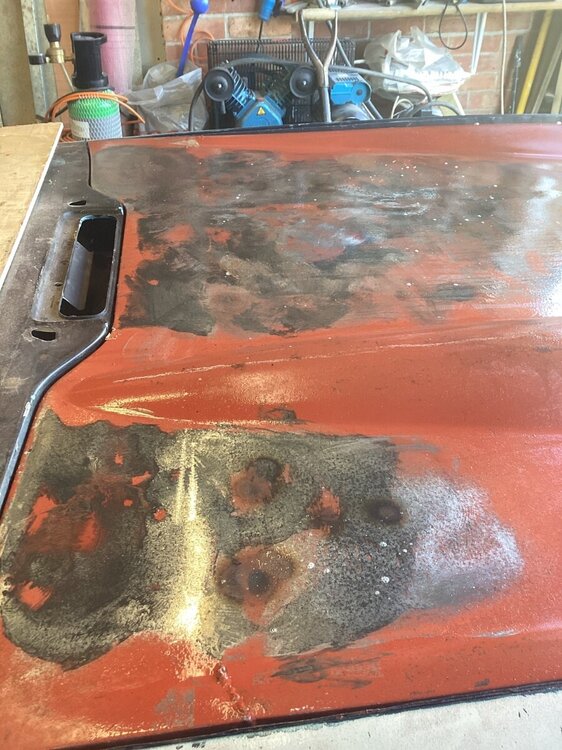
Hi malbaby I think someone has had a go at the two rear corners, probably before sandblasted was more concerned initially with getting the bonnet more rigid still got a way to go will carry on working on it then will check the lines of the bonnet as it goes into the rear corners. You can see someone has welded a seam about an inch and a half in, that’s the same on both sides will turn my attention to that a little bit later hope everybody has enjoyed looking at this and seeing the progress being made hopefully will be able to push it on in the next few weeks. I’ll post again later. Lots more progress has been made
-
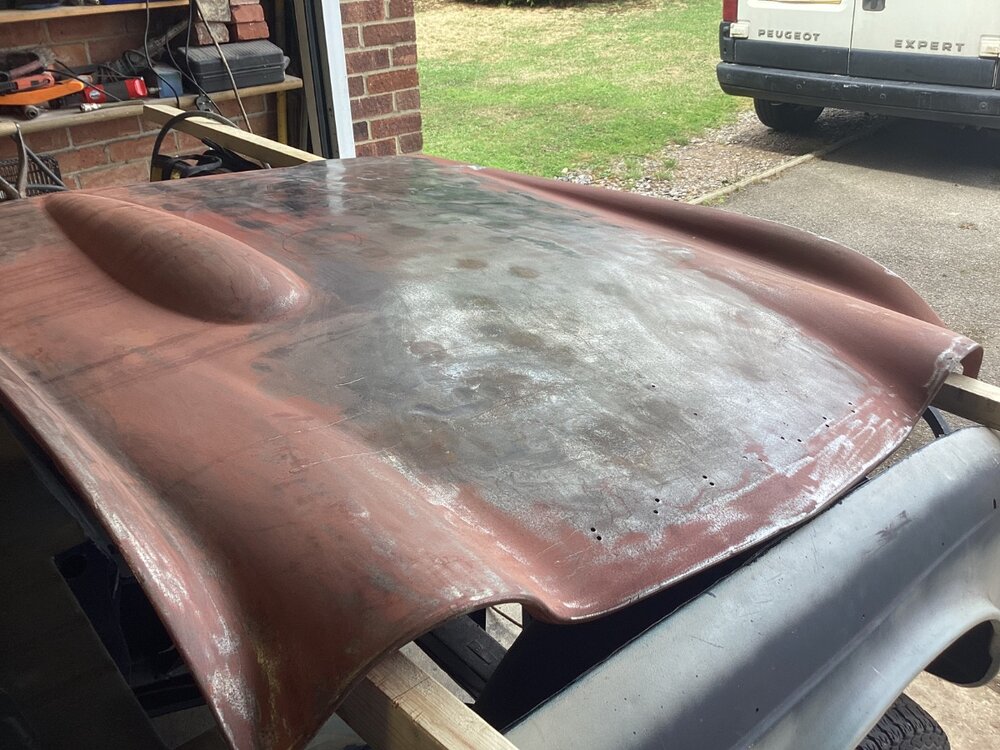
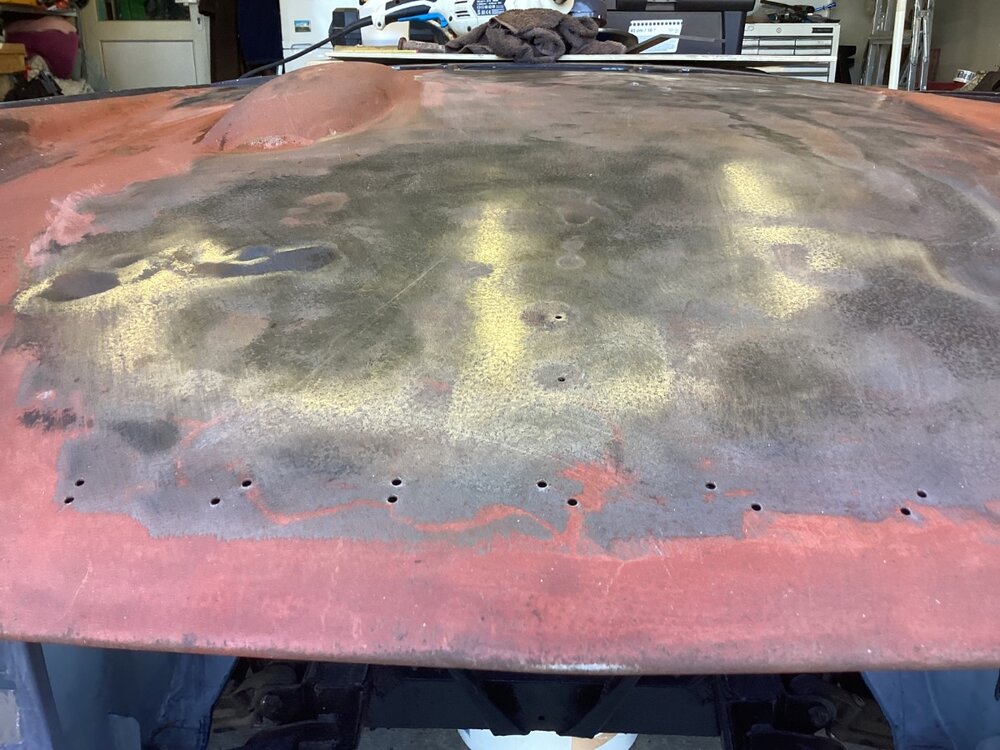
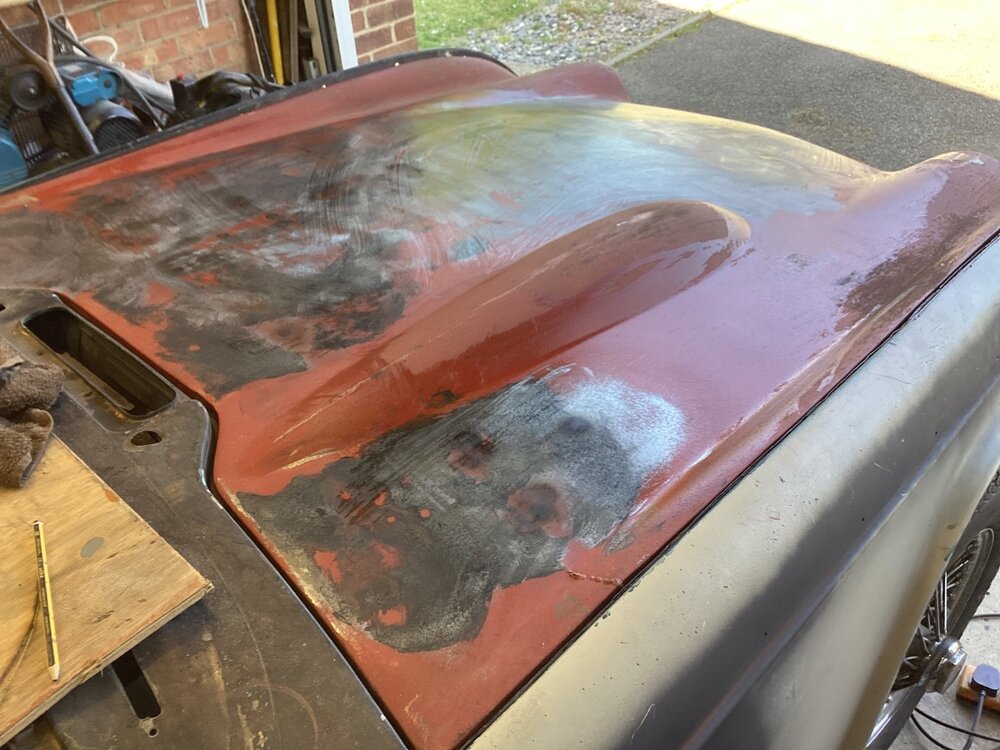
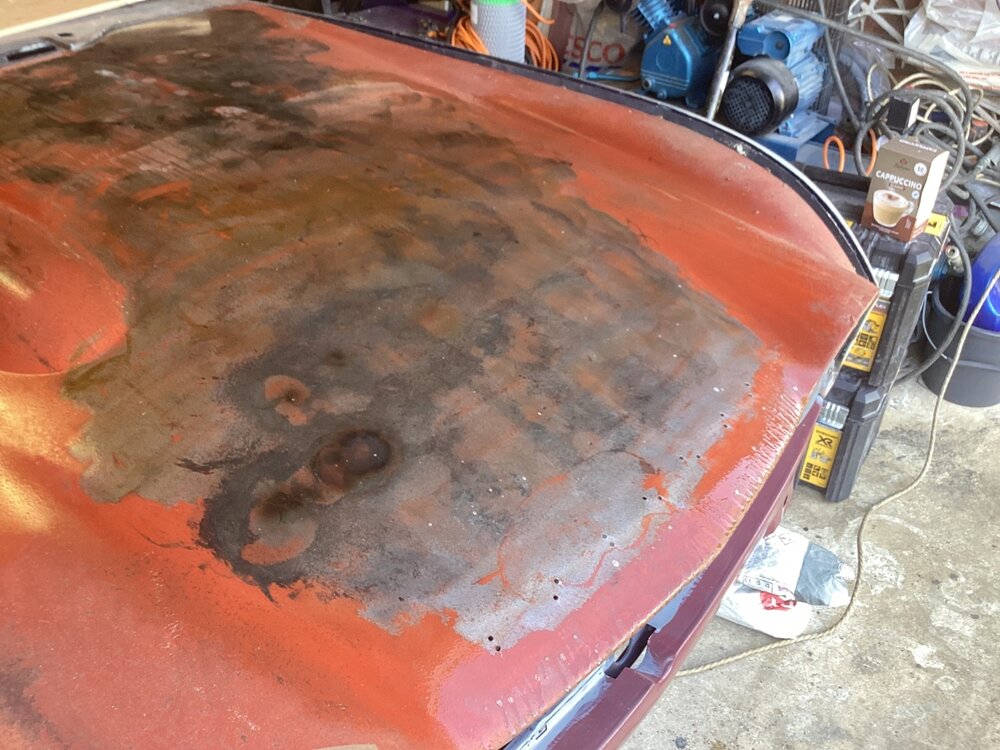
Hi To all here are some more pictures just have another couple of hours out in the garage. I think I’m getting close now still a couple of areas I can’t do much with the dark spots on the front but to be fair they’re not as deep as they were oil canning. Has gone. I think I will now strip the balance of the paint off and start the painting process will post again what’s more progress has been made
-
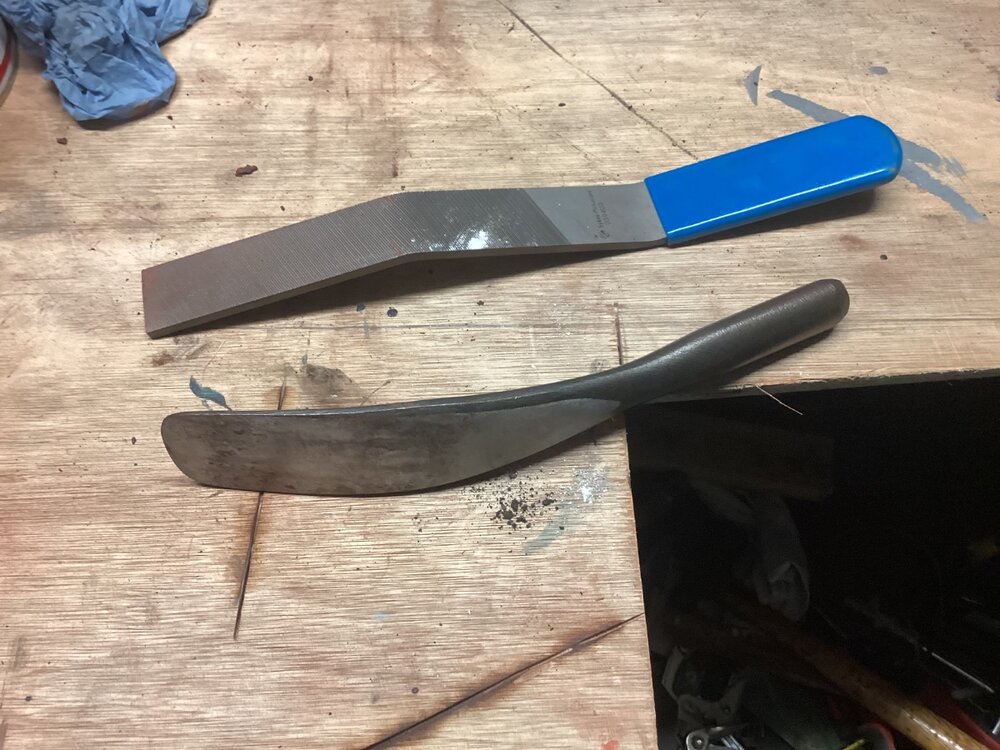
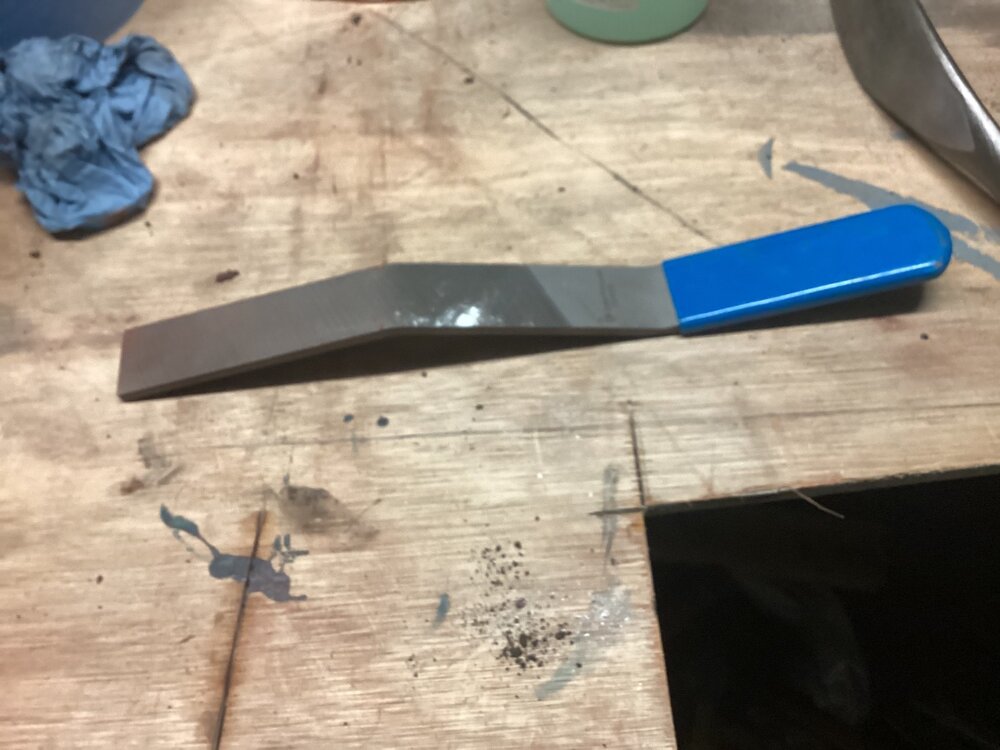
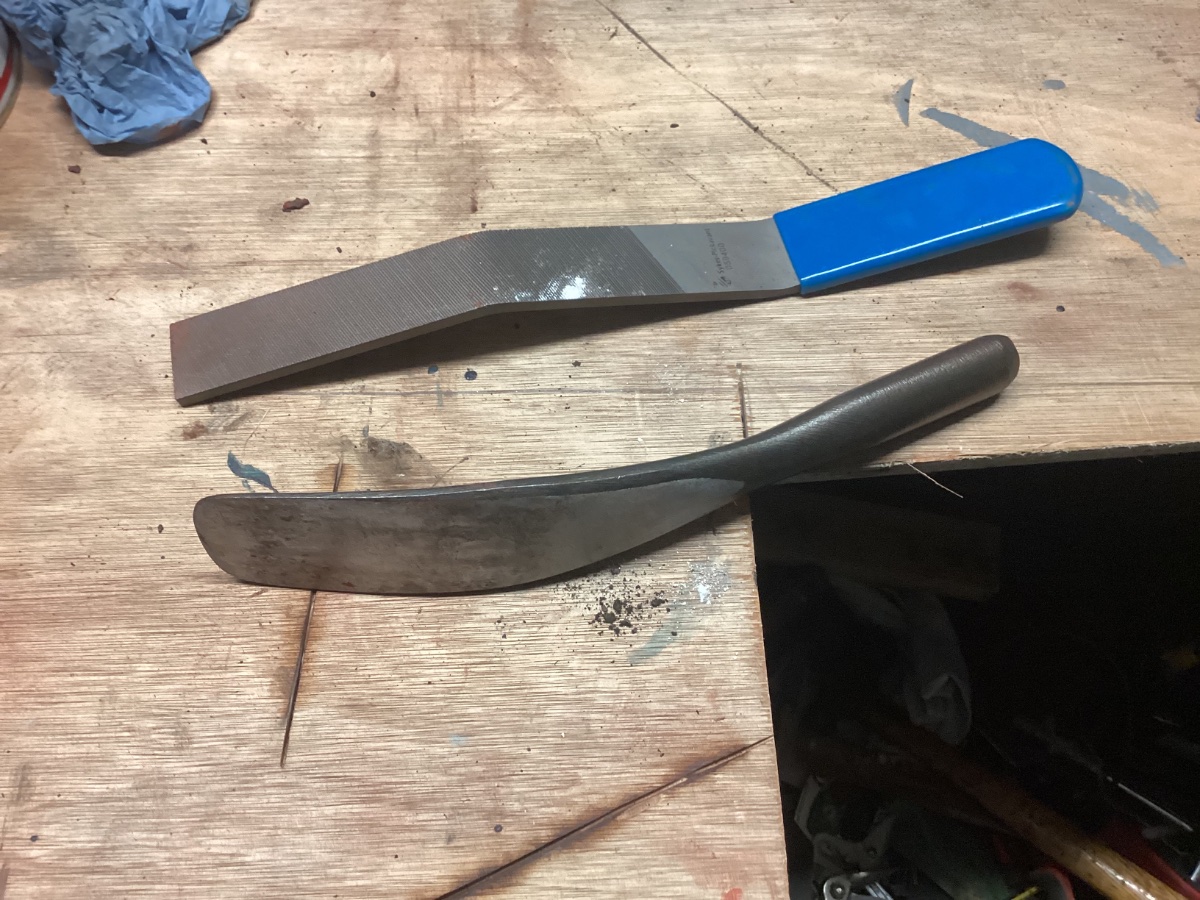
Is that what you mean haven’t had a go with the blue handled one yet
-
That’s what you get for not reading it back hopefully get on it tomorrow for a while have had an idea for the dents on the cross brace going to try using bearing puller and a flat. Bit of metal, perhaps a washer or a bit bigger to apply a little pressure. Hopefully will be able to to push out the dent regards, John
-
It was done before I got the Bonnet and yes, I think it’s on bare metal
-
Stuart, can I put the bondorust over the top of red oxide or does it have to be on bare metal many thanks, John
-
I’ve been using a water spray bottle with a little bit of washing up liquid in it according to someone on YouTube helps with lubrication, apparently once cooled just wipe it with a rag
-
Thanks Stuart
-
Thanks Stuart, when I start to get close ill do what you said with the bondarust have not used that before I do have some is it a primer filler or both
-
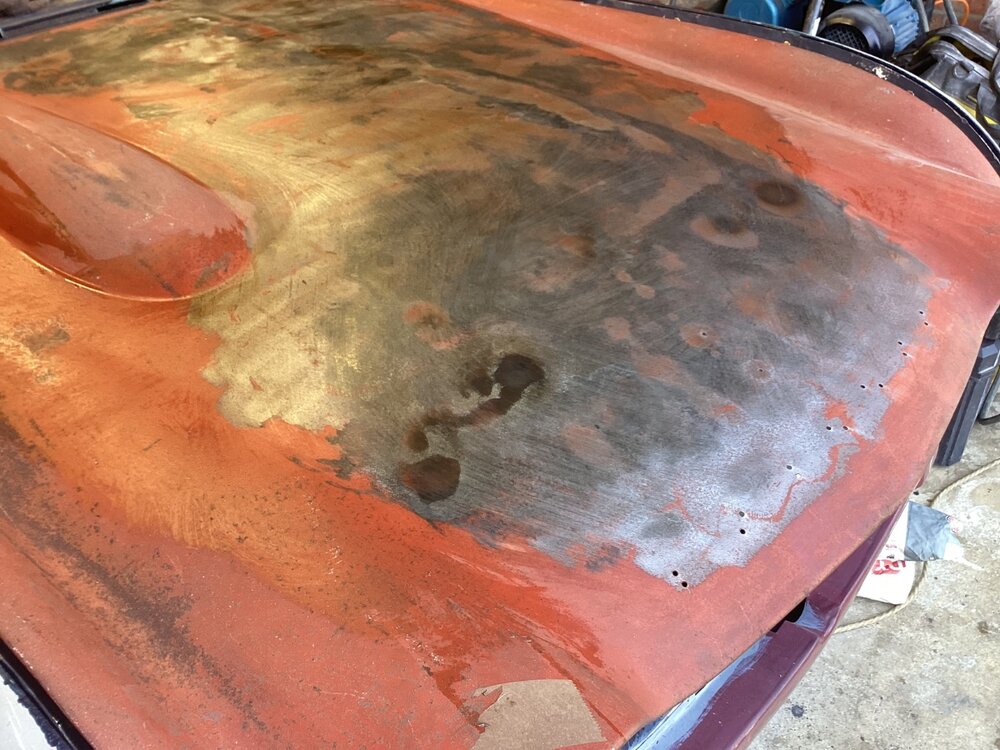
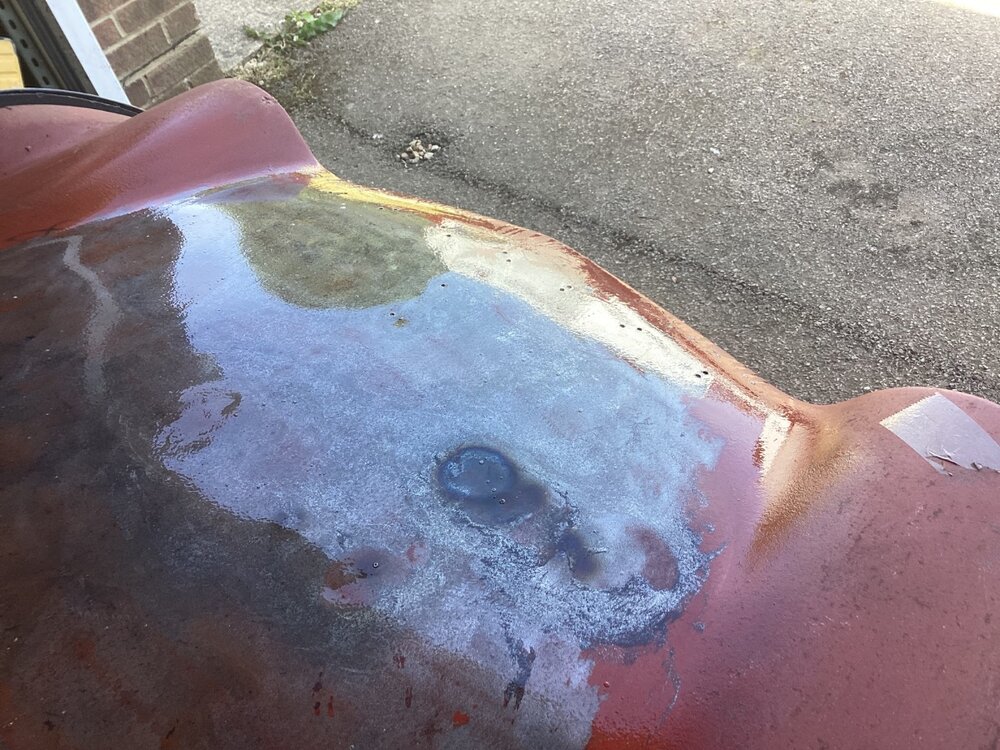
Been out in the garage again can’t leave it alone just posting cup of pictures still more to do but getting there I think there are two dents on the front brace which have been a bit awkward. Can’t get at the back of it as you can see. I’ve even tried that heat on that will have another go probably next week now I sprayed a little bit of water so you can see the reflections Let me know your thoughts. Regards, John


Tr4A
in TR4/4A Forum
Posted
Thanks for all your help and support guys that will give me something to get on with will post pics later