

Mark69
-
Content Count
2,066 -
Joined
-
Last visited
Content Type
Profiles
Forums
Calendar
Posts posted by Mark69
-
-
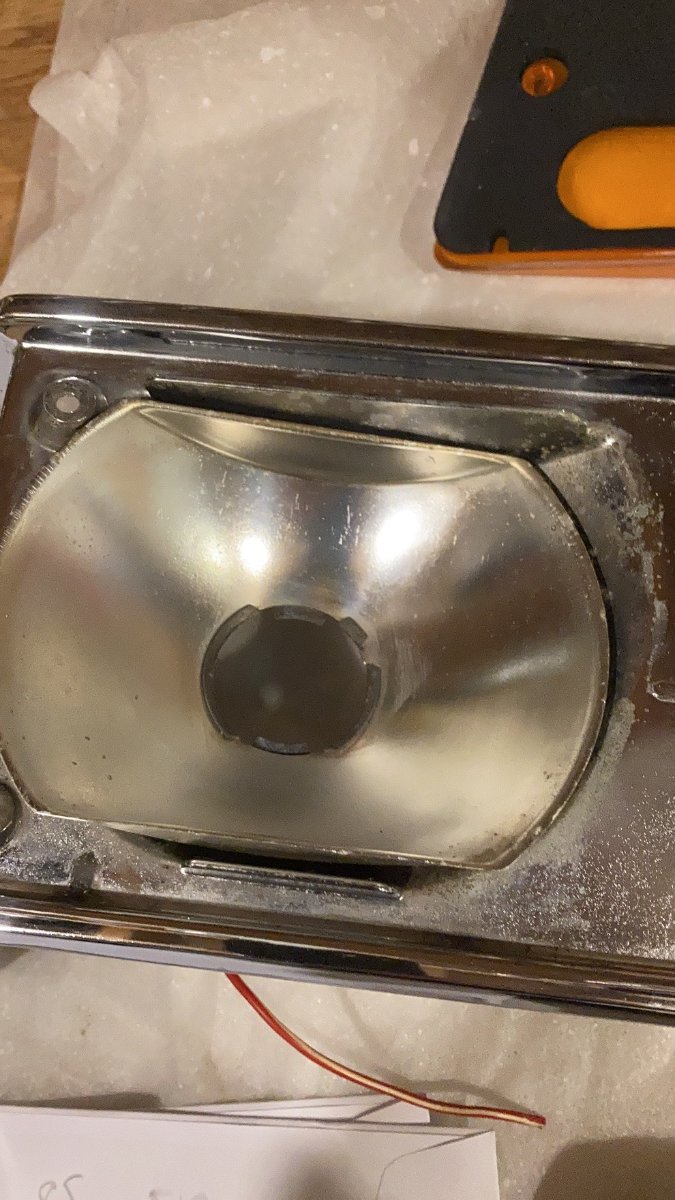
Thanks for looking Bill, I have one light assembly with both and one without the large reflector. I find it strange that the smaller ones are made from plastic ,both of these show evidence of overheating . You would think for tail stop lamp these would be aluminium also.
Thanks all Mark.
-
Fantastic Bill, no rush thank you.
-
After one of these , anybody have one knocking around?
Many thanks Mark

-
+1 for above buy complete cable and make sure you have the clip (15).
-
-
2 hours ago, Phil H 4 said:
Hi Richard,
Just looking at your April 2020 post and have a question regarding the USB outlet socket you used.
Where did you site it? I was looking at using the ashtray aperture to connect a mirror cam and a rear view wirless camera but would be interested to know how you wired yours.
Thanks
Phil
-
When past parts refurbished mine it came back plated.

-
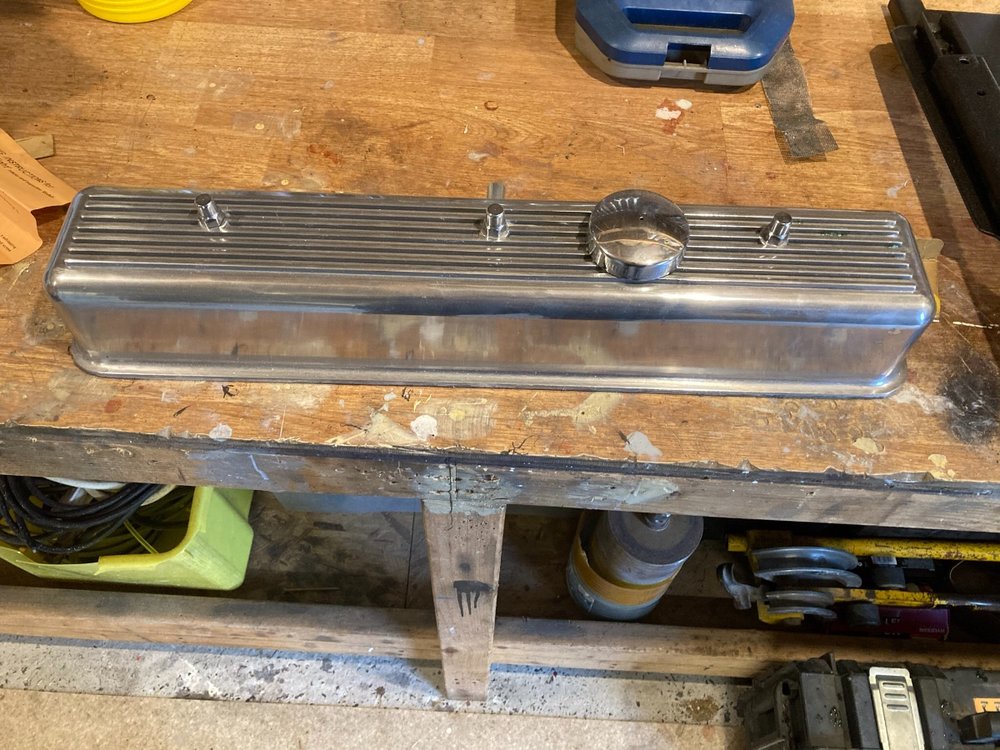
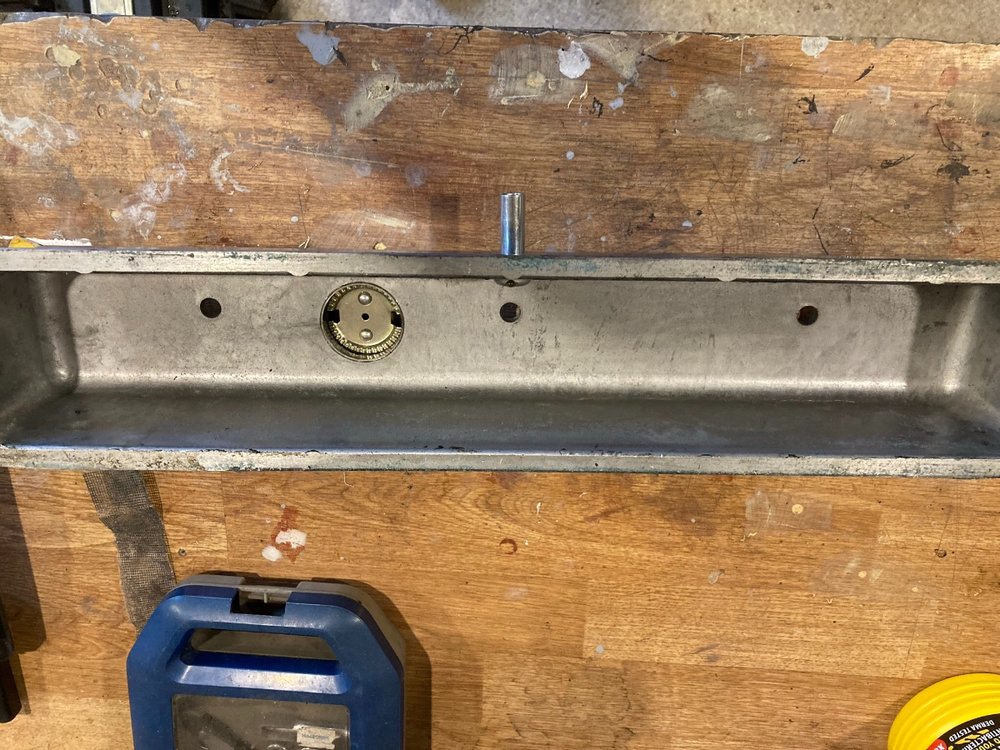
Bought this new and fitted to my engine decided to revert back to original . Comes with three bolts but no gasket.
looking for £65 + postage roughly £8.
contact via PM
-
A tad early
-
-
I noticed on ebay someone selling NOS lenses in original lucas boxes, I spotted the lenses have the name Bastuck and not Lucas.
Beware all could be paying more than they are worth.
-
5 hours ago, Peter V W said:
I have an Aley bars, narrow so roof still fits.
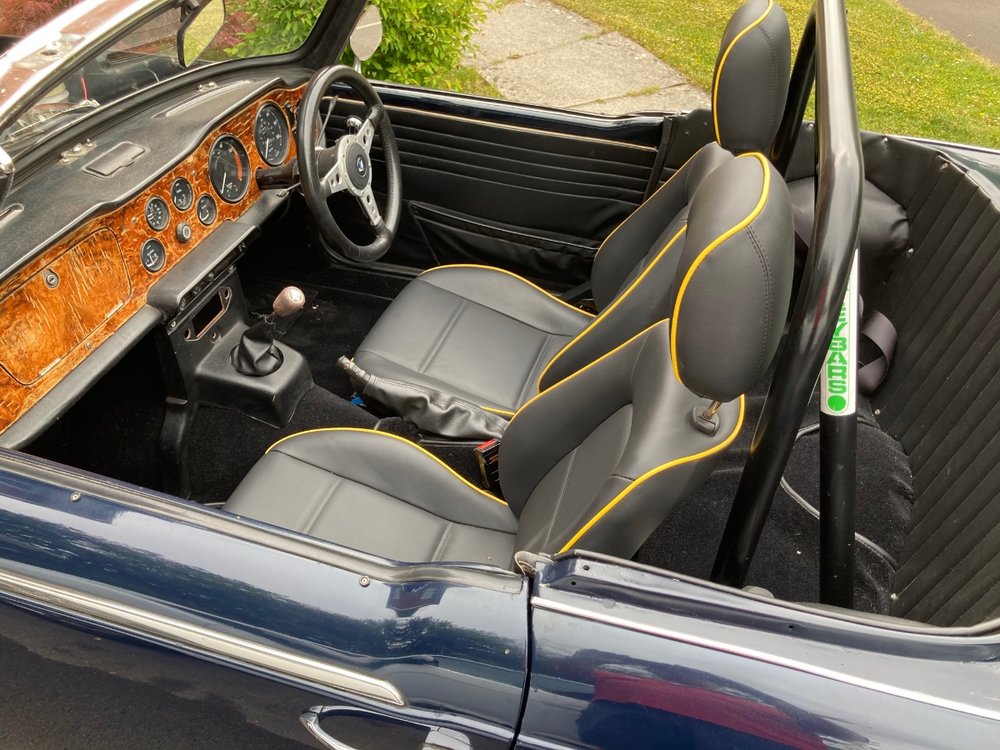
I have a similar bar ,but find it restricts seat movement. Unable to fit due to long legs.
-
-
10 hours ago, RogerH said:
I'm sure if TRiumph ventured into this market we would get a spare part for either - a Bicycle, Typewriter or Bra !!

Roger
I’ll give the last one my support.
")
-
Would it be worth drilling a hole from inside and spraying with dinatrol ml or the like.
-
7 hours ago, RogerH said:
Odd, was saying no stock when I looked, I've got to ring them in the morning to sort an ill fitting windscreen I'll order some then.
Cheers Mark.
-
Anyone know the size of the rubber strip that fits between the winder runner and glass, seems out of stock at the main suppliers ,got two from James paddock but on fitting today they are way to thin.
cheers Mark..
-
No Worries, I didn’t think that much about where I put the nuts, internally would have been a good idea but tacked them to the rear.
-
38 minutes ago, Motorsport Mickey said:
Hi Tom,
Yes, I searched and found the thread some answers for you,
I understand Steve owns a press tool refurbishment firm so handily placed for this exercise, the tool materials were purchased by himself (not inconsiderable, an idea is shown in the thread), and by using non priority time in house and utilising apprenticeship training (using it as a project) the costs were kept down.
The panel material used was CR4 with a 1.2mm (18 gauge, as per ST) thickness. and you were correct regarding tonnage used (I said it was from memory (it was mid 2017), it's quoted as starting at 288 tons but whether it was adjusted from there I can't see.
Answer from Steve in the thread...
Thanks guys. I would say the total machining time was about 6 days ( 8hr days ) although it was fairly relaxed. The female side was rough cut with a new process to us called waveforming. This process allows full depth cutting ( 25mm ish ) so the full cutter flutes are used rather than just the tip. As a comparison doing it the 'normal' way would have taken 7hrs, using the waveforming it took just 2hrs. It was the finishing cuts that took the time as first it's finished with a 0.2mm deep incremental cut and then fine finished with a ball nose at about 0.05mm. The tool is completely mild steel so I have no idea on longevity but I spray greased both sides of the tool every 2 pressings and although I've only done 9 so far, there is no sign of wear at all.
The post and thread is shown here for anybody interested in the process.
and fitted panels look like this
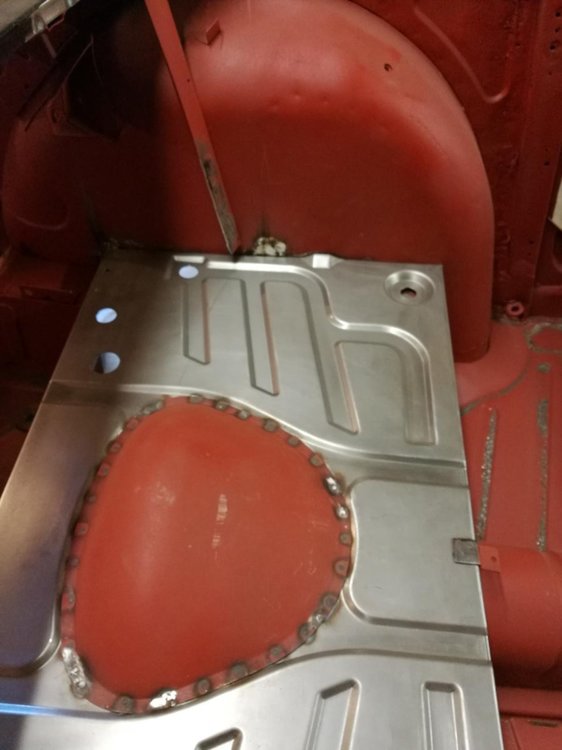
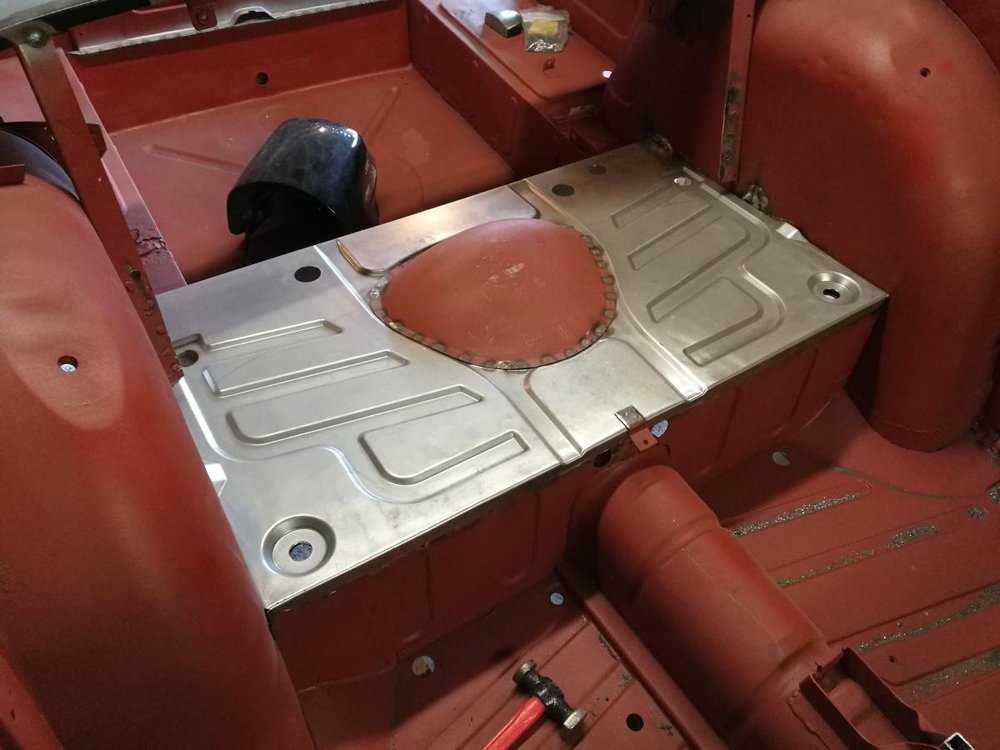
A very successful and resourceful remake of a TR panel by a TR owner.
Mick Richards
Those pics bring back memories Mick, that’s my car . Out of all the panels I replaced Steve’s was the only one I didn’t have to fettle.
-
Pleasure Conrad, once it’s had a new cover and coat of paint Yarm 783? I’ll post a pic.
cheers Mark.
-
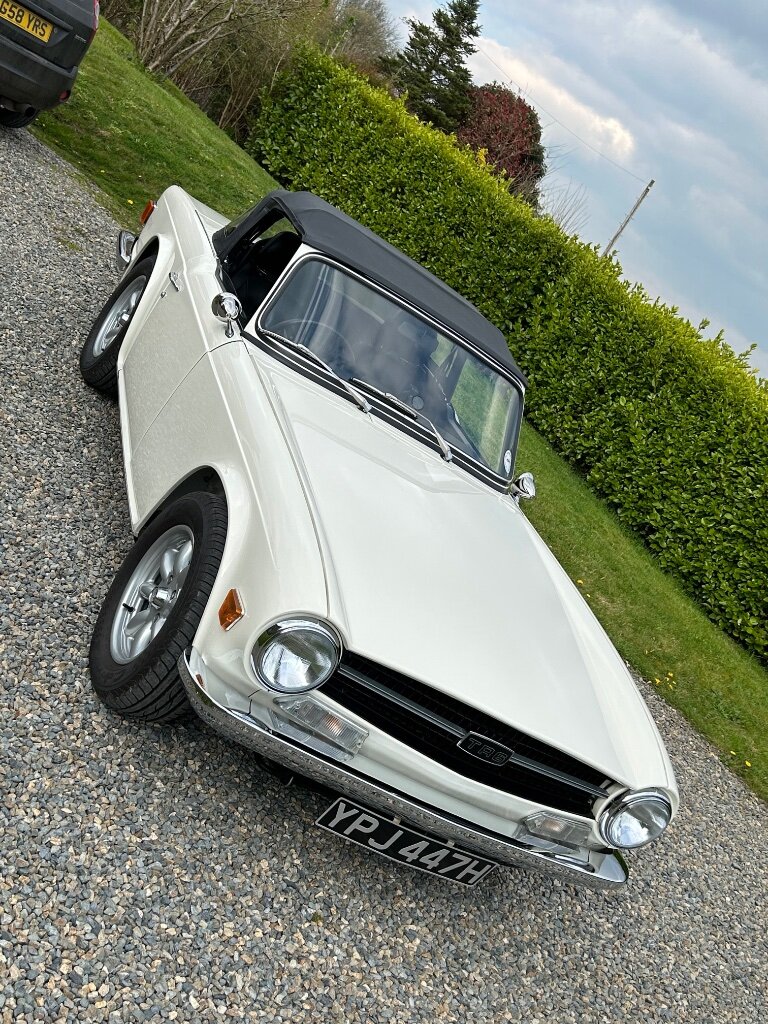
Absolutely chuffed with this purchase
Many thanks Conrad, one happy customer.
-
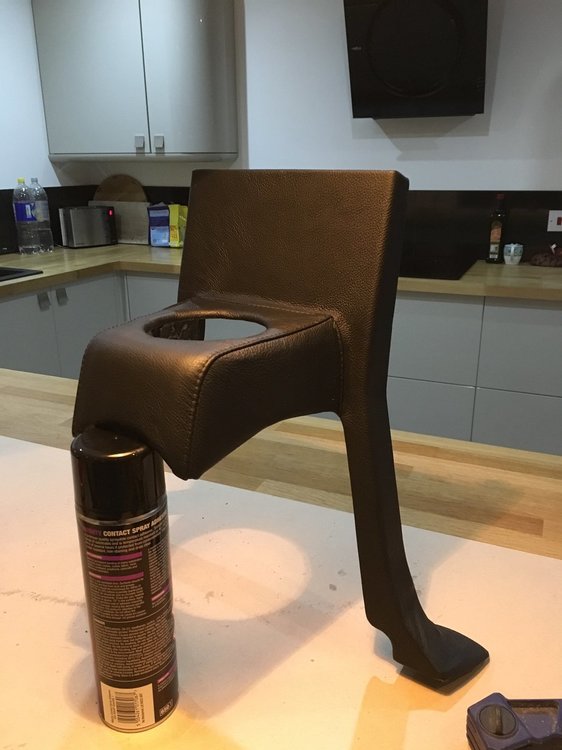
Hi Waldi,
The h frame was one of the items missing when I bought the car, when I got this one it was already stripped.
The leather was glued to the legs and radio section direct , only used foam on the bulbous section leaving strips out where the stitching would sit in.
Mark.
-
I picked up a leather cover from stoneleigh some years ago, added a little foam padding around gear selector aperture to help pad out the seams. Fit was better than expected, very pleased with my efforts.
Mark.
-
+2, Me too. On Sean’s recommendations
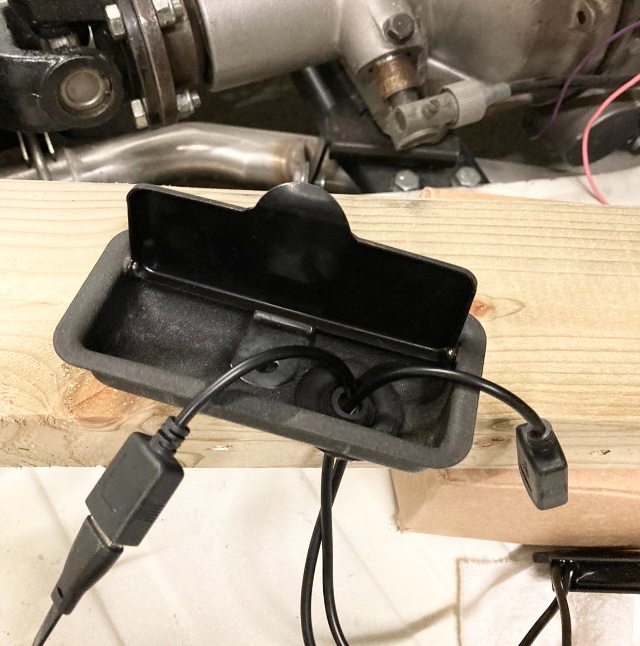
 Hi Phil, I purchased one of these from Amazon, wired it up to a radio feed I had fitted into the loom with an inline fuse. Drilled a hole in the ash tray and fed the two usb ends


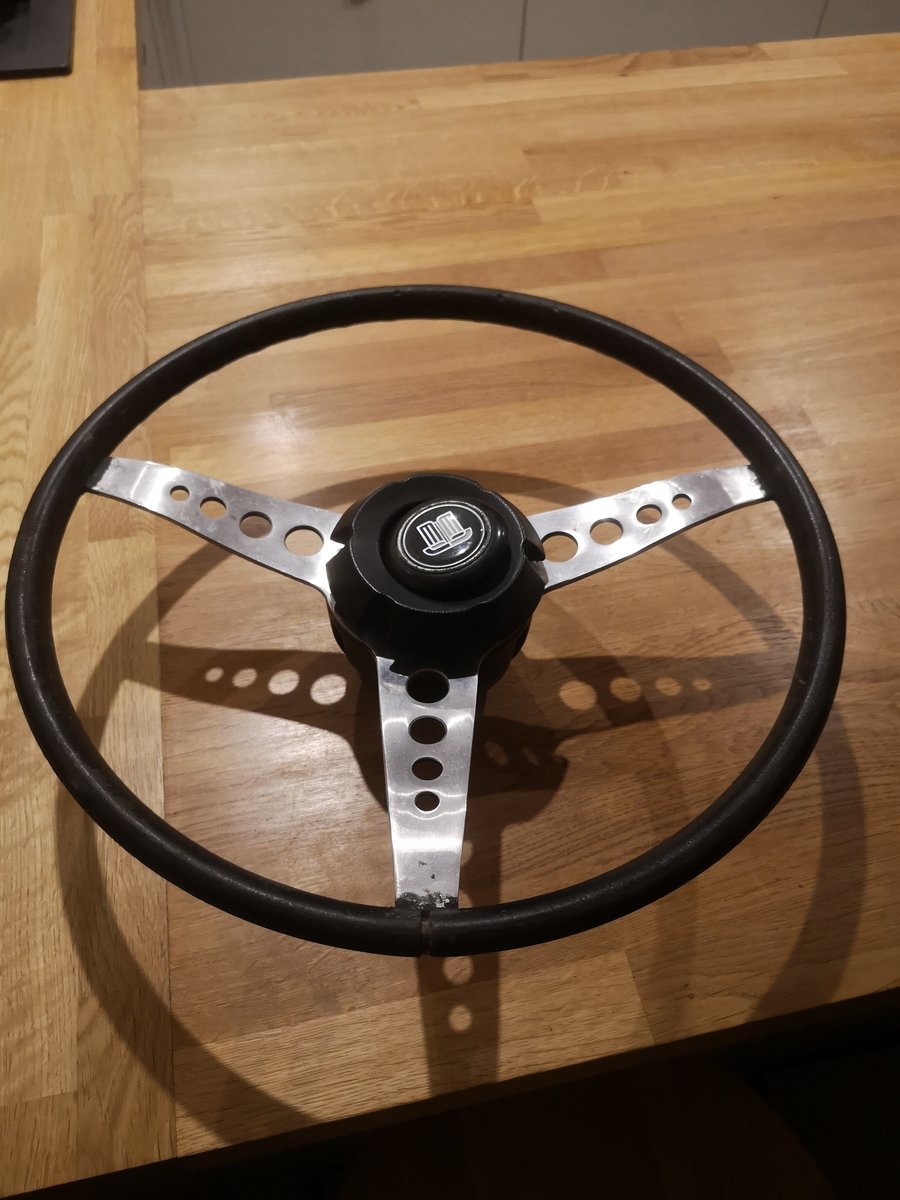 well after a long search, finally found what my 69 resto has been missing curtesy of our spare parts guru Mr Conrad Hunt
Bronze bearing carrier query
in TR6 Forum
Posted
Purchased a bronze carrier and as normal doesn’t fit , dropped off at machine shop this morning . Question do these bronze carriers need the small pin to stop it spinning ? If so I can get the shop to drill while they have it.
Cheers Mark