
This time, we’ll look at breaking the body down and then what came back from the strippers.
In previous rebuilds I’ve used copious quantities of DIY paint stripper but in recent years the nanny state has resulted in DIY products becoming largely useless. I remember the good old days of Nitromors that would be blistering away before you had even finished applying it. Now, you paint it on, leave it an hour and if you are lucky the surface will have softened. I even bought some ‘industrial’ grade paint stripper, guaranteed to be stronger – equally useless.
So I decided to let the professionals do it using the two stage process that bakes the shell in an oven before an acid bath. The results were impressive, but more of that later.
Like many cars of its age, the car looked ‘OK’ from a distance, but closer inspection revealed that the wings had been welded on (badly), the sills and floors were multi-layer sandwiches of historic ‘repairs’ and there was lots of filler to make it roughly TR shaped.
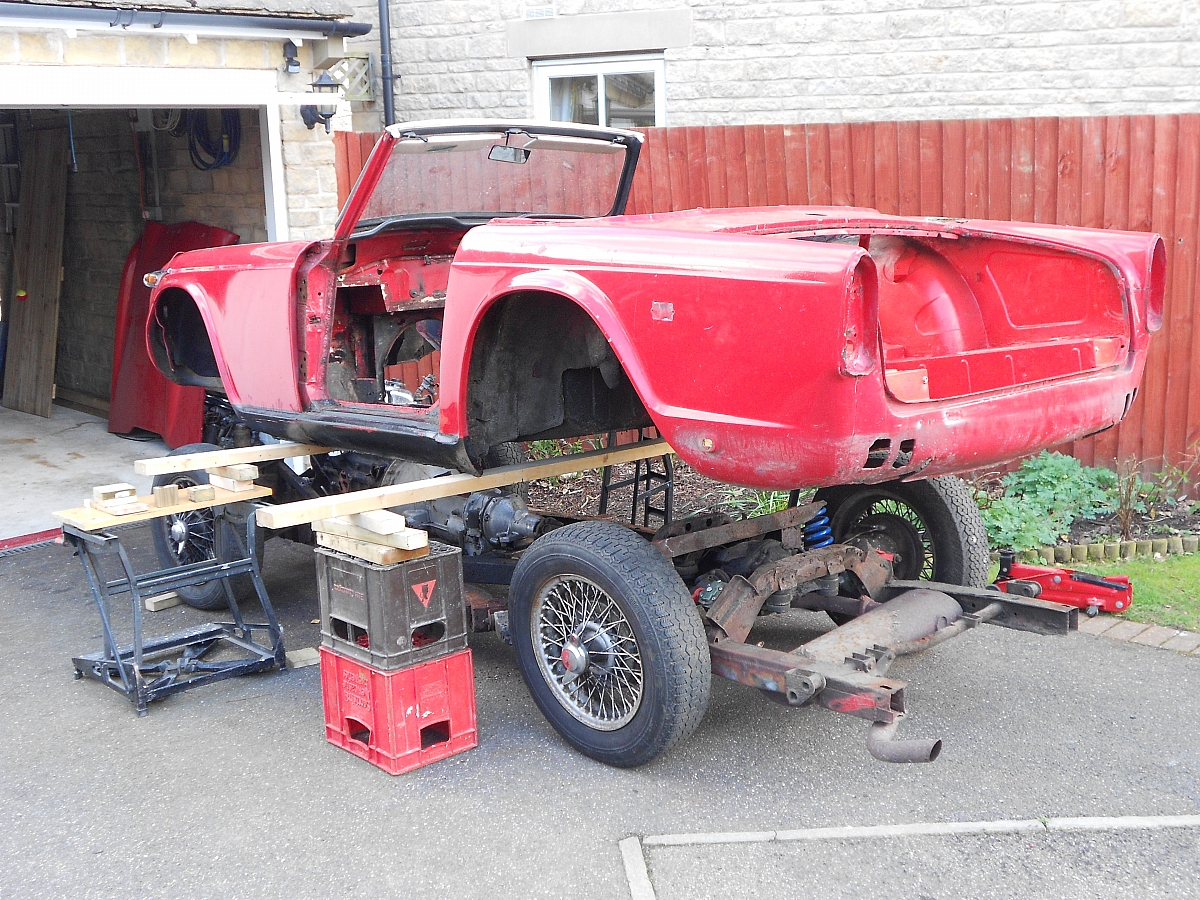
One benefit of the several oversills was that they were very strong, meaning that door bracing wasn’t required. The lift technique is perhaps not Health & Safety compliant, but did allow me to roll the chassis out from underneath.
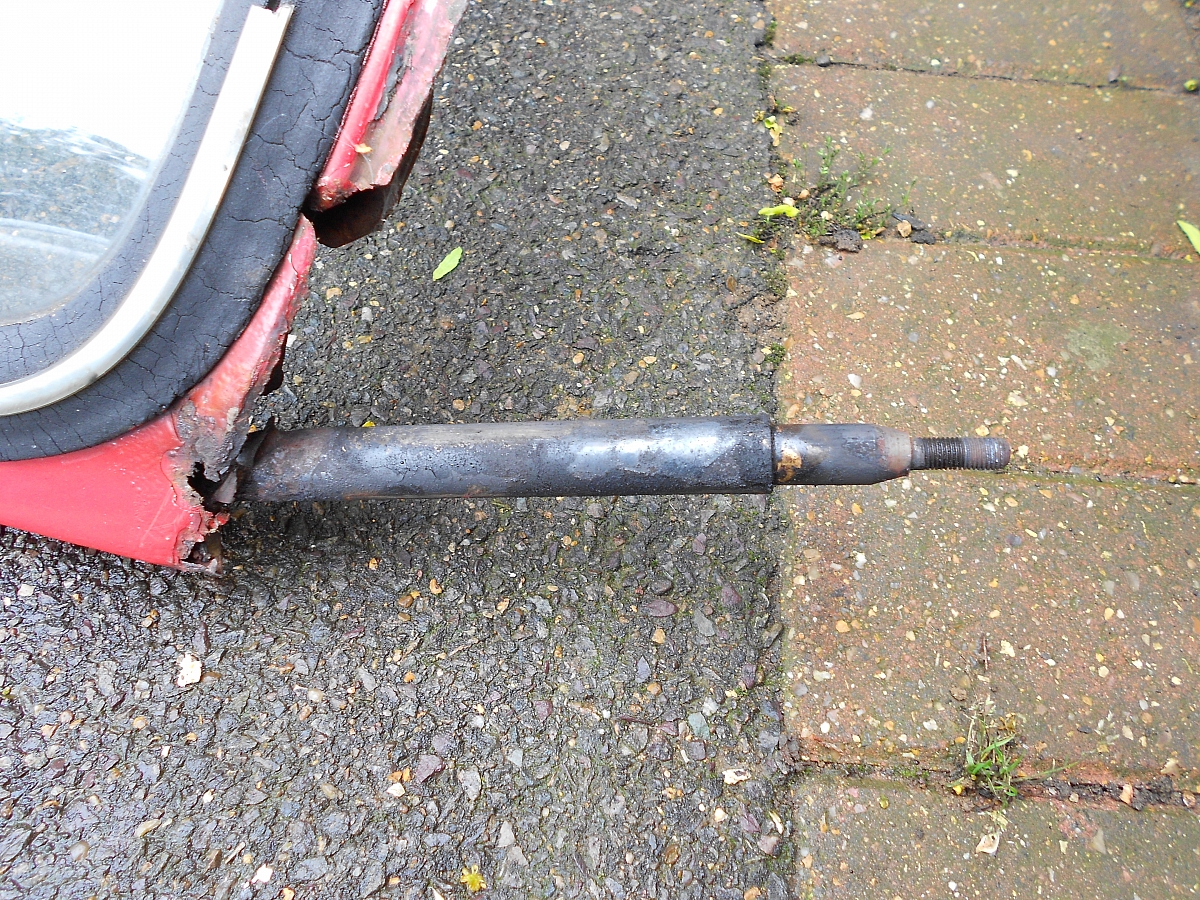
I would have liked to remove the windscreen surround but it was firmly rusted into place and later need the services of a blow torch to loosening it.
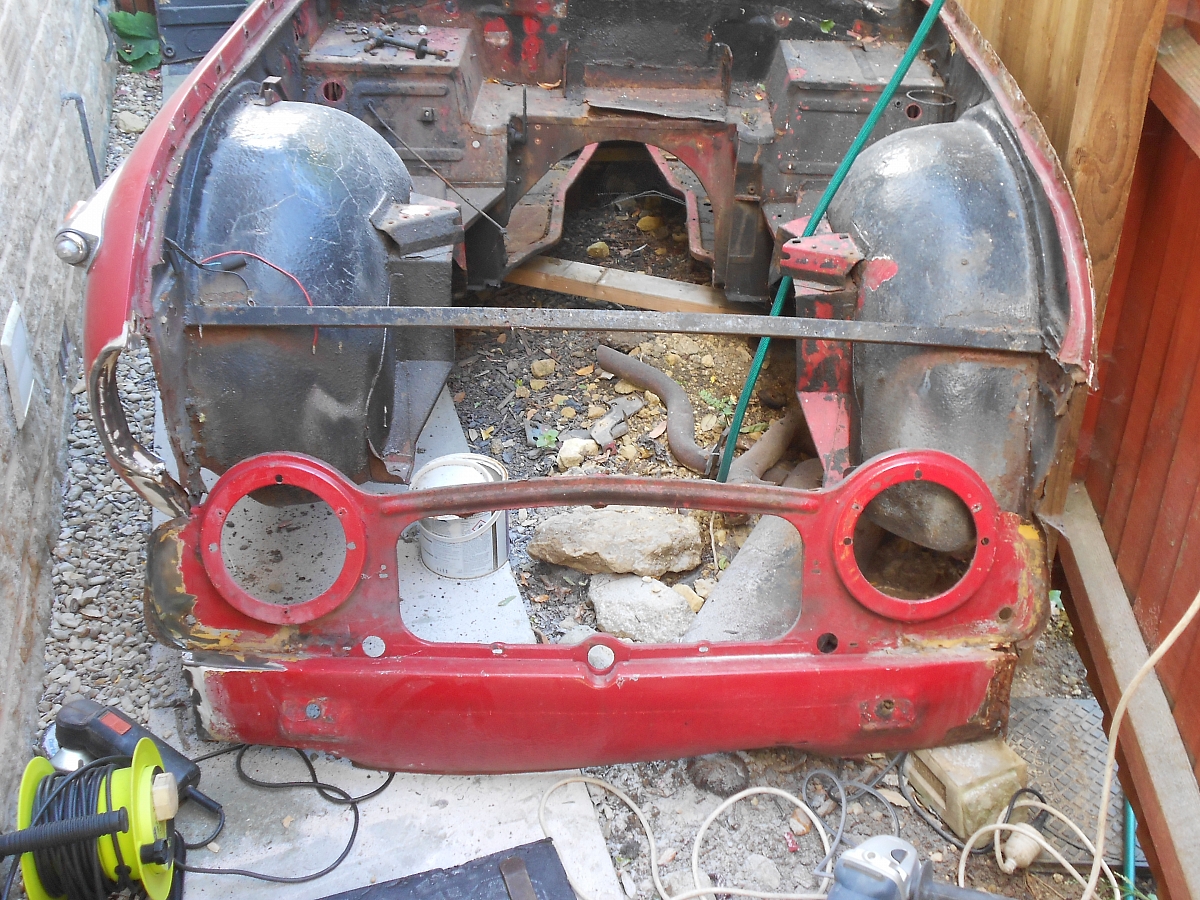
As mentioned in Part 1, many panels were attached with a combination of weld, braze and silicon sealant. However, the headlamp panel and lower valance were mostly attached with filler and paint meaning that as I removed the front wings, the front panels fell off! The square box section between the inner wings had been fitted, I assume, to tie the front of the car together.
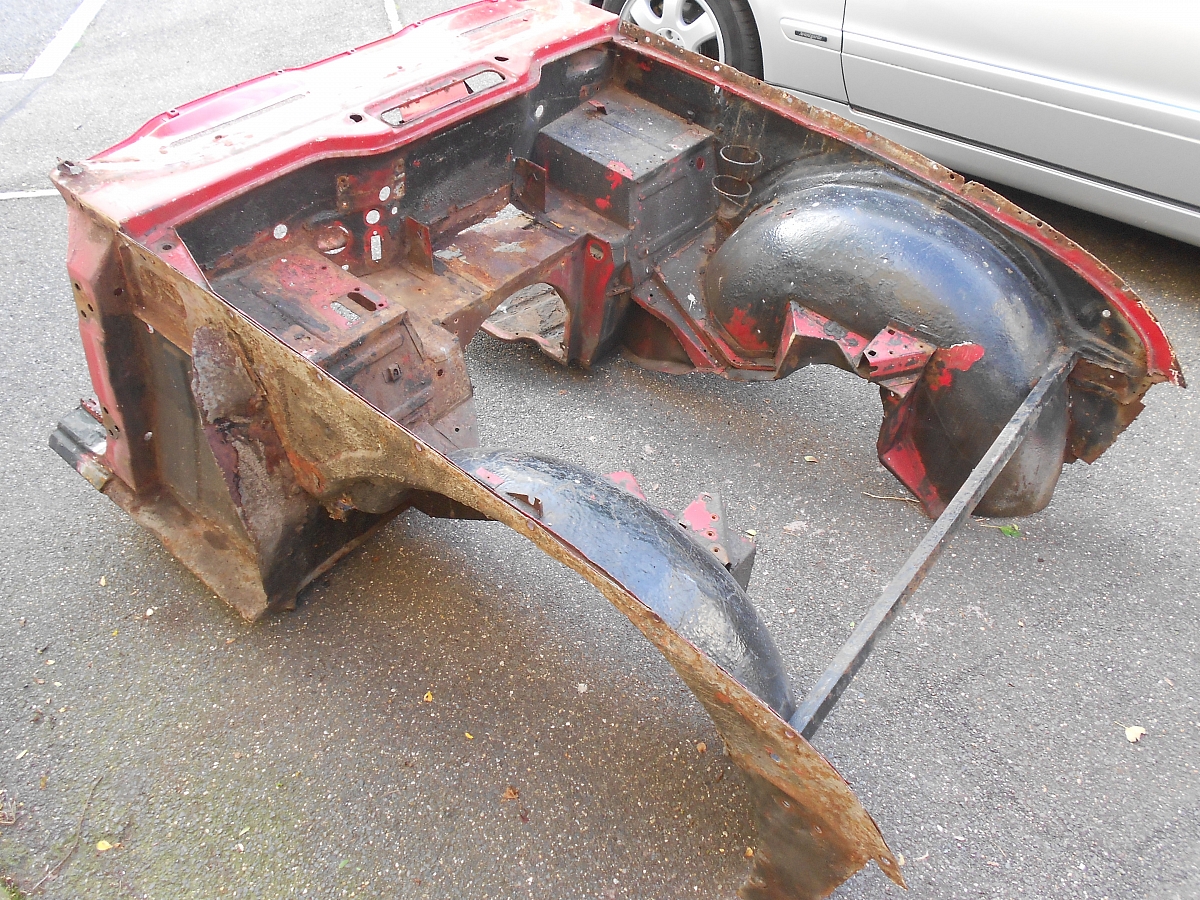
Before going for stripping, I cut the shell in half (front/back) to make it easier to transport. The floors and sills were rotten anyway, so nothing lost.
Several weeks passed and I rang the stripper to enquire if I would need the van again, or simply bring a dustpan and brush?
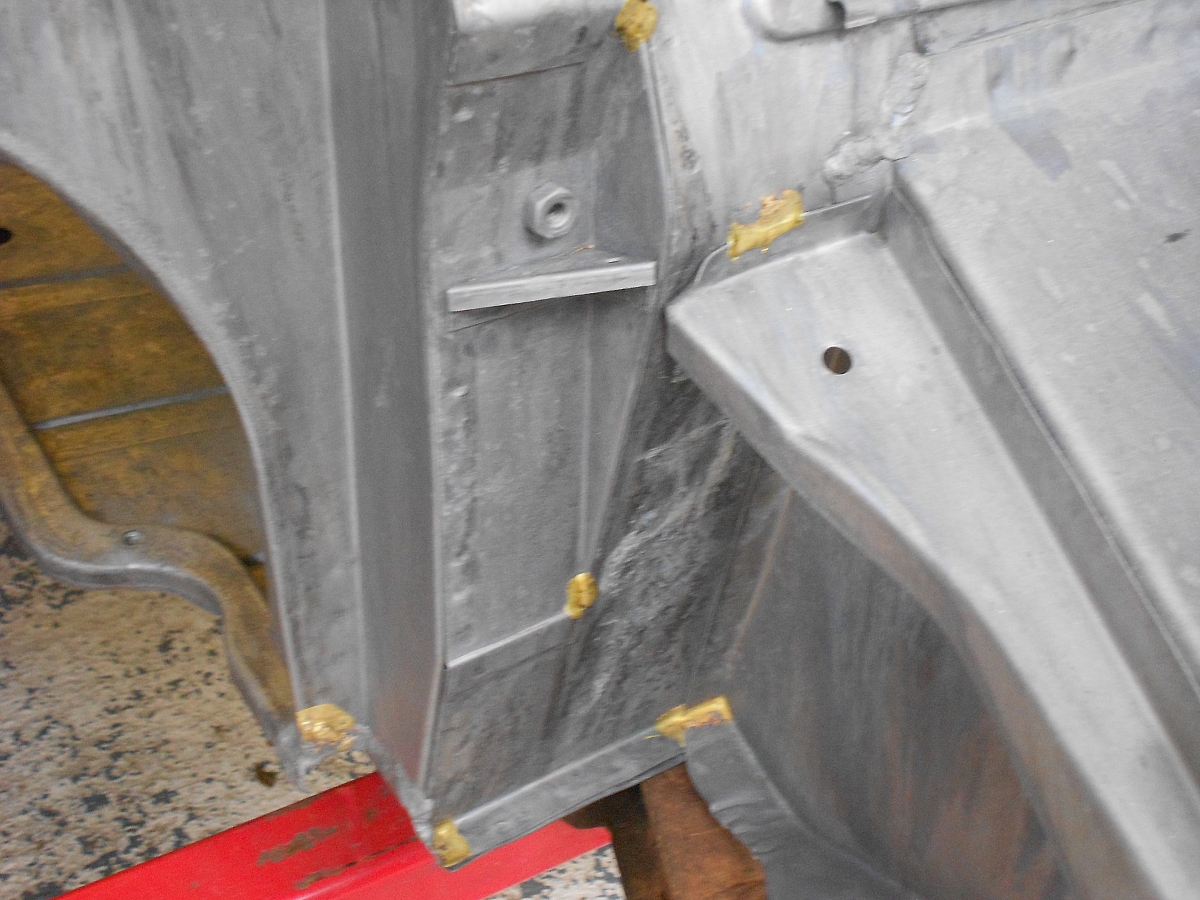
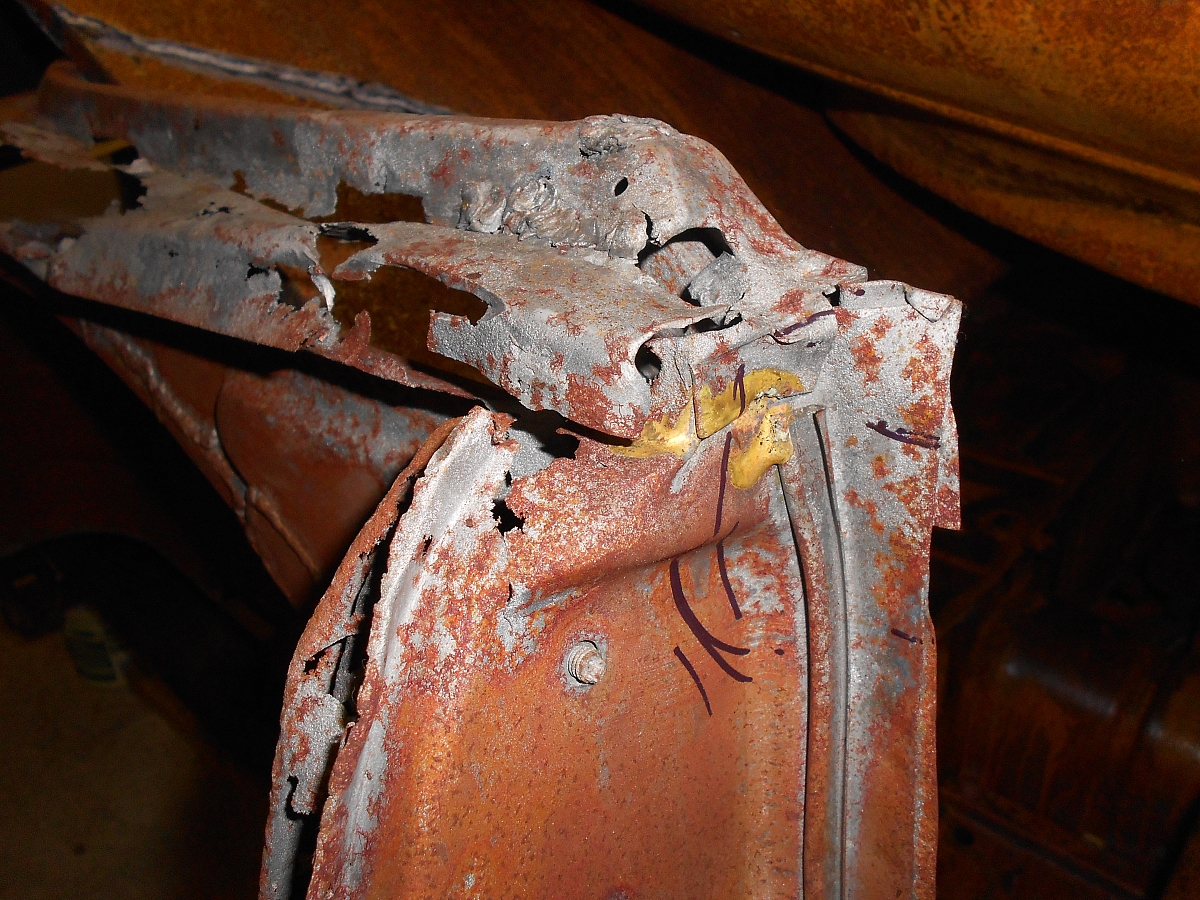
Thankfully some of the shell was actually quite good, but the majority was a sorry mess.
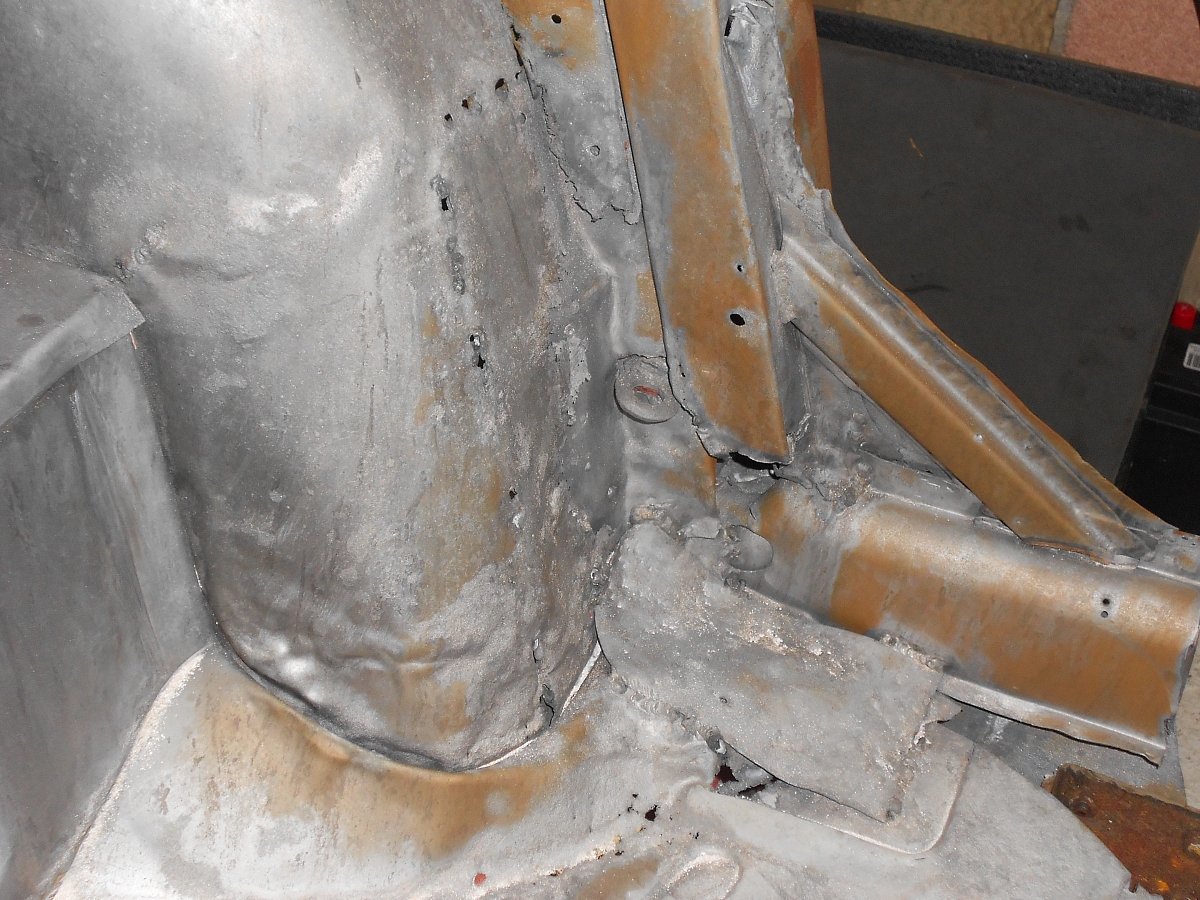
The passenger side seat belt mountings “lack structural integrity” and the driver’s side B post top is perhaps not as it left the factory.
Work is now progressing well on the repairs – next time we will look again at the chassis.