In the Garage - Jan Edition
Welcome to a BUMPER Edition of the January edition of our newsletter. Thank you to all of our regular contributors and a special thank you to our new contributors. Some really interesting articles nicely coordinated by our editor Andrew. Please keep the articles coming and if you enjoy keeping up to date with what's going on In their Garage, how about writing a little bit yourself..

And more from Andrew..
The thermostat housing on the TR4 although not causing any problems has been on the white board to do list for some time. The threads in the housing have been stripped in the past and been substituted with nuts and bolts.
Removal of the housing was problematic as the long bolts into the head has corroded into the housing and I discovered when I eventually removed it that one of the threads in the head was also stripped and again had been replaced with a nut and longer bolt.
The housing was cleaned up and the threads fitted with Helicoil inserts with the correct 5/16" UNF thread.
The thread in the head was a bit more problematic in that the hole was oval and no longer perpendicular to the head face. Grrr L
Ten minutes with the pillar drill and a piece of scrap steel saw a drill jig fitted to the head to hold the drill perpendicular and at the correct centre distance. Once drilled to the correct tapping size for the 5/16" UNC Helicoil the jig was drilled out to guide the tap. A 5/16"UNC insert was fitted with a spot of Loctite retainer and the whole lot was reassembled together now with the correct bracket and rubber grommet to support the fuel line and vacuum advance pipe hung from the lower bolt; all better than new.

A quick test drive over to John's revealed that the thin paper gasket was leaking coolant and true to form John came to the rescue with an "improved" gasket made from a slightly thicker material which sorted the problem.
After finding that the Accuspark contactless ignition module made a good improvement to the running of the TR3 I had ordered a second module for the TR4. Half an hour saw the unit fitted and the engine running, although a check with a strobe light showed that the timing was a bit random in the midrange
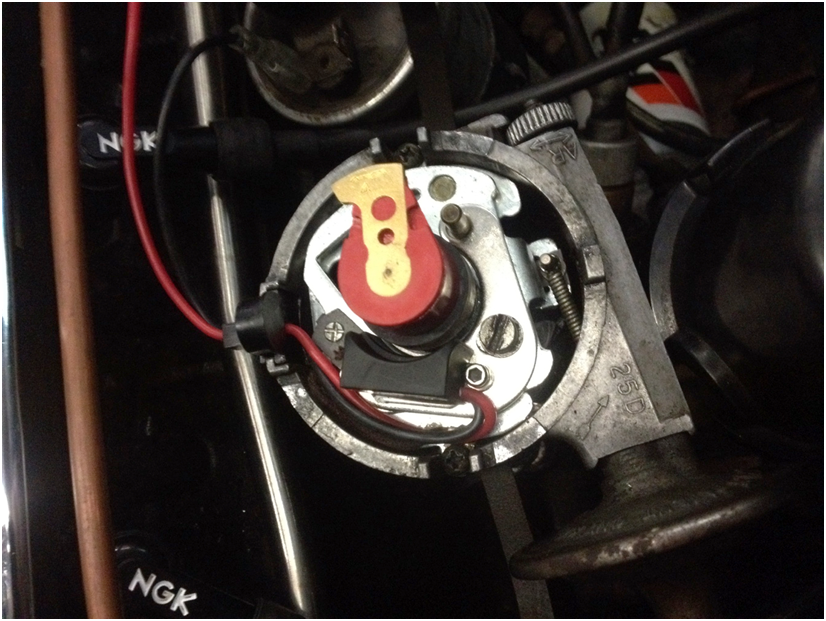
A peek into the giblets of the distributor revealed that two quite light springs had been fitted with no "lost movement" elongated
Road testing revealed a good improvement to the smoothness of the engine with no pinking under load. That'll do for now. Andrew W.
John Blake - TR4
Well, picking up from Andrew's report last time….Derek - (my green TR4, not the ex-group leader!) was trailered home from Castle Combe having had a sudden loss of oil pressure, I already had a bad oil leak from the rear oil seal and some issues with the gearbox – starting to crunch on third gear and randomly dropping out of gear on overrun.
So, no choice but out with the drive train.
Gearbox stripped and cleaned, I knew the problems would be mainly the synchro (baulk) rings and wear in the synchro hubs causing the issues and that was soon confirmed. I replaced the rings and some of the hub springs together with a couple of the bearings that were outside limits plus new seals. The reassembled gearbox was bench tested with overdrive and everything looked good.
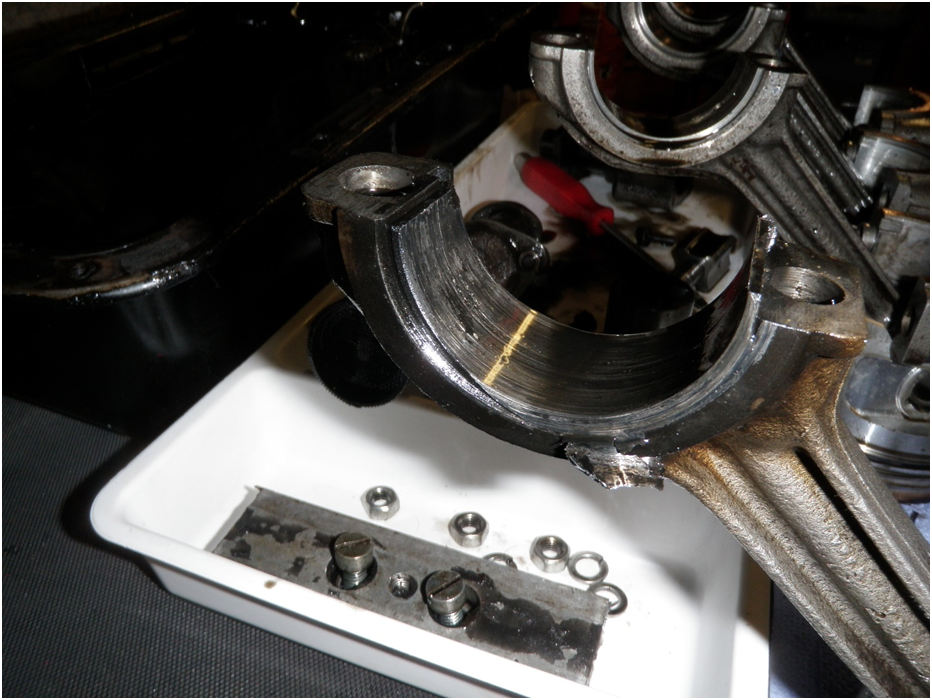
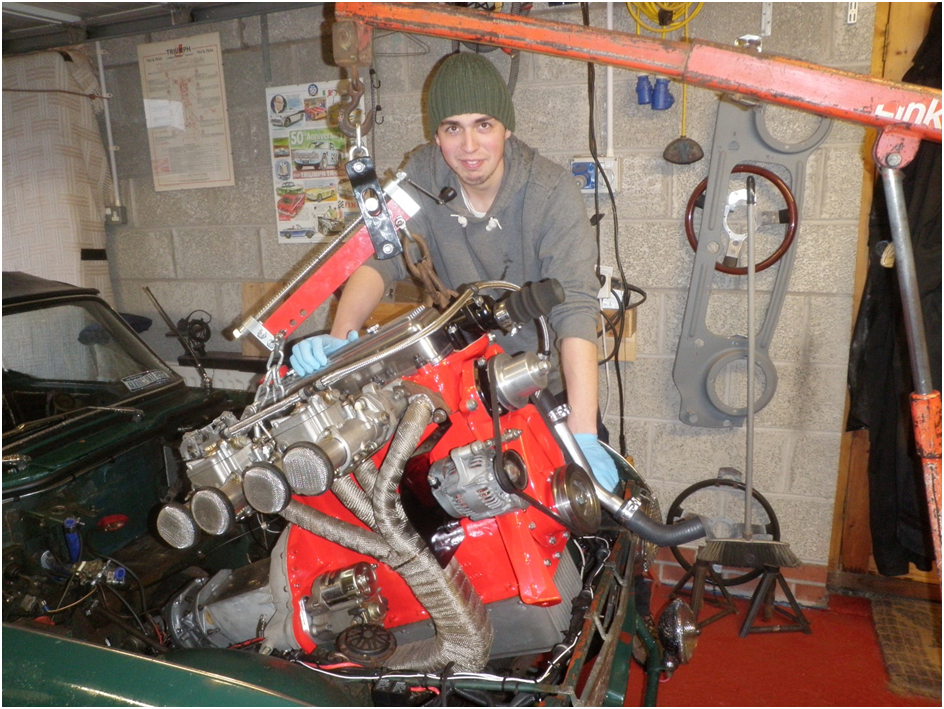
The engine however was a complete disaster zone, having got her mounted on the cradle & removed the sump the extent of the damage became apparent, metal fragments everywhere, it would appear that while Tris was on track the number four big end had become starved of oil and generated enough heat to pretty much melt & spin. The heat generated was enough to distort the conrod and damage every bearing surface, cam, followers etc.
I was more than a little confused by the fact that there could have been an oil starvation problem as I had cleaned the inside of the engine and all the galleries to within an inch of its life before assembling it but after a chat with Phil Tucker I decided to take a closer look at the new crank I was about to fit and I'm so glad I did. There are four core plugs fitted to the outer webs on the crank all of which I eventually managed to remove. What I found below the plugs was not pretty:
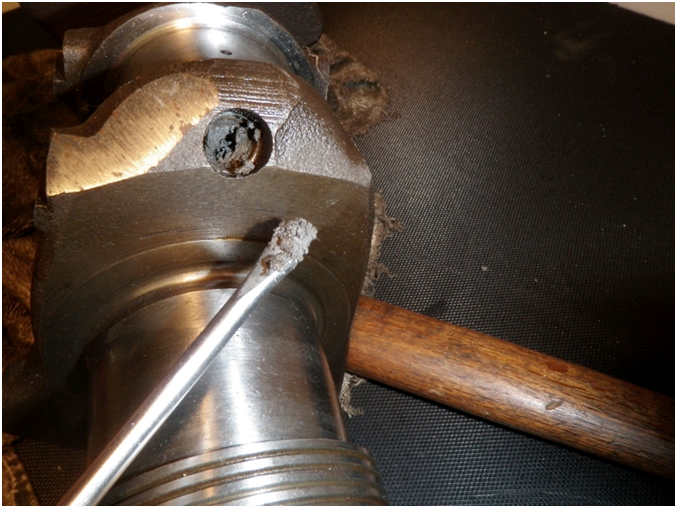
Basically a plug of grinding paste thrown to the outer webs by the centrifugal force, however there is also an oil feed hole for the big end bearings at the same distance (you can just see one in the above picture) so with very hot oil mixing with some of that paste I can easily believe it could have been fed onto the face of the journal which sealed the fate of that engine from that moment on.
More lessons learnt and following this discovery I will never be fitting cranks without getting them as clean inside as out. I'm also getting to be a dab hand at getting those stubborn little plugs out having now done a further two cranks!
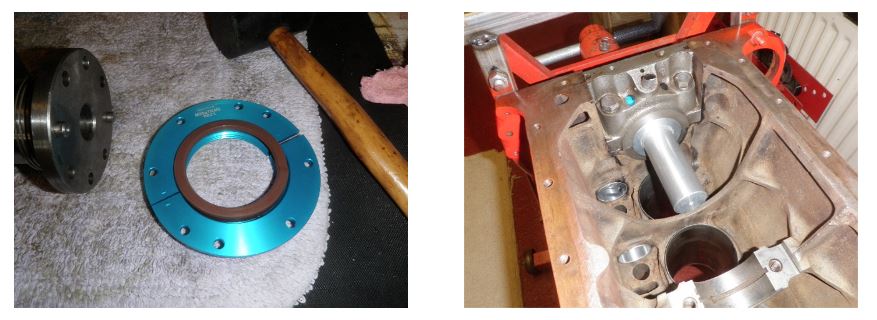
One of my problems to be sorted was the infamous oil leak from the rear oil seal. The original crank had had the scroll removed and converted to the Landrover lip seal, the new crank still had the scroll fitted so I opted for one of Christian Marks conversions that makes use of both the original scroll seal and adds a Viton seal into the housing as well. (Two methods of sealing has to be better than one)
The new crank with new flywheel, pressure plate & pulley had already been lightened and balanced but to complete the new assembly I risked the purchase of a set of lightweight 'H' beam conrods. I say risked as they were ordered from the manufacturers in the deepest darkest depths of China. They arrived promptly complete with ARP stretch bolts as promised and the same day I took them to the machine shop I use for checking. I waited somewhat anxiously but after much weighing and measuring they confirmed they were all spot on and good to fit. In fact they were very impressed with the quality of the manufacture and tolerances.

The biggest appeal for me was the weight saving aspect, collectively they are just over 1.1 kilos less than the old forged rods, which together with the other weight reductions on flywheel, pulley assembly etc. has managed a total weight saving of over 13 kilos on the rotational mass of the bottom end.
So, with engine repainted and everything cleaned (I know that'll raise a smile with some given my acknowledged complete lack of interest in who's got the shiniest car!) I reassembled with a new cam & lightened followers. I was never happy with the last cam which was a Kent 'fast road' it just didn't have the power band where I wanted it so I bought a new 224 profile High torque version which is the same as I had been using a couple of years ago and I had been very happy with.
Whilst the engine was out I also took the opportunity to do some more work on the head. It already had the largest inlet and exhaust tulip valves that will physically fit and I had previously fitted new valve guides but had never been that happy as they appear to have more slap in them than the old ones I'd replaced. This time I opted for the guides to be bored out and sleeved with bronze liners to exactly match my valves. I also did a lot of cutting work in the combustion chambers, removing the shroud and polishing as per Kas Kastner and the original Triumph competition tuning manuals. After removing so much metal I had to get the head skimmed again to bring the compression back up to where I wanted it.
It's got to be said that Tris and I are getting to be pretty efficient are dropping the complete drive train back in, each time we learn a new little trick to ease the process along.
The engine started straight away and sounds superb (I've put my big noisy exhaust back on)
It was spitting back through the Webers on acceleration at the lower end of the rev-range. This is clear sign of weak idle jets not allowing a sufficiently rich mixture to enter during the transition from the idle jets to the primaries. I was surprised how much of a difference the head modifications had made to the tuning of the carbs – I had naively put them back on without altering them. In fact I had to take them right back to basic bench settings and start anew. The idle jets alone had to be taken up four sizes to get her right but she is now running and idling very nicely.
The car is now back on the road and completed its first 80 miles after which I gave her the first oil & filter change. To reassure myself everything was Okay I ran the contents through a 190-micron paint filter. This yielded absolutely no debris, so all was good to go.
The gearbox is silent and behaving very well as is the overdrive. The engine is performing very well – good consistent oil pressure, very free revving with excellent acceleration and best of all no leaks anywhere - yet!
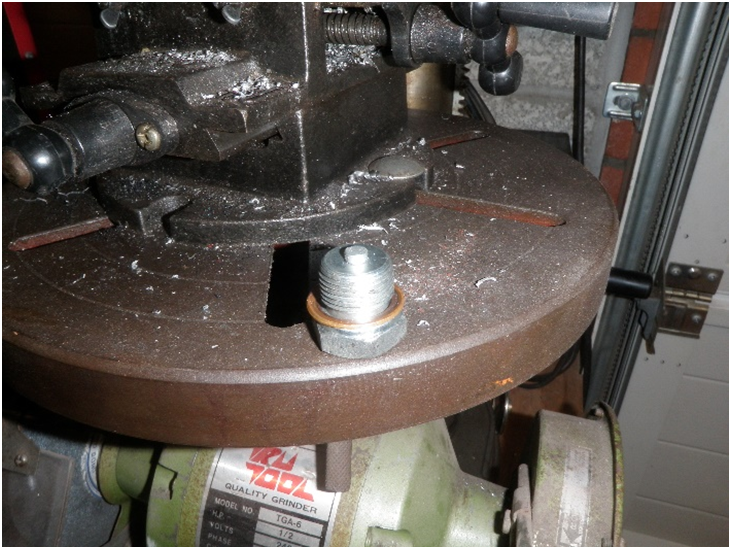
A couple of other bits which may be of interest – my alloy sump has a different drain plug to the conventional steel sumps so I couldn't fit any of my standard magnetic plugs which I like to use so I pulled the small magnet from a cheapy telescopic pick-up tools and drilled out the new drain plug to press fit the magnet.
Lastly – I decided to replace all the hoses and bought a set from one of the main suppliers which was all fine except the top radiator hose which although it appeared to have a bellows type concertina design was actually a very solid and unbending piece of rubbish which if I'd fitted it would almost certainly have fractured the top of my alloy rad as there was no resilience in the pipe. Fortunately I had a NOS pipe in the spares department, it has now been fitted and is working perfectly.

Next jobs – well I've now started rebuilding a spare gearbox with A type overdrive and am contemplating upgrading the dizzy on Derek to a 123 tune+ from Holland which would enable me to map the engine remotely from my phone – ideal for changing uses and different fuel types; next time perhaps.
I've also got to replace a broken window channel and winder mechanism in the passenger door and try and fit in a trip to the rolling road to see what this current engine incarnation is producing….
John B