

kob666e
-
Content Count
276 -
Joined
-
Last visited
Content Type
Profiles
Forums
Calendar
Posts posted by kob666e
-
-
I just used a little adhesive and stuck them on, also the furflex seal holds them in place on the A pillar.
-
With hud still on the car and with the wheel on the ground use a 3/4 drive socket, with breaker bar, and stand on it, or if that fails use a pipe over it for extra leverage.
The nuts are tightened to over 200 ft/lbs. (they'd want to be
 )
) -
Count yourself lucky that you found the issue before fitting.
Bought an Essex V6 oil pump from a well known supplier for an Scimitar engine rebuild, everything looked fine and bolted it all up. I brought up the oil pressure by drill and felt it labouring before the filter seal blew, refitted the seal and tightened filter a bit more.
Got myself a decent pressure gauge and tried again, same story, I now know that oil filter seals are good to 130psi.
An Essex guru in Wolver'ton knew the problem (he'd got 300psi out of one), postage there and back cost nearly the same as the new pump and ............it made no differance.
So I started investigating and in doing so got covered in oil (numerous times) doing my research, I had to drop the sump after each trial. Pressure relief valve consists of three parts, plunger, cap and spring, so I alternated which part I used from the old and the new.
Turned out the spring was the culprit, so I used the old spring in my new pump and it's working away giving 75psi max.
I agree with Waldi, never assume it will work straight out of the box.
-
-
I put a small toggle switch under the NS wheel arch wired into the sidelights, out of the way and easy to find and flick on with the light from the rear lights (only when they're on tho
 ).
). -
Fitted MX5 seats a few years ago that I had reupholstered (the ones with the detachable headrests), and while I was at it I had electric heat pads fitted to them . Don't know if this is an option with Racetoration seats but there have been some evenings where I've been glad of a warm back and backside
.They are extremely comfortable and sit lower than standard 4A seats so I can now see out the windscreen properly.....I'm 6'+
I decided to manufactured my own mounting brackets, which I believe are readily available from TR Trader, (don't know if the Racetorations are a direct fit) so this is an extra cost that has to be taken into consideration when making any comparison.
You should be able to pick up a pair of MX5 cloth seats for a hundred quid.
-
On my current project I used 1" alloy angle cut and bent to fit around the sides of the rad and held on with a couple of self tappers.
Will probably do the same to the TR when I eventually remove the rad to fit a bush in the steering rack, at present I have fan mounted to the matrix via core ties and I can see where it's been moving up and down (fe$$$$g Irish country roads).

-
The ease with which the sump comes off depends on what it was stuck on with!
If it's anything like a 4 getting a screwdriver in for leverage is not easy, work gently and it will come off. There will be no other parts in the way with the sump, but beware of the oil drips for a few days!!
Clean both surfaces, sump and block, check the sump is not distorted from being overtightened with a straight edge, use a suitable gasket sealer (follow the instructions) before refitting and be careful not to overtighten the bolts. I use Wellseal.
In relation to the filter: all that needs to be replaced are the filter and the rubber seal, as far as I'm aware there is nothing to come loose inside the filter head. Not sure what the impeller you refer to is.....
Before starting the car after an oil change I usually disconect the coil and crank the engine over until the oil pressure rises, as filling the bowl can be messy, check oil level again and top-up, then reconect the coil and fire away.
-
It's called a 'sandwick plate' as when you tighten the filter the SP is squeezed against the housing as you tighten the filter, and it can take some force to get it tight.
Best of luck getting it tight enough not too leak, I gave up and binned mine. There was no added benifit having an oil cooler and it meaned changing the filter was too much hassle.
-
Duct tape on threads will do fine, I always screw bolts into threaded holes for protection, it's also handy for hanging from when painting.
Duct tape on the braking face of the drums, any crevices in spring pan can be cleaned afterwards with compressed air.
Wouldn't be too fussed about the medium used on suspension parts, they're pretty robust. If it's fragile trust Mr Sandman to have enough sense not to turn it to dust, he wants to see you back again. I have found that sometimes they will add their own tape to protect some parts if they think it's necessary.
-
Whoever did it did a good job just a shame they didnt introduce any drain holes or swaged in slots.
Stuart.
TRBitz.......
Maybe they were relying on the capitive nuts for the lower wing mountings to allow water to escape when I brake and floor it?!
I've one 16mm hole drilled into the side of the sill under the carpet in line with the front of the front seats, I have about 2' of pipe on my wax gun so should be able to reach both end caps from there.
-
Somebody needs to very carefully introduce some drain holes along the floor drop flange.Roger
Think that responsibility falls upon me then

Now the reference to D shaped holes makes sense.
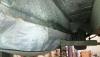
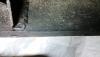
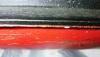
Pictures from underneath showing the inner sill and from directly under where the inner and outer meet (with obligatory cow s**t attached thrown in for good measure)
-
Errrrrr, no!
No sign of any openings other than where the inner vertical profile of the sill meets the outer curved profile, these are butt jointed together so I take it the water can escape between them all along the length of the sill.
So should I be drilling holes along the inner side of the sill just to be sure? I drilled into the cavity from inside the car and it all looks well.
-
Hi Justin,
you must have drain holes in the sill. Water WILL get in even if you think they are sealed.
I take it that the insides of the sills are painted.
Roger
I was having a gawk underneath only last week and saw no drain holes.
Body had a rebuild by TRBitz mid naughties and AFAIK both sills were replaced, (regards to paint: your guess is as good as mine!), need to do more investigating.
Think I'll be lifting the carpet and waxoyling from inside as per Stuart's recommendation.
-
My apologies to Marki in advance.......
Regarding the sills; I have yet to pluck up the courage to drill any access holes for waxolying inside them, as there are no drain holes if one of the plugs comes adrift and water gets in.
What pray tell is the best way of rust proofing inside the sills?
-
Thats just the bump stop, The OP was about the spacer under it. I havent seen one like it before so possibly a local mod . On the solid axle 4a there is an aluminium spacer there instead but thats circular. part number 142159 http://www.moss-europe.co.uk/shop-by-model/triumph/tr2-4a/steering-suspension/rear-suspension/rear-suspension-tr4a-with-solid-rear-axle.html
Stuart.
It was late! But I still have the hex spacer.
-
Also on my 4A, try part no. 140290.
-
Roger,
I have both for a 4A, neither are concourse but are intact and probably original.
Can supply a photo if necessary.
-
Same thing happened with a friend's Healey. We were able to released the pressure at the bleed screw, he would drive a short distance and the system would pressurise again. It was obvious to me following as the brake lights came on even though he never touched the brakes. This all happened after we changed the calipers, as one of them was definitely siezed.
Fitted new flexible hoses and no problems since........thinking back we may have done damage to the hoses when we clamped them to remove the calipers.
-
That's the way they are meant to be.
With the 4A sidelight/indicator on the wing Triumph moved the O/R out.
-
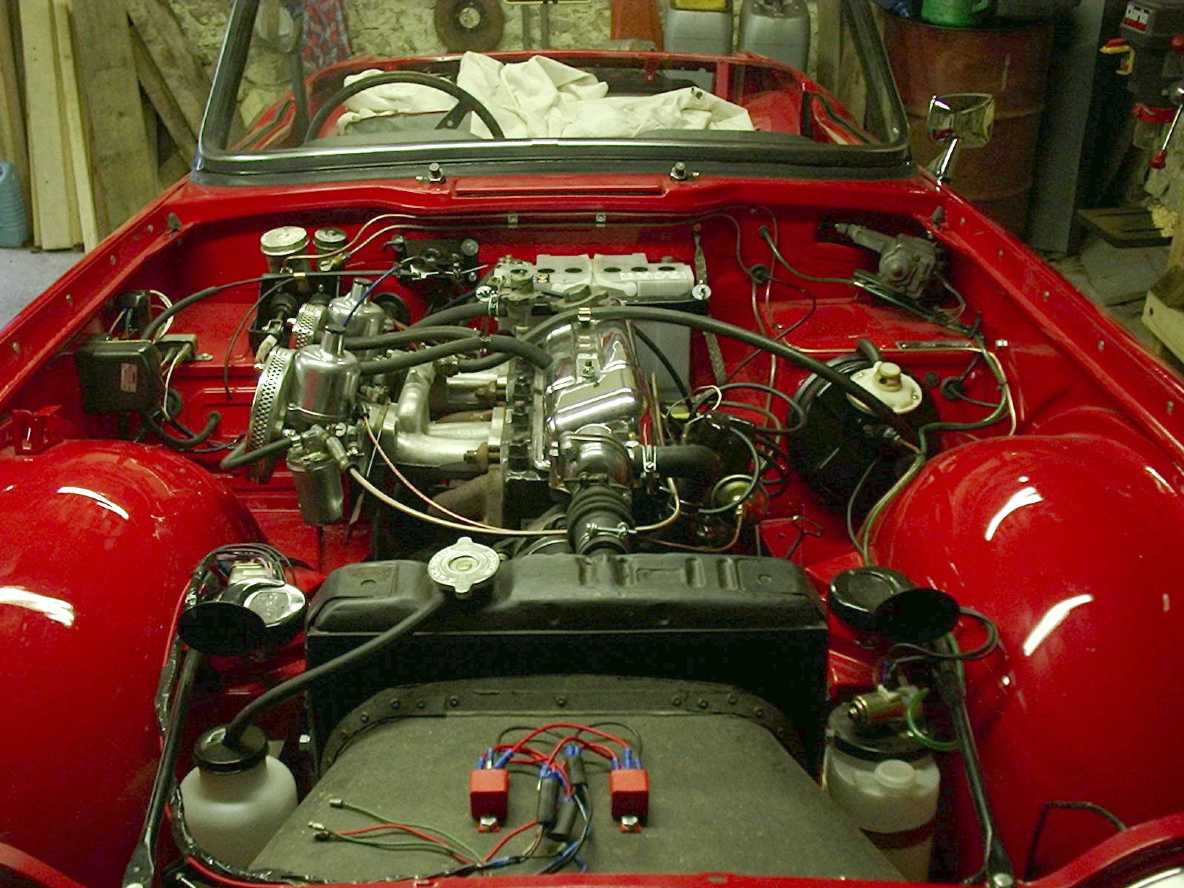
Just noticed that kob666e's servo is mounted with the white housing uppermost, while mine is on the underside.
The correct orientation is with the white part underneath.
Maybe that's why it never really worked!
-
Although it's not currently connected!
-
Grease and gear oil mixed 50/50 in a jar and keep a little grease gun full just for the trunions.
It's neither too thick to set, or so thin that it all leaks out onto the inside of the tyres....
-
TRying to find a puller could be fun though - contact your group leader
Roger
That's why I used a press, no local group here


Poly bush squeaks
in General TR Technical
Posted
On the Scimitar Web there was a lot of discussion re. drilling and tapping for a grease nipple on the wishbone to aide lubrication of the trunnion, I have done this to my Scimi resto but has anyone done this on their TR?
I too suffered squeaky bushes, I stripped everything four or five years ago as I couldn't take the irritating noise anymore, and lubricated all the bushes liberally with silicone grease. Now I hear other noises.......!