


A Brit in Bama
-
Content Count
11 -
Joined
-
Last visited
Content Type
Profiles
Forums
Calendar
Posts posted by A Brit in Bama
-
-
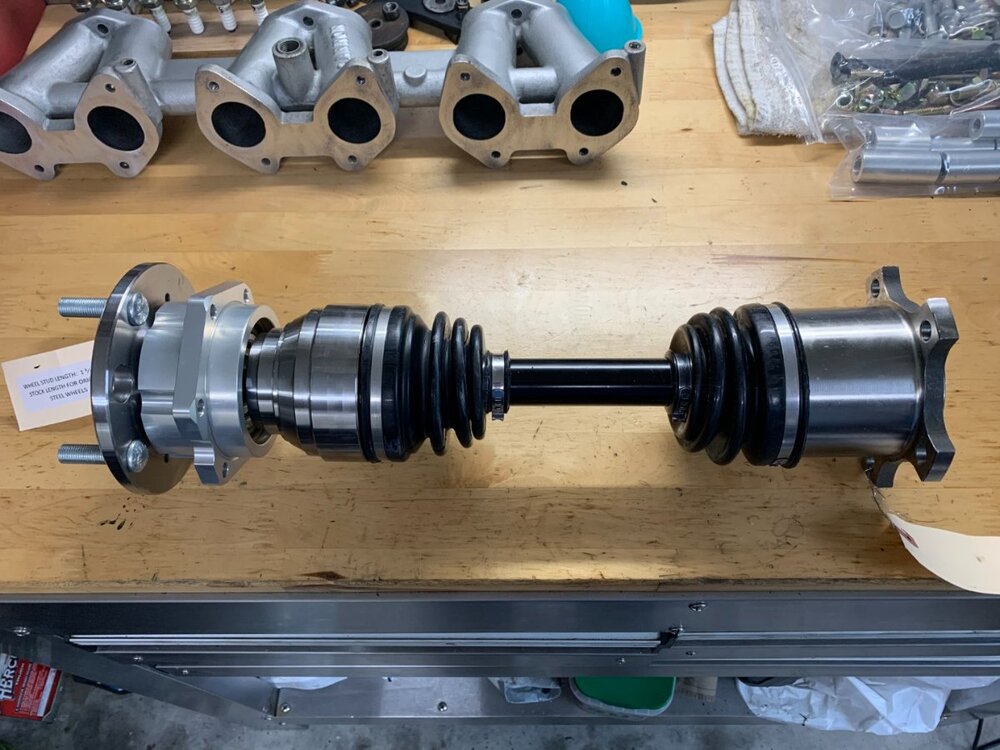
Any of you try the Good Parts CV axles from the US?
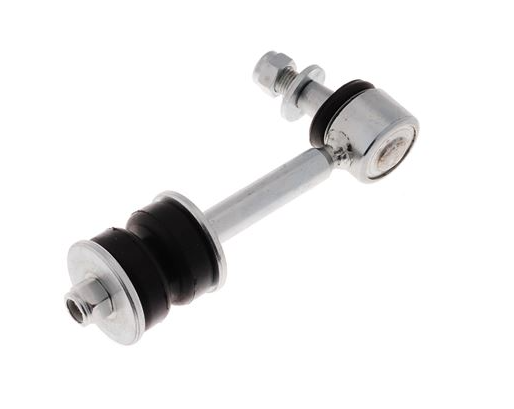
Especially when installed in combination with their uprated hubs, I consider this a serious safety upgrade, and so (to answer the question of the original post) worth the money. Not to mention, the car runs smoother, and with less maintenance required (no greasing UJs etc.)
https://www.goodparts.com/product-category/drive-train/upgraded-axle-hub-kits/
The pic shows one of the units before I installed it on my 71
-
Hi Toby
How's things?
Love those TR4s. I'm leaning towards the black painted wires, funnily enough.
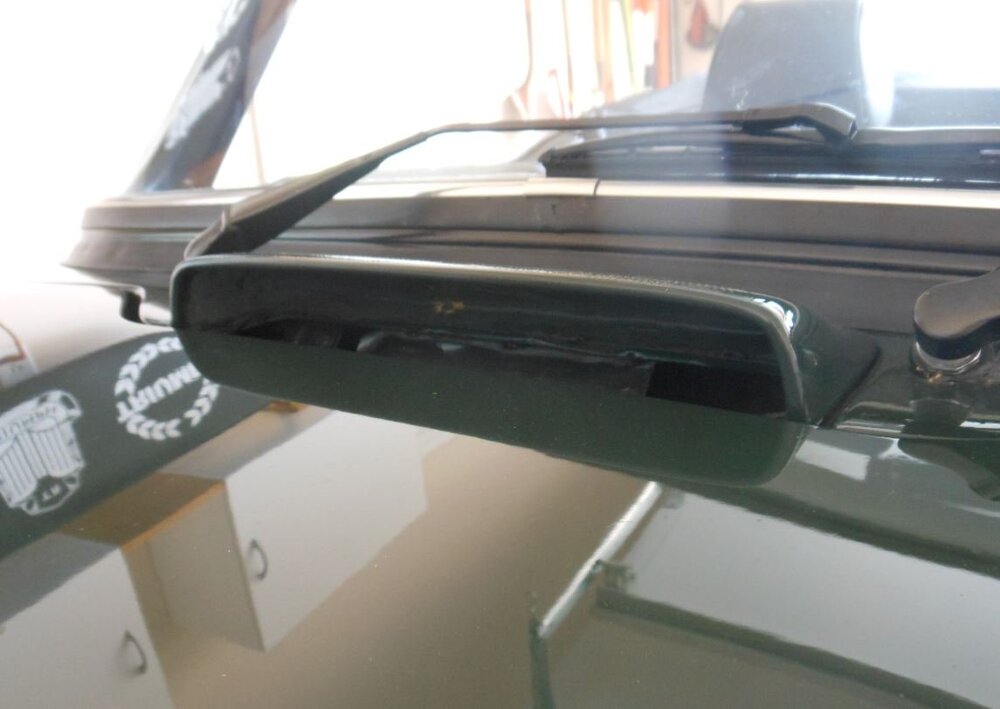
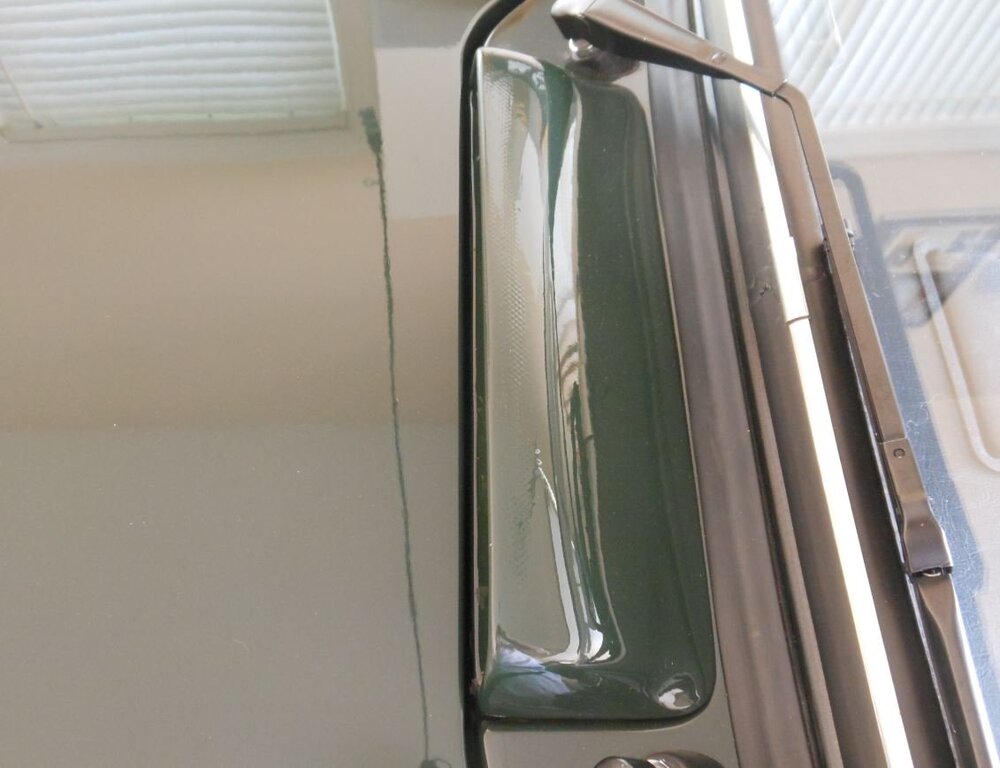
Just a thought - You may want to consider fabbing up one of these Works TR4 Rally Car air scoops. Here in the US, a guy made a few of these (From GRP I believe).
Though these pics don't show it, the ones he sold also had a wire grille in the mouth to stop stuff getting into the heater plenum
-
I briefly ran a PI cam on my US-spec 1971 car, using dual Stromberg Carbs, and it ran very well, in combination with a head shave to increase the CR, and some mild exhaust porting. I imagine that one would run equally well with dual SUs
The engine really came alive when I further increased the CR to around 10:1, changed out the Strombergs and replaced them with triple Weber DCOEs and an extractor manifold though.
While I was considering aftermarket cams, ultimately I decided to stay with the PI cam since it has (a) a longer track record than just about any other cam and (b) a pretty mild lift to duration ratio compared to other higher lift cams, meaning it is likely gentler on the lobes, tappets, and valve gear = longer service life.
-
I have a 1971 US Car, CC66559U, which was built in June of that year, and had the so called narrow-port head, where the inlet ports were spaced 1 7/8" apart. These heads ran thru the end of 1971 model year. For the 72 model year, the wide-port heads were introduced. They had inlet ports spaced 2 3/16" apart.
There were some other differences, including a lower compression ratio, and smaller exhaust valves used on the 72+ heads.
Both heads had exhaust ports with the same spacing, so exhaust manifolds were interchangeable between them.
-
When I replaced the rotten standard cardboard gearbox cover with an ABS version from Moss, I covered it with thermal insulation wrap left over from when we had our air-conditioning system replaced at home.
It is essentially heavy-duty bubble wrap, with each face clad with reflective aluminium foil. I just cut it to shape, and glued it to the tunnel with high-temp contact adhesive spray, and then I taped the joints with aluminium foil tape. Works very well indeed, and once the underlay and carpet are in place, there is no trace of heat permeating the cabin. I also covered the prop-shaft cover between the seats with the same stuff
I covered the tunnel in 2016, and it is holding up as good as new.
While mine was free, here in the USA, you can get the insulation very cheaply at any home superstore (B&Q equivalent) or online.

-
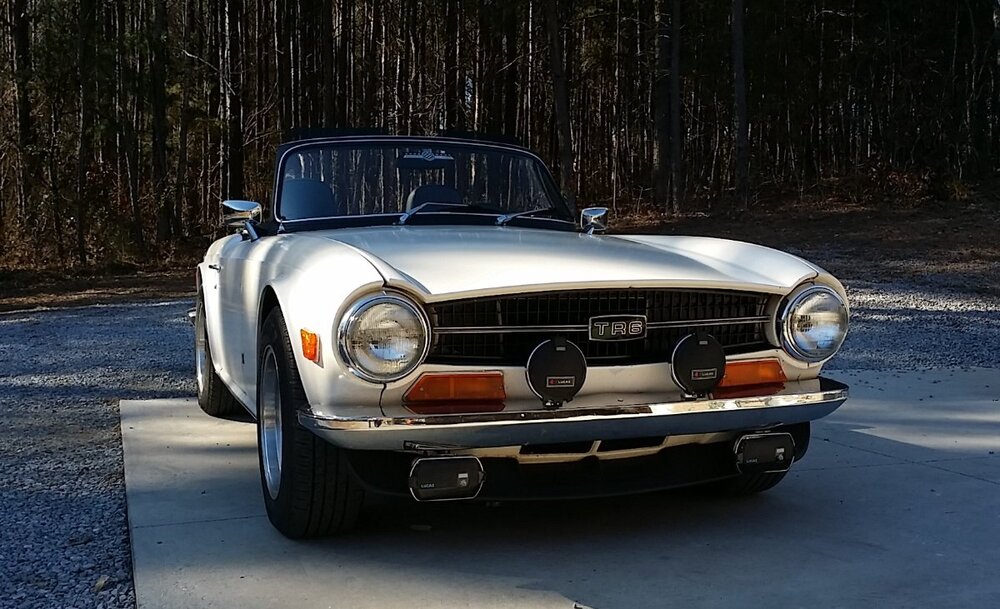
Here's an old pic of my 71. I installed Lucas LR6 spot lights that came on when headlights were set to full-beam, and they did a very good job of augmenting the light from the headlights. I then fitted Lucas Square 8 fog lights beneath the bumper, wired so they would only work when headlights are on dipped beam. They were very good too, but where I live (in southern USA) we almost never get fog, so were never used.
My car has has been restored/repainted since these pictures, and as part of that process, I also installed some very high quality LED headlight units, and found I no longer really needed the fog/spots, so removed them for a cleaner appearance.
So, I have a nice set of LR6s and a very nice set of Square 8s that will both likely go on ebay...unless anyone here is interested...?
-
Some years ago, I came up with a very similar design (great minds!), and was about to fabricate a set. I posted about it on the 6-Pack forum here in the US, and someone provided a link to these from Rimmer Bros: Uprated Rear shock Absorber Link.
I actually didn't purchase the Rimmer Bros set, and instead went with these from Good Parts. I was one of the first to install them, and was initially concerned that they may be a little harsh, given they do not use rubber or poly bushes where they attach to the trailing arm, but this is not the case.
I have had them installed for 7+ years, and still going strong.
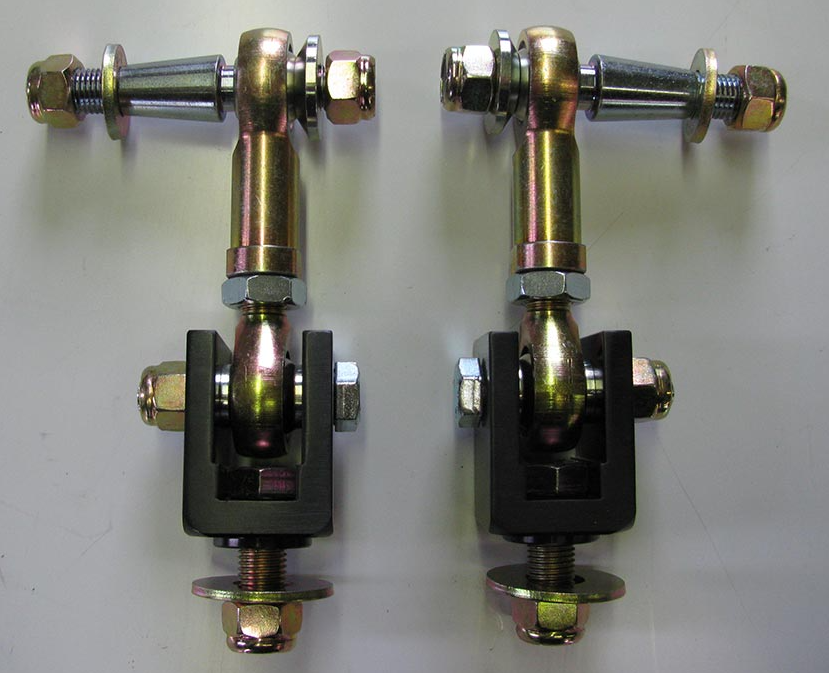
On the other hand...they did cost a bunch more than CK's solution - I'm always a fan of fabbing stuff re-using existing parts.
-
OK - thanks to everyone that responded. I did not realise that the bonnet release was on the LH side for all cars. My memory is clearly failing me, as 20 years ago, before I moved to the USA, I used to own a 72 PI (RHD), and I have no recollection of having to open the bonnet from the LH side of the car!
For the record, I do have the an emergency release fitted, and am tending to use it more often than the standard cable. I was just looking for some redundancy, as I would like to remove the current cable for a cleaner look under the bonnet.
-
Hi folks - Can anyone provide any pics of where the bonnet release handle is located on a RHD TR6, as well as the route the cable takes from the release handle to the under-bonnet catch.
I have a LHD US model 1971 TR6, and want to eliminate the bonnet release from the standard LHD position, as the routing of the cable to the bonnet catch is cumbersome, and requires a lot of force to operate. So, I am exploring replacing the LHD set up with the RHD set up, but can't find any pics online. Thanks in advance.
-
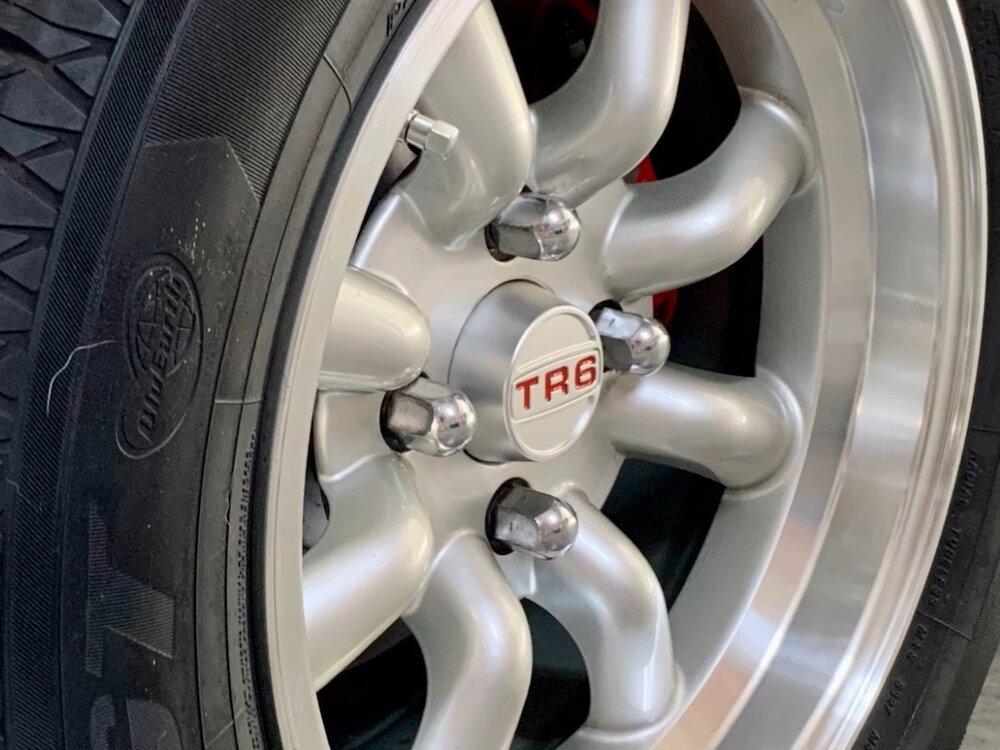
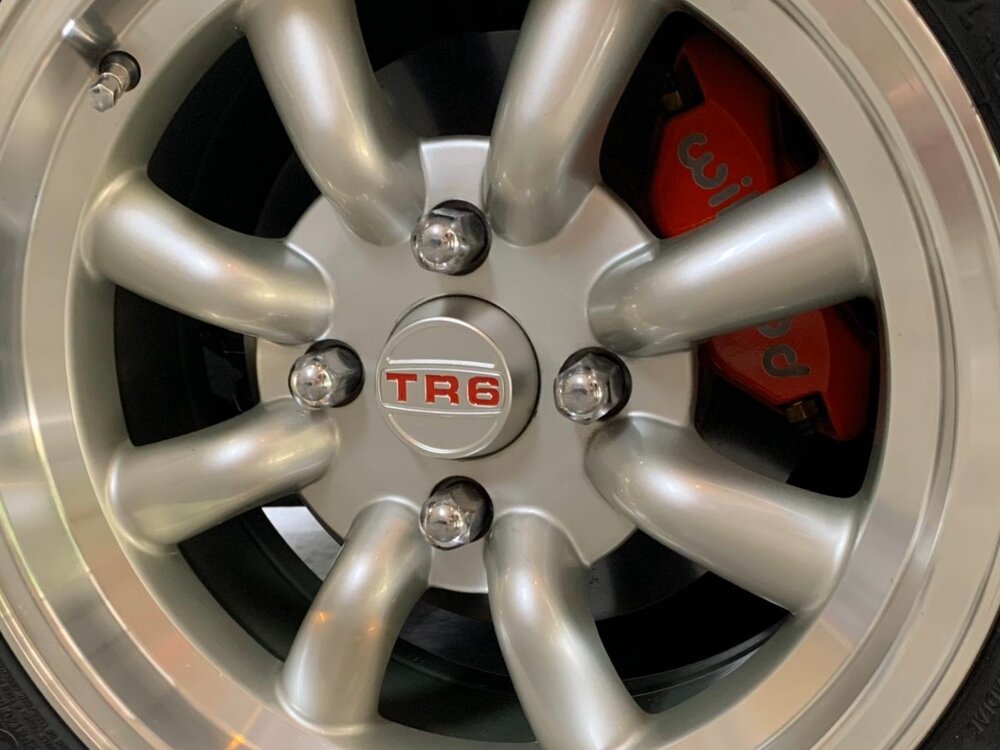
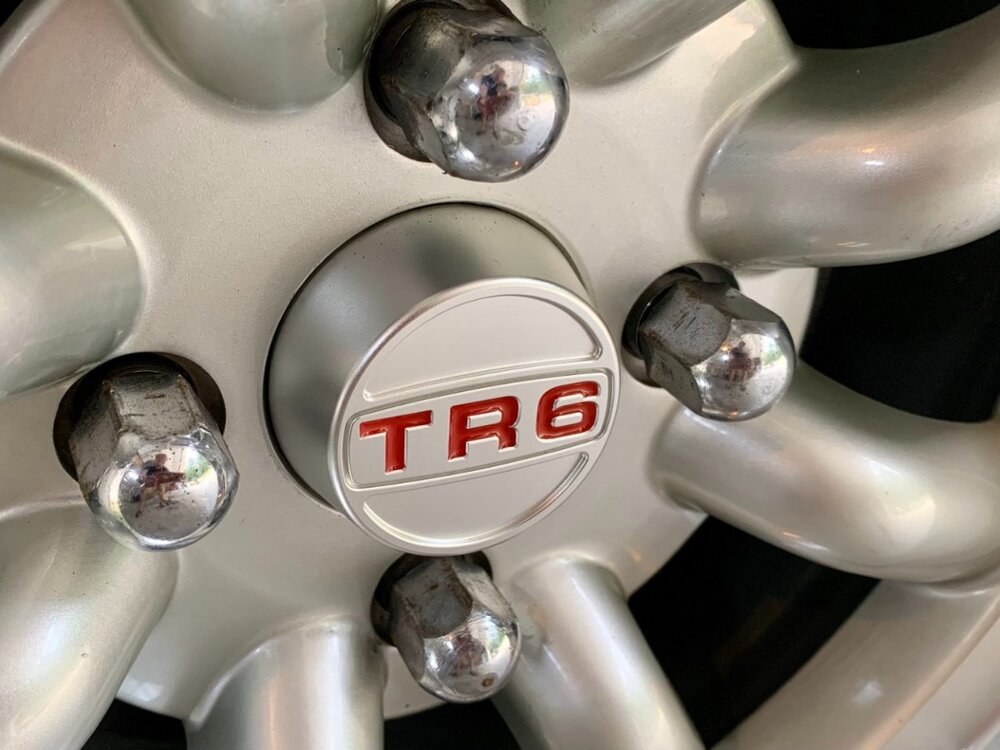
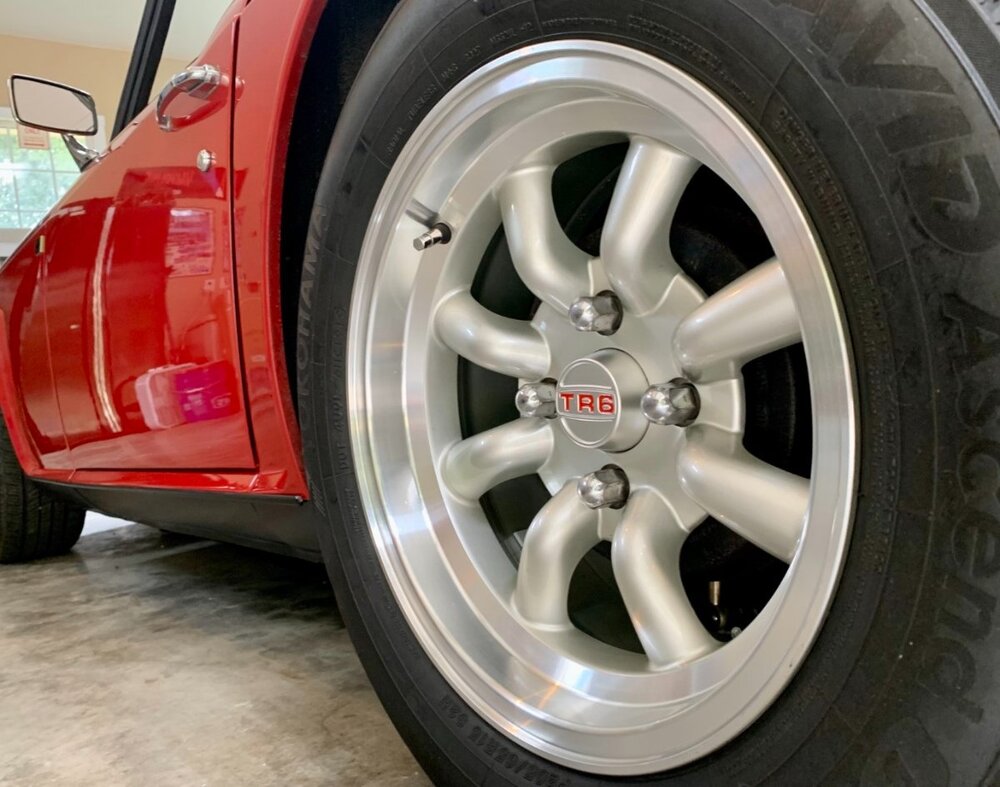
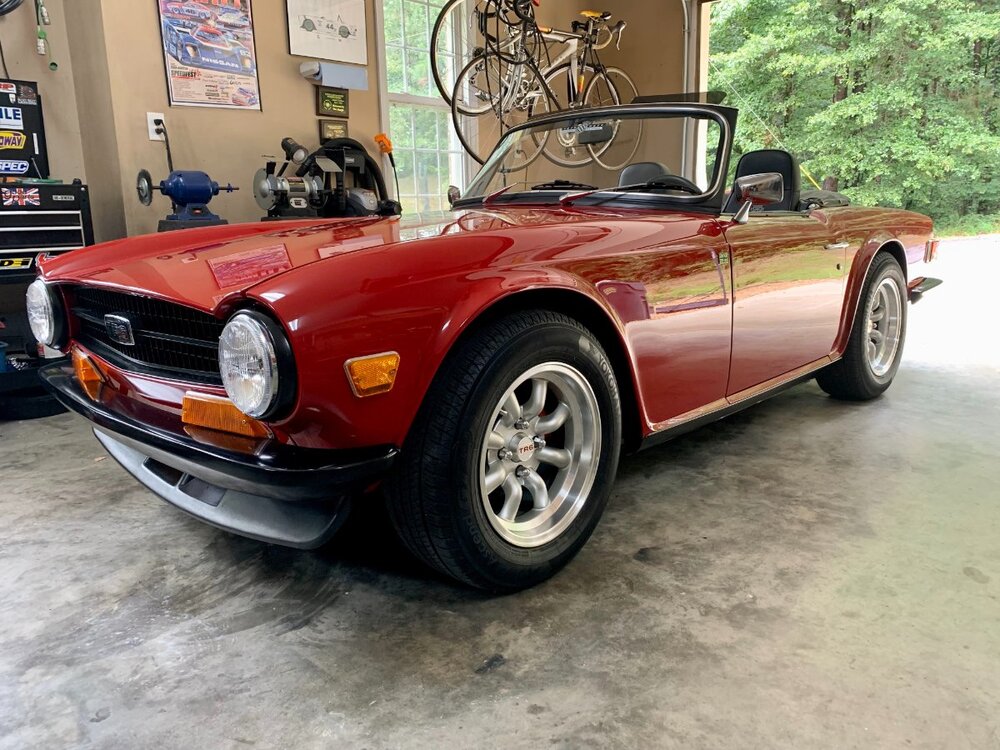
I have 15"x7" Konig Rewinds on my 1971 TR6, and have lost two centre caps due to broken teeth. I just purchased a set of Toby's caps, and installed them last week. The are beautifully designed and made, fit well, and really enhance the look of the wheels. Attached are few pictures I took.
Also...working with Toby when he was creating these caps was a real pleasure, and I encourage you to support him as he develops innovations for our cars.


Throttle bodies - vapour blasting
in TR6 Forum
Posted
I don't have a TR6 equipped with PI - mine has Weber DCOEs - but, I am a fan of the vapour blasting process, and have had multiple items blasted. In all cases, the place to which I sent my parts advised me to totally disassemble and remove all parts/jets/bearings etc. before shipping them off for treatment.
The process, while less aggressive than other forms of media blasting, does nevertheless use abrasive media, which I understand can get lodged in nooks and crannies, especially jets and bearings. My advice is to call a few shops that offer the service and see what they say.
Here are a few items I had blasted 3 years ago, and the finish is exactly the same today: A fuel pump, thermostat cover and the Weber inlet manifold.