Reg No UPB 4F
January 2019 – March 2019
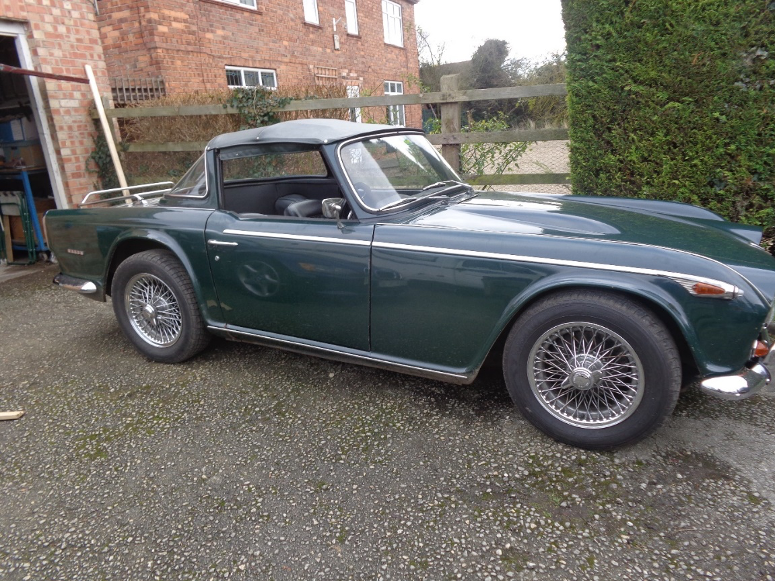 TR5 O/S view
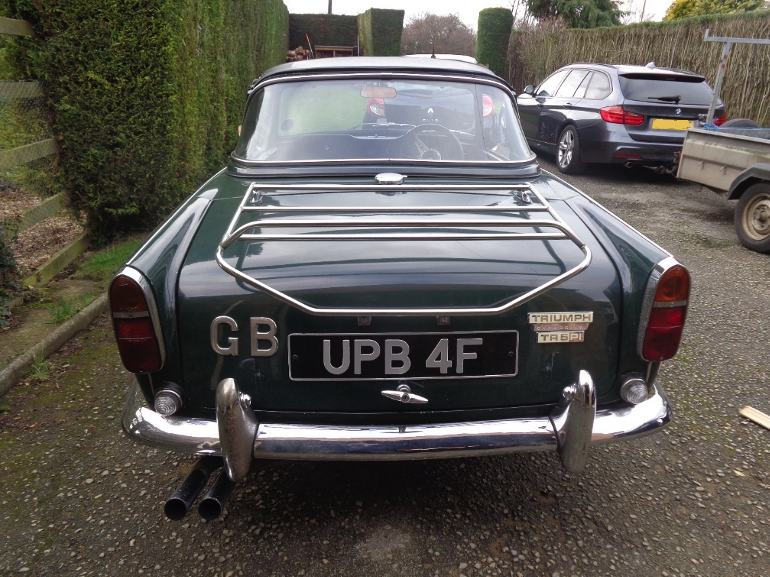
TR5 Rear View
The above photos of the TR5 were taken in Feb 2019 and show the car as it has been for many years.
I’ve owned it since May 1997, so almost 22 years. It was originally Valencia blue. Before I bought the car, it had undergone a full body off restoration in 1993/94 for the previous owner, when it was finished in BRG. This was carried out by a specialist ……. in Jowett Javelins, in Bradford, Jowett’s home town! It became obvious during the first few years of ownership that Jowett Man had cut a few corners in the restoration but it has still been very enjoyable to drive.
At first glance it actually doesn’t look too bad at the moment. However on closer inspection, its’ underpinnings are a bit wanting, the engine is very tired, there’s a clunk in the back axle and some dreaded tin worm in one or two places, mainly in the cill areas. I’ve been planning a full body off restoration for several years and have been collecting parts for about 6 years. It’s now time to start.
The first thing has been to clear the several years worth of accumulated rubbish, (sorry, invaluable vehicle components) in both the garage at home and the rented unit where I keep the cars. To create more manoeuvring room and give me some space to stack all the parts as they come off the car, I’ve been building two substantial timber “tables” in the unit. These allow 2 cars to be pushed underneath on 4 wheel dollies with storage space above. Alongside, I then have 2 full car spaces to work in. One upper space now has a spare TR6 body shell stored on it. The rest of the upper spaces will be used to stack the parts, body panels, etc., as I take them off the car as I dismantle it. See photos below.
 TR6 Race Car under new storage shelves on 4 wheel bogies which allow pushing it in sideways
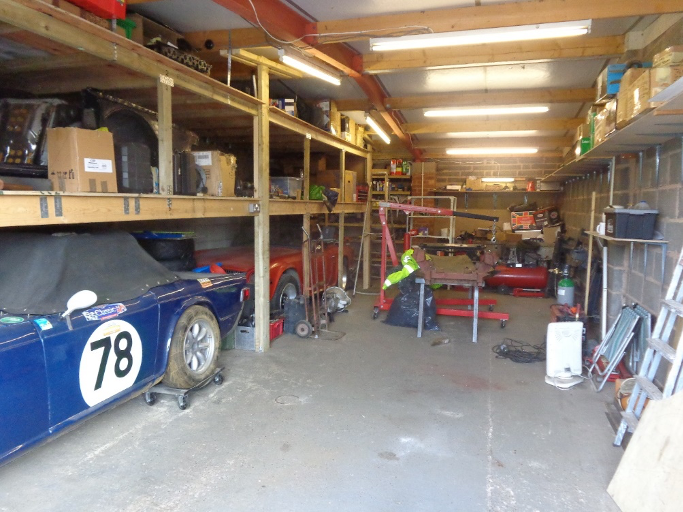 Completed new storage system with two TR6s tucked away and lots of parts on shelves
Before starting dismantling the car in earnest, I’ve had a few jobs to do which will make things easier later, as noted below.
One of these has been making brackets to fit Mazda MX5 seats. The brackets are a combination of the type on the TRR Technicalities CD (front) and those supplied by TR Trader (back), made to suit me particularly, to introduce a bit of lift at the front to give support under the knees but keeping them as low as possible at the back. These MX5 seats have the usual deterioration of the fabric on the drivers’ seat bolsters, but will be recovered at a later date to match the rest of the interior. See photos of brackets below. These are still to be painted.
 Mk 1 brackets for Mazda MX5 seats
I’ve also been trying to sort out the extra rear view door mirror that I fitted on the passenger side many years ago, before I first drove it on the Continent. It has a restricted range of adjustment and has never really been properly lined up to suit me. I thought I would sort this out now, in case ultimately I had to end up re drilling the door. I didn’t want to find that out after the new paint job! After cursing and swearing removing the ridiculous locating pins in the window winder and interior door handles I finally got the door card off to access the mirror mounting.
At this stage I realised one of my worst fears. Not totally unexpected, but the door has two not insignificant holes in the bottom, which will probably be larger when I remove all the surrounding corrosion. I think the drivers’ door will be similar. This has been caused by Jowett Man sealing the drain holes in the bottom of the doors. Thus, when water seeps past the window top seals, as it inevitably will, it has nowhere to get out, causing corrosion. I do remember once hearing the swish of trapped water in the door when I closed it. The following photo shows the brown rust staining in the door bottom which I think is indicative of the depth to which water has been standing inside the door cavity in the past.
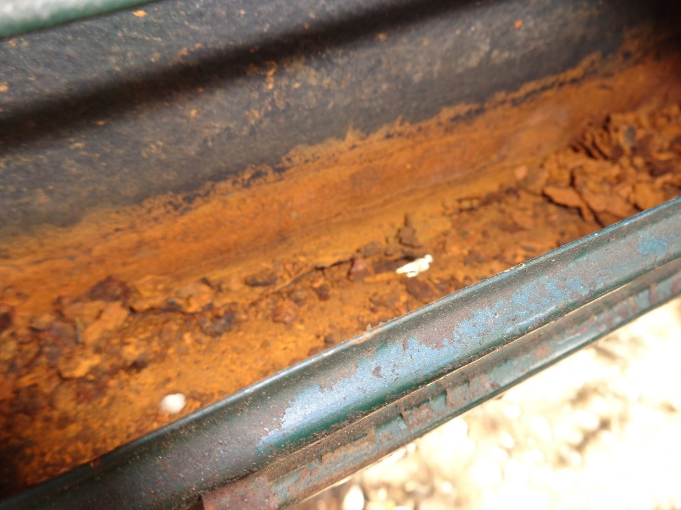 N/S door rust in bottom of frame
The front bumper has always been slightly oddly shaped at the ends, not following the bodywork profile. I’ve taken the opportunity of “persuading” the ends into something like the proper curve before removing for re chroming.
I did know that the chassis has corrosion problems at the back end in the area where the rear diff bridge is welded to the main chassis rails. This despite it supposedly having been galvanised when Jowett Man restored the car in 1993/94. I’ve had welding repairs done twice in this area before, to pass the Mot test, and it’s deteriorated again. I understand that this is not an uncommon problem with IRS chassis, causing the chassis to hog with the result that the back of the chassis tends to go down. This has been most evident with tapered door gaps, much wider at the top than the bottom. Also the Surrey soft top has been very tight to fit between the Surrey frame and the windscreen. Before I remove the body, I’ll disconnect the rear body mounts from the chassis and jack up the boot area to close the door gaps just to satisfy my curiosity about how much body sag there is, (that’s the car body sag, not my body sag, about which no further comment is required thank you!)
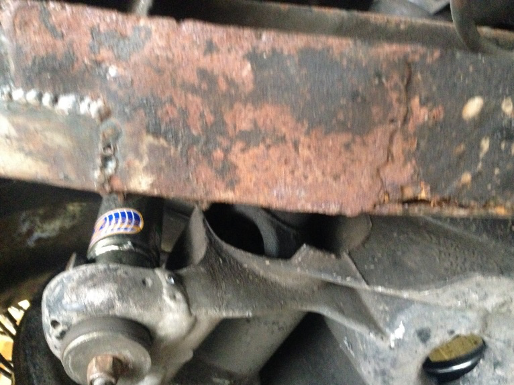
Existing chassis corrosion near rear diff bridge
To overcome this I’ve decided to use the brand new CTM chassis that I had the opportunity to buy approximately 8 years ago (as you do) and which has been loitering, leaning against my garage wall and getting in the way ever since. See following photo. These new chassis have some improvements over the originals, in particular boxing in and reinforcement plates around both diff mounting bridges and the diff pins. There are also less unnecessary open holes in the main chassis rails which were just more orifices for moisture to enter and transform otherwise solid metal into mush after a few years
The old chassis will be properly repaired, blast cleaned and painted and then sold on for someone else’s restoration and to help fund this rebuild.
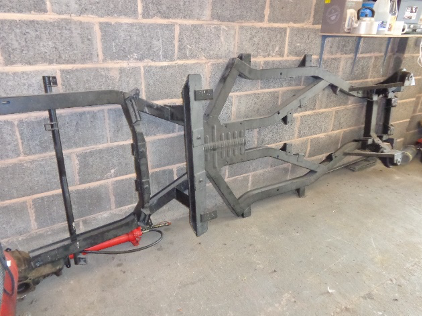
New CTM chassis
Many years ago I fitted uprated road springs, heavier poundage and slightly lowered. These made the car handle very well. It cornered really nicely. However, the ride, on anything other than super smooth roads was dire, bouncing and banging and crashing like no body’s business. With this in mind (particularly with the current state of the road system generally) it will have new road springs for the rebuild. Still uprated from standard but not nearly as heavy as present. I’ll trial fit these to the car as it is at the moment, to check heights and to satisfy myself that they will be a better compromise of flatter cornering, but with a smoother ride.
More to follow in due course.
Dave McD