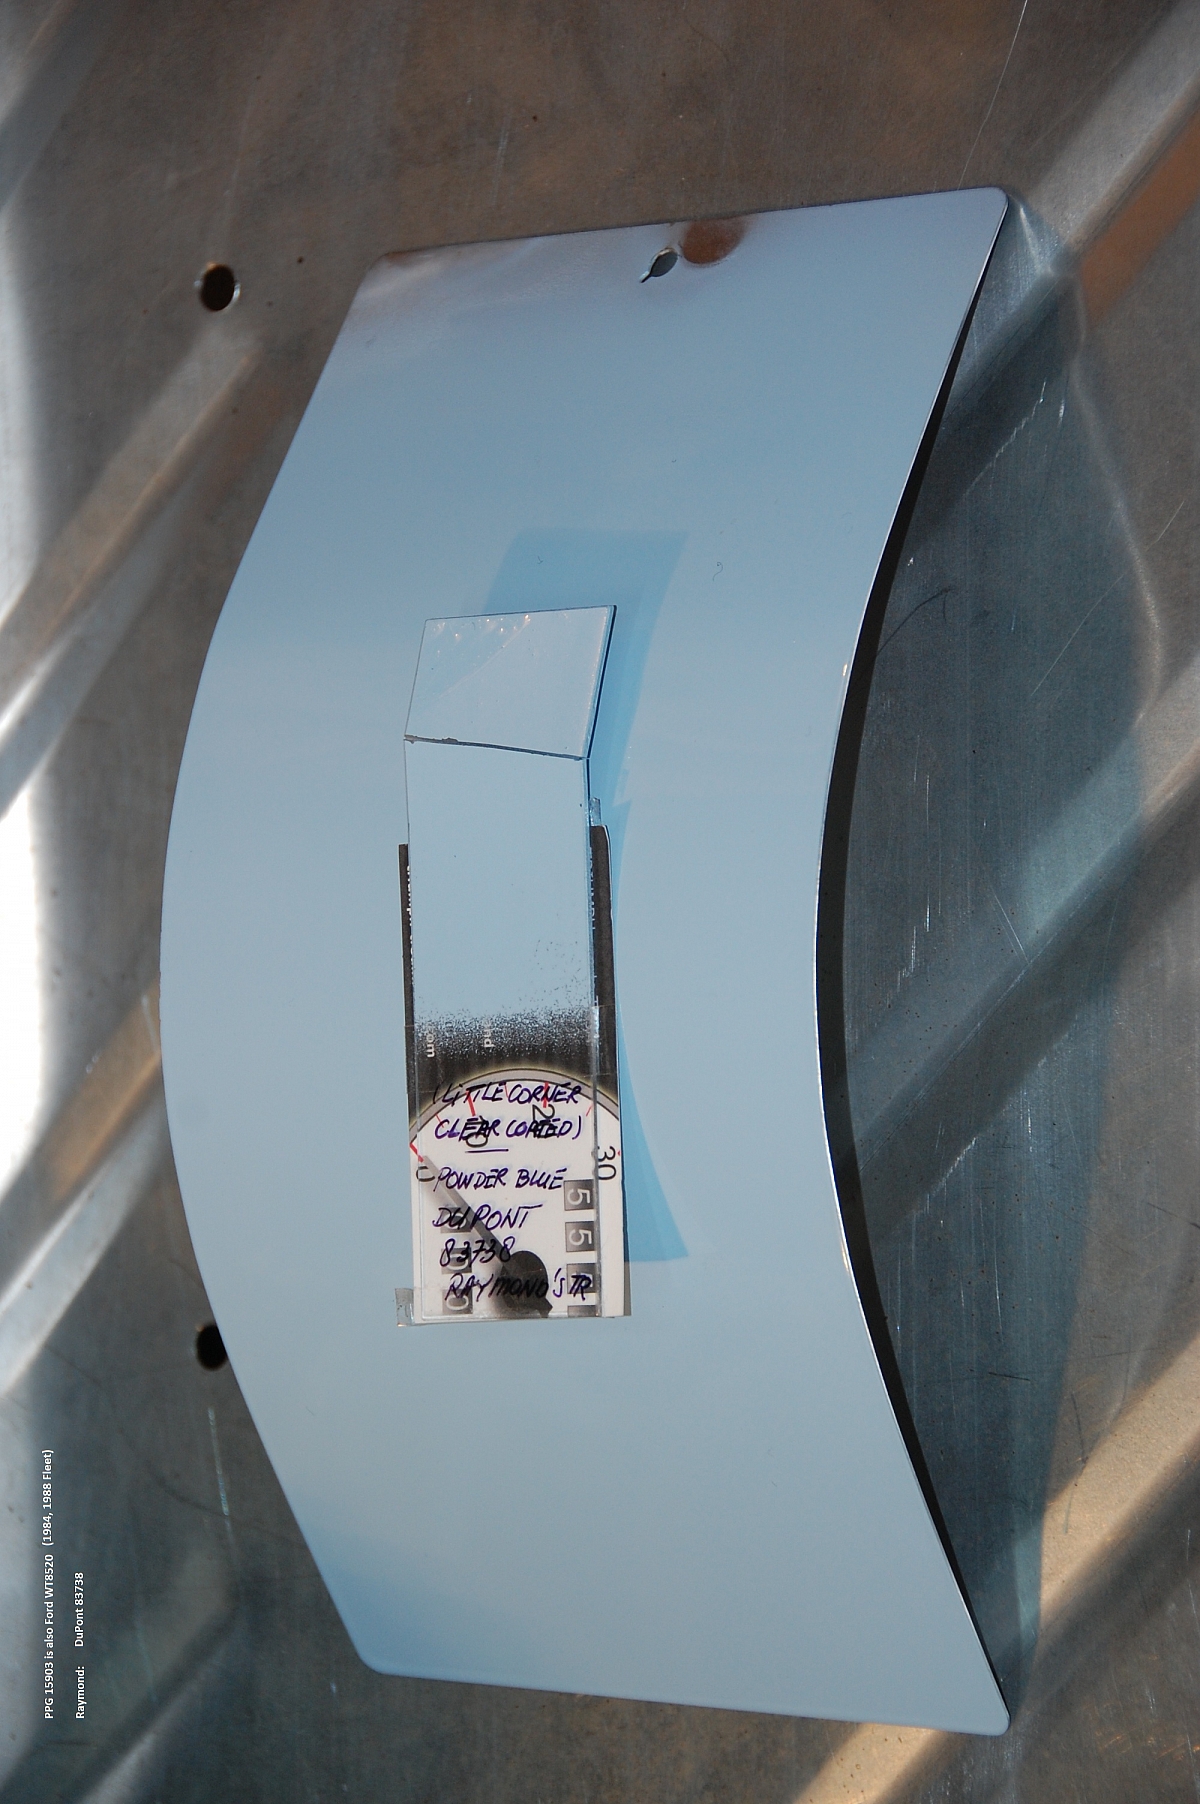
It is April 2014, the weather is starting to warm up after the typical New England winter and we are starting the early planning for painting this TR3A. I had always admired the TR3A of Raymond Van Donk. His TR3 is Powder Blue with dark blue trim and I had contacted him when I started this project to get some details of the paint he used. We know that paint codes and paint mixes differ from region to region so Raymond very kindly sent me a sample that I had matched here in the US. The sample scanned very close to a production Ford color so rather than hand mix to get the exact tint we opted to go with the Ford 15903.
Here is the sample that Raymond sent me with the test panel painted with the 15903 paint.
My friend and fellow club member John is helping me paint the TR3. He runs a paint shop for smaller items such as bikes so we cant paint the whole car in his shop but we can paint panels. Having someone familiar with paint, the prep and the painting process is a huge advantage and I am going to be forever in his debt for all the time he has put into this project.
In his production business he uses PPG paint. It is expensive stuff but very high quality. Even though it does not require it we also planned to put several coats of clear over the color to give us a surface that we can wet sand and buff. This is especially important since we are going to paint the tub in my driveway.
This is the paint that we used, PPG Concept acrylic urethane. A single stage paint that is mixed with reducer and hardener before spraying. We bought a quart do test the color and an additional gallon to paint the car. The primer, color and clear cost well over $1000 just for the materials.

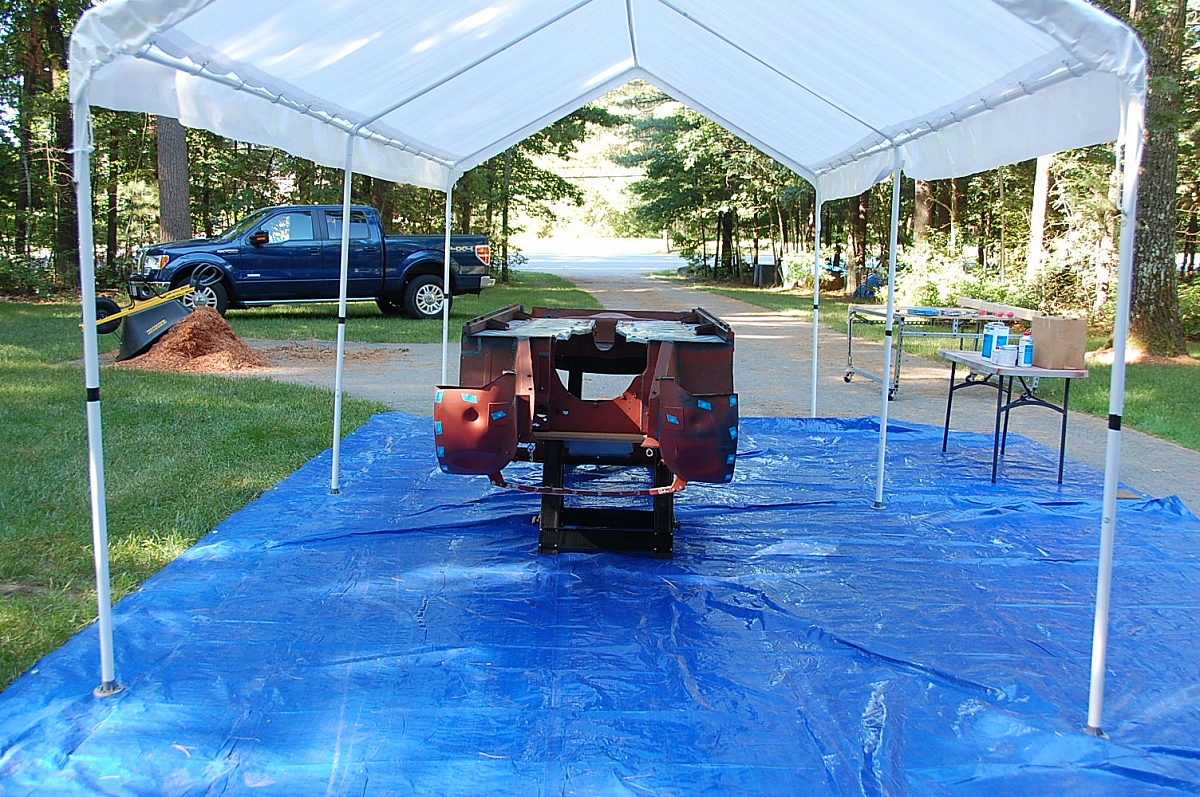
To try and keep the tub free of debris (more on that topic later) I bought a 20ft x 10ft canopy at the local Harbor Freight. You can see that canopy in the header picture of this post.
I discussed with Stuart the best way to support the tub while painting the underside and he suggested a sawhorse under the shelf in front of the battery box and another under the boot floor (the tub will be inverted remember). The saw horses were also purchased at Harbor Freight and I shortened the legs of the one that goes near the battery box so the tub could sit level.

I removed around 10 inches of vertical height so the front saw horse is around 22 inches tall while the un-modified rear one is 32 inches tall.
With the tub inverted on these saw horses it sits level.
With this prep work all that was left was to find a few days in our schedules that would coincide with a period of weather suitable for painting the tub outside. That would prove to take longer than I expected but I will save that story for another day.