


MARK
-
Content Count
119 -
Joined
-
Last visited
Content Type
Profiles
Forums
Calendar
Posts posted by MARK
-
-
I have a spare cylinder head which is fitted with single valve springs. I wish to fit this to my TR6 1973 uk car but with double valve spring configuration. I asked a well known supplier to send me what I would need but I'm not sure that I have been sent correct parts. The diagrams of workshop manuals are vague. The Brown book states that ' Later PI cars the valve collar arrangement on both inlet and exhaust valves is as diagram A' - which shows a one part upper valve collar. However double valve configuration is not shown. The diagram shows a valve spring seat with a raised centre part. I have been supplied with 12 valve spring spacers part number 149717 which will only space the inner spring from the head. This would leave the the outer spring sitting directly on the head is this correct? The inner spring spacers 149917 may be a replacement for the original lower spacer. The valve Spring set I have been supplied is red marked, part no.CVS6686K TR5/TR6 Double valve Spring set.
I would very much welcome information as to the correct configuration of valve seats for CR and the correct part numbers.
Thanks in advance to the Sages out there! As my mate John Morrison promotes, this Forum is a great tool !
MARK
-
Replying to my original post I contacted those helpful people at TRGB. They fit the Poly Bushes with the wider flange towards the outside of the car on each side. They do not use any grease, only washing up liquid to fit them using a bench vice. They also said that they have to carefully drill out the older type rubber bushes in order to remove them, sometimes ! I certainly did !!
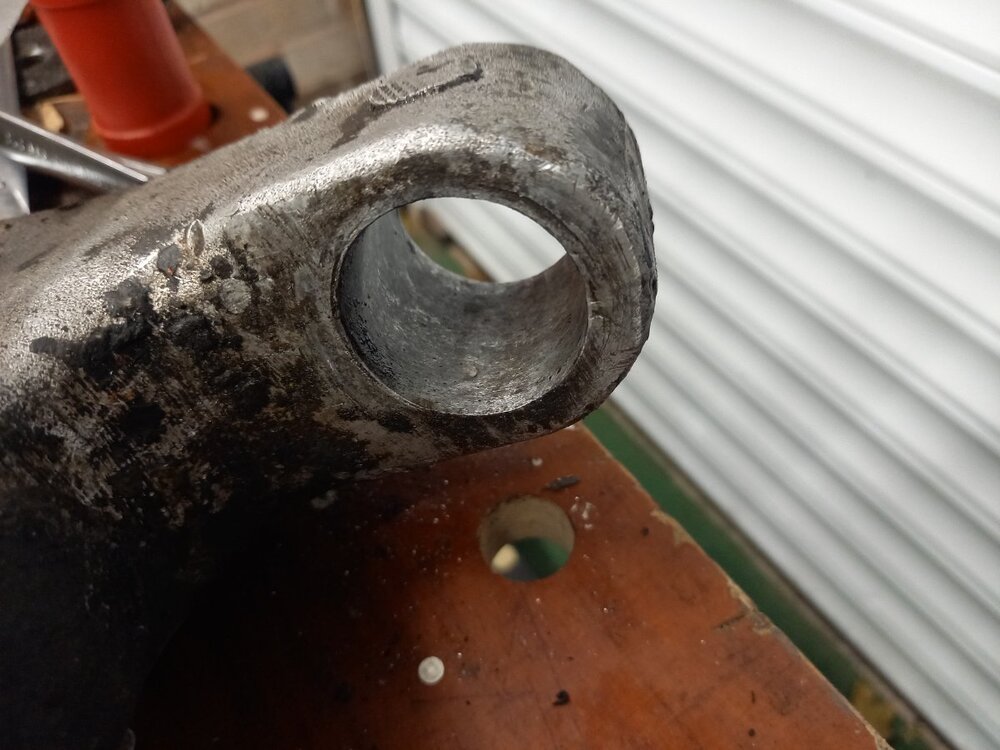
In respect of the cracking swinging arm brackets, another of our local Group members sent me a picture of his TR6 swinging arm bracket which was broken in half and not evident until he removed the swinging arm !!! Stay safe !
MARK
-
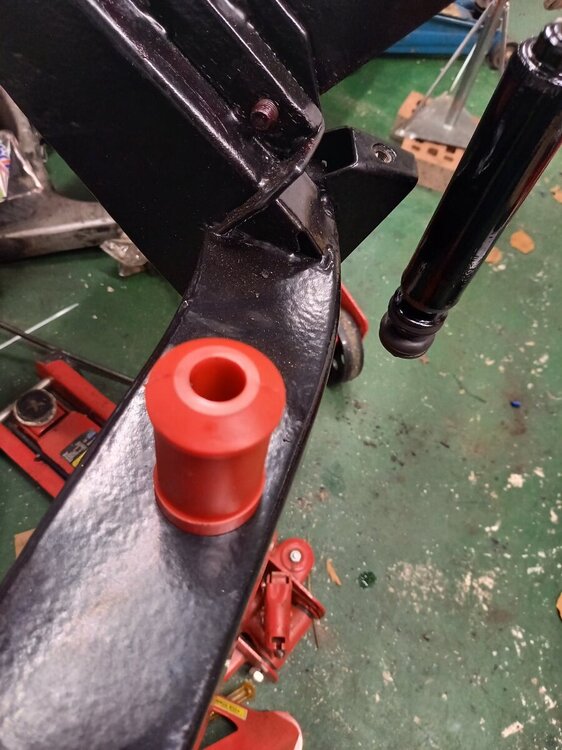
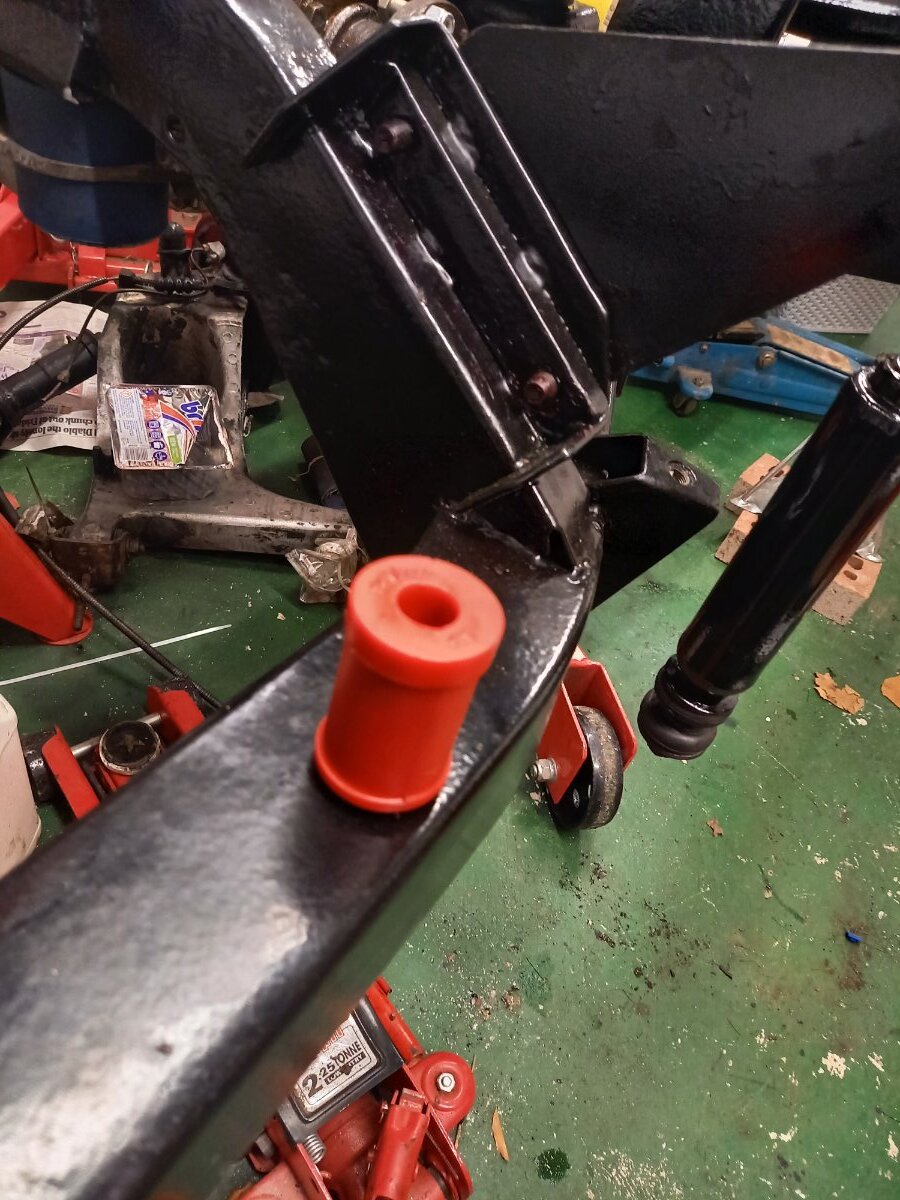
Here are some pictures showing shape of poly bush and the slight recessed side of the swinging arm and non recessed side.
MARK


-
I am in the process of fitting Poly bushes to the rear swinging arms of my 73 CR TR6 . The Poly Bushes are have different ends. One end has a chamfered bullet end and the other end has slightly wider flange. My Swinging arms bush holes have a slight recessed step one side of each hole. It would appear that the recess might be to fit the wider flange side of the poly bush. Is that right?? What is the correct way round to fit them. I really don't want to have take them out if get it wrong as the old ones were a pig to remove!!!!!! Following a thread on tr5 forum- poly bushes should be fitted with soap and water not grease. However I would also very much welcome any tips on fitting the poly bushes and inner metal tubes.
By the way, check the swinging arm brackets if doing this job! At least one of mine is cracked ! Common apparently !
Many thanks for any information.
MARK
-
Thanks so much Alan !
MARK
-
During our fantastic Cumbria Group annual stay in Fort William my 73 TR decided to play a trick on us by refusing to allow the key to be inserted in the superbly located (not!) steering lock. After much faffing about with wd 40 etc and poking about with various tools the lock refused even with my second key. With the help of the great Peerless guy Ken Wilson the lock was moved off steering column to get mobile. The following day John Morrison managed to remove the lock totally. (I had not tightened the shear bolts to snap off thank goodness). I rigged a switch to work in place of the ignition switch and used used already fitted push button starter switch to get home .
Has anybody replaced just the key lock barrel? Source?
Where is the best place to buy a total replacement lock with ignition switch and which is best? Do ones that are used in other vehicles fit? ie. Land Rover as usual suppliers seem expensive!
MARK
-
New bulbs arrived ! Fitted and all is now well !!!!!! Indicator Buzzer working normally and bright rear back and brake lights !!! So there you are, cheap LED brake lights can cause you problems! The bulbs were tested many times off the car with no problem and a considerable amount of time was spent checking earths and adding more ! . Maybe RobH can explain and much thanks to him for his words of wisdom !
MARK
-
Thanks RobH. I have ordered two bulbs from Better Car Lighting. Not cheap but if it sorts my problem worth it !!!! . Talking to the guy there, cheap LED bulbs can cause problems.
So fingers crossed !!
MARK
-
Thanks RobH ! Would changing the flasher unit to a LED compatible unit sort it ? Or do you think I should try and source some better quality LED stop/tail lamp bulbs?
MARK
-
The indicators are all normal filament bulbs. The flasher unit is a new original type. The LED stop / tail bulbs are very bright and when testing with a battery charger have a noticeable buzz when stop terminal is connected. I am going to try a direct feed from battery to stop lamps to eliminate brake light switch/circuit problems. Any suggestion welcome as I'm finding this problem time consuming and frustrating!!!
MARK
-
I have had an indicator buzzer fitter for quite a few years to my 73 TR6. This was wired across parallel to the flasher unit. Recently I have had problems with the indicators and the buzzer. I have changed the switch to a tested good one. Changed the flasher unit and rewired it. Earthed all the rear lights with additional earthing points and all seemed ok. However I found applying the brake affected the buzzer making it sound weak, a bit like a strangled cat!! I found removing high power LED stop /tail and fitting normal filament bulbs stopped the problem. A long Club run on Sunday was completed with no issues. When re fitting the LED stop / tail bulbs the problem returns with the buzzer but indicators still work ok at normal speed. Switching on headlights does have any effect to the buzzer. I find it hard to believe that the LED bulbs could cause a large voltage drop but I don't know what to investigate next other than trying another set of LED bulbs.
MARK
-
I have a spare late TR6 cylinder head. Fitted to the head when I bought it was a set of single valve springs which looked pretty new and have a red paint mark on the springs at half way.
Anyone any idea what springs they are ?
MARK
-
Thanks as ever for info Roger. Slip ring secured with some epoxy. Steering column adjusted under the bonnet to allow gap between column and boss (also advocated by John Morrison who has had the same problem) No longer sounding on its own!!!! Just need a longer contact on horn push or the longer spring pencil connector to make it work !!!
Thanks everyone for the input on what seems to be quite a common problem ! The joys of owning these TR' s is sorting out these obscure problems !! Or are we masochists ? !!


MARK
-
I have had a problem with the horn sounding on its own when pressure is applied to one side of the steering wheel. Rather embarrassing at times! On investigation, two of the horn slip ring retaining tabs have broken off. One has remained in place but loose and appears to have been rubbing the bottom of the Moto Lita steering wheel boss. Are these tabs actually part of the steering column? I am loath to touch the remaining tabs in case they break off too !! Got a run coming up next weekend ! If they are part of the column I will have to find a way to secure the slip ring in place. A couple of blobs of Araldite might do the trick. I hope this is my problem with the horn or has anyone got other ideas?
MARK
-
Hi John
The Tin I have got is Granville Cylinder black high temperature paint. You paint it on, leave overnight and says normal engine heat will cure. Which using your oven to cure the V.H.T paint on your brake drums would probably be better !!! Just make sure D is out !!!!!!
MARK
-
-
Jim looks same colour as my cylinder head. Would be interesting to find out if there is a connection to S.A.H. I found a forum post by the late Alex Pringle on the subject and he obviously had a good deal of knowledge of S.A.H. Is there anyone out there also with a good knowledge of S.A.H or could point in the right direction?
MARK
-
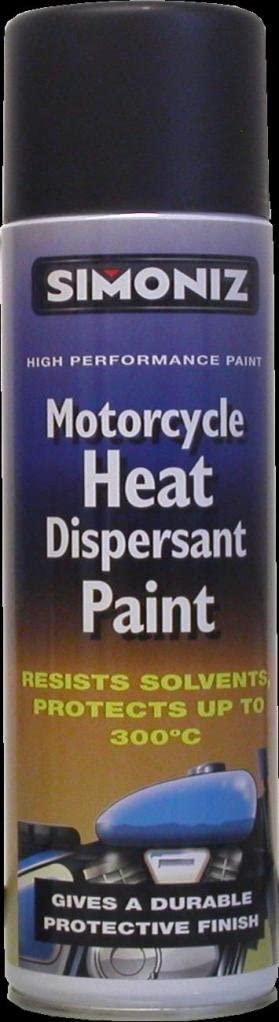
John what about motor cycle cylinder black heat dispersal paint. It is specifically designed to help cool and obviously will stand high temperatures. I think I may have some in my shed. (Somewhere !!)
MARK
-
Hi Jim
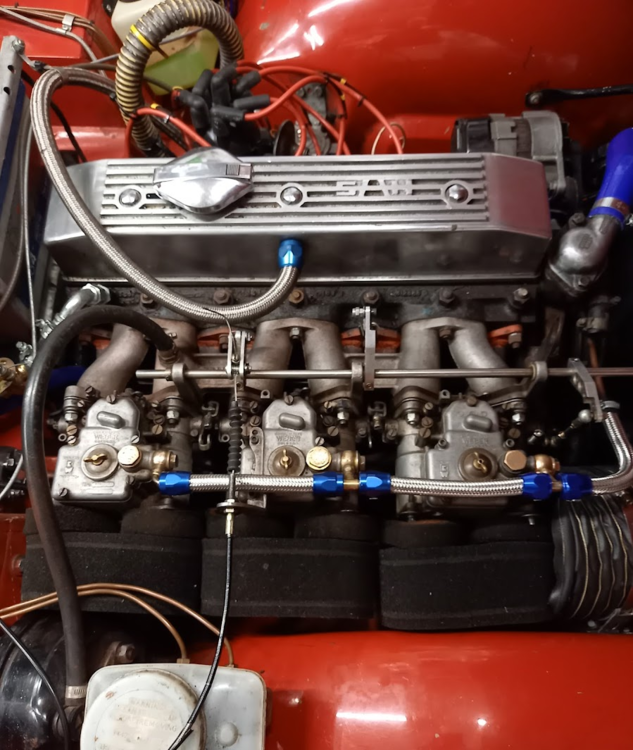
Similar thoughts ! Cant see any obvious markings but head is a light blue. The high compression aspect would fit my car as slight pinking has always been a problem. This is probably made slightly worse by running on triple webers.
MARK
-
8 hours ago, Jim F said:
Gents, very interested to know where the SAH head markings can be found for a 6 cylinder head. I have a pale blue head on a TR250 and its mounted on a block that's painted green, rather than black. So I'd appreciate any info on head SAH stampings or tag locations.
Jim
-
I was looking at parts for sale for TR6 on Ebay and came across a listing for a TR 6 cylinder head. In the information it said that S.A.H. built heads were painted Duck Egg blue. Is that right? It also said that their heads also had a plaque riveted on them which tend to fall off. What was the location of the plaque?. I cant seem to find the Ebay listing now. I am curious because my TR 6 cylinder head is painted a light blue which I have always thought strange and not seen before.
Anyone out there got any knowledge of S.A.H ?
MARK
-
Iani have looked at your link to SC Parts and they seem to be the same and only offer one pipe with the boss but two different without the boss for thermo switch, unless I am looking at the wrong bit ?
MARK
-
Apparently all the main suppliers supply TWO different stainless downpipes. One for TR 5 and early TR6 because of difference in radiators. However they only seem to supply ONE stainless steel pipe with a BOSS for a thermostatic switch for all non US cars !!! Am I right about this ?
Do they fit both radiator types without modification ???
MARK
-
Thanks for that iani ! Looking at the earlier radiator and the later one, the angle of the lower exit stubs are different !
Hence there are two different stainless pipes, one for TR 5 and early tr6 - and one for later TR6 type radiator !!! However they both seem to have the same part number !!! . As a lot of early tr6s may have had the radiator replaced with the later radiator, so beware when ordering this part.
Useful tool his Forum ! Help supplied when sitting on floor in the garage scratching ones head in bewilderment staring at bits what don't fit !!!!!


Correct TR6 CR Valve Spring Seating Configuration
in TR6 Forum
Posted
The suppliers have now admitted that the springs and other parts sent are for the earlier CP TR6 not CR! They assure me that they will fit ok providing I use the two piece valve caps for the exhaust valves. I don't know why this should be so. I believe later TR6 use the same single piece upper valve cap for both inlet and exhaust.
Can anyone explain why they apparently used different upper valve caps on earlier cars for inlet and exhaust ? Would it be ok to use the one piece type on on the exhaust valves with earlier springs?
To me the later type one piece valve cap seems to fit well with the double valve configuration and a better fit !. Doing some research the earlier type valve springs may be more suitable for my fairly high lift camshaft as apparently they were softer.
Any help would be much appreciated !
MARK