


Ed -TR2
-
Content Count
31 -
Joined
-
Last visited
Content Type
Profiles
Forums
Calendar
Posts posted by Ed -TR2
-
-
Thanks for the clarification. I just wanted to make sure I put it back together correctly!
I believe the car was repaired in the late 1960's or early 1970's, most probably just to keep it on the road, so not much care was taken.
I have similar where the rear quarter panel meets with the inner wing. Rather than an overlap of the two panel flanges spot welded together, a repaired quarter panel section was welded straight to the inner wing!
Another question if I may? I have 4 tags that hold the wiring loom in place across the rear of the boot floor and 1 near the offside wheel arch. Should I have any more in the boot area?
Thanks. Ed
-
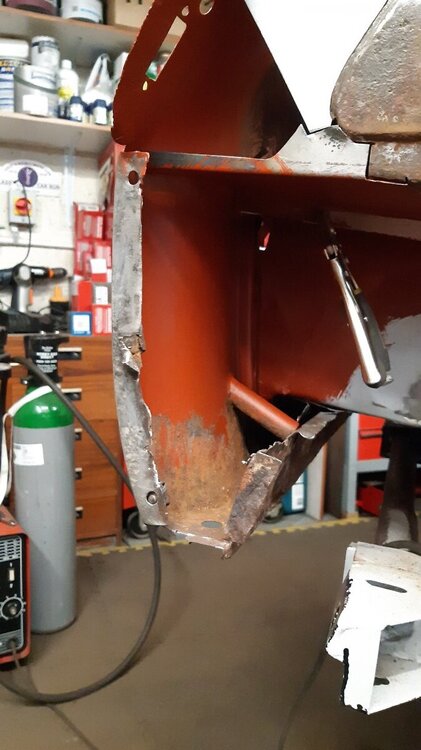
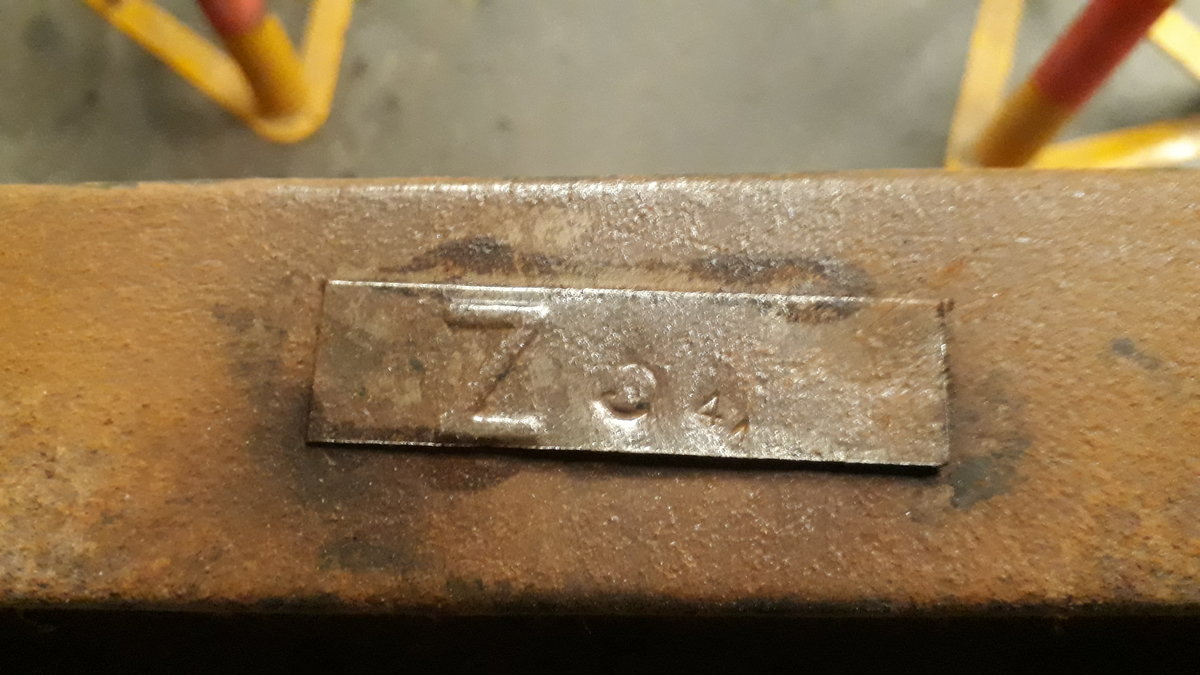
I am at a similar stage with my car, repairing the rear end. When removing the rear stiffener panel, which was butt welded to the rear apron, I found remnants of the original stiffener panel hammered in underneath! But slightly confusing to me was the captive nuts and cages are welded to the flange of rear apron as in the attached photo! I am assuming this from a previous repair and not correct?
I thought the captive nuts were on the rear of the stiffener panel which should be spot welded behind the flange of the rear apron? Any help gratefully received. Thanks. Ed
-
Good point ref the waxoil Ralph! Thanks for all the comments. Ed
-
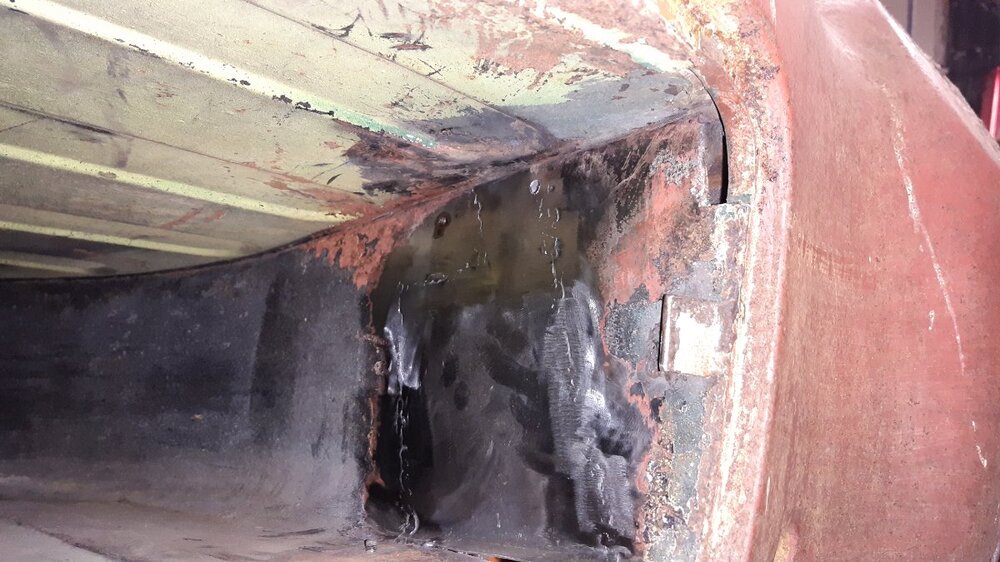
Thanks Ralph, yes, on closer inspection from inside the wheel pan, the pan goes vertical whilst the opening is curved, so on reflection is most likely correct! Just not very neat on my car! Any photos of other cars in this area would be most welcome! Thanks Ed
-
Thanks Ian, I suspected as much. The second photo did not come out too well. Hopefully this one shows it better, taken from the inner wheel arch looking towards the spare wheel pan and the inside of the rear apron. The top corner of the spare wheel pan has been cut and bent towards the outside. It just does not look correct!
-
-
Happy Easter to all!
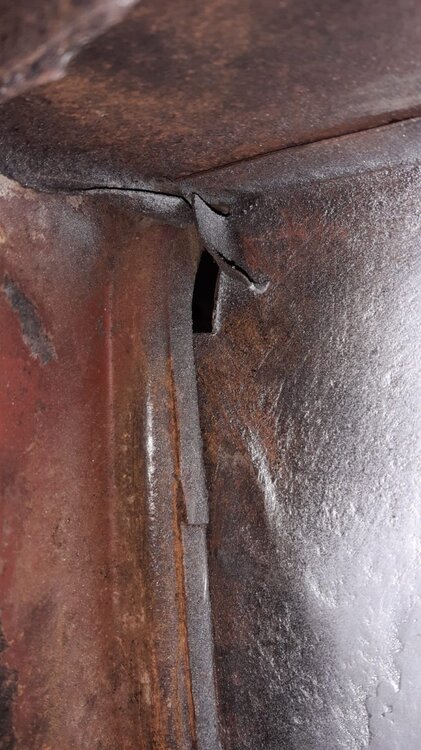
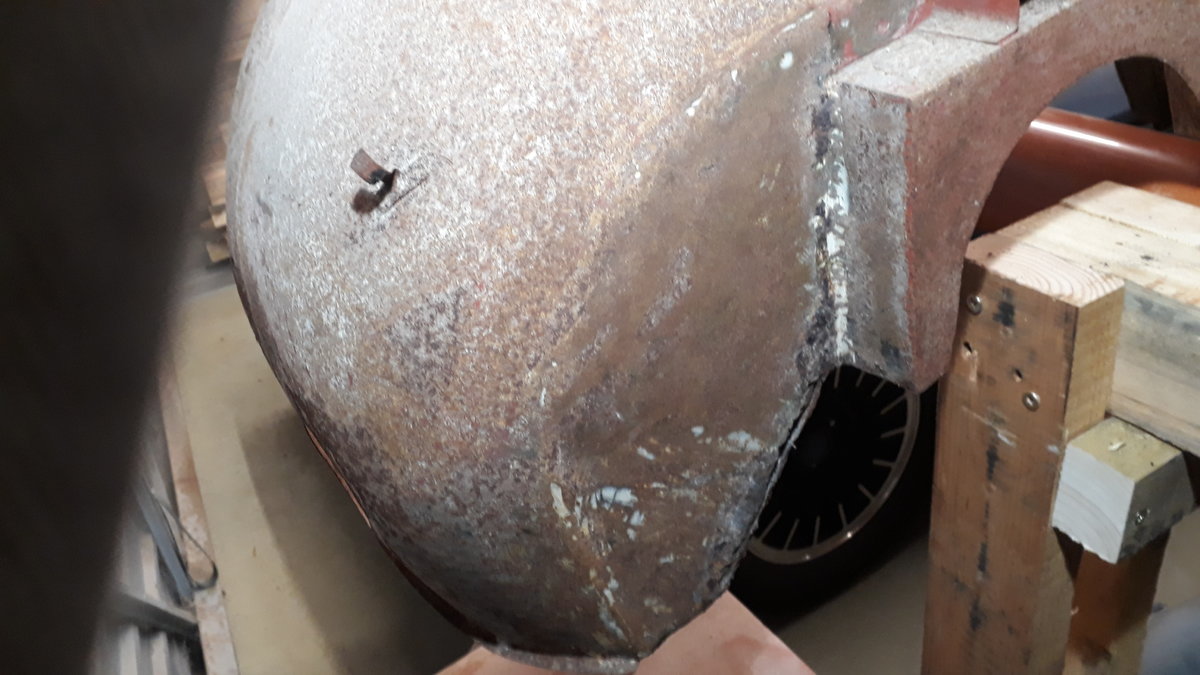
I am currently repairing the rear inner body work of the TR2. I have removed remnants of the rear closing panel, stiffner and rear body mounting bracket so I can repair the spare wheel pan side that has rusted away where the body mount is welded.
On closer inspection where the spare wheel pan meets the spare wheel aperture there is a gap at each top corner. The wheel pan metal is bent outwards and not welded as the rest is. Hopefully the photos will show this.
Could anyone tell me if this is how the cars were made originally or is it the remnants of a previous repair?
Thanks Ed
-
Hi all,
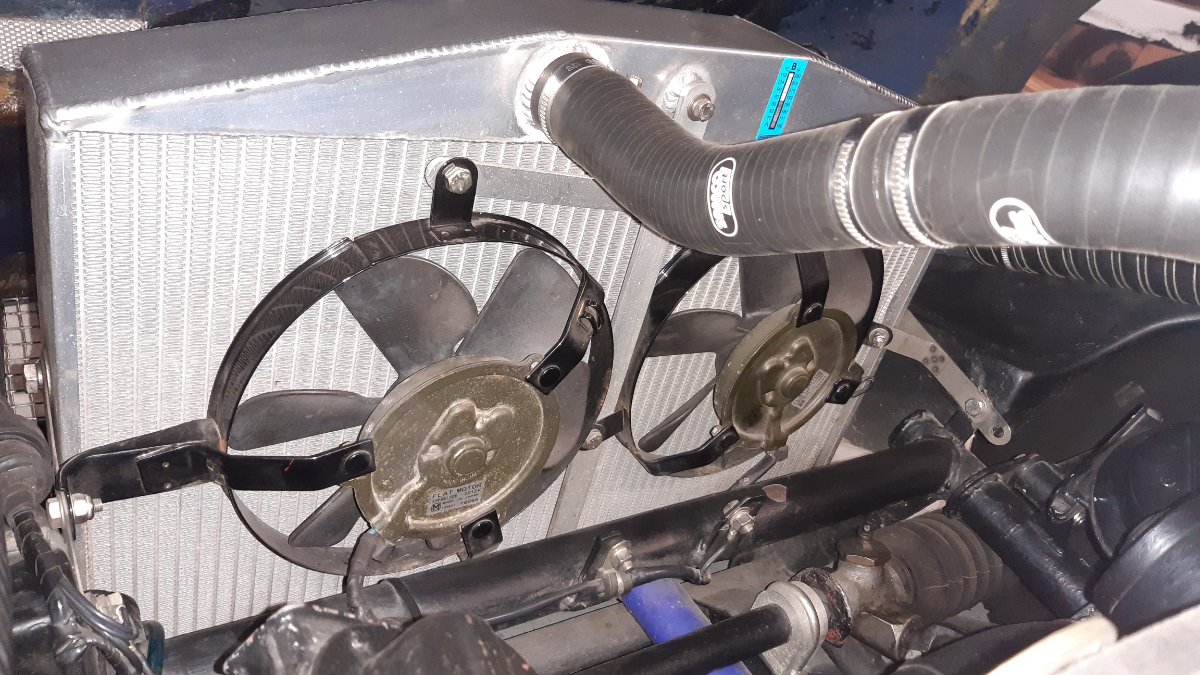
FWIW I have a TVR Vixen 2500 (TR6 engine) that I have mainly used for track days. 14 years ago I fitted two Yamaha bike fans picked up second hand on Ebay. They seem very efficient, reasonable cost, Japanese reliability, nice and light and pull 11.5A combined.
I did a track day at Zolder a good few years ago in a 40 deg C heat wave. Cars were dropping like flies, the Vixen kept going all day 80-85 deg C showing on the temp gauge! Ed.

-
-
-
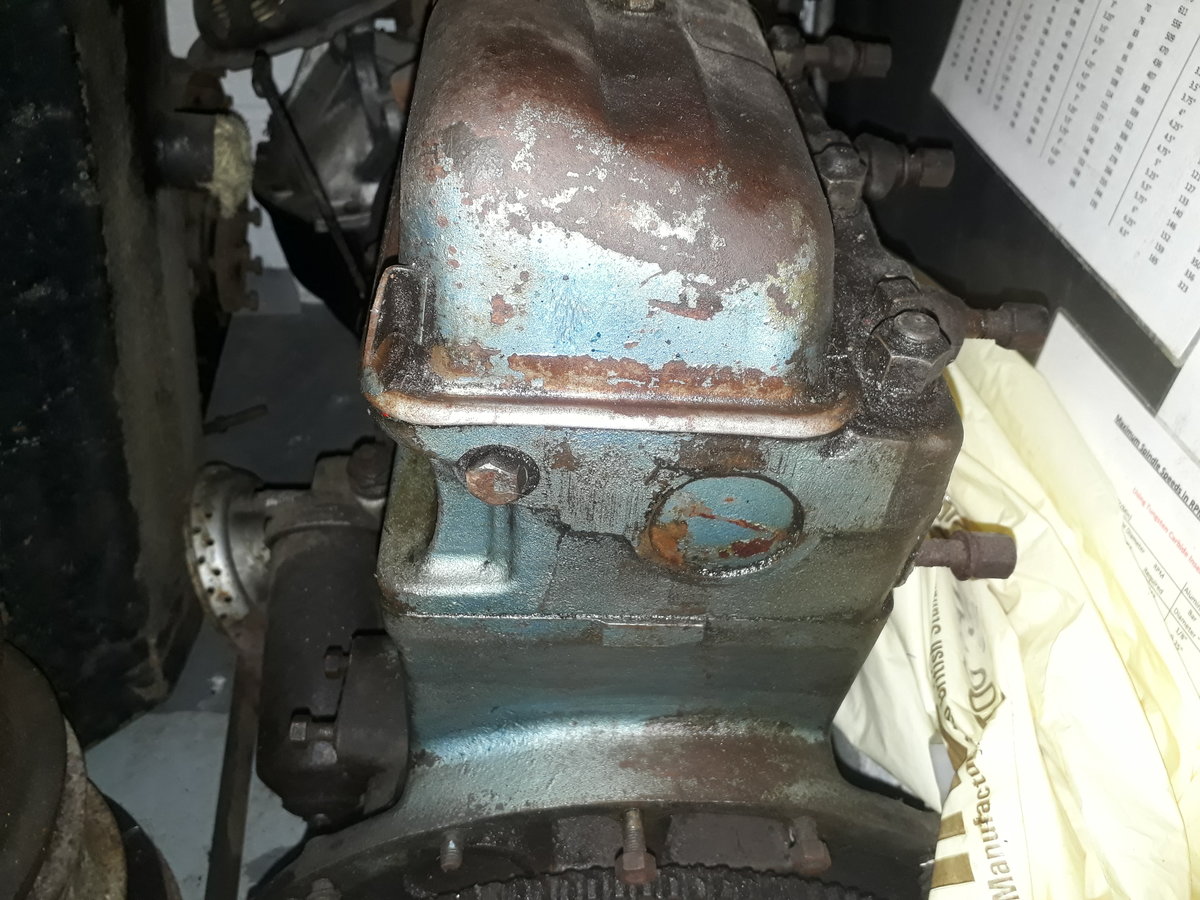
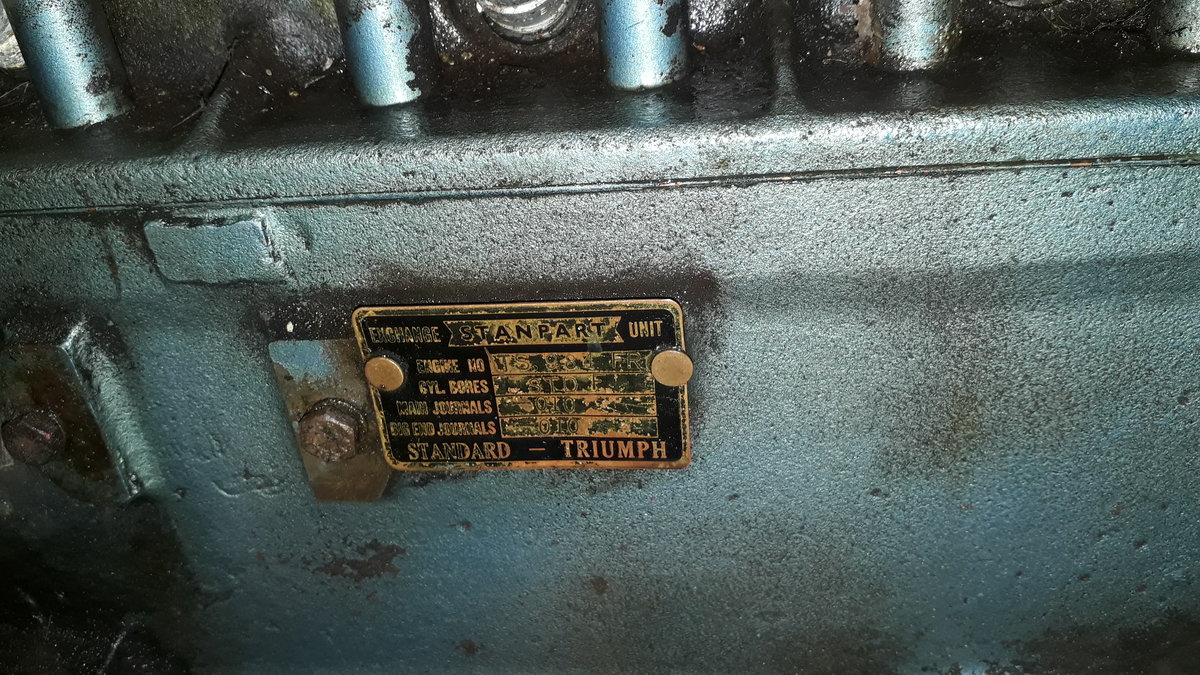
The engine 984 FR from my TR2 which was bought in 1977 by my Dad & not touched since is light blue.
Interestingly the factory seemed to paint everything, nuts, bolts core plugs, rocker cover etc. See the attached. Ed

-
Superb. Many thanks for the photos. I thankfully have the jets somewhere also! They must have been separated at some point and I had not realised they belonged together. Thank again for all your help. Cheers. Ed
-
Thank you for all your replies.
The washer jet mount would make sense. I Will check out the Healey connection, there is a guy round the corner from me who has rebuilt a couple.
It is so nice to get so many good responses. Thanks again. Ed
-
Hi John, thanks for your reply. I have heater plates which are twice as large as these.
The car is a 54 short door so well into the production run.
I only paid them some attention after I saw BRG over spray on them as the car was originally that colour, but really can't think where they would go. I can only assume they are not TR related and the over spray is pure coincidence!
-
I am trying to identify the small escutcheons in the photo. I had discounted the one I found as not a TR part until I found a second one, both have BRG overspray on, the same colour as the car. Both parts are stainless steel. The inner part marked 'top' fits underneath and into the outer part with countersunk holes. 1 1/4" overall length.

-
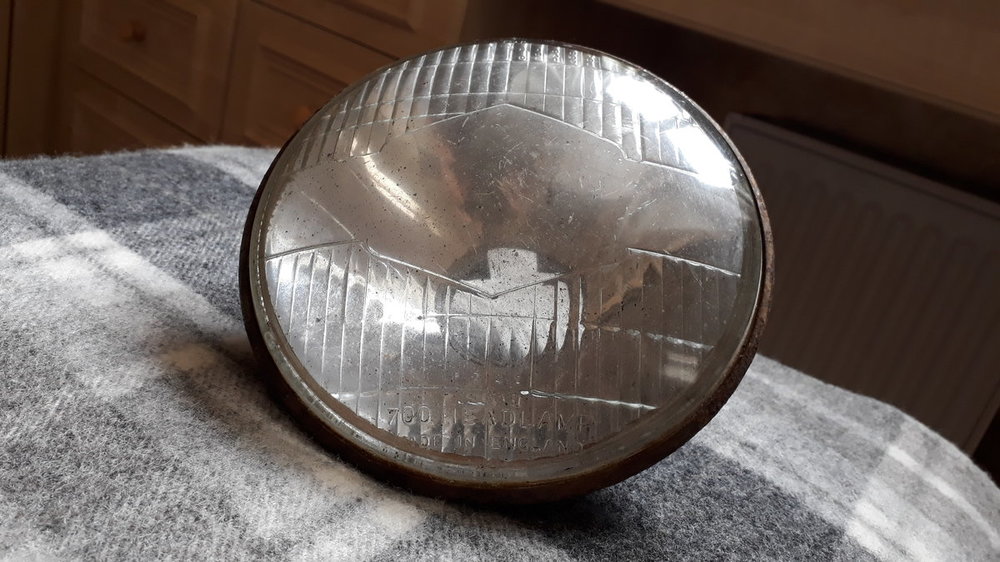
Rooting through my boxes of parts, (many of which have not seen light of day since the late 70's), I have found a P700 head lamp with the same lens as a P700 'Tripod' lamp but without the tripod. Can anyone 'shed any light' (sorry!) on this. I had not seen one like it before.
Ed
-
Looks lovely! May I ask what paint you used? Thanks.
-
Thank you all very much for your help & photos. Nearly finished scraping all black underseal from the chassis, so will take it for blasting in a week or so. This may have been discussed before but what is the consensus of paint vs powder coating for these chassis. My aim is to paint as I believe powder coating may split over time on the chassis rail edges as the chassis flexes??
-
-
-
Attached photo of inner wing. I do remember removing a lot of filler from the inner wings when I stripped the car 30 odd years ago. There does look to have been some welding also. Not sure if this shows up in the photo?
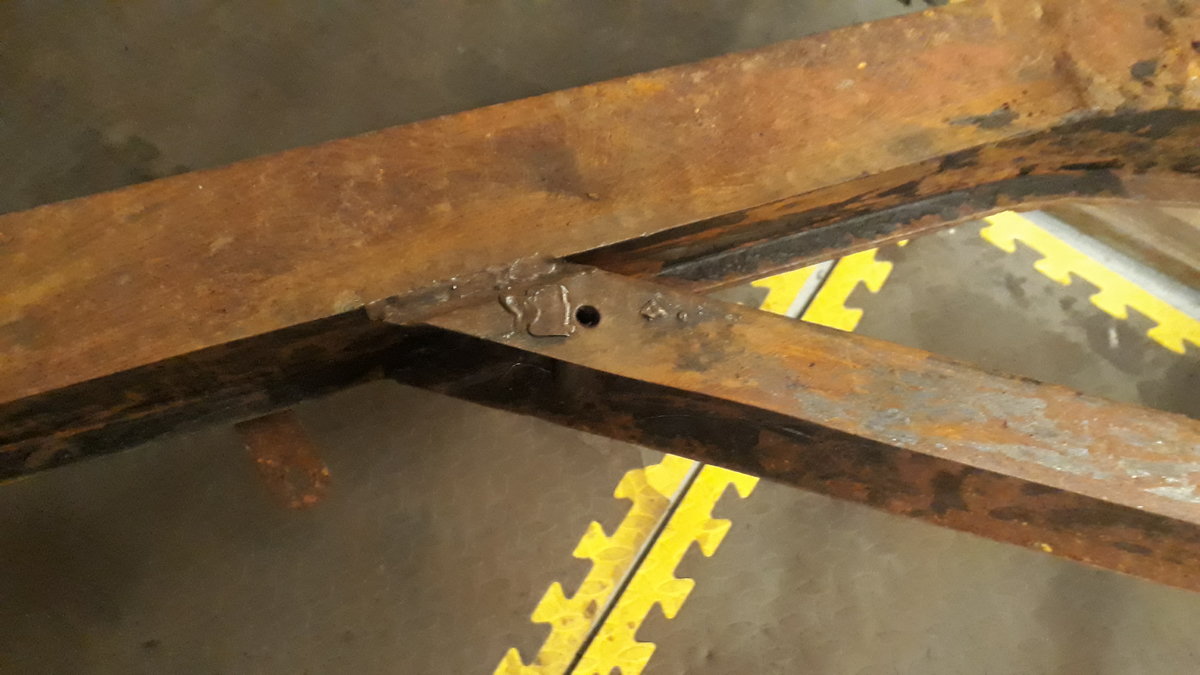
I now have the chassis upside down. There seems to be the remnants of a bracket or perhaps a nut cage at the bottom of the cruciform where the small diameter tube is welded. This must be where the front floor or gearbox tunnel are bolted through. Can anyone tell me if I have something missing here?
-
My apologies for the delay. Have been layed up with the dreaded man flu & wife has been away! The car is a late 54 manufacture TS51**. I have original buff logbook etc. The body has all the features which fit the commission no. E.g. 4 slot bonnet, no vent flap. Wood framed doors. Early rear & boot floors. Screw terminals on electrical equipment, baby Tenax, 54 marked on steering wheel & wiper motor etc. I am sure I do remember some beaten out crumpling on the front inner wings. Which could explain! Will post a photo this weekend.
-
The car always had a very good chassis. Scraping the chassis now I was surprised to come across shiny metal under black paint occasionally! Perhaps this is normal? The car has a 'factory reconditioned' FR engine and I suspect a new front apron, as this is in very good condition. Is it possible the car went back to a dealer or the factory early in its life for a replacement chassis & engine after a front end knock?
-


TR3 rear lower closing panel.
in TR2/3/3A/3B Forum
Posted
Thanks Stuart.