


Brian Eldred
-
Content Count
197 -
Joined
-
Last visited
Content Type
Profiles
Forums
Calendar
Posts posted by Brian Eldred
-
-
Now sold (on eBay...)
-
Now sold (on eBay...)
-
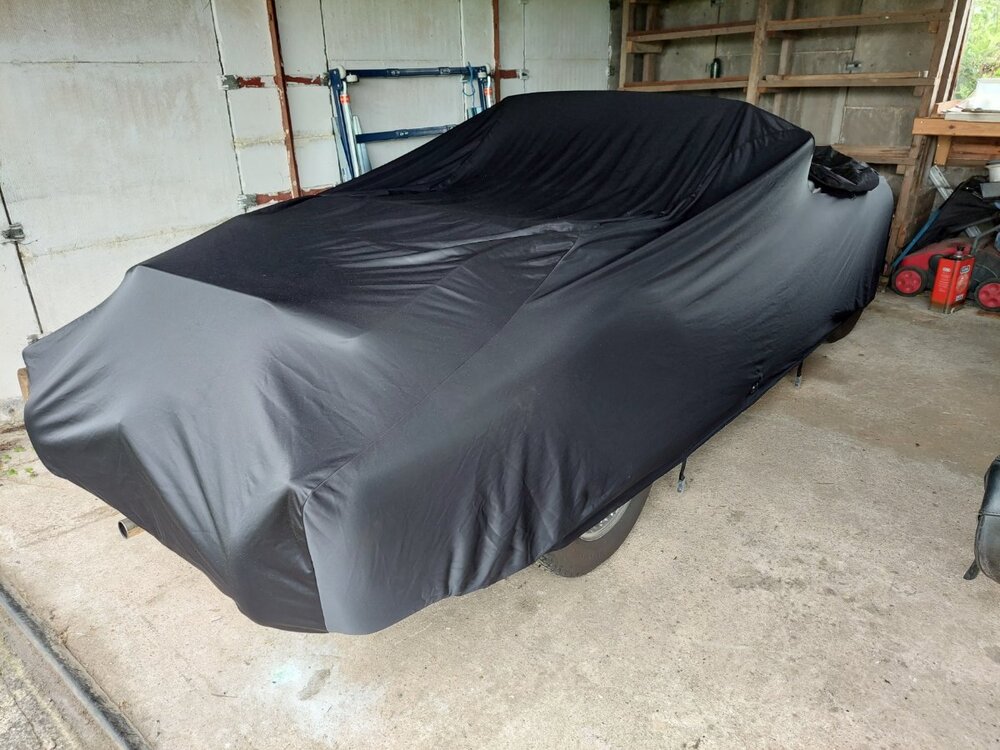
Luxury car cover, shown on my TR2 (fits better with hood up!) but was used on my 4A. Perfect condition.
https://www.concoursautoproducts.co.uk/car-covers-triumphtr4aroadster1961.html
£55 + postage

-
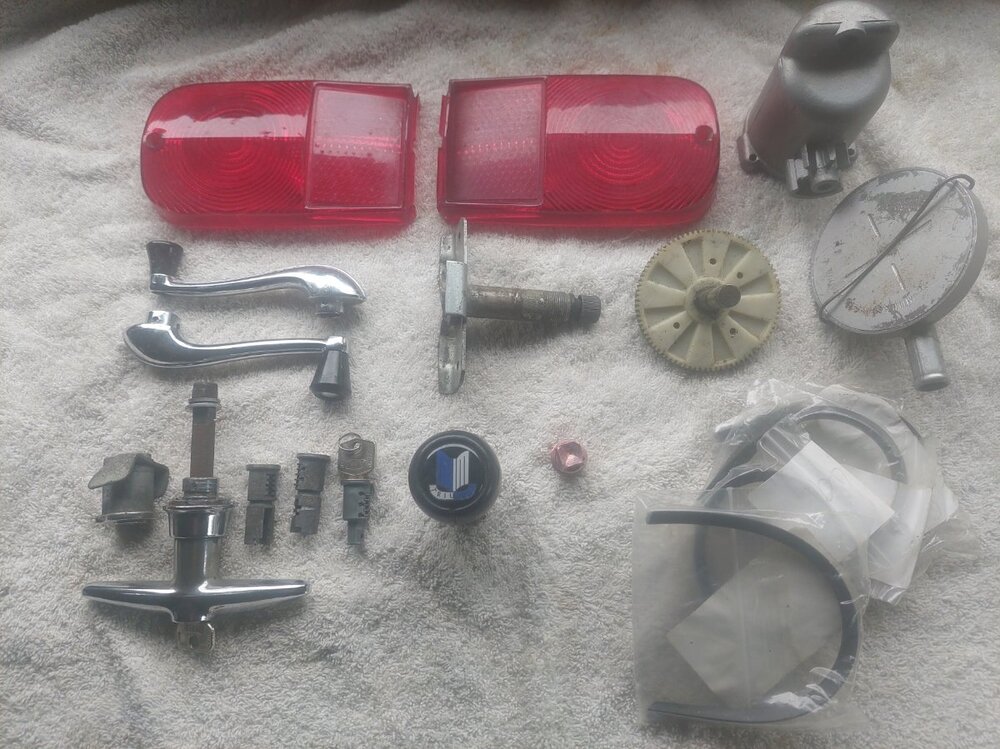
Wiper motor cog and overrider gaskets now gone, and maybe rear lenses too.
-
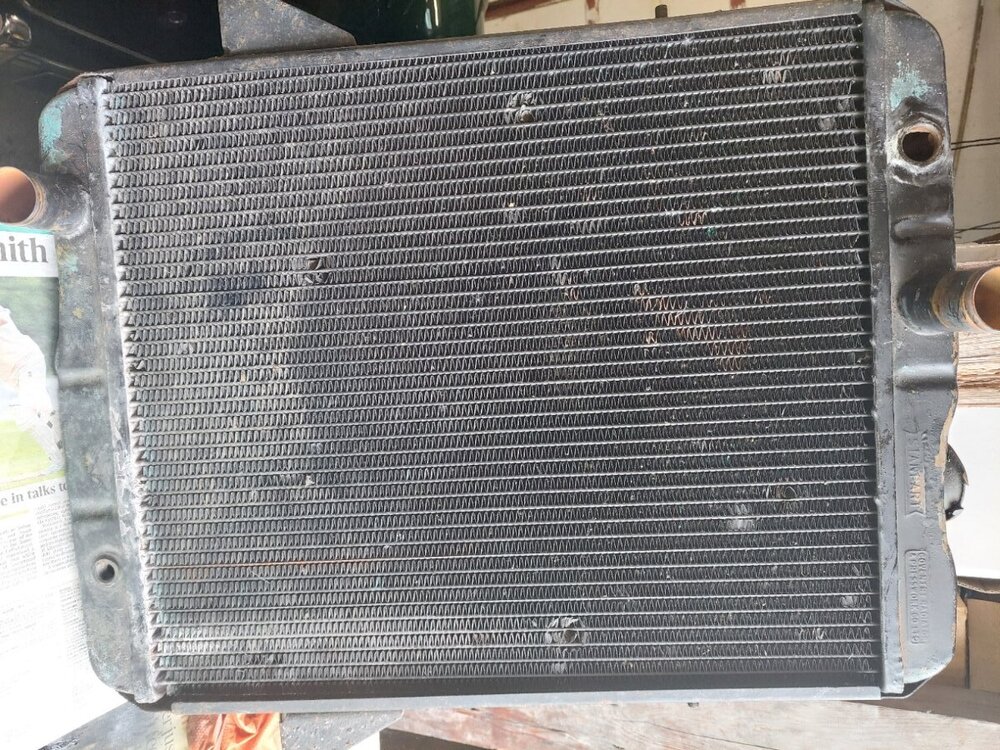
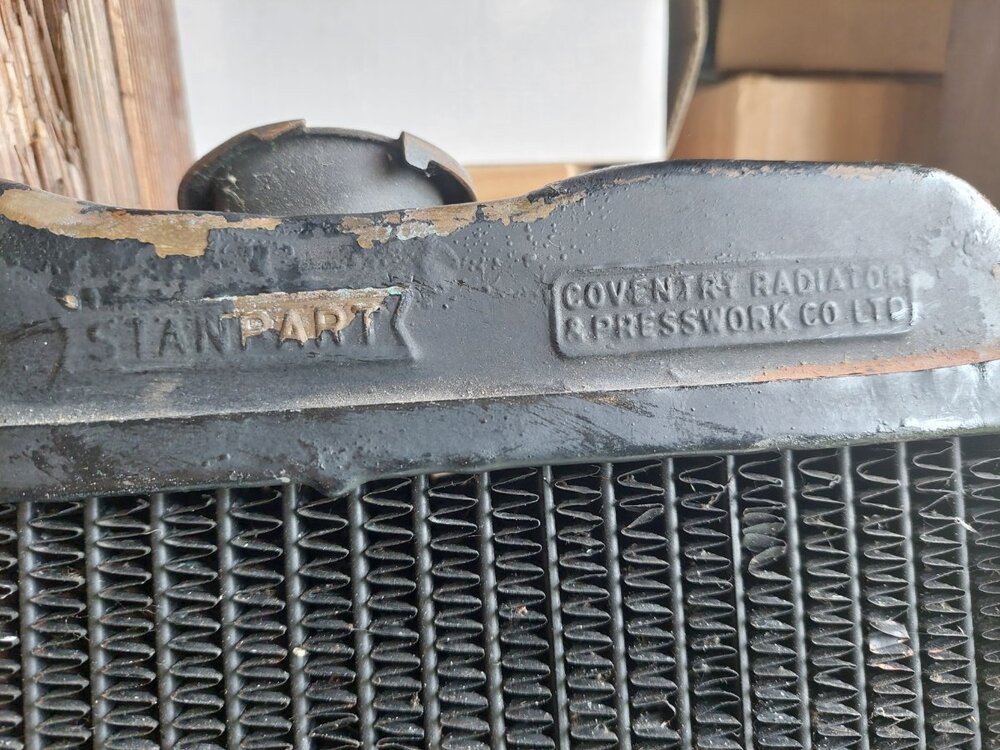
Some more parts:
Radiator, Stanpart. Had a slight leak, so I swapped it for a spare I had. Worth re-coring?
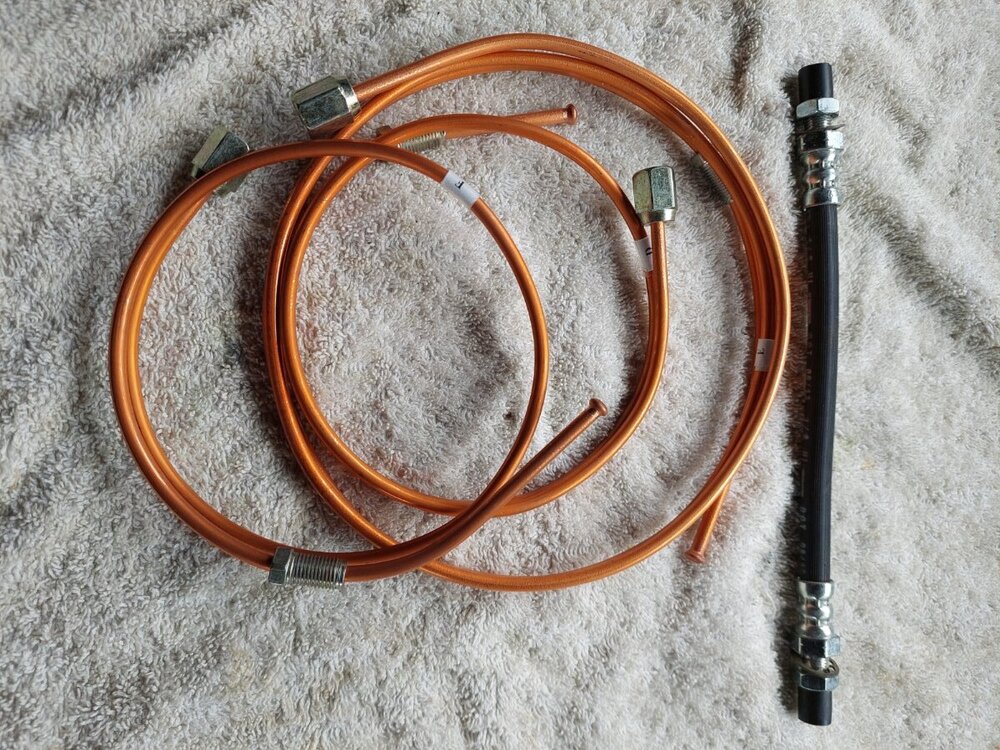
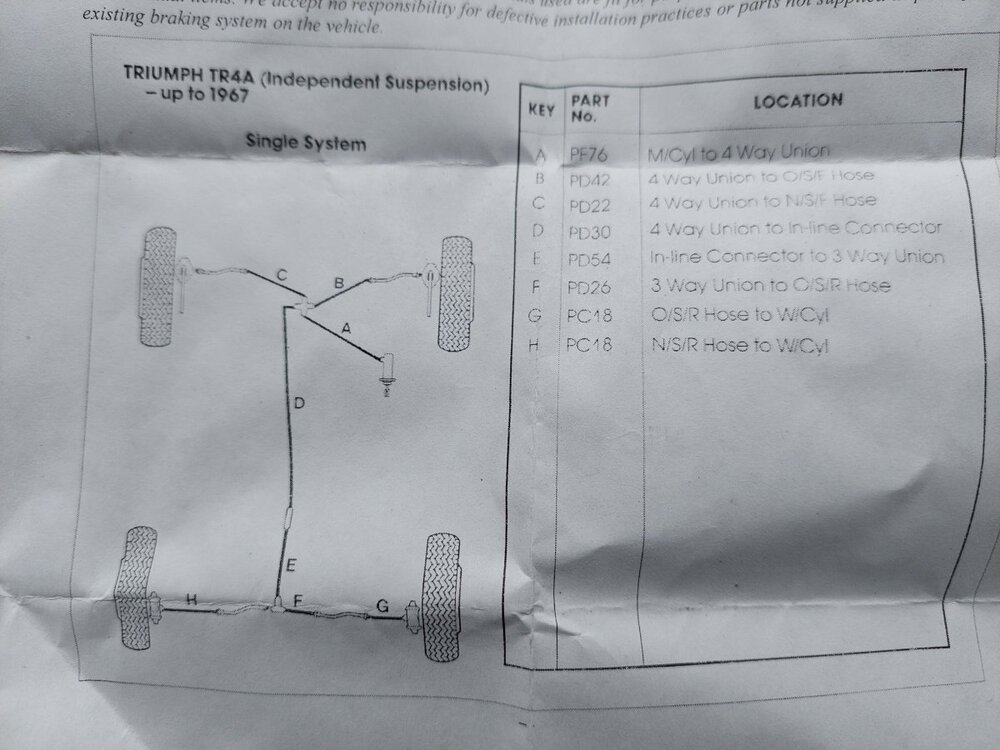
Part copper brake part set. Pipes D,E & F in the diagram plus a hose, don't know which one.
-
A few bits, open to offers for anything that may be of use!
-
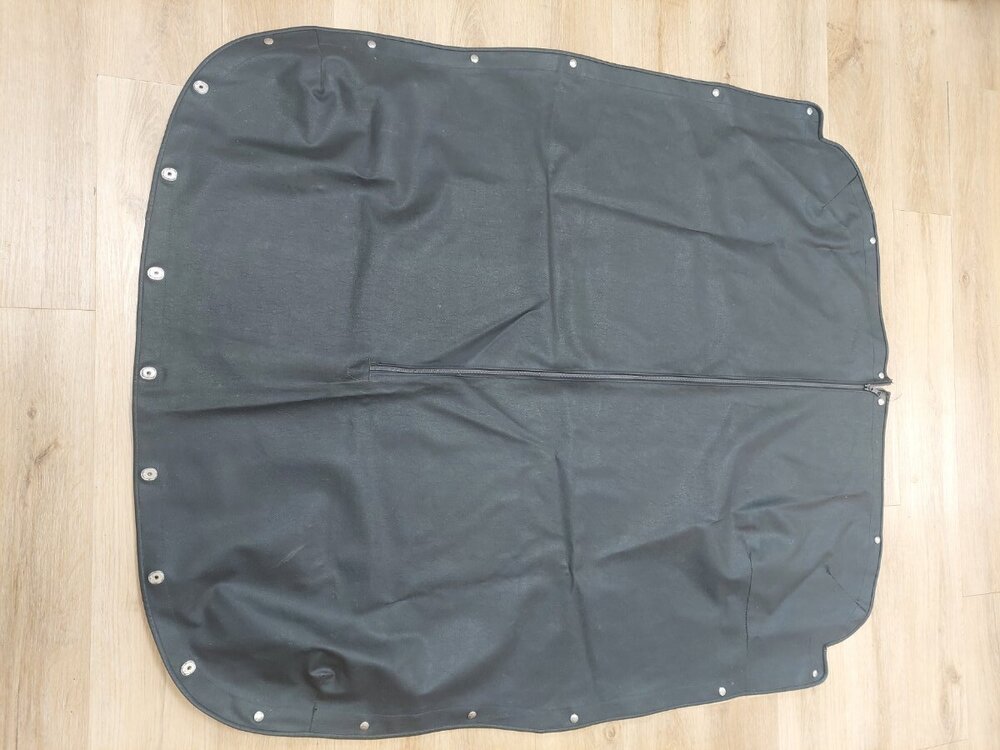
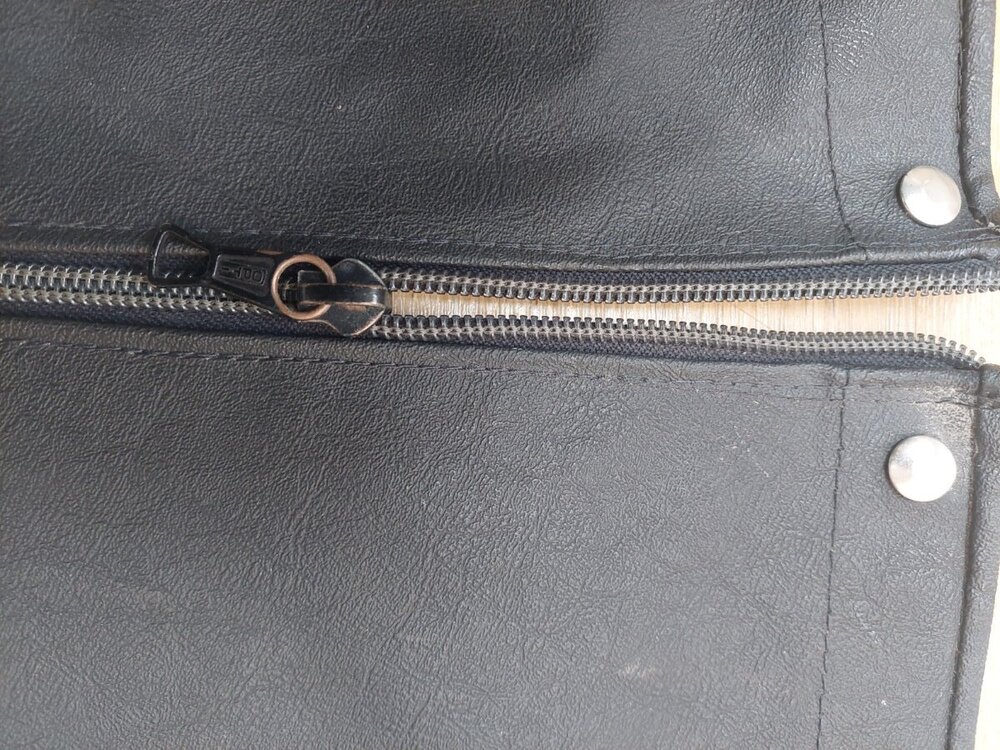
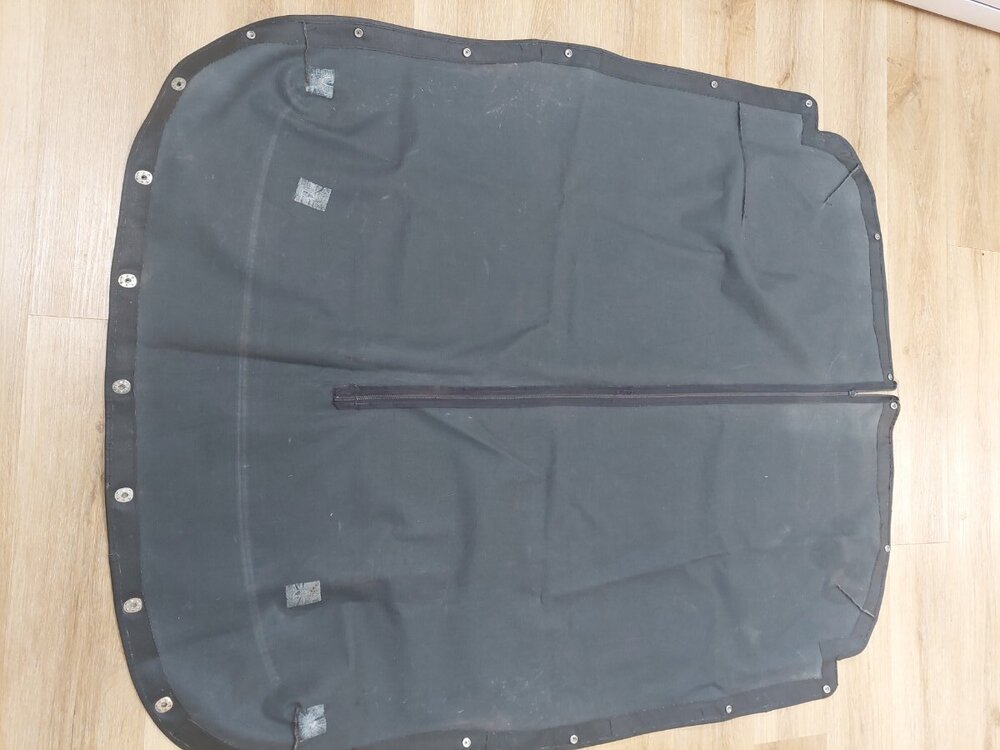
Tonneau cover in black vinyl. Good condition, zip works fine. There are 4 sticky marks on the underside where there was some duct tape - I don't know why as there are no holes! £75 plus postage please, they are £250 new now!
-
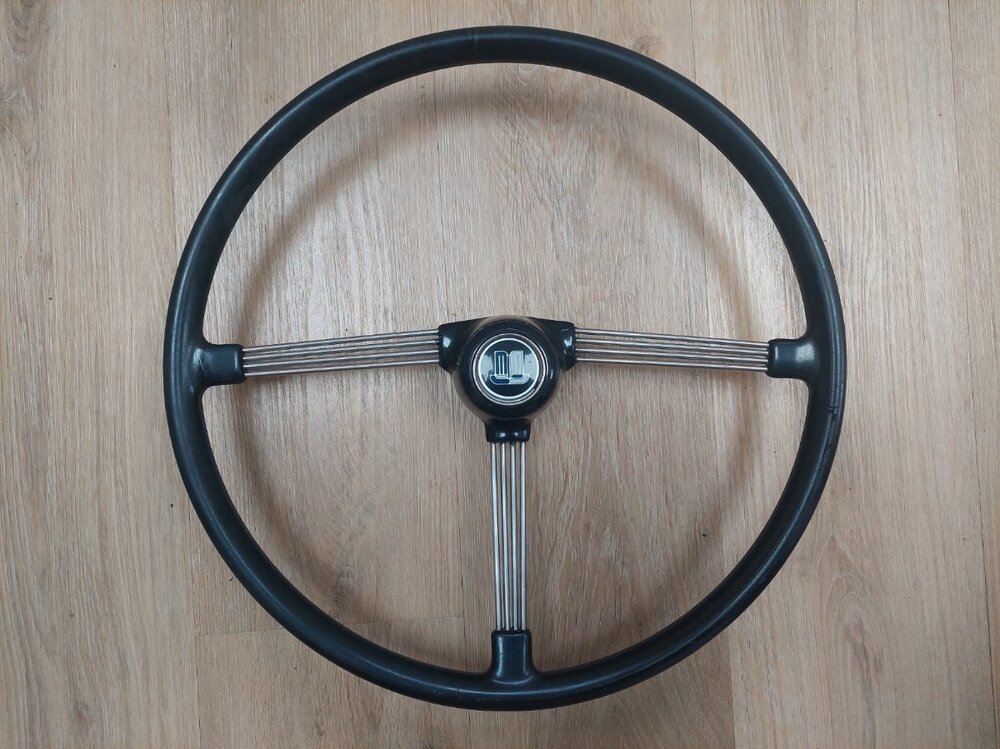
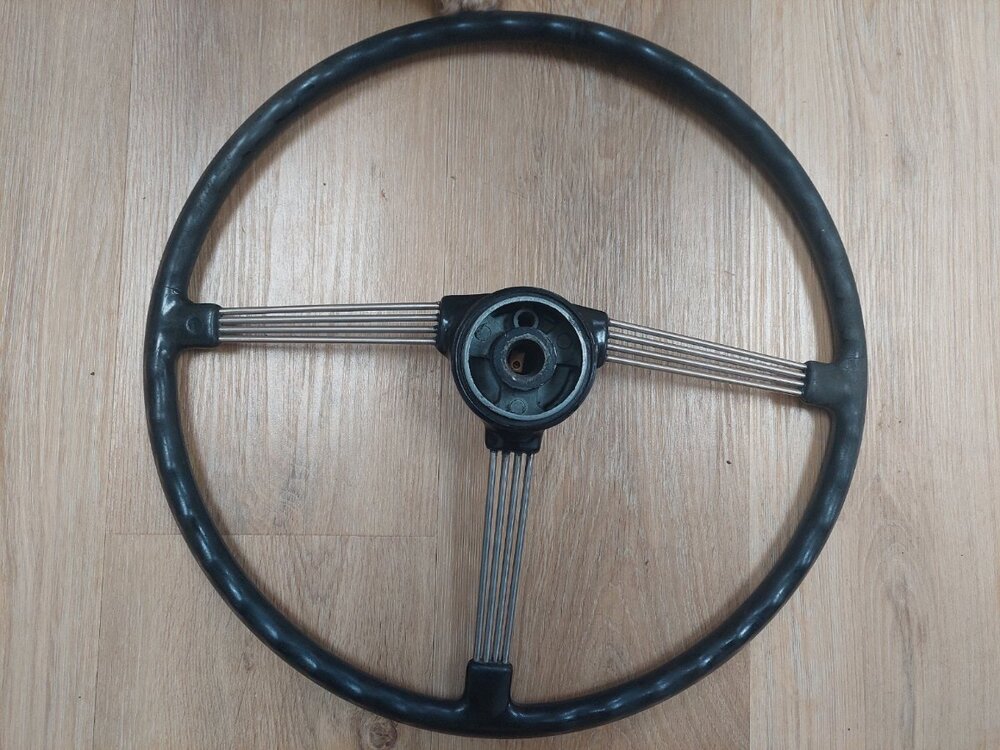
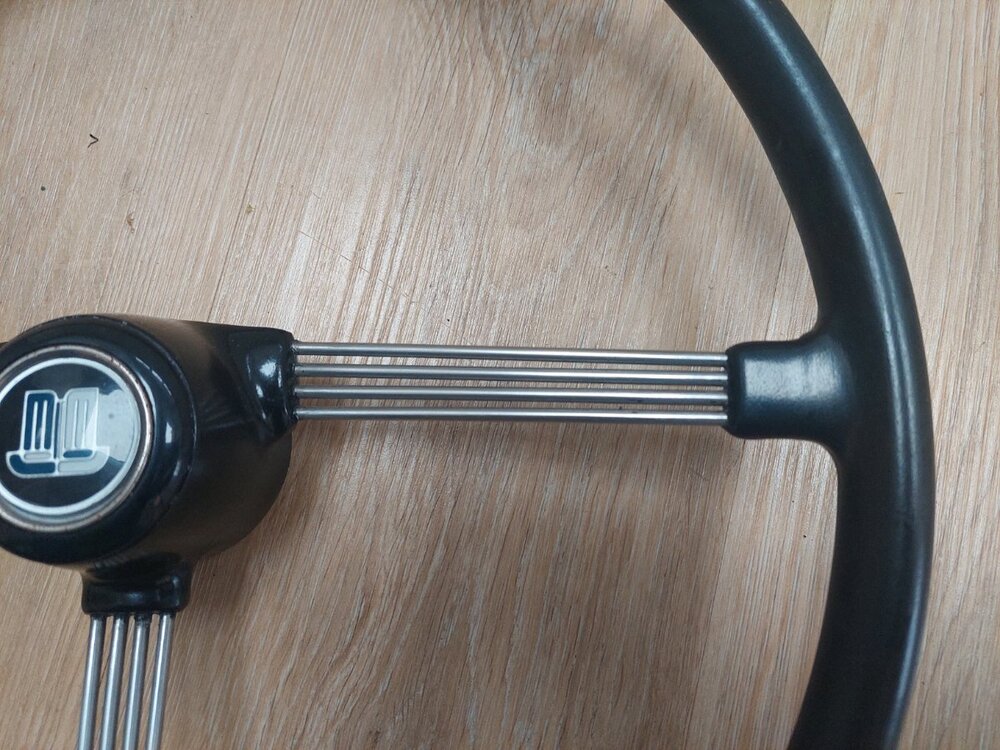
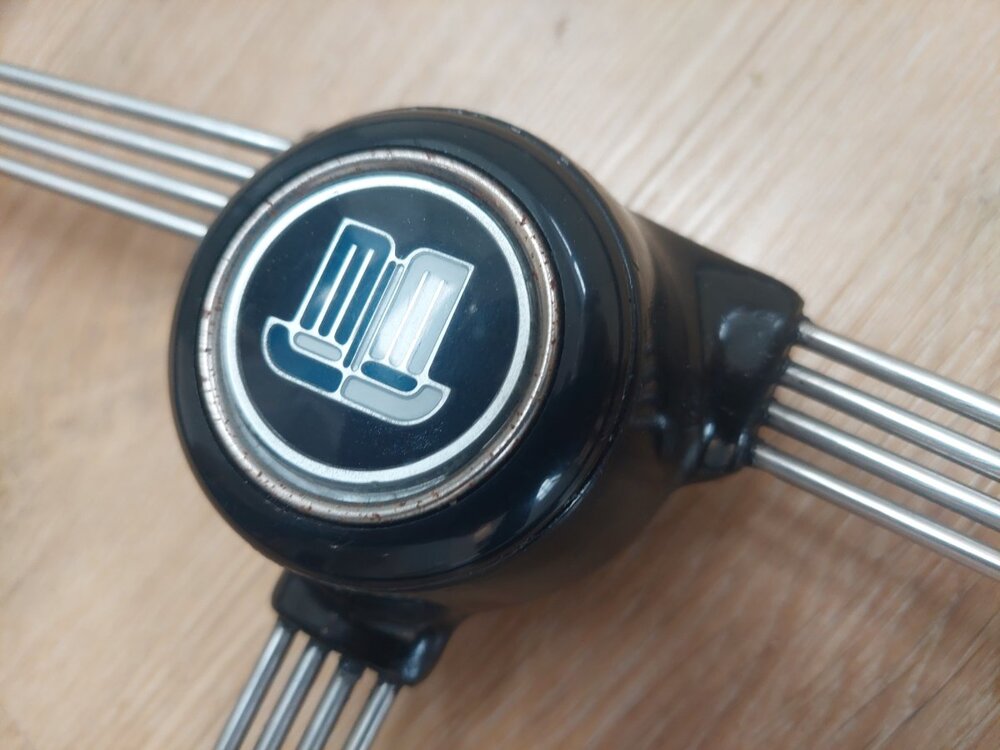
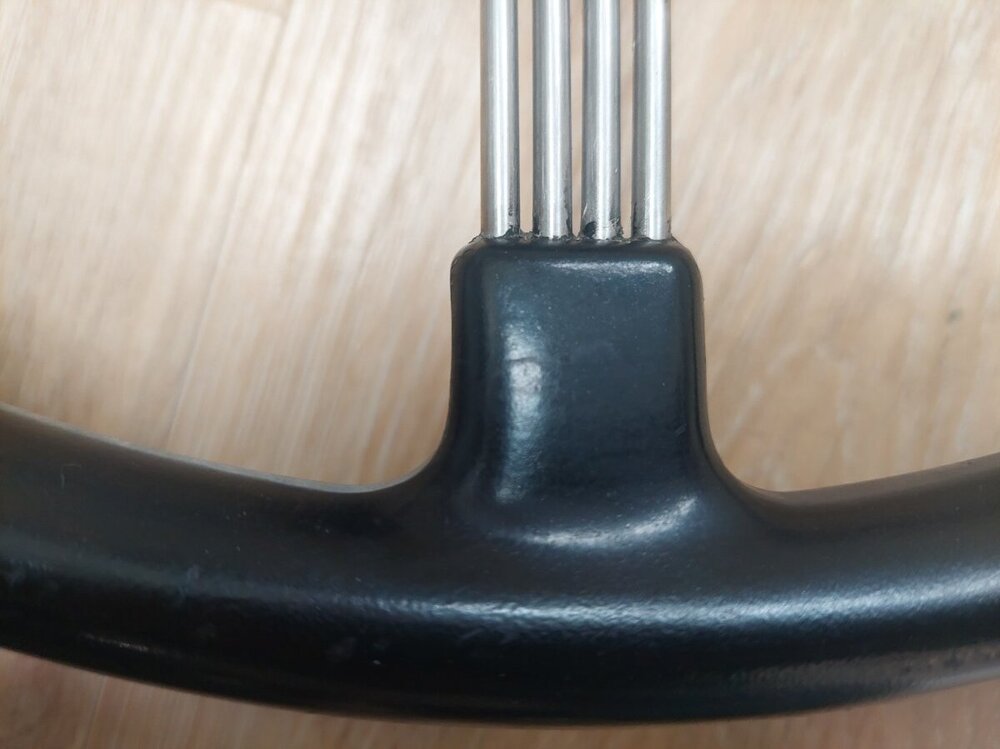
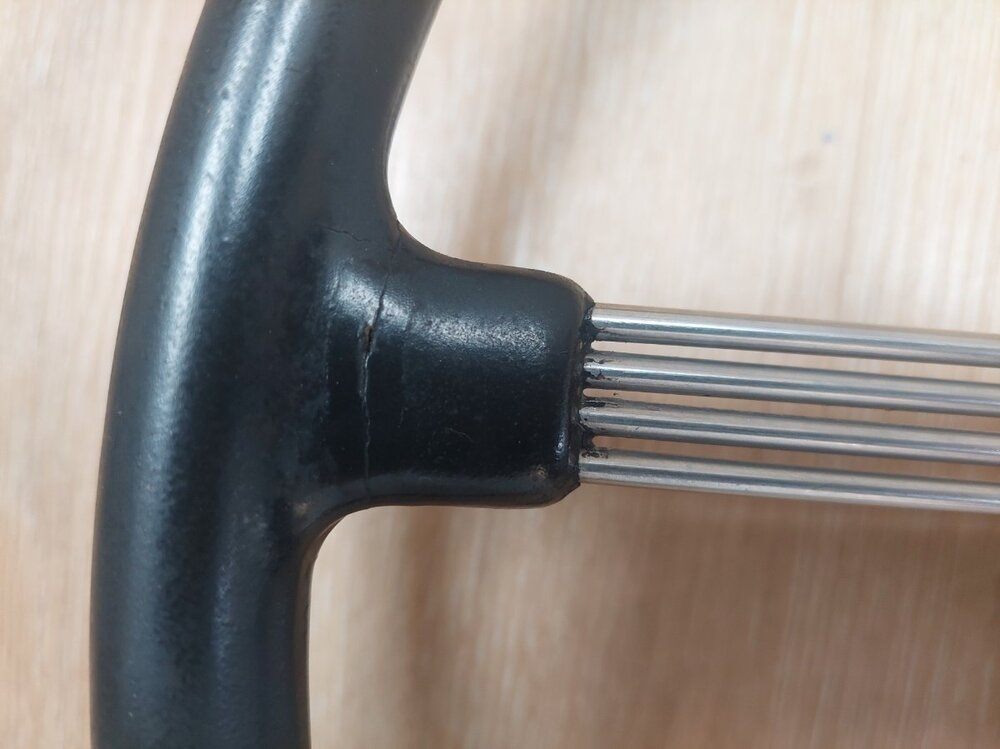
I've sold my 4a, so here I have the original steering wheel in excellent condition, as pictured. Slight crack shown in last pic, and horn push has some rust on the chrome rim. Asking £150 plus postage.
-
I fitted a box with J-type overdrive to my TR2, though with a lot of fiddling about, using the Moss bracket kit. No exhaust mods required.
Not sure if there is a better way of linking to another post?
Brian
-
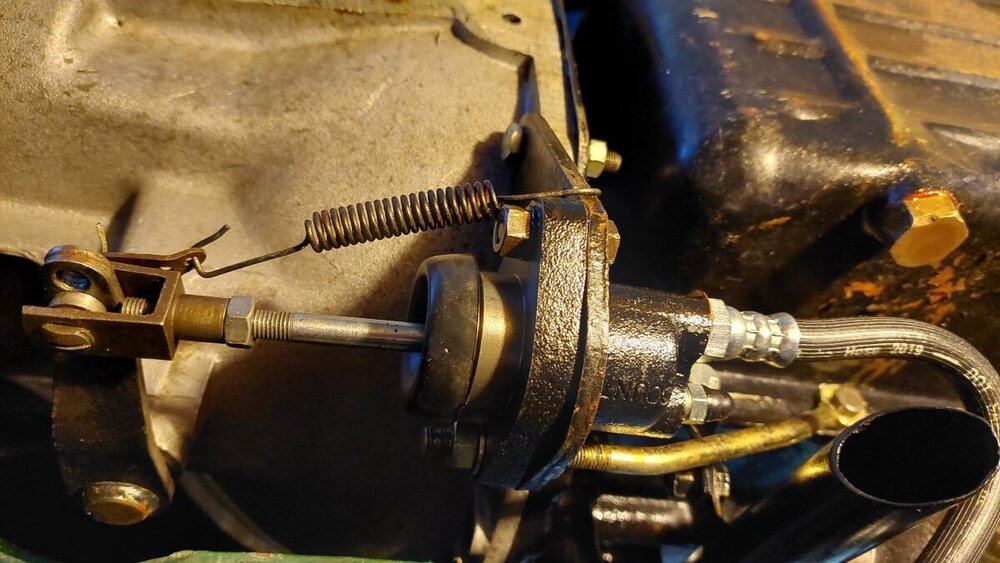
Stuart's bracket was exactly the same as mine, so I must have already had the Lockheed one. The long face is curved, unlike the image in the Moss catalogue, The hole is the right size for the larger diameter Lockheed cylinder, but I still don't know what other difference there might be. So I've fitted a new Lockheed cylinder and hose, shortened the pushrod by about 8mm, adjusted it and bled it. The pushrod is still slightly off horizontal but it all seems to function OK, and the clutch engages about half way up the pedal travel..
However I've still got trouble changing gear, particularly changing down to 2nd. It feels very notchy, sometimes it's fine but at others I have to arm wrestle it in. My TR4a is much slicker. I'm hoping it's not a gearbox issue - it shouldn't be as it's a Pete Cox rebuild.
Brian
-
3 hours ago, Brian Eldred said:
Sorry Stuart, I misread, getting my Lockheeds and Girlings crossed! I presume I can message you on here.
I've sent you a message Stuart
-
14 minutes ago, stuart said:
See my above answer Brian, I have a bracket if you want it.
Stuart.
Sorry Stuart, I misread, getting my Lockheeds and Girlings crossed! I presume I can message you on here.
-
2 hours ago, AJ2014 said:
Brian
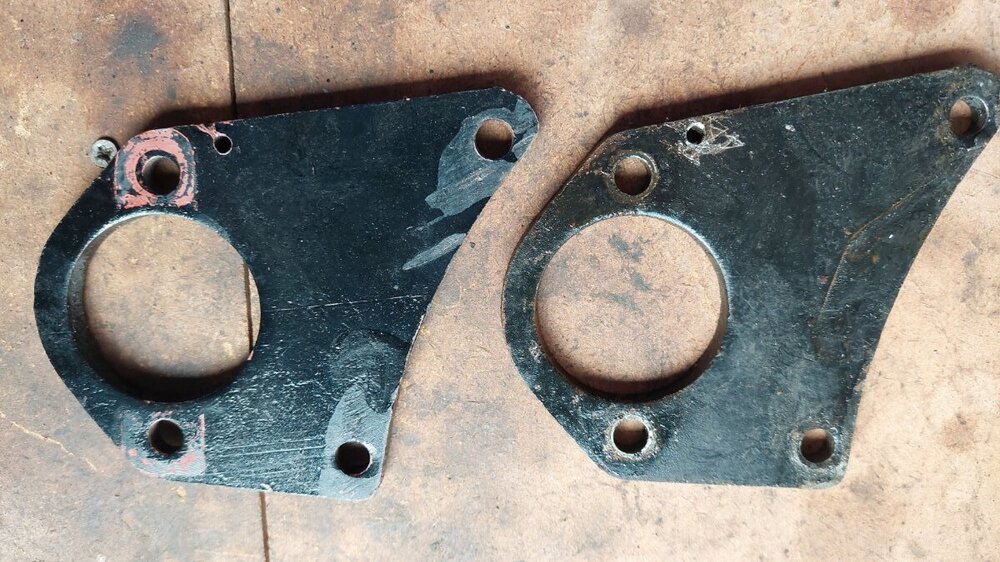
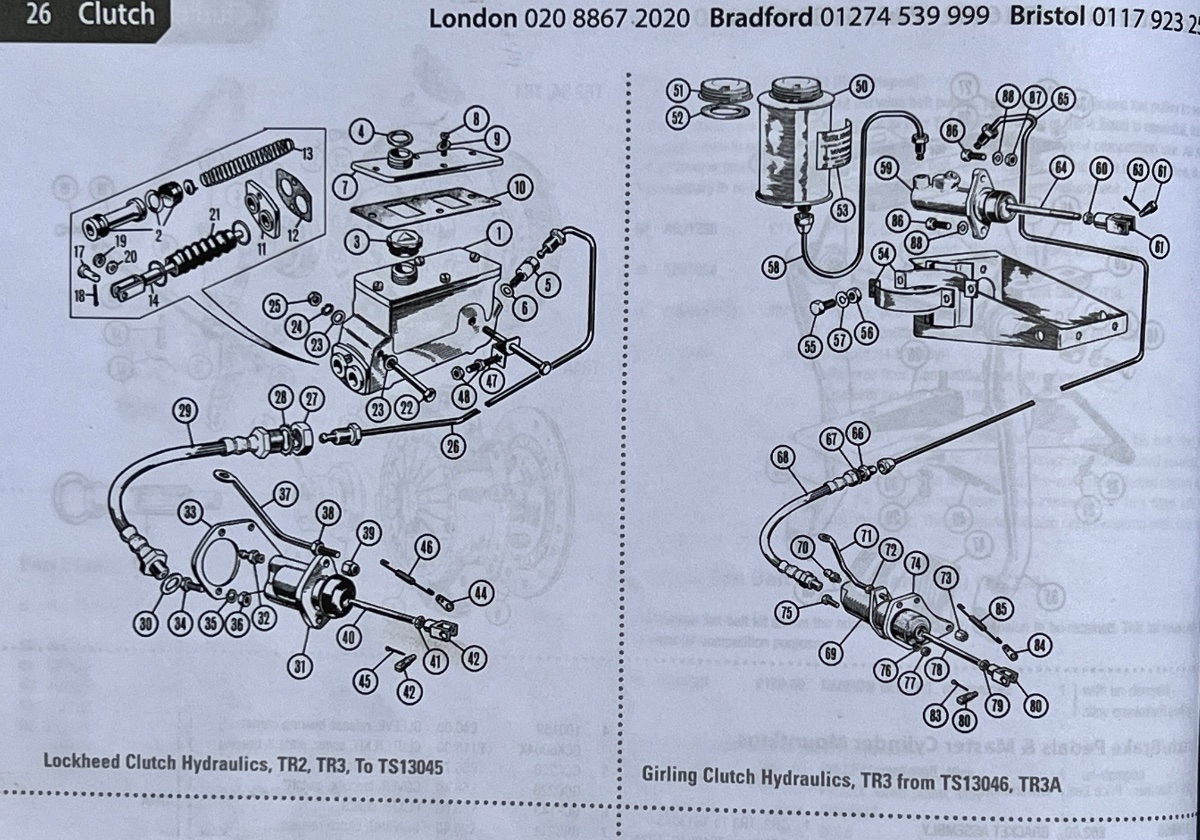
This is a useful comparison of both styles of clutch slave cylinder arrangement. You can see the two bracket shapes and how they differ and also which side of the bracket each cylinder should mount.
Ref:Moss Catalogue
Regards
Ade
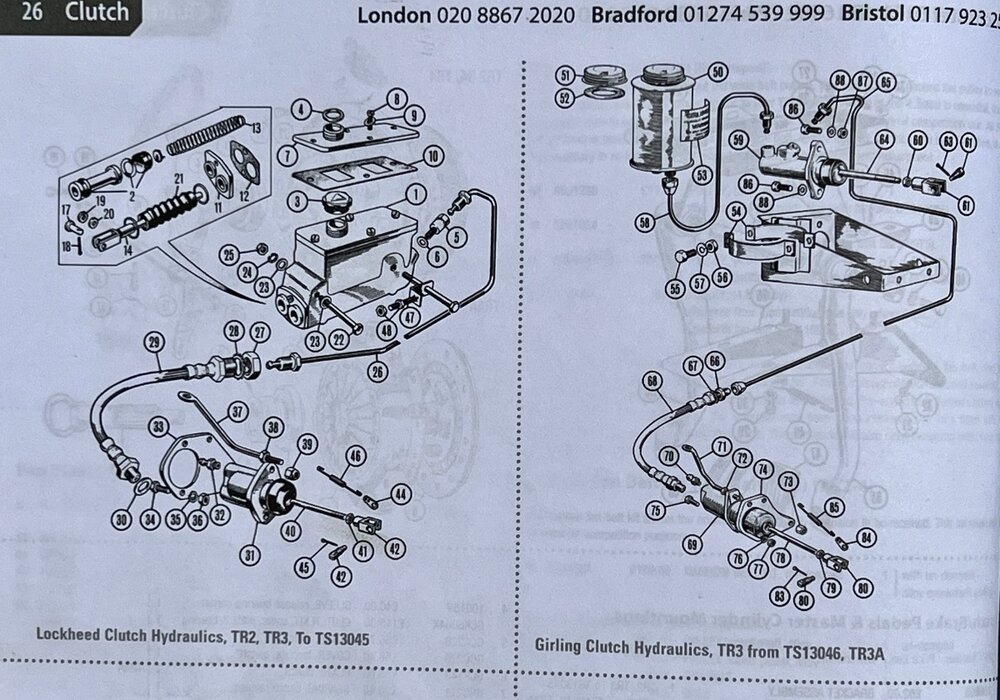
The main difference in the bracket looks to be the straight side on the Lockheed v the curved side on the Girling. Mine has the curved side, which fits around the bell housing. This suggests that the Lockheed one fits in front of the bell housing.
MEV Spares has the Lockheed cylinder and hose at very reasonable prices so I think this is the way to go, but it seems the bracket is no longer available. So it's either see if it fits the Girling bracket, or make one. Anyone have a picture /pattern?
The pushrod is also at a bit of an angle, but it looks like using the end hole on the clutch arm would line it up better, unless the correct bracket would do that.
Brian
-
Sorry to resurrect this post, but I'm still having clutch problems.
The clutch 'feels' OK and engages with the pedal half way up, but engaging any gear is now hit and miss (it worked OK for a while, but I've only done 100 miles while resolving other issues...). When I look at the slave cylinder, I can manually push the push rod back a fair way - the spring isn't retracting it fully. Then the pedal goes most of the way down with little resistance and I have to pump it. Also, without the push rod retracting I don't know how to adjust the clearance.
Could it be a swollen hose inhibiting the return of the fluid? It's been sitting for 25 years but with silicon fluid.
The parts were bought new in 1997: TR6 slave cylinder UKC8677, TR2 hose GVP1001. I don't know which mounting plate I have. The original TR2 Lockheed cylinders are now available again, so is it worth replacing the lot? The only question that would leave me with is the correct length of the push rod.
Any further advice appreciated!
Brian
-
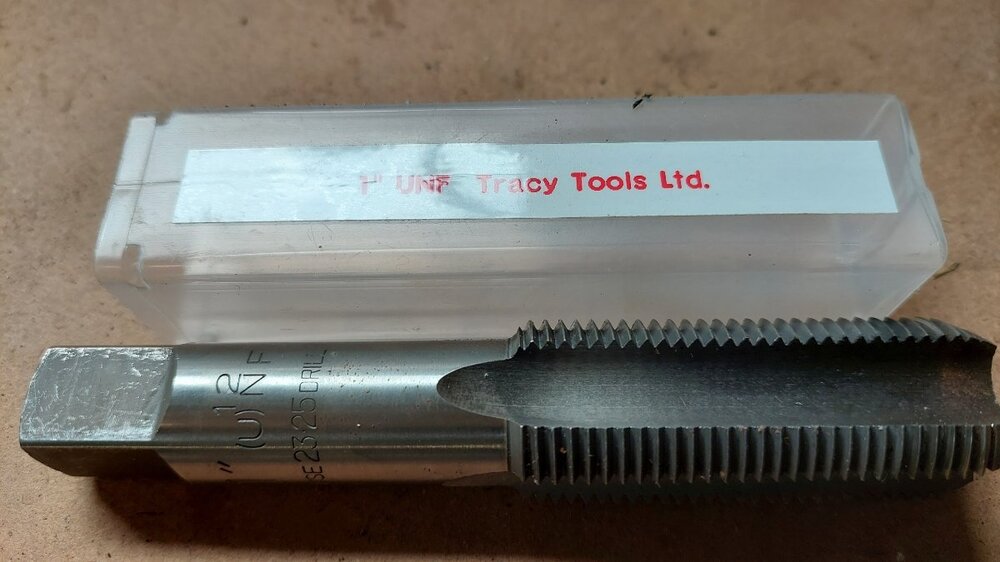
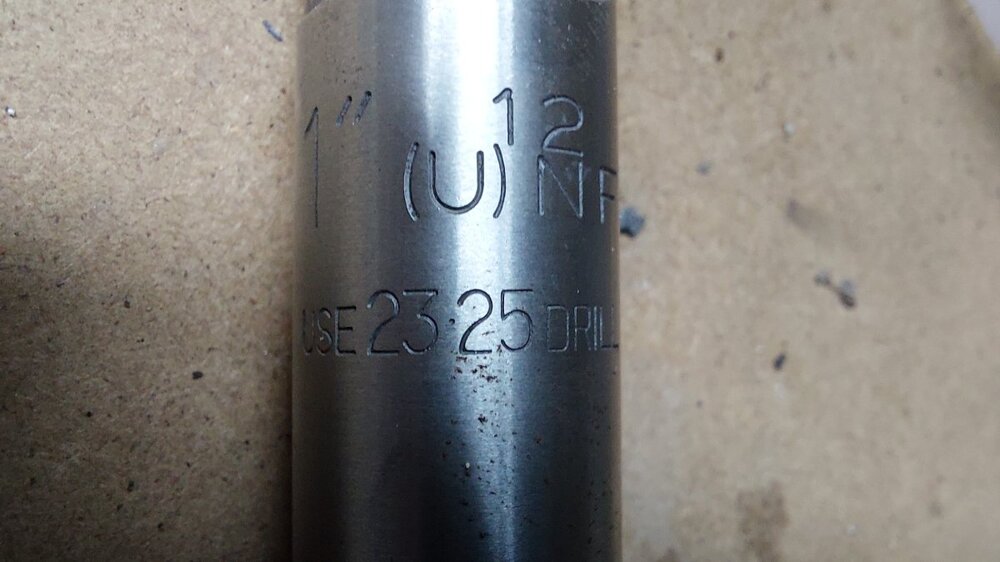
I just found the tap I used. The plug came from Revington.
Just to add to the confusion

Brian
-
Update: it's out!
") .
.
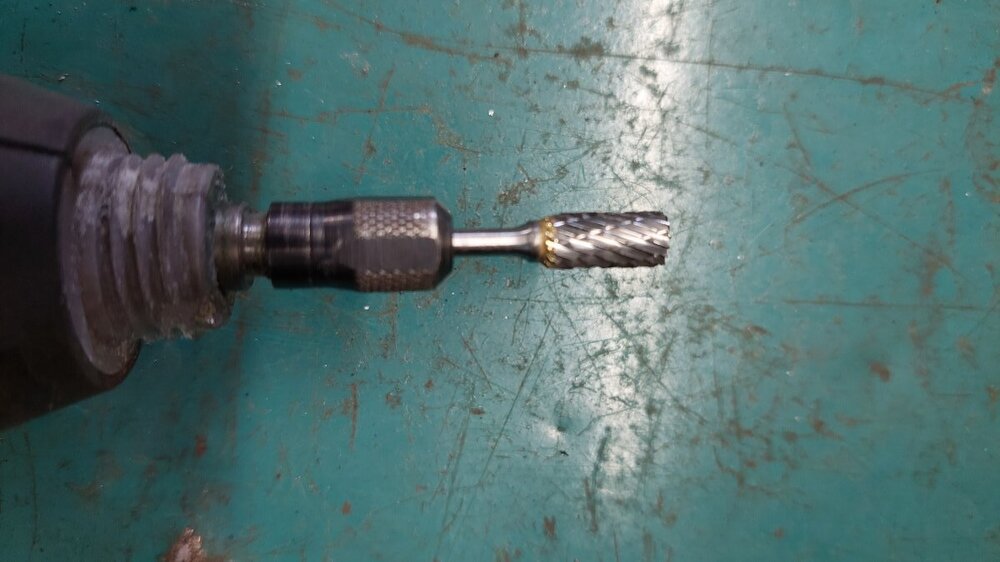
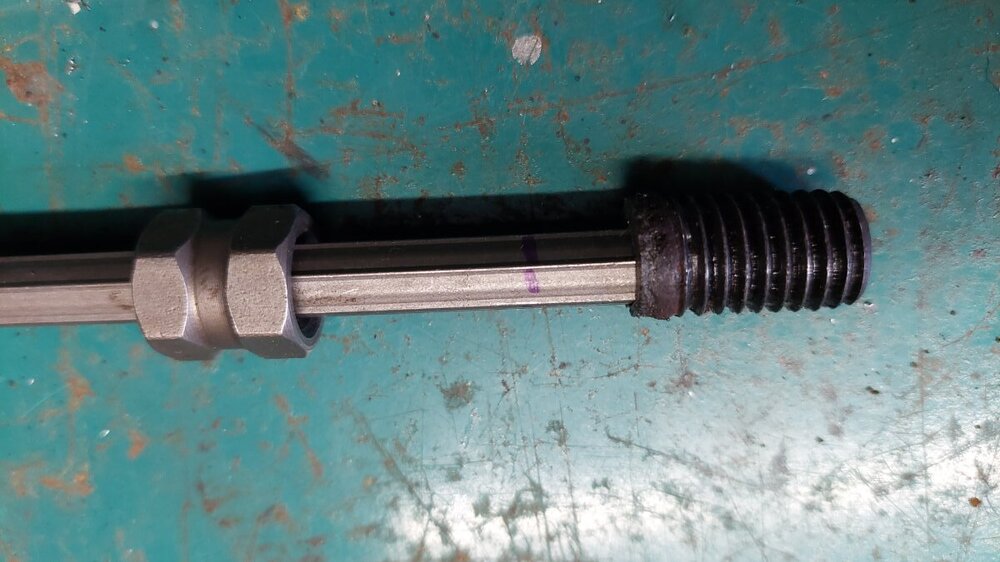
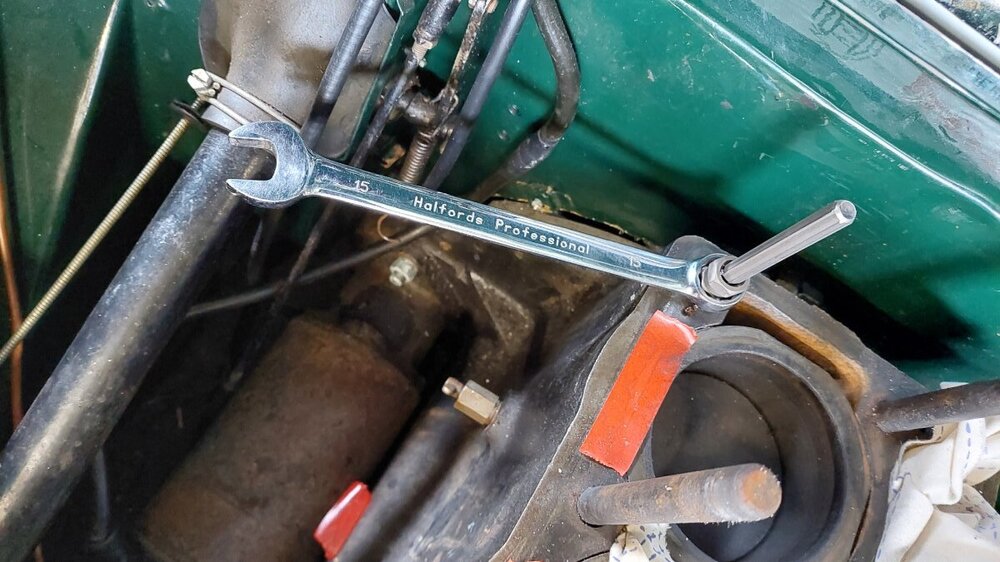
I used this 6mm tungsten carbide grinder in my Dremel (first one I bought was the wrong size) to centre and open out the hole to near 5/16'', then drilled out with the 5/16 bit that came with the kit. Was a bit nervous hammering the extractor in as it was reluctant and only went in half way, but I shifted it with a ring spanner on the slip over nut. Huge sigh of relief...
-
Thanks Mick, I was hoping you would chip in with your pearls of wisdom. I'll look for a cylindrical file drill attachment first before trying to make my own I think. Maybe a job for the Dremel.
I'll be taking the 4a out for Drive It day tomorrow! Just put the battery on charge...
Brian
-
8 minutes ago, Howard722 said:
I wouldn`t try a conventional left hand pointy type extractor. in my experience they snap!
If your hole has wandered off centre the best solution I have found that has worked for me is to get hold of a rat-tail round file, or maybe a bit bigger, and cut a length of with a grinder so that you can mount it in in your power drill chuck with enough exposed length to reach down your bore hole.
Now with patience power up the power drill which is now a rotary file and bring your hole back on centre by eye and persevere gently until you get it right then go for progressively bigger drills. A combination of effort should eventually see the old stud thready bits break apart and you can fish them out and eventually bring a tap into play or a matching bolt with generous vertical slots cut into it to clean up the thread and help with the broken thread bits.
Hi Howard, it's not a pointy type extractor, it's the parallel fluted type with a nut that Mick pictured above. I might try your tip to enlarge the hole though, as the larger the extractor the less scary!
-
I tried a masonry drill, but don't have any new ones and it didn't make much impression. But then i found a set of cobalt stubby drills I forgot I had, and these are working fine. However I'm now wondering which size extractor to use and how much torque they will take.
I've drilled out to 1/4'', progressively up to 6mm then using the 1/4'' drill that came with the kit. However the hole has wandered off centre somewhat and I'm concerned that the next size up, 5/16'' might hit the threads. Also I have a 7mm cobalt drill, but 5/16 is just under 8mm so would again have to use the HSS drill that's with the kit.
I'm tempted to try the 1/4'' extractor, but I guess once they are banged in they are hard to get out again? I can't find anywhere online that says what torque these can take, and the worst scenario is that I snap it
 . Anyone have any experience with these on a 1/2'' head stud?
Sorry I hi-jacked the original topic....
Brian
-
On 4/10/2022 at 8:39 AM, Lebro said:
If you look at my photo above, you can just see a stud remover with serrated cam hiding in No. 1 cylinder ! (It didn't work - just ripped up the stud surface)
Bob.
Well it worked for me, that stud removed successfully

My problem is the one that's sheared off about 3mm above the block face. It's the rear stud by the heater valve. I've bought a fluted extractor kit, the American Pro one. Took a while as the first supplier was out of stock. However I'm making no progress drilling the stud.
First I used a nut over the remaining stud and one of the guides in the kit, with a hand drill - there's no room for my drill stand. The drill snapped. Tried another drill but made no impression. I then ground the stub flat, centre punched it and tried a smaller drill, but all I've got so far is a dimple. It seems very hard, so I guess I need better drills than standard HSS. Would Cobalt do the trick? Though I believe they snap easily.
That magnetic drill press looks good, but a tad expensive to drill one hole!
Brian
-
Thanks Bob, that's filled me with confidence

I do wonder what caused one stud to shear at the block face and another at the head face? I've bought another tool with a serrated cam to hopefully shift that one.
As it happens the engine was running fine, but for how long is anyone's guess....
-
Thanks Mick,
I've ordered the US Pro set from eBay, though at £19.35 including postage I don't think it comes from the US...I like the idea of a drill stand if I can find a way of clamping it - would probably have to remove some more studs.
The studs are 1/2 in. so can probably take a bit more torque. I also have a centre stud sheared at the top - the one sheared at the block is the rear one that hides behind the heater valve, and I didn't know this was gone until taking the head off. I've been thinking of leaving the centre one but just as well I didn't....
I've made a little well of blu-tac around the two studs and filled with plus gas. I'm away for a few days so will be attacking it next weekend.
Brian
-
On 2/28/2022 at 11:10 PM, Motorsport Mickey said:
Here you go Rich, there's a variety on e bay just make sure you pick a fluted set, this one is from US Pro at just under £20.
https://www.ebay.co.uk/itm/263601363424?hash=item3d5fdd99e0:g:rJ8AAOSwupRazk77
I have a Neilson set which I bought at just under the £30 from Amazon but the offerings vary as to when you go on. Looks like I waz robbed here on e bay for under £20...it works fine.
https://www.ebay.co.uk/itm/172279869503
regards Mick
Hi Mick, I have a head stud sheared off at the block face. Do you think one of these kits would be up to the job? They state they go up to a 16mm stud.
Thanks, Brian
-
4 hours ago, stuart said:
Whatever you do dont buy a new ratchet section as theyre just wrong.
Stuart.
Luckily I wont have to.
The car hasn't been properly on the road since it was rebuilt 25 years ago, apart from me doing a few miles testing things out. It seems the previous owner got this bit of the rebuild wrong, though strangely it worked for a while!
Brian


A few TR4a parts
in For Sale, Swap or Wanted, maximum value £250
Posted
Hi Bob, yes it is! (assuming you mean PCV :-). Not sure why you would want to try it though? I swapped it for 2 vent pipes into a catch tank on my 4a.
Brian