
MARCH 2016
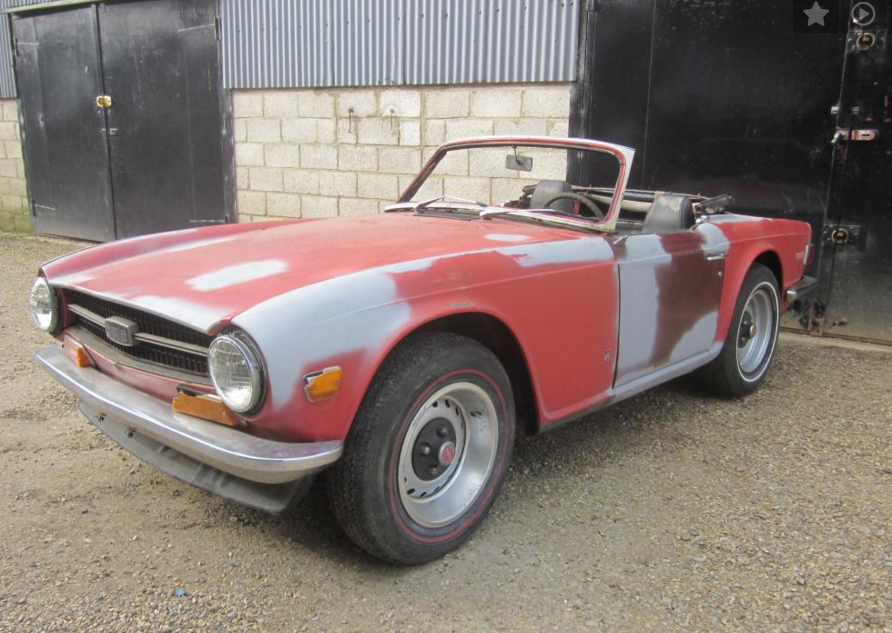
Decide to look for a TR6 as a retirement project and found a restorable (hopefully) US car already imported to this country.I intend to fully rebuild it and change to RHD...This is the story so far.It had already been the subject of a restoration in US hence the primer etc.. but it was only a cosmetic effort,I guess the guy realised he had bitten off more than he could chew (hopefully that wont apply to me!) and presumably decide to get rid.
The seller's vid of the engine running
Sounds promising!
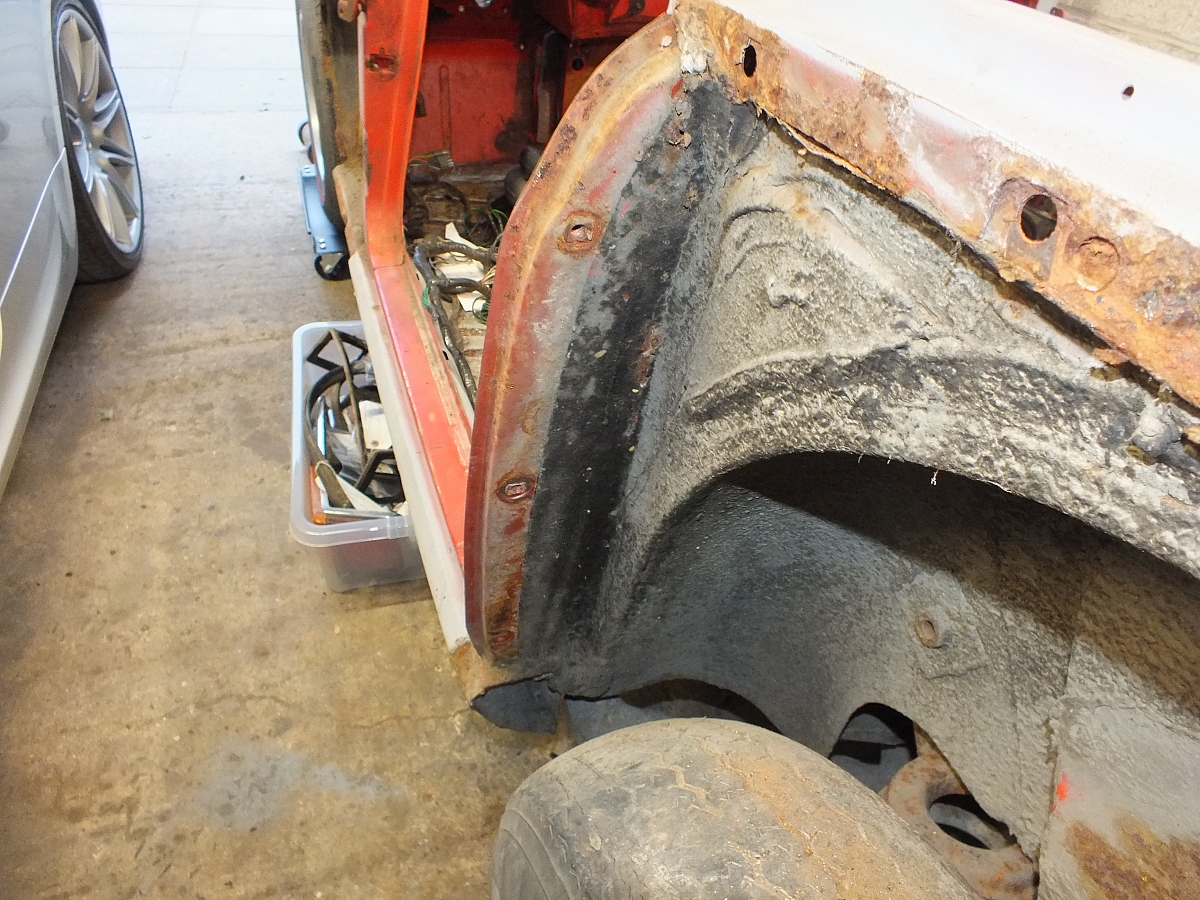
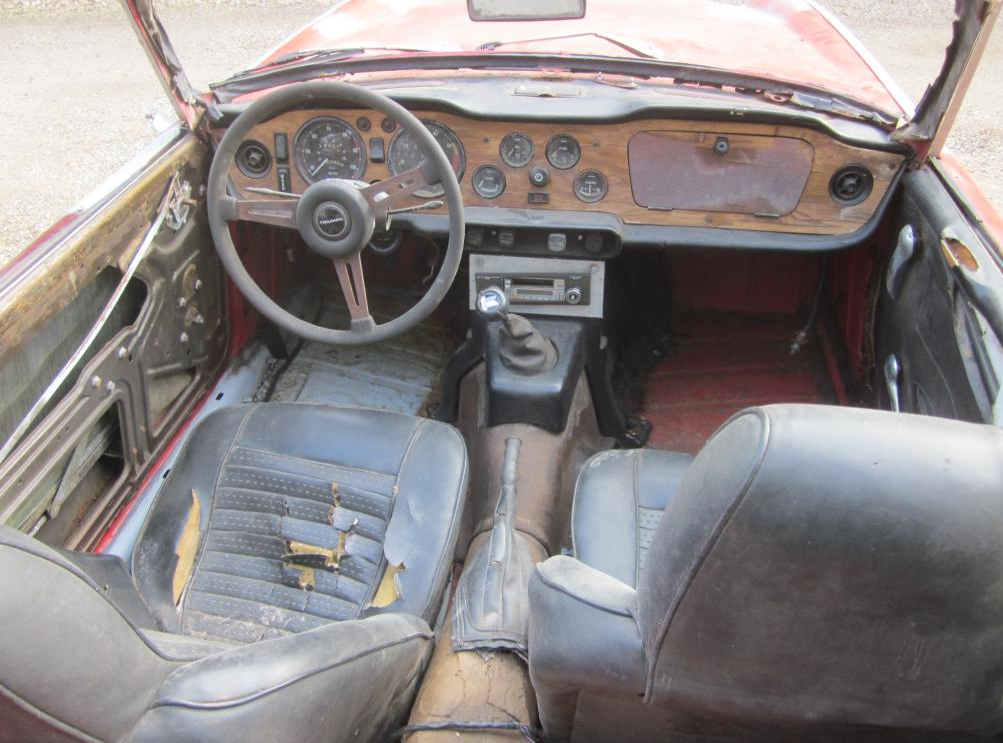 Same might not be said for the state of this.
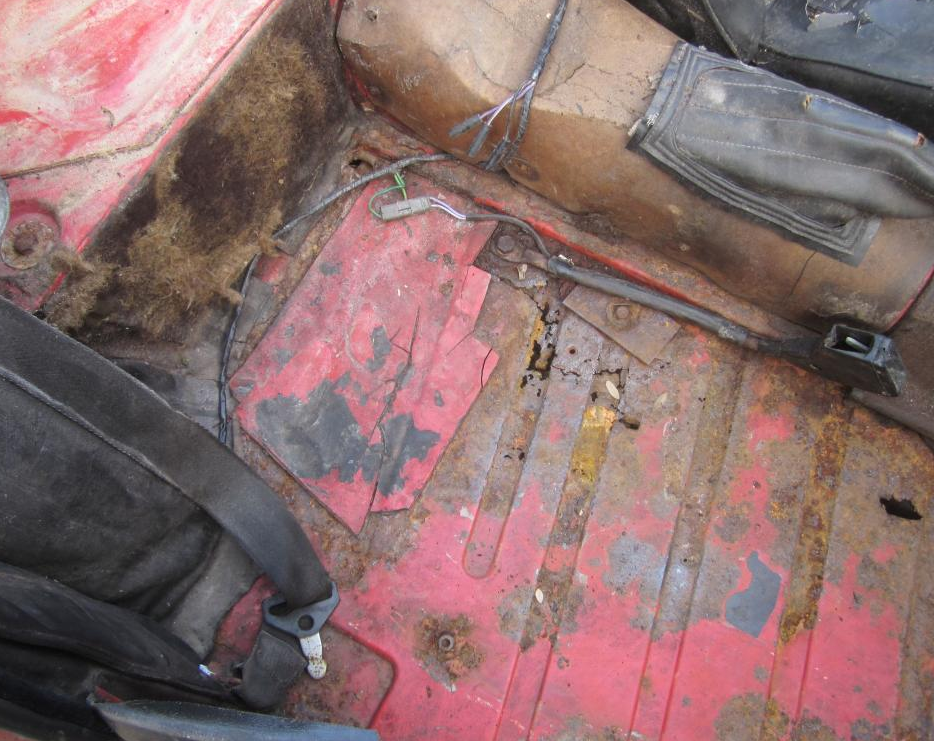 New floor me thinks.
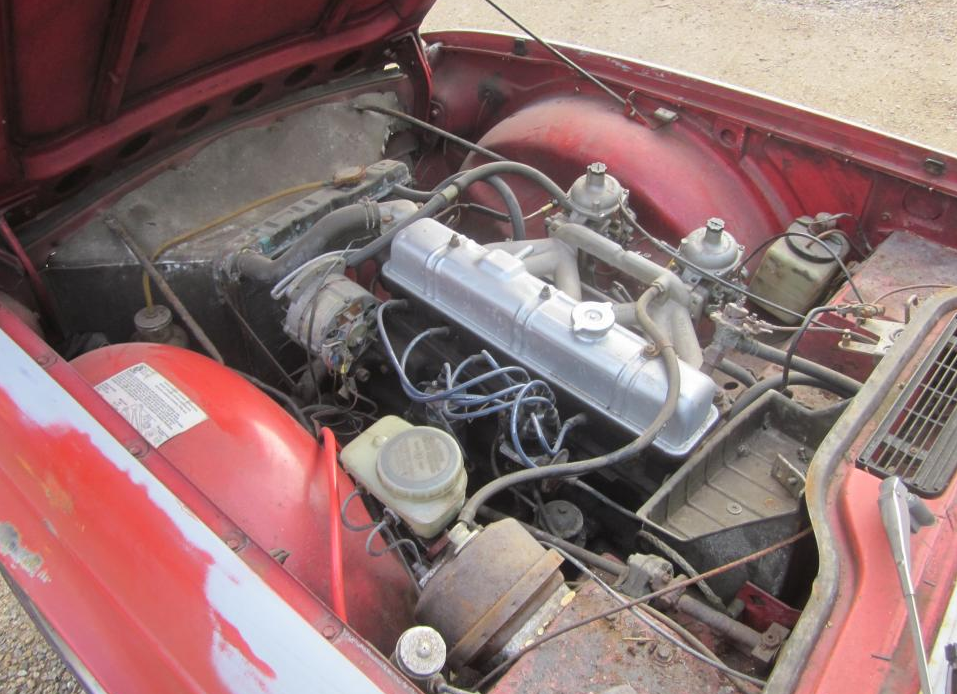 Engine bay.
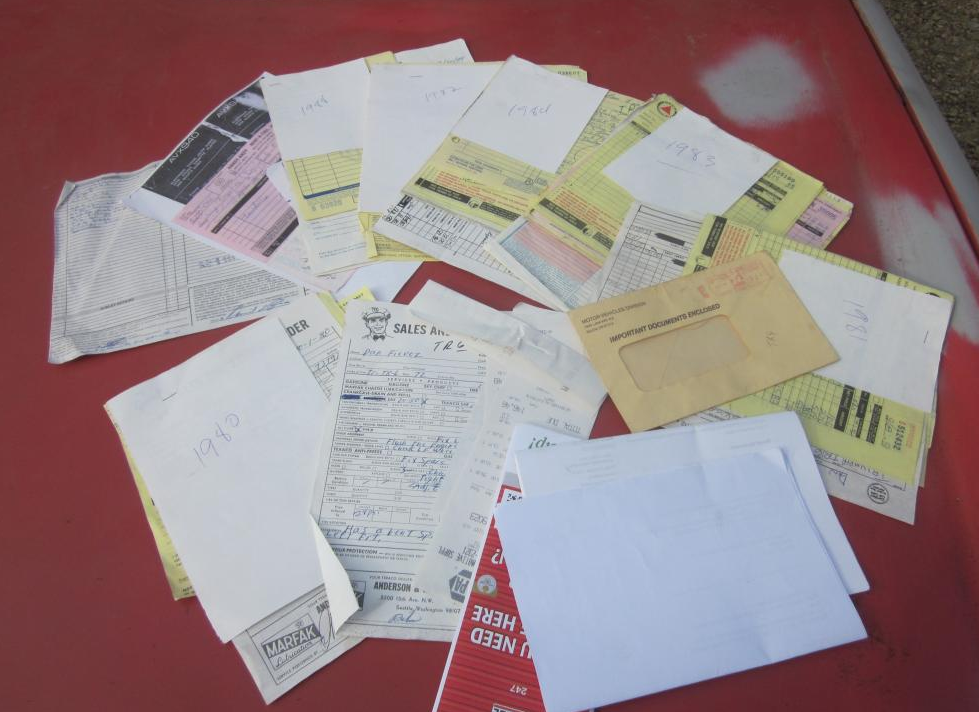 Lots of invoices of work done on it through the 80s.
MARCH 10th onwards....
Started the process of taking all the parts off and bagging and labeling everything with lots of photos
MARCH 20th
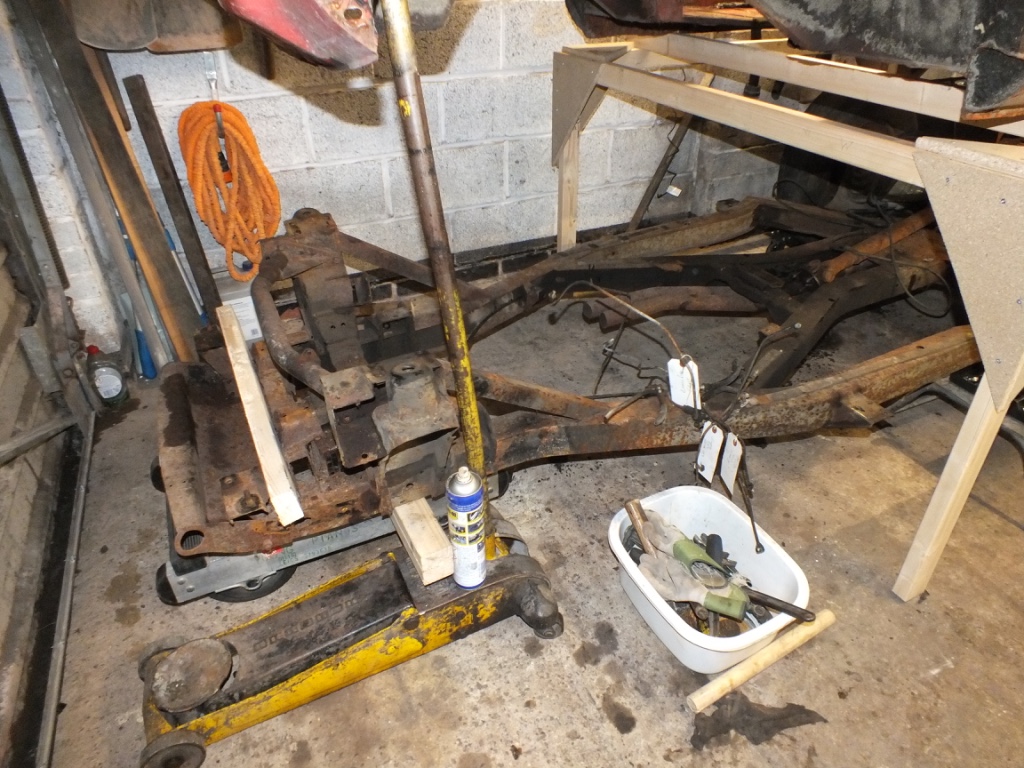
Finally removed everything from the body and then attached angle iron to both door openings (Used bolts).I then made a wooden frame to support the tub above the chassis.This was done as I really needed the space.After making sure nothing was still attached to the tub,I unscrewed all the tub/chassis bolts.Used an engine hoist and lifted body off the chassis.This was an important time as only then did I know the true condition of the chassis and I think I was pleasantly surprised as it was generally quite sound except for the layers of rust.There were no holes and the corrosion didnt seem too deep.Next stage is to take everything off the chassis and remove the engine etc..in readiness for collection by Invirostrip next month.They will dip all the parts including wings,door,tub and chassis.They will etch prime everything deliver back and then I can start on the next stage...All good fun..so far!
See following pics....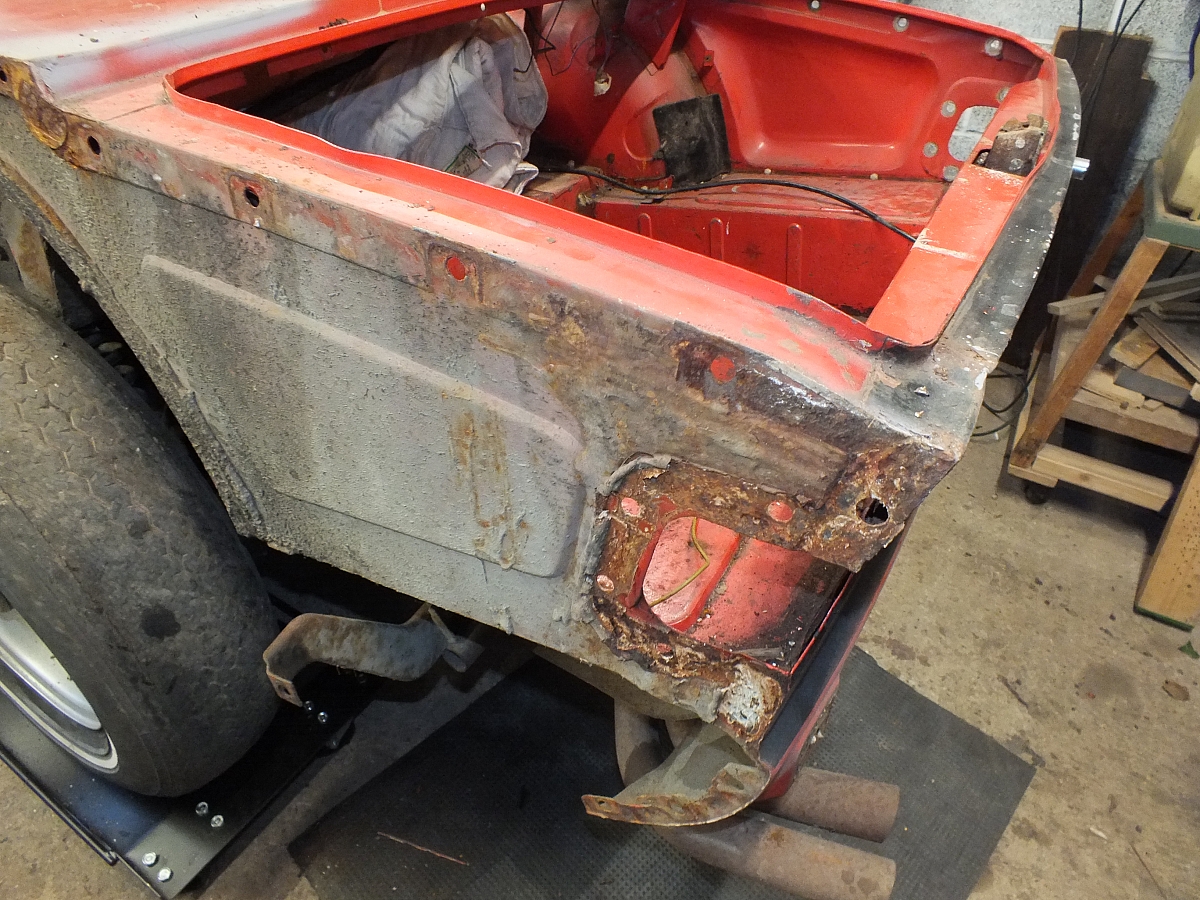

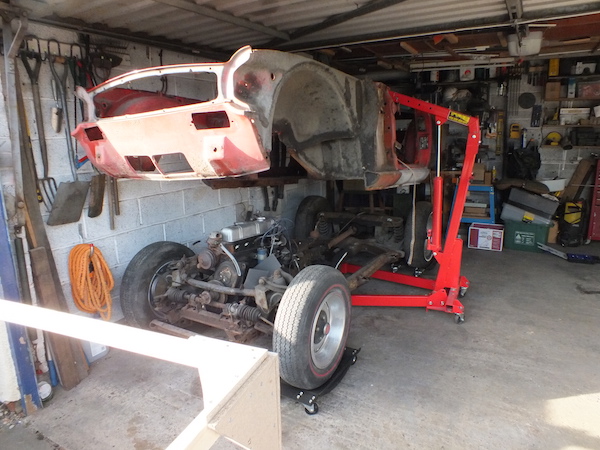
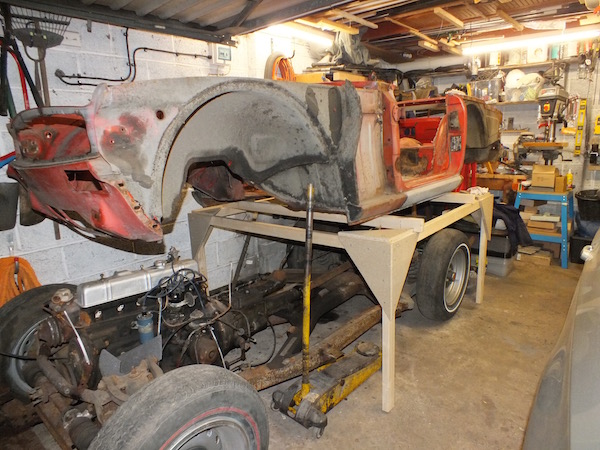
Mission Accomplished.
Next week..strip the chassis of everything...
MARCH 26TH onwards
Started stripping the chassis.On the face of it it is in good condition with no obvious major corrosion.The T shirt is sound and revealed some original black paint after scraping some areas.Removed all the suspension and hoisted the engine and gearbox out.Made spring compressor to dissmantle front sus.Noticed 4 shims on o/side bottom wishbone and 3 on n/side.Would have thought factory settings would be equal on both sides.Removed all the brake pipes and fuel lines.Also shims on rear trailing arm brackets were 4 on outer and 3 on inner n/side and on o/side 4 on each.
Dropped the diff.Heavy beast but used trolley jack and a rope around the prop flange and lowered it down.So today 4th April,I have a naked tub and chassis awaiting collection by Envirostrip next month.I just need to strip out the doors.All generally good so far.Everything unbolted OK except for boot catch,the 4 screws holding it were totally seized and defeated the phillips screwdriver and even a dose of heat didnt help.
Next update soon..perhaps when I get the stuff back from Envirostrip.
Destruction done..now the creation will begin.
The T shirt
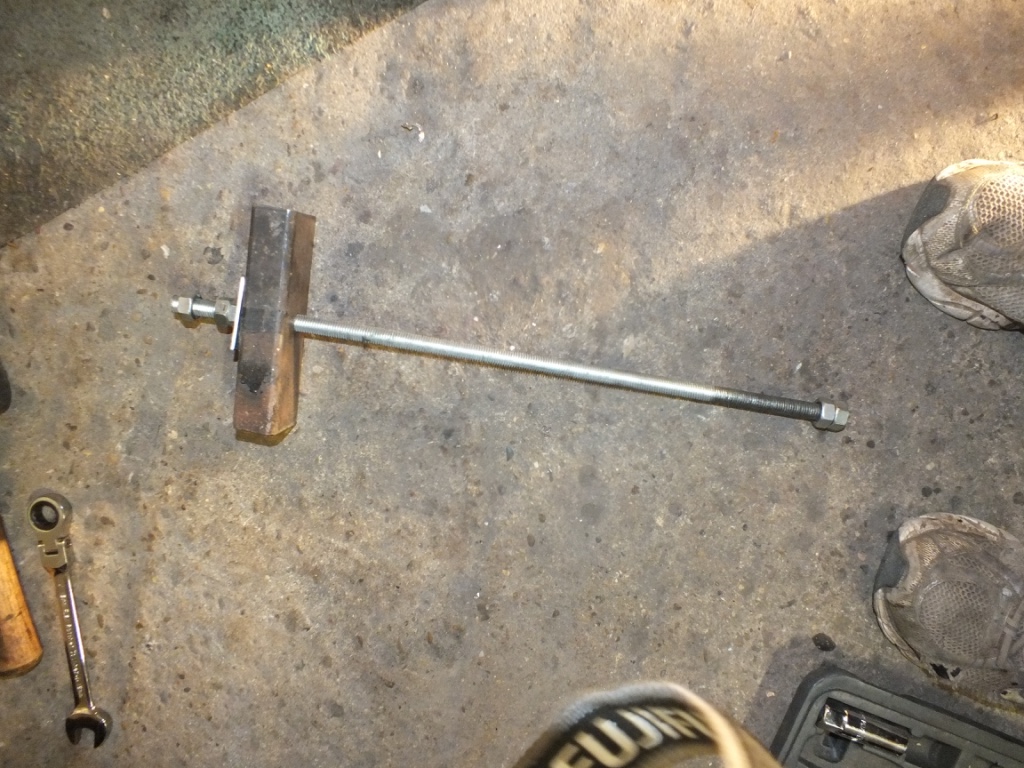
Spring compressor
Engine and gearbox out
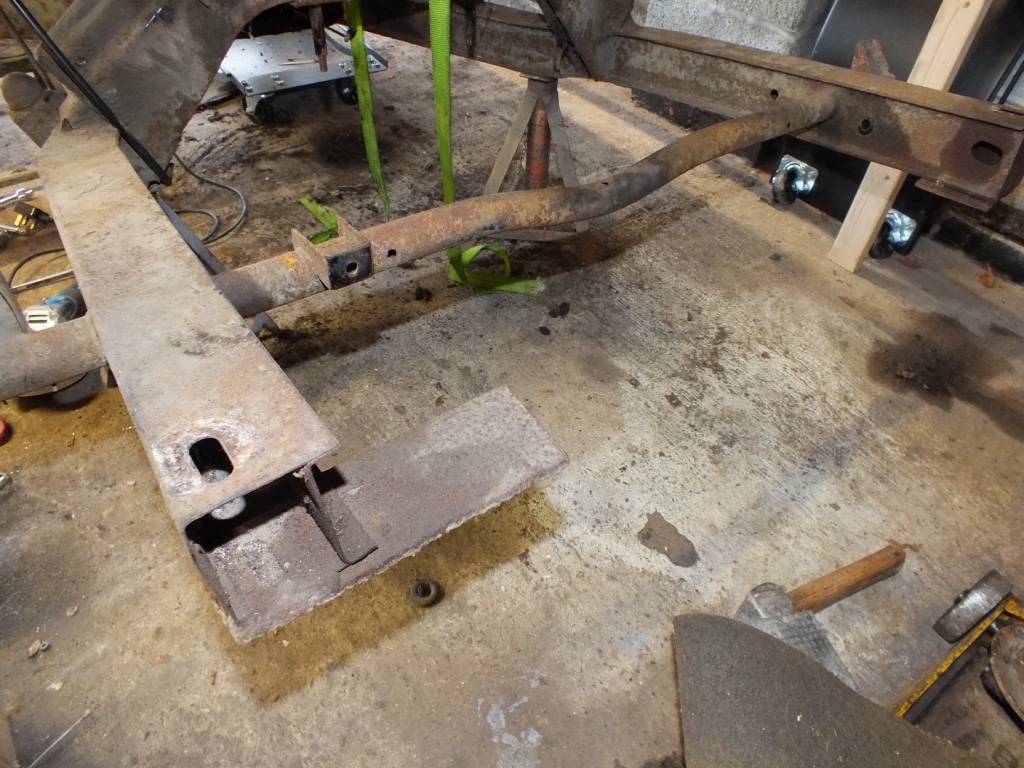
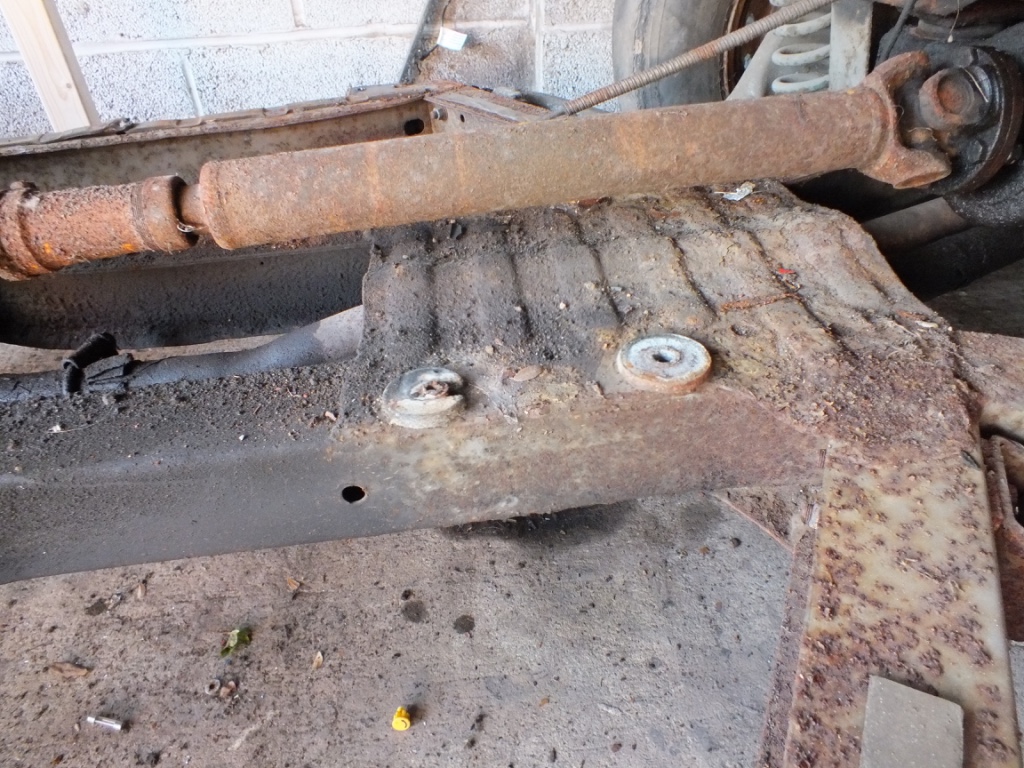
What's this plate?
Seems to have been cut but originally looks like it ran all the way across.

May 12th
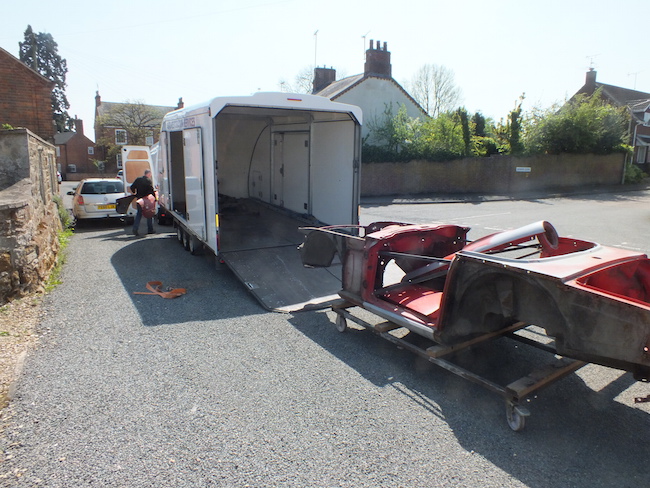
Envirostrip came today and collected chassis,tub,4 wings bonnet and boot for de rusting and priming.Should get it back in 3/4 weeks...will update then
23rd May
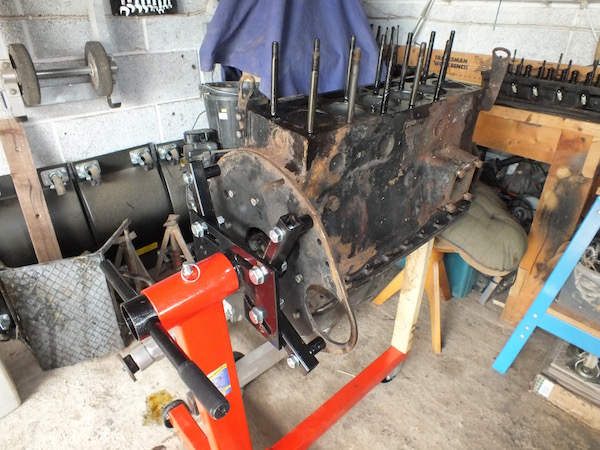
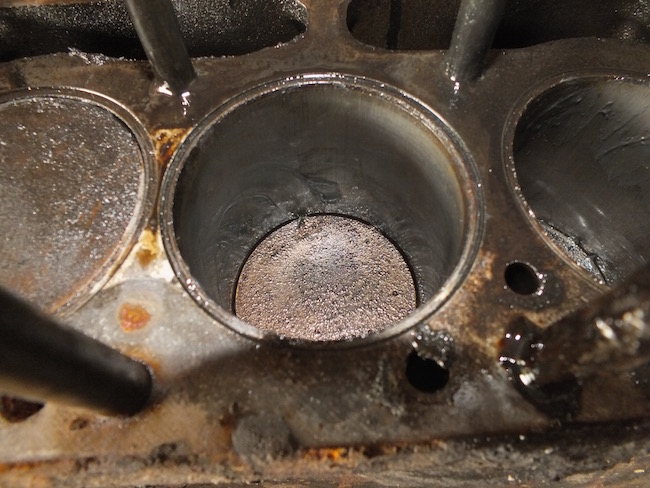
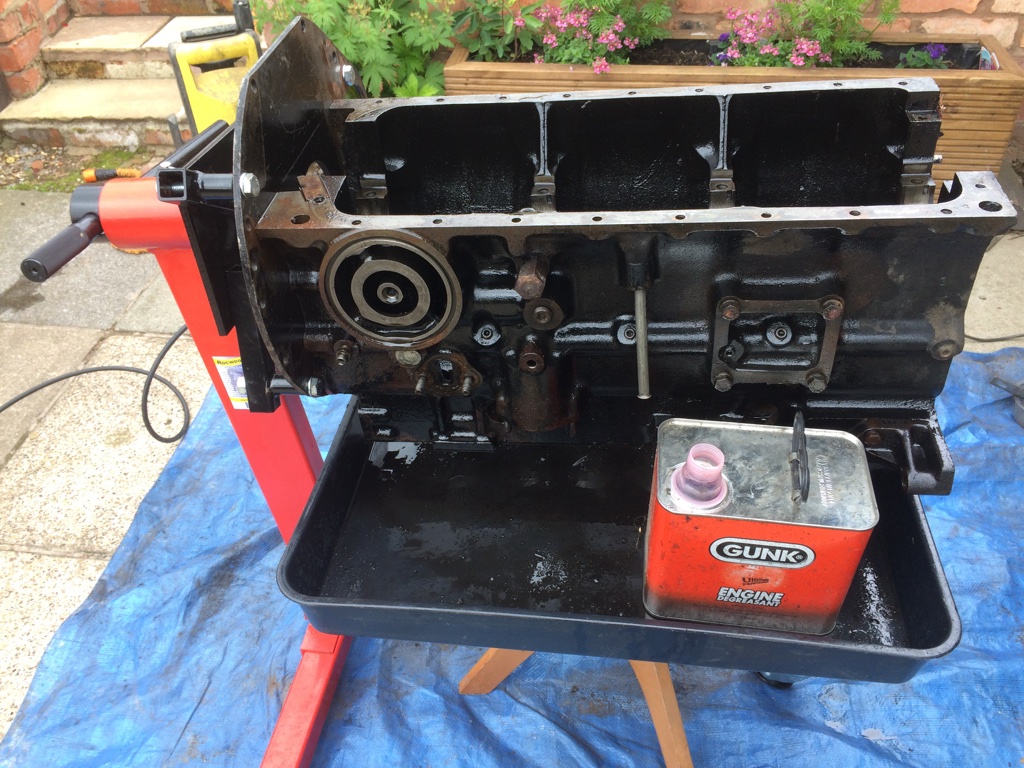
While the bits are away at Envirostrip I decided to turn my attention to the engine.I removed the gearbox and put engine on engine stand.I was concerned about the weight by using the threads in the block so I enlarged 3 of the holes in the plate and one of the starter holes which was large enough,I attached the block using sturdy bolts and nuts (see pic) having removed the head first to reduce the weight.I removed rear oil seal and housing first.I will replace the oil seal and ali casting with the engine on the bench.After I took the head off I was able to see the condition of the bores which to me looked quite good with no stepping (See pic).The pistons have an 'A' stamped on their tops so I assume it is an original engine and never been bored out.I say that because there is some mystery about the engine as the number does not match the factory record.So it has been replaced at some time with another original unbored engine.Will always welcome comments from tech members regarding method of going forward,bearing in mind In the next few days I will strip the engine completely and check the crank wear and try to get some idea whether to go for a full rebuild or maybe just re ring it.I dont want to go to the added expense of a full engine rebuild if in fact it has only done a small mileage.

1st June 2016 /to 26th
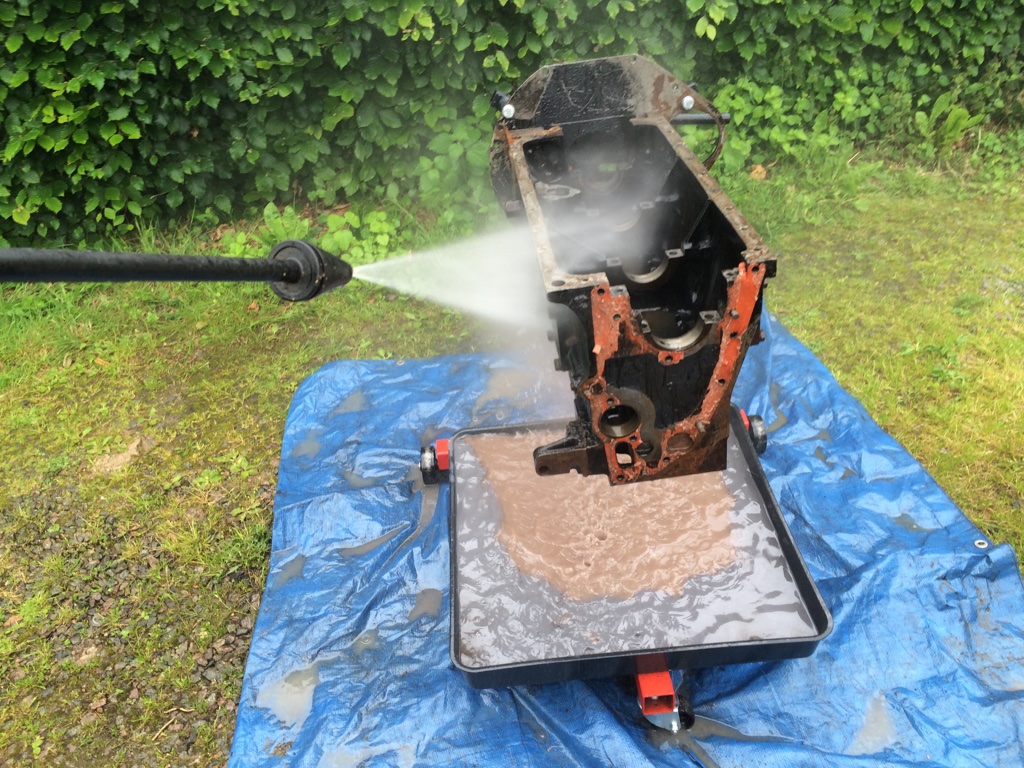
With the head off,the block was given a good gunking and wash down.
The crankshaft was mic'd and showed the journals to be well within spec so was decided to clean up the journals and fit standard shells.The very important end float was then measured and found to be 11 thou with new standard thrust washers inserted.To correct I used one standard thrust washer and one standard + 5thou thrust washer to bring it within spec. (Pics)
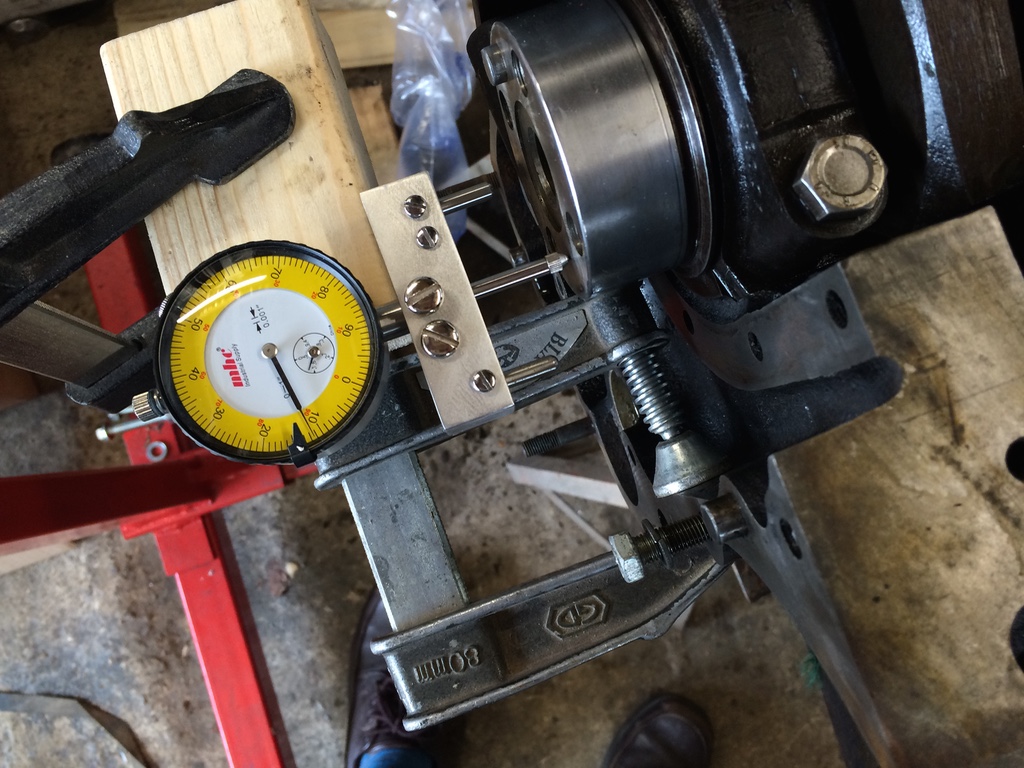
Showing 11 thou end float.
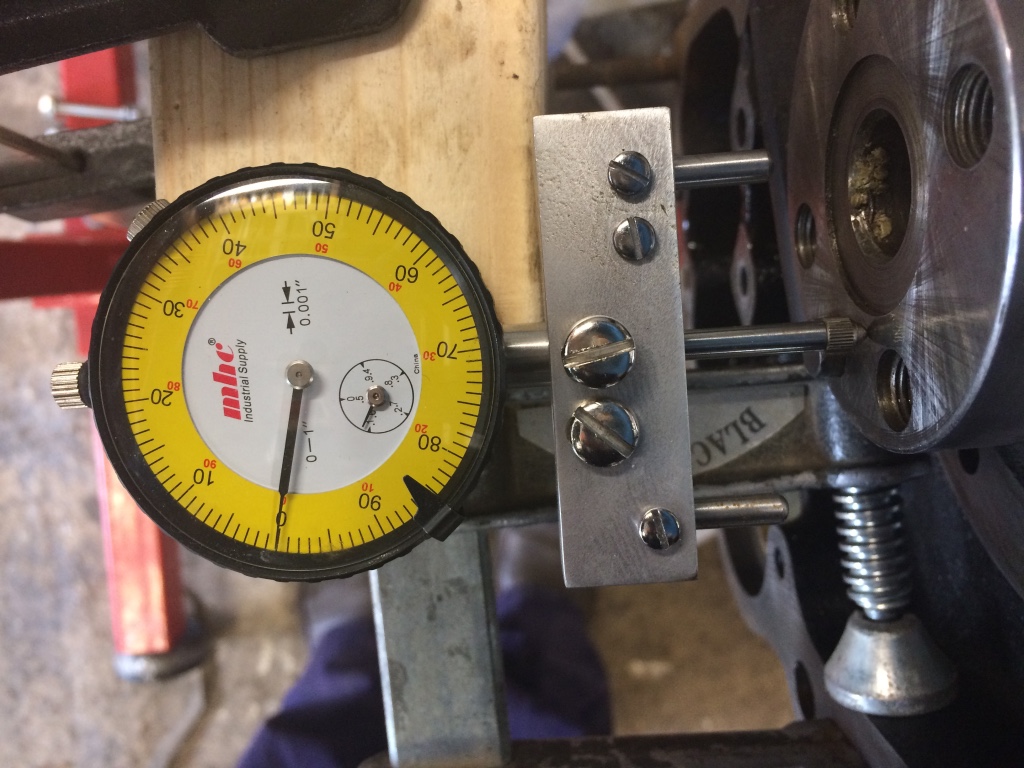
With correct thrust washers (1 standard and one+5thou) installed and set at zero
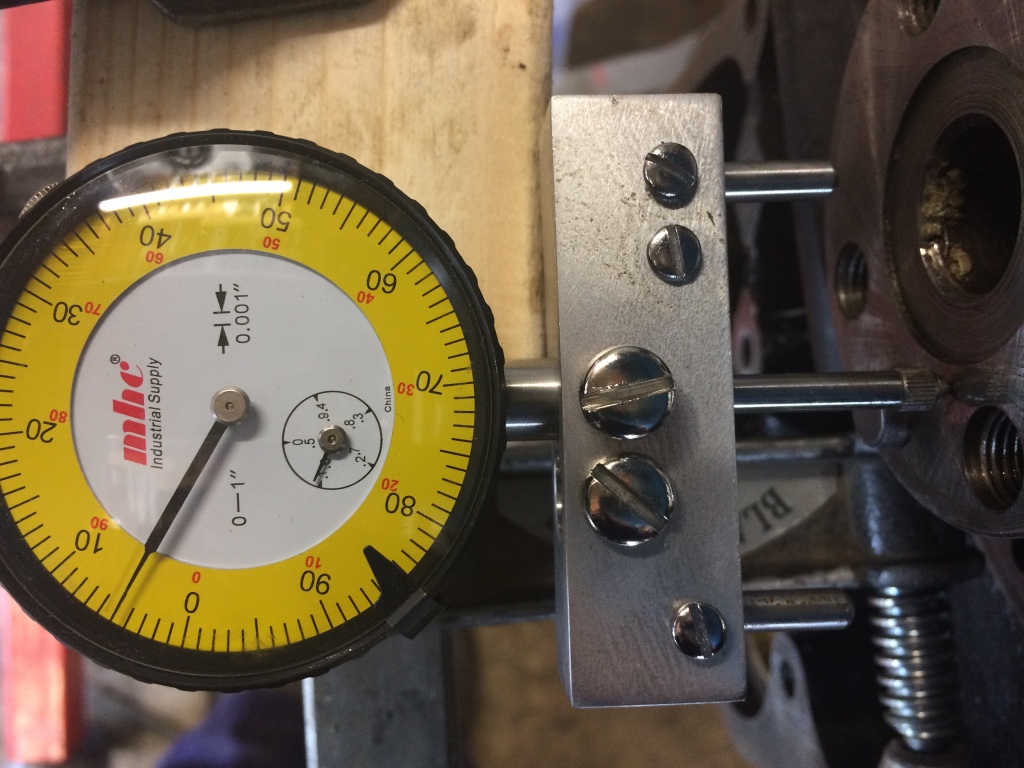
Reading 5 thou.... (Within spec now)
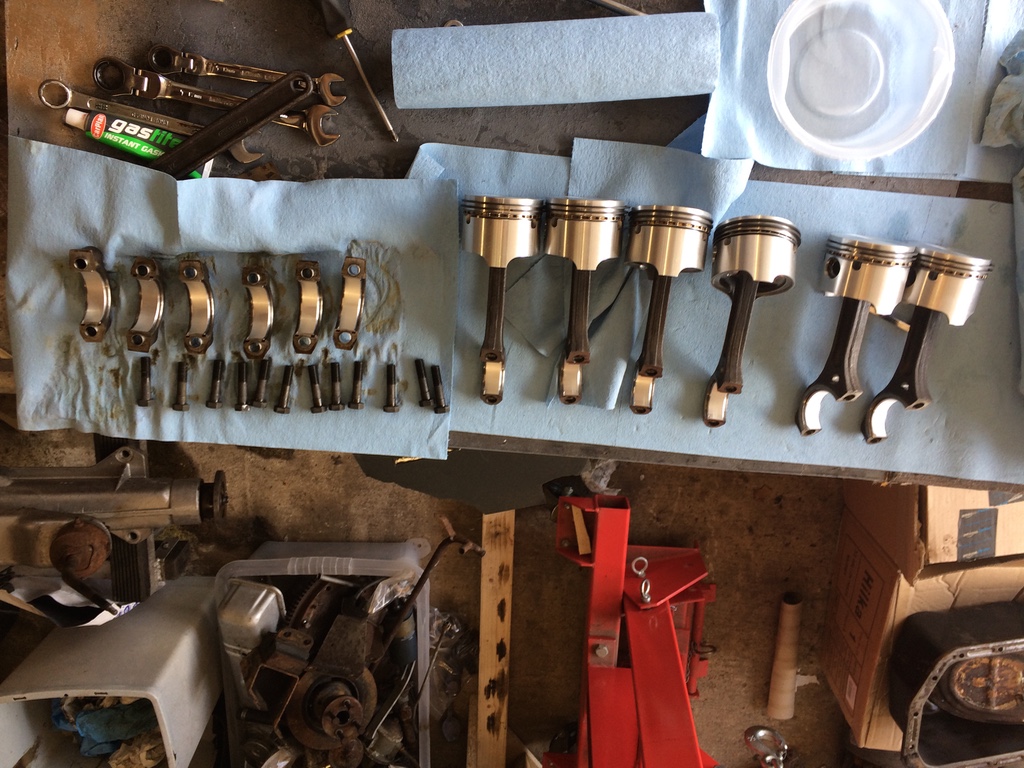
At this point the bores were checked and found to be in excellent condition with no tapering,scoring and well within standard spec.It this point decision was made to fit new standard pistons.
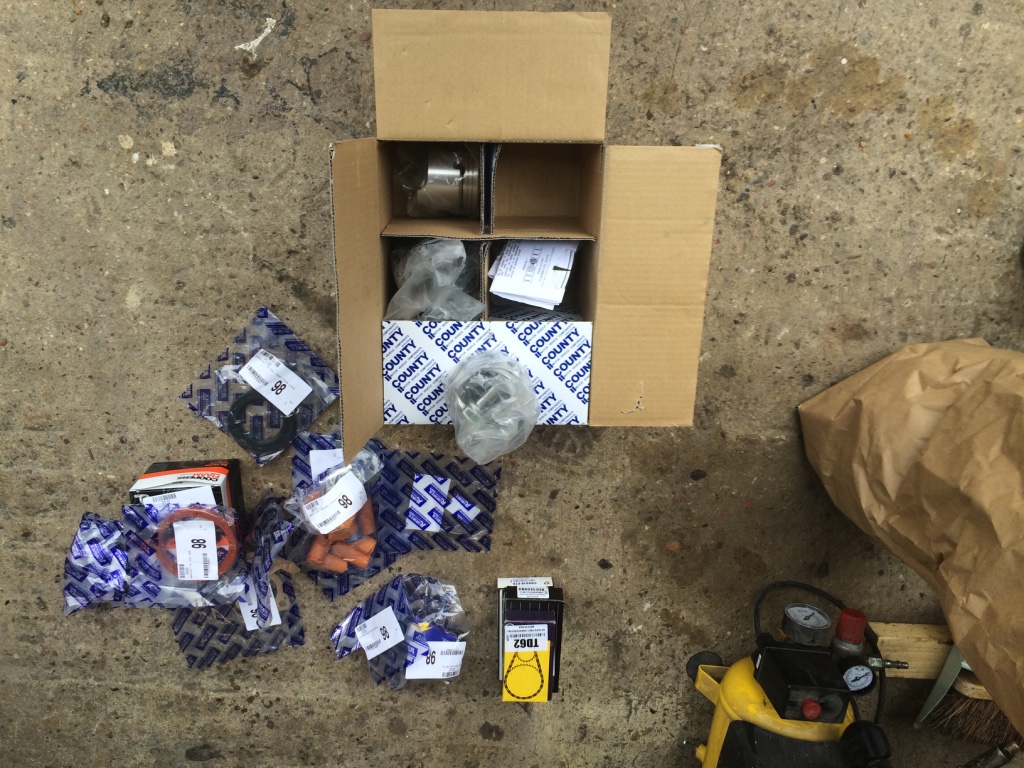
A short engine rebuild kit from Rimmers.
The crankshaft journals were well within standard spec so were given a clean up with 1200 wet and dry.
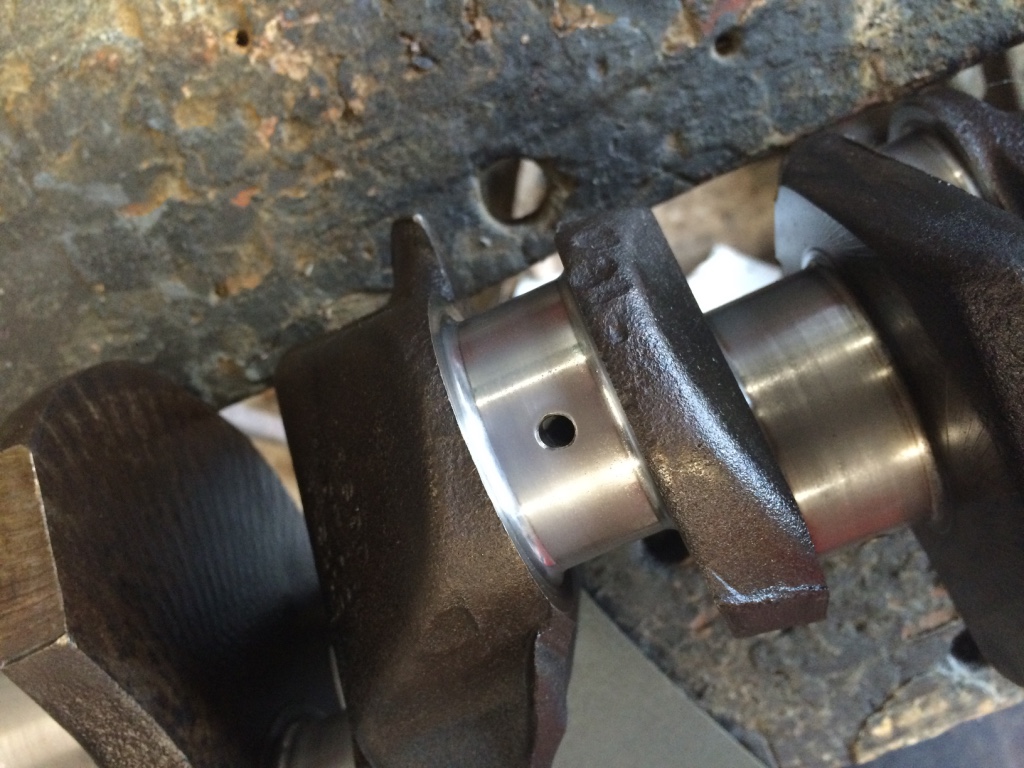
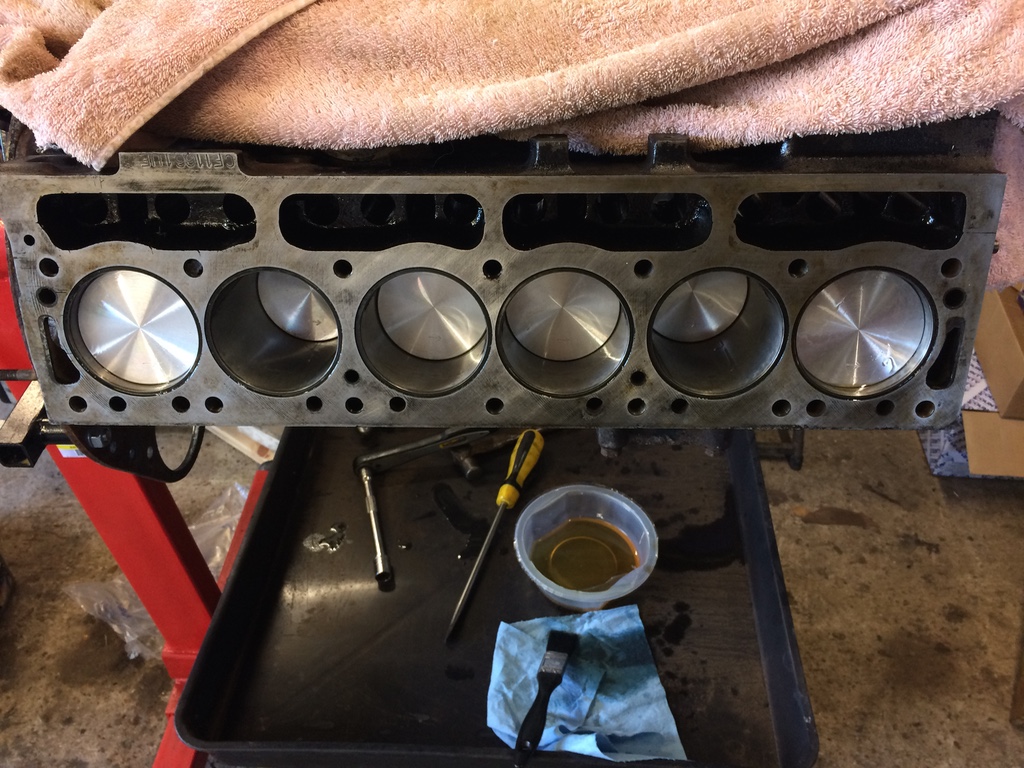
Crank journal clean up ready for replacing in block.The bores were given a de glaze forming a criss cross pattern enabling the rings to bed in.Then the pistons were installed into the block.
The body/chassis will be returned in a couple of weeks (Envirostrip), thereby entering a new phase into the rebuild of this old lady.
July update
Work carries on rebuilding the engine...new pistons ready to install.
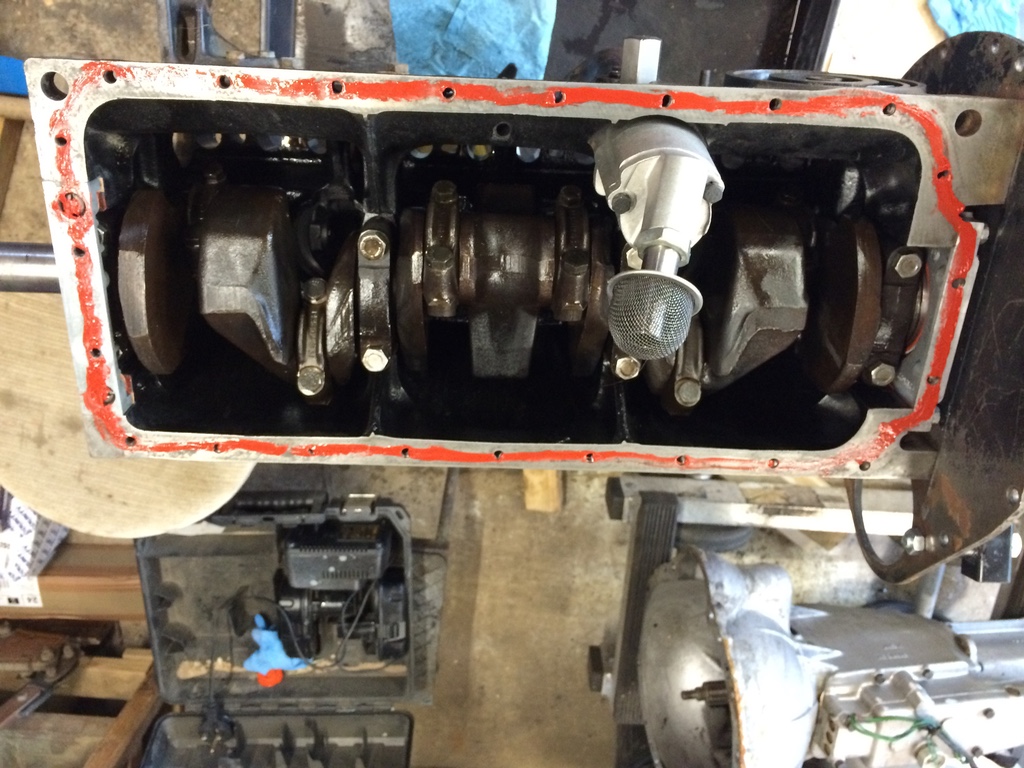
New oil pump in and now ready to put on the sump cover.The old gasket cement was removed (seen in pic) and a new bead applied before the gasket and sump were installed.
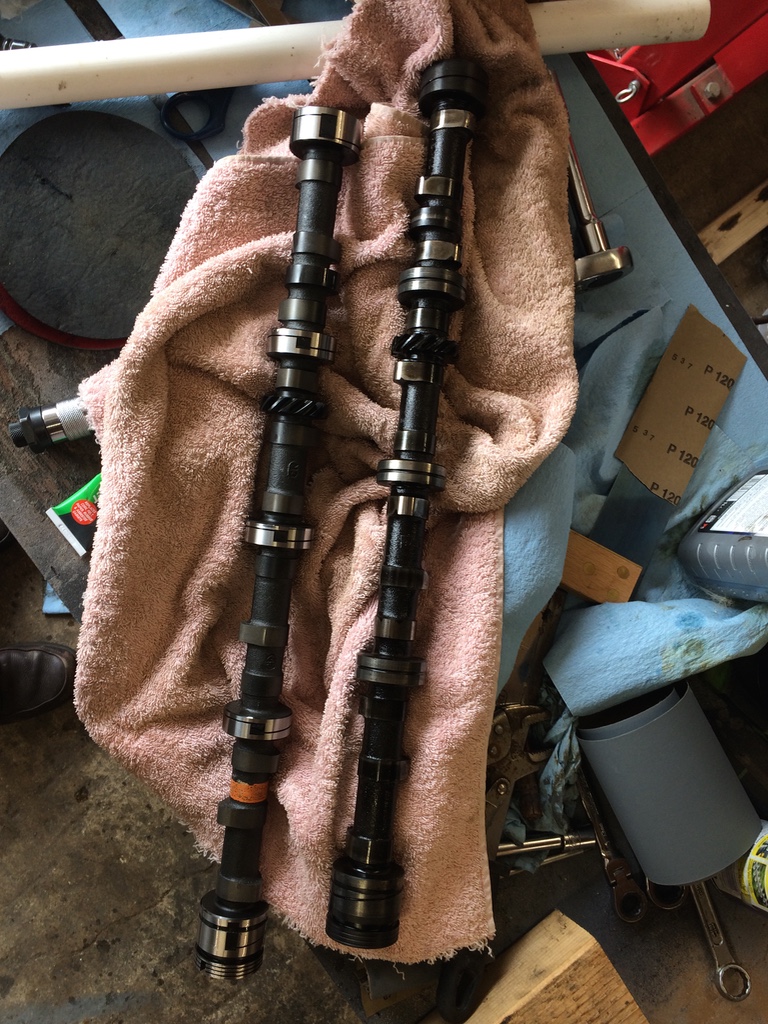
New camshaft on the left

Installing new camshaft
Checked camshaft end float which was slightly out of spec so replaced with new bracket to achieve correct end float (Holding the old one).
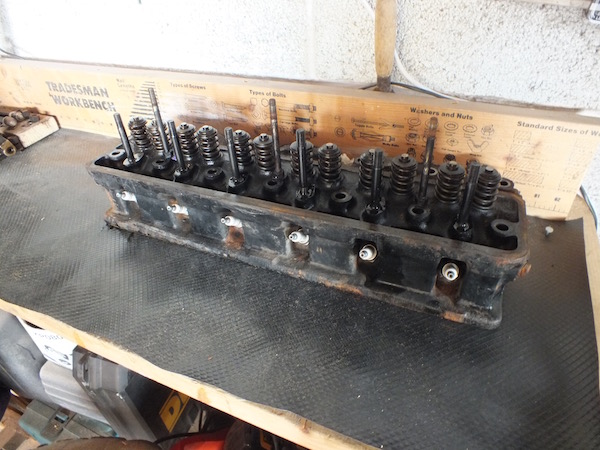
A new timing chain was fitted and the front timing cover was screwed to front of block with new gasket.The head will be sent away for rebuilding with hardened valve seats and new valve stems etc.
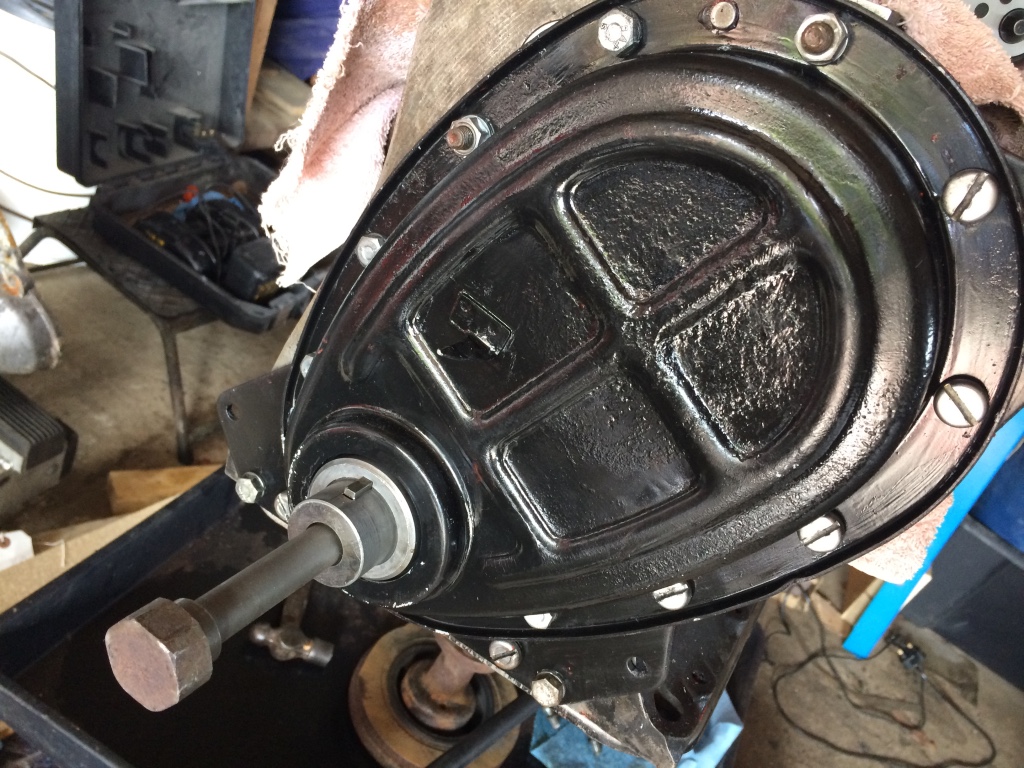
The gearbox was next to have attrention.The whole was completely dismantled and was found to have a very worn layshaft.In fact the rear layshaft bearing was no more and the bore of the shaft was worn so much that the circlip groove for retaining the roller bearing was totally gone.The gearbox sump plug which was magnetic had a large amount of metal swarf on it..presumably the mangled contents of the bearing.The components were all washed out and a new layshaft was ordered and the gearbox rebuilt with new bearings all round.
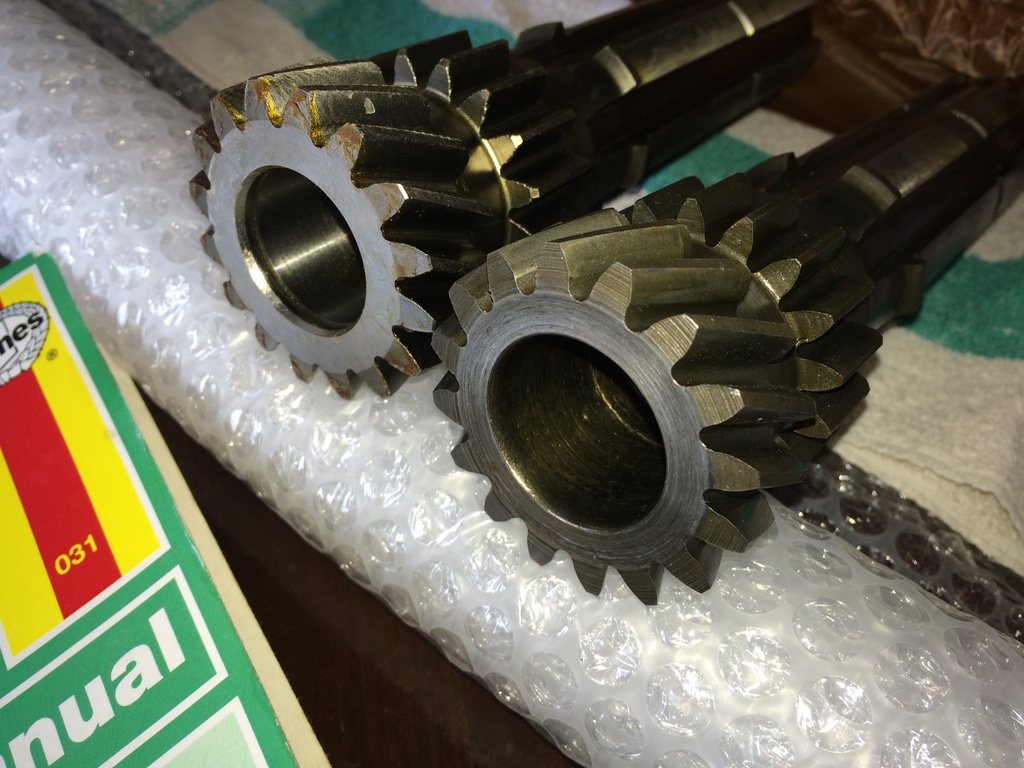
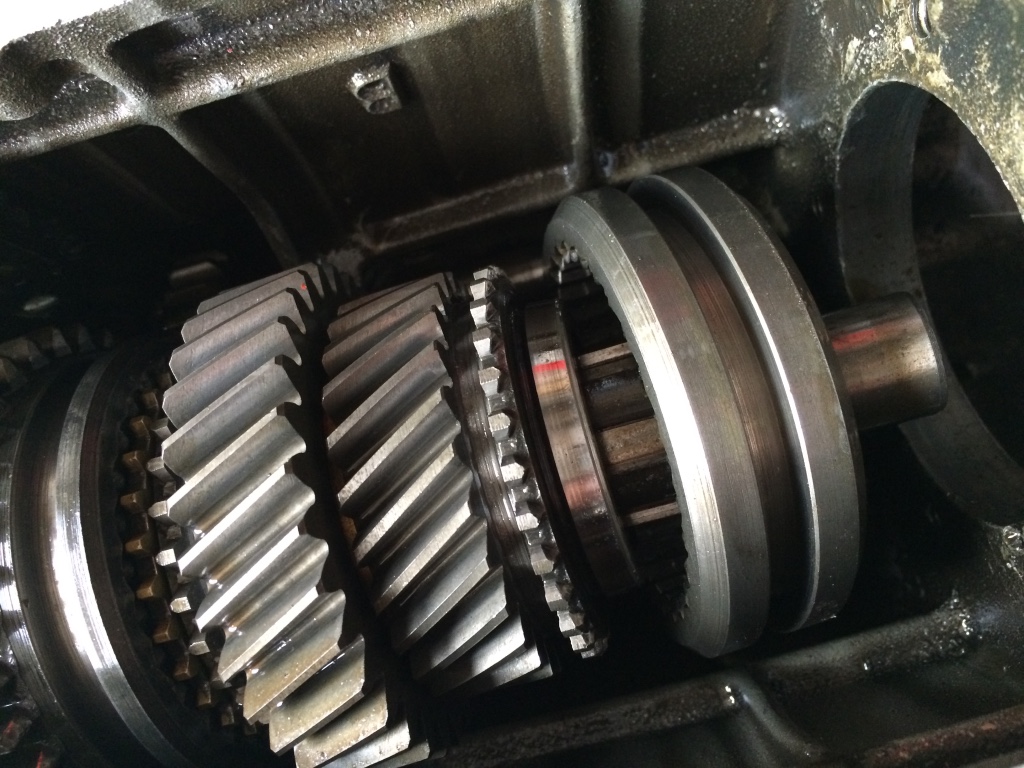
here can be seen the new layshaft on the left and the old one on the right.Note the absence of the circlip groove which was totally worn down due to the failed roller bearing.
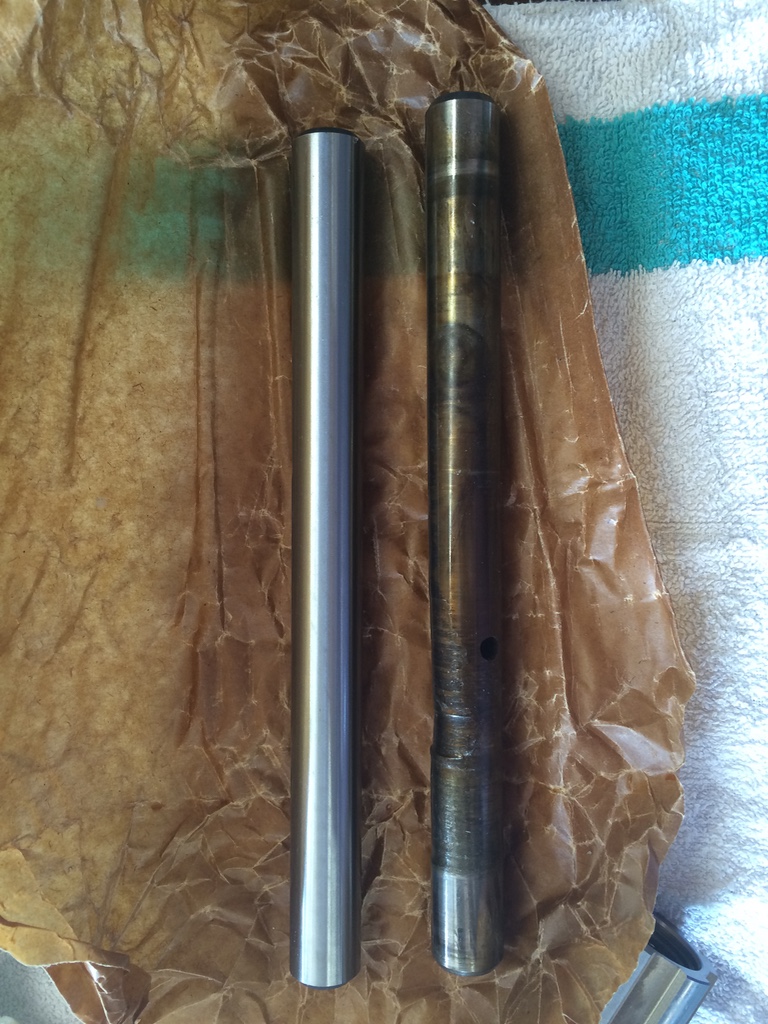
New layshaft on left.Note the wear on the old one!

Layshaft ready to be installed
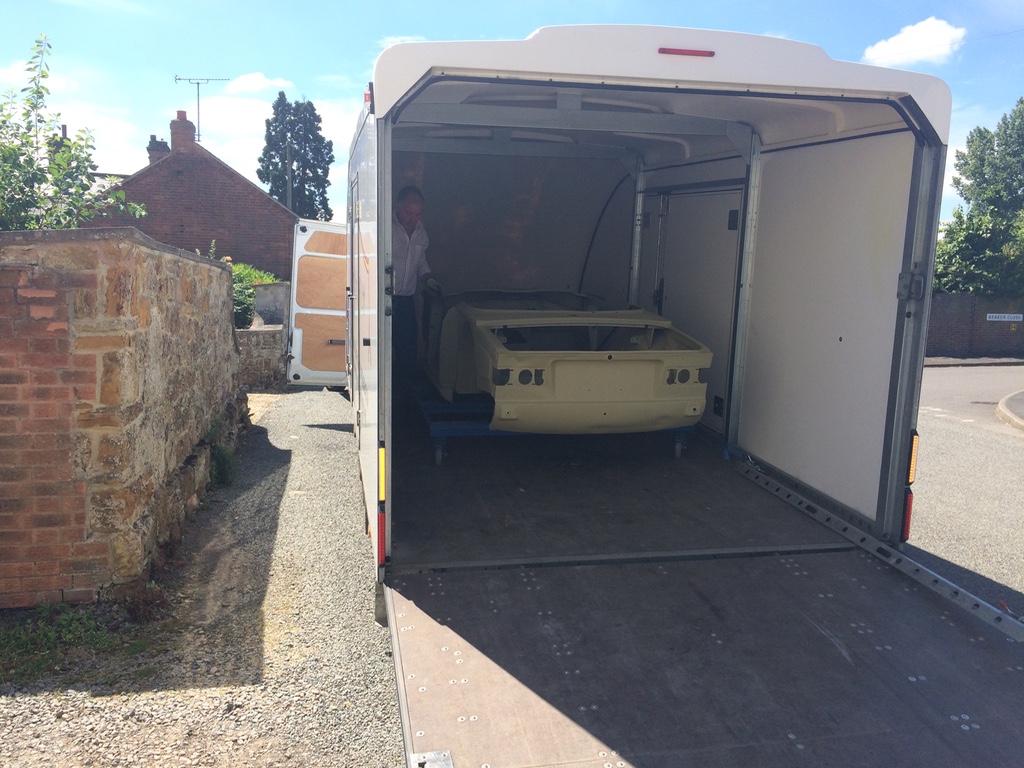
The tub and body panels arrive back from Envirostrip
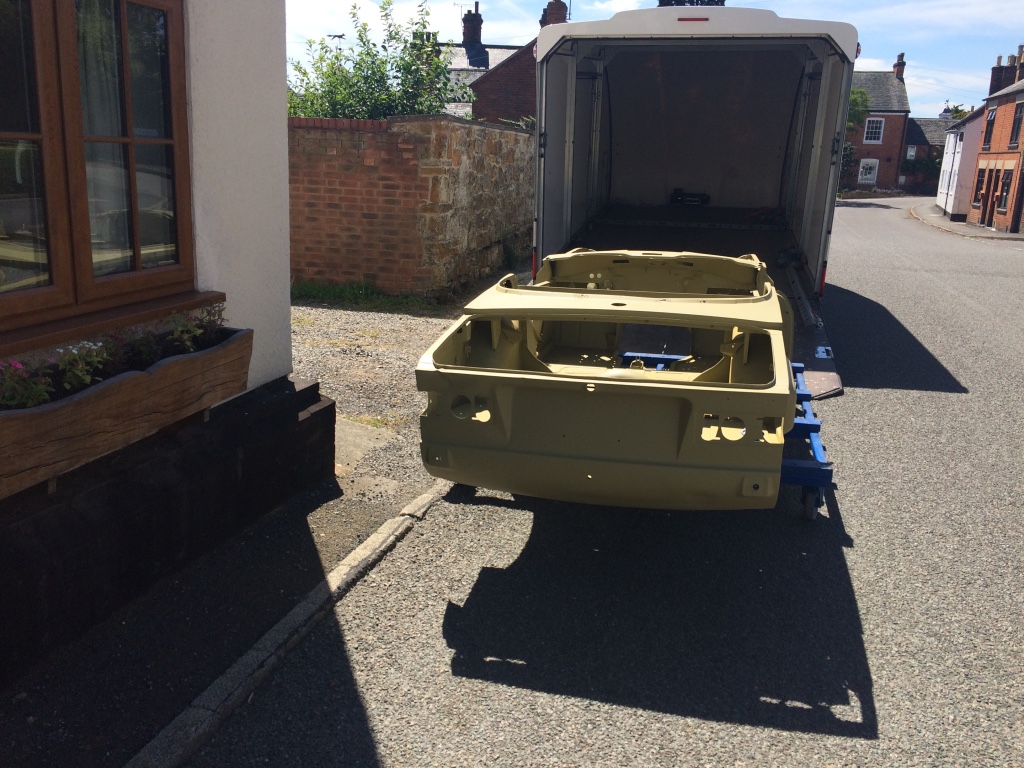
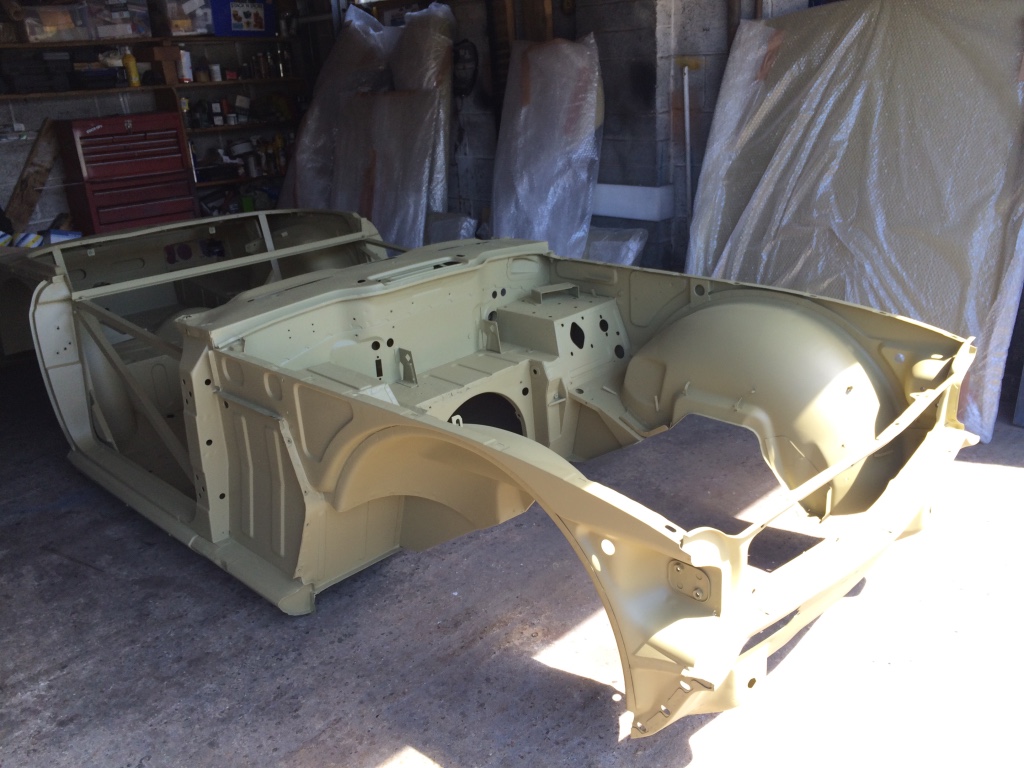
The tub and body panels back in the workshop for next faze of the rebuild....
August Update
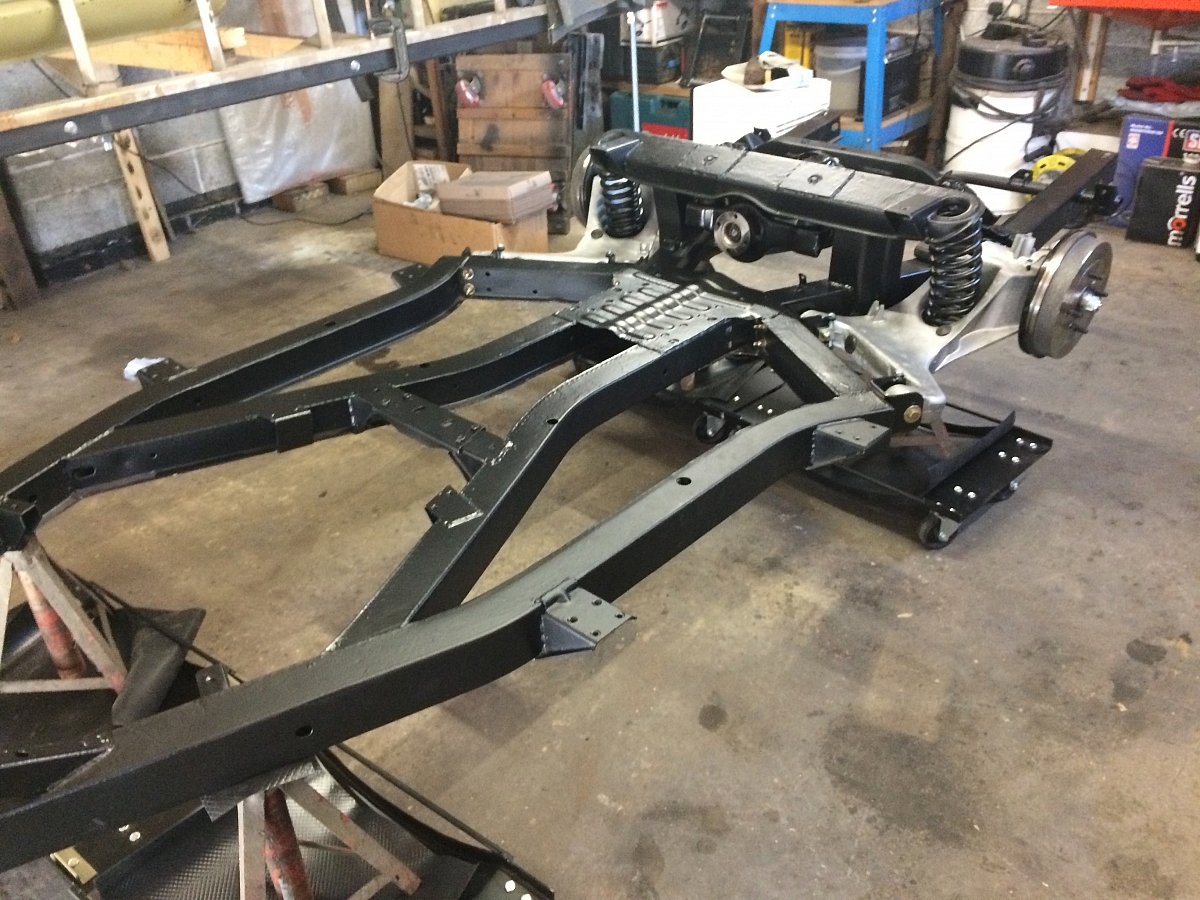
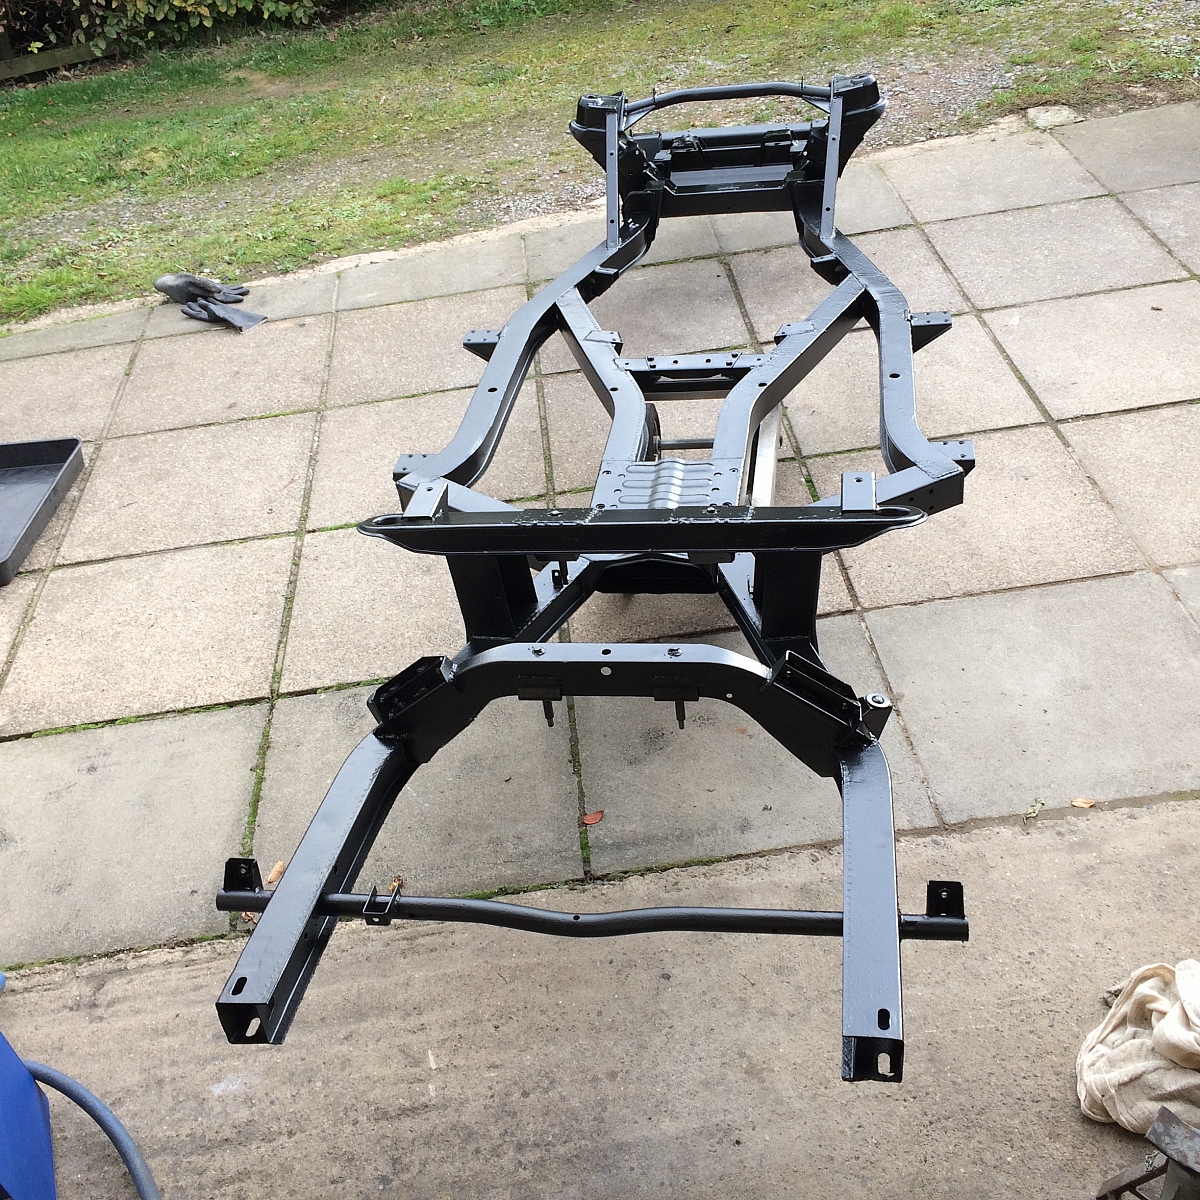
Chassis now returned from Envirostrip.Must say very impressed with the result and service I got from the team at Envirostrip.


Work on hold now until end of September because of day job commitments (Piano rebuilding!)
October update
Welded strengthener plates to diff front member.
Applied black 2K epoxy primer to chassis.

To be continued.....................
December 31st 2016 End of year update.
Front suspension:

Original condition of components (one side)
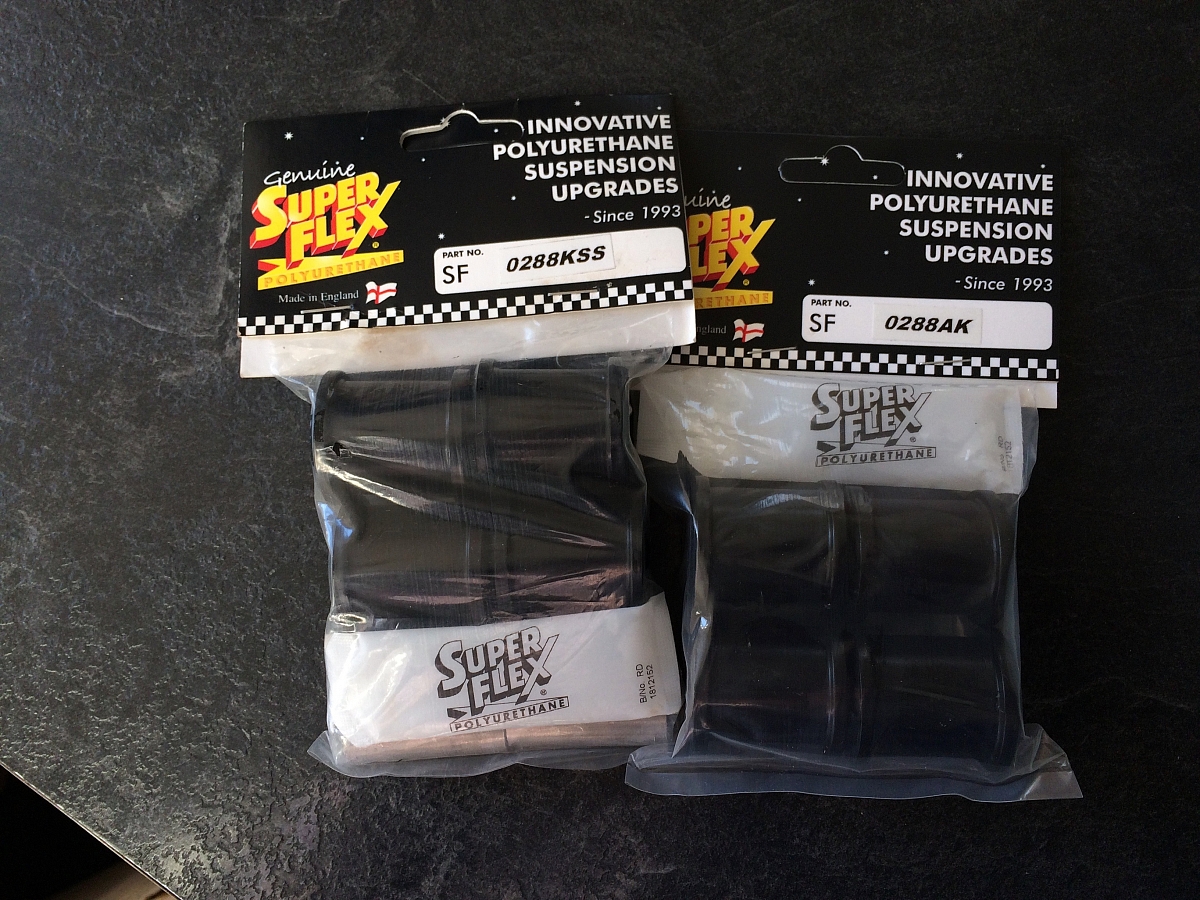
Next, was to grit blast all the suspension components and powder coat.Ordered front suspension kit which included everything to rebuild TR6 front suspension but decided to use Superflex bushes instead of the rubber ones included.

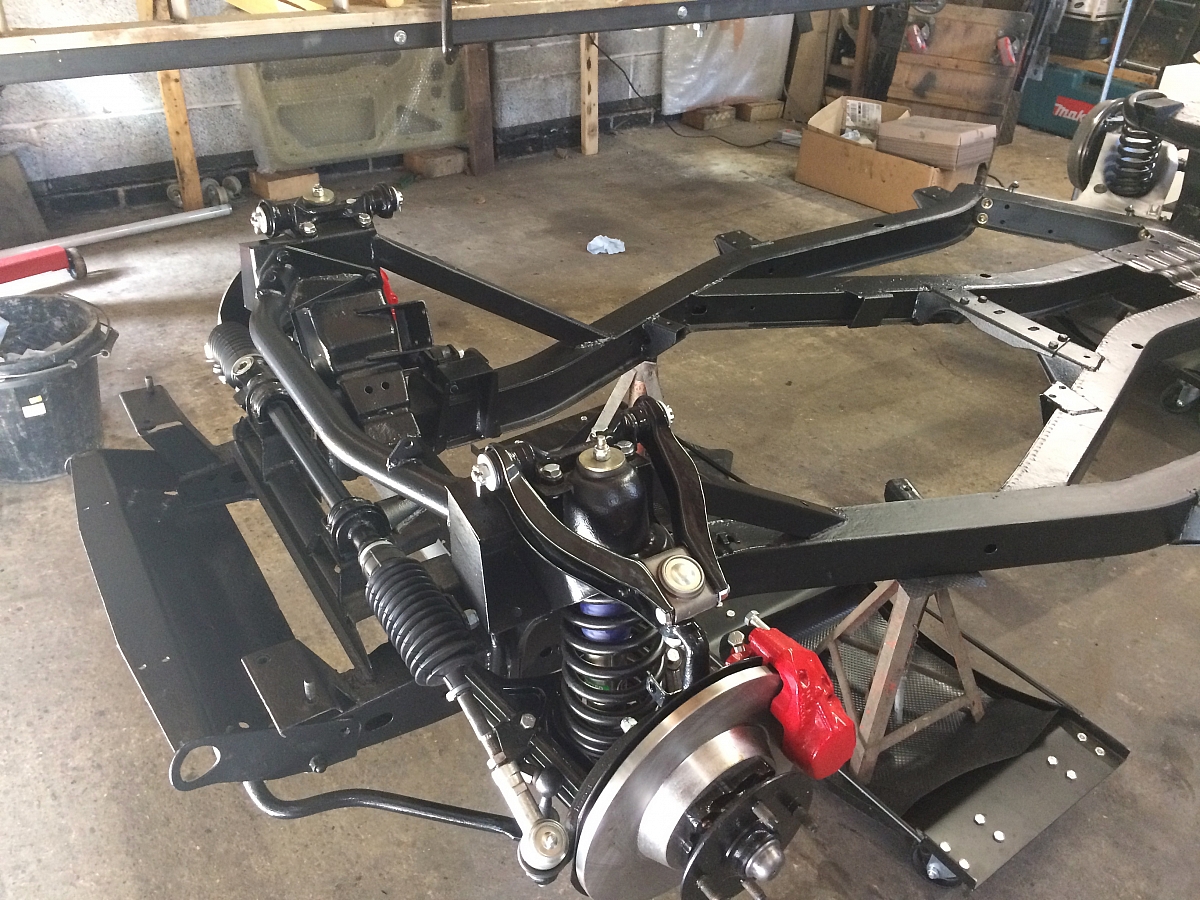
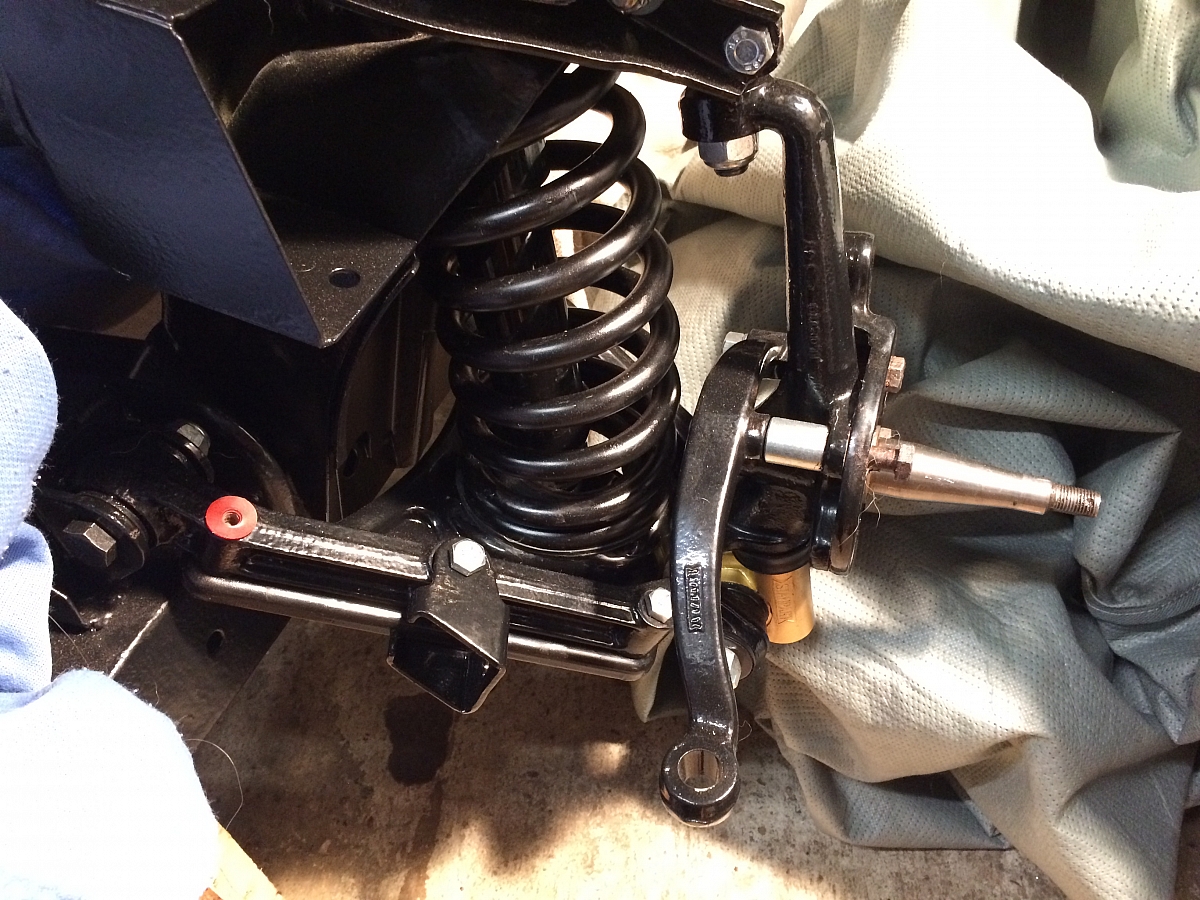
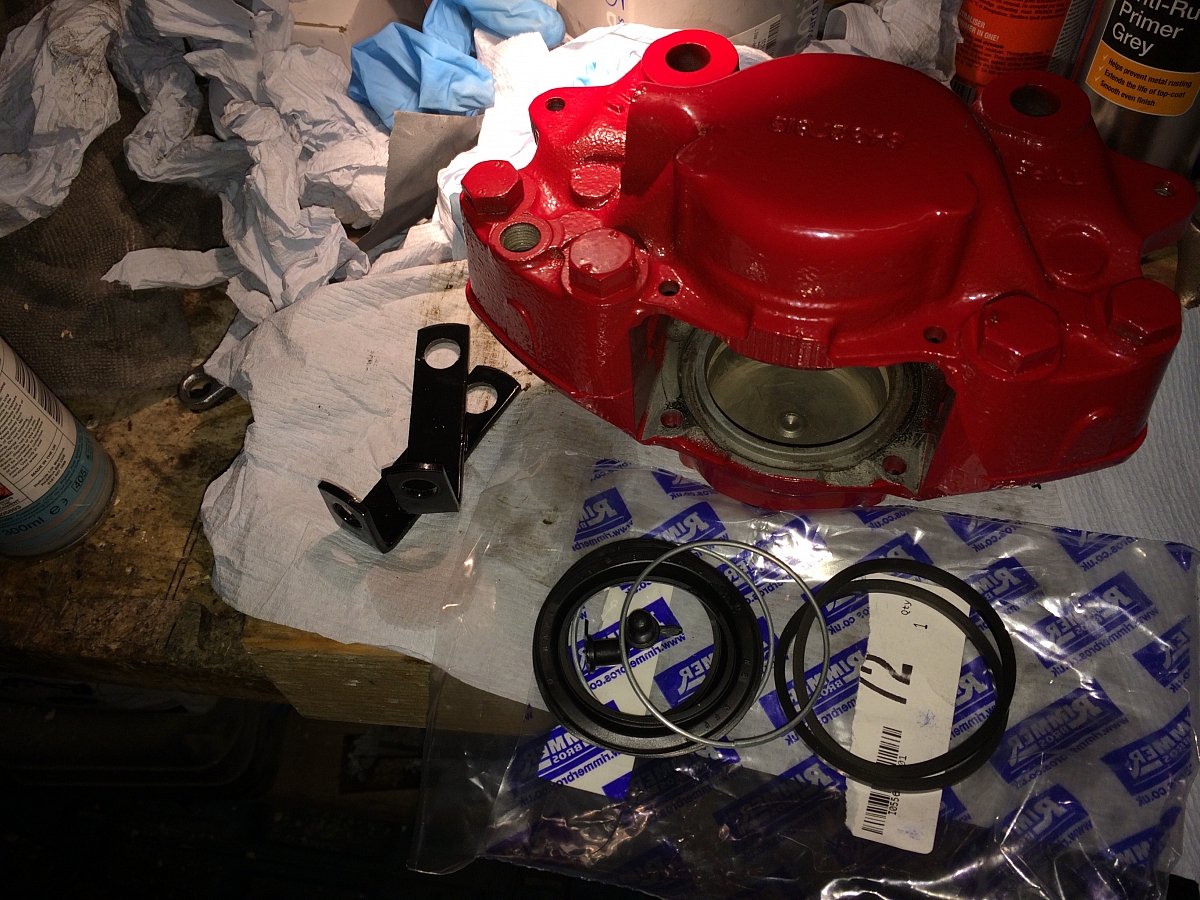
With other commitments,I did not have much time on the rebuild,so most of November was taken up with rebuilding the suspension and everything went together quite easily.Also replaced all bolts and nuts with new zinc plated.Rebuilt the calipers.Their original pistons and bores were in excellent condition with only a small amount of smoothing with 1200 wet and dry.
Had an issue with trunnions or should I say shockers..
Having installed new standard shocks,I immediately noticed that with the suspension hanging,the trunnion was acting as a stop for the lower limit of the hang.The side of the trunnion was hard up against the spring pan.More to the point I couldt swivel the hubs,they were stuck.With a lot of time exploring the cause,it was eventually attributed to the fact that the new standard shocks were 25mm too long when extended, causing the suspension to drop further down instead of being arrested by the shock travel.In the end I changed the shocks for GAZ (which were to original spec being 25mm shorter when extended) and resulted in less hang and removed the possibility of trunnion damage.
So at the end of this year,the suspension rebuild is complete and now attention is drawn to the rear suspension,which will be started over the coming weeks.
Getting there.
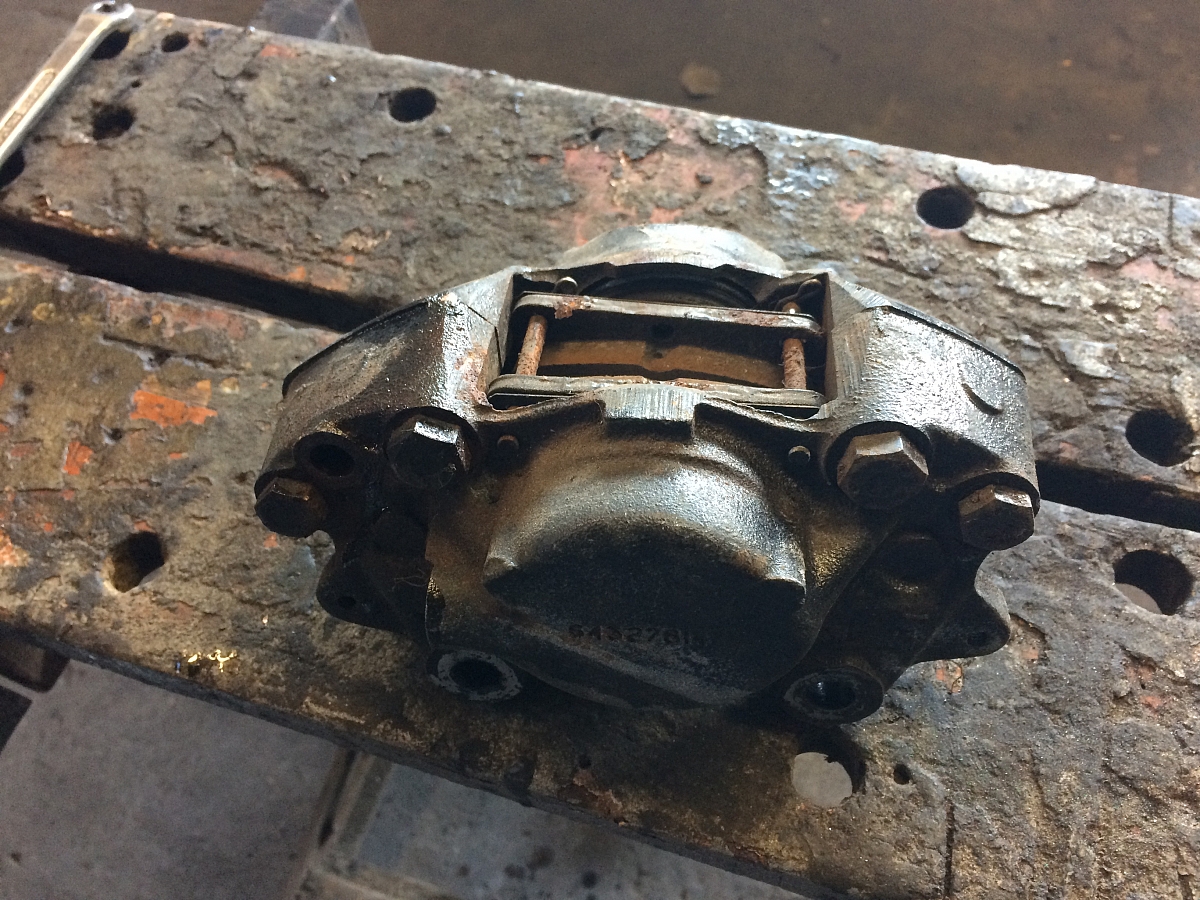
Calipers original condition Ready for rebuilding
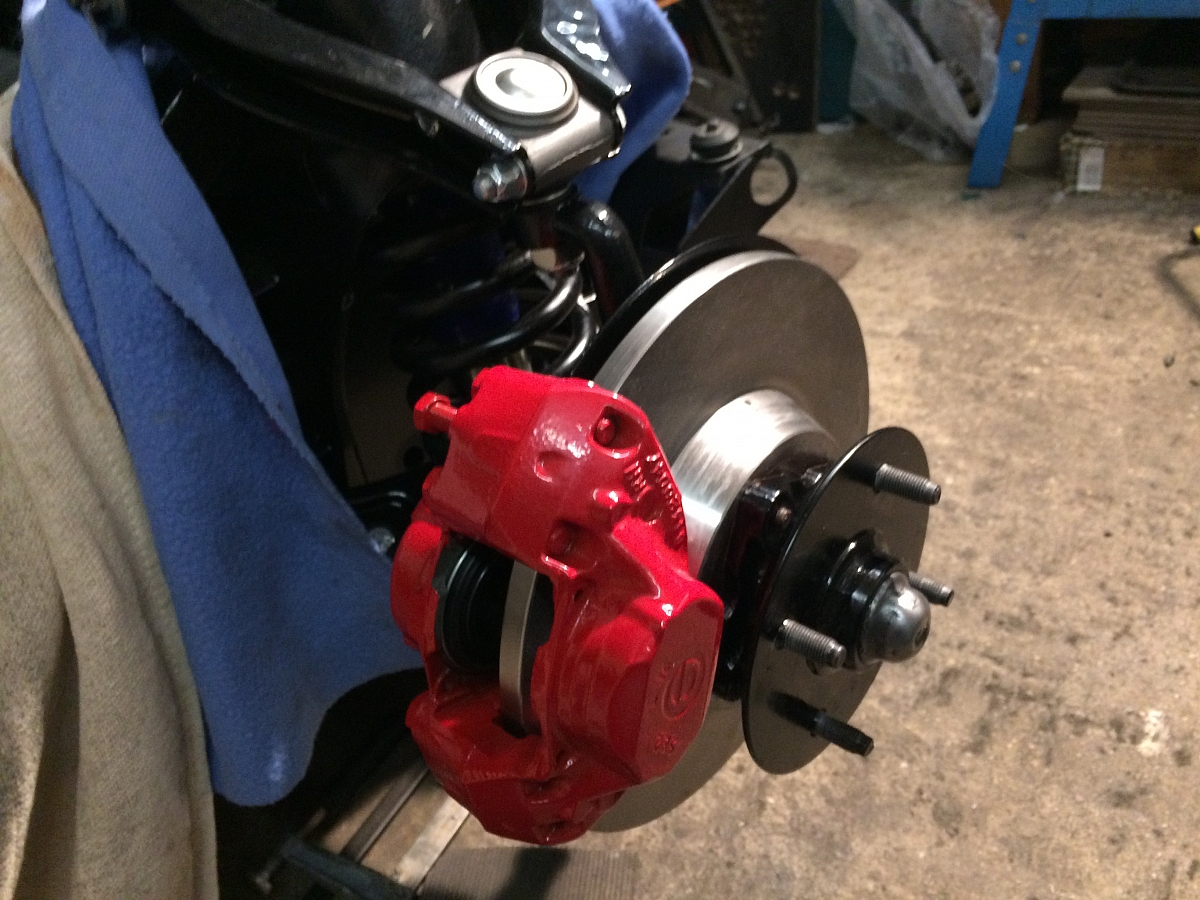
One side done. (New discs of course)
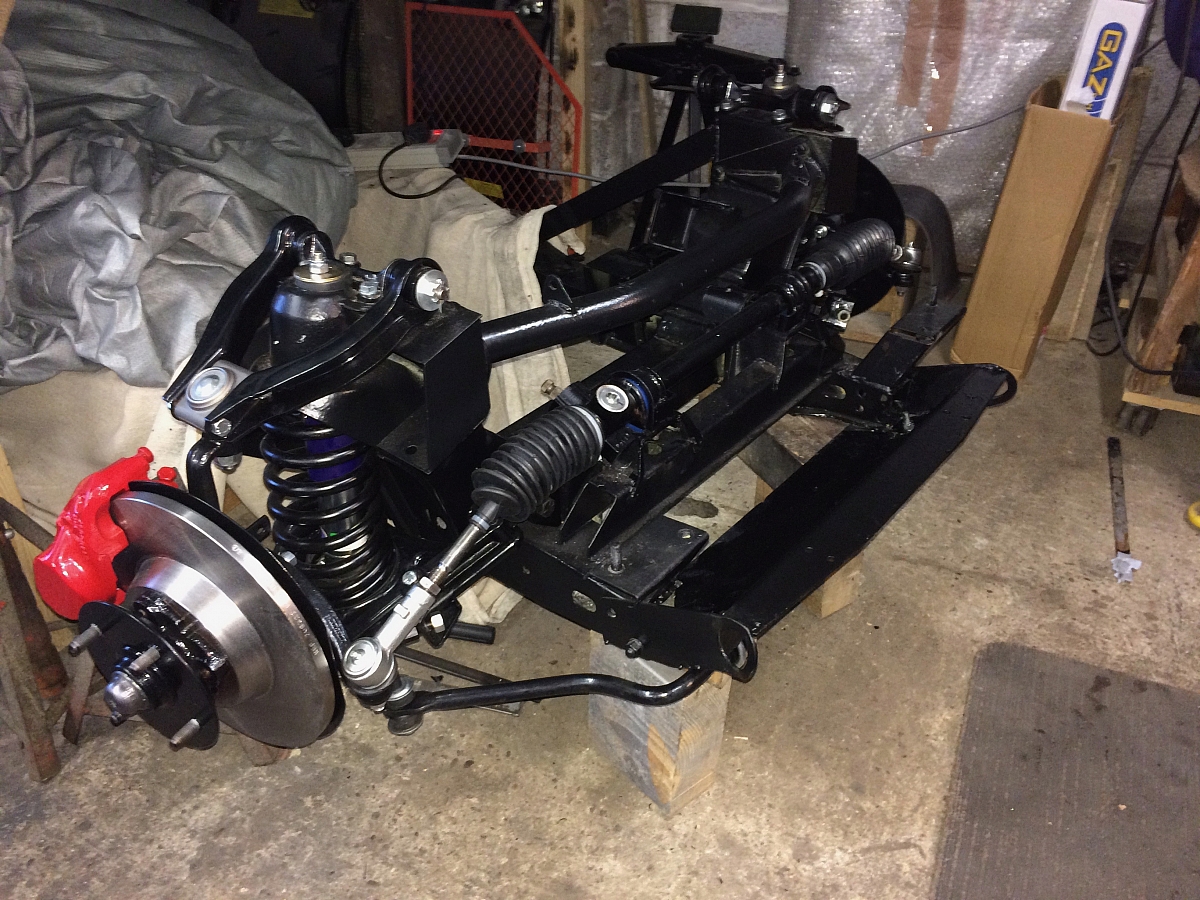
COMPLETION
So at the end of this year,the suspension rebuild is complete and now attention is drawn to the rear suspension,which will be started over the coming weeks.
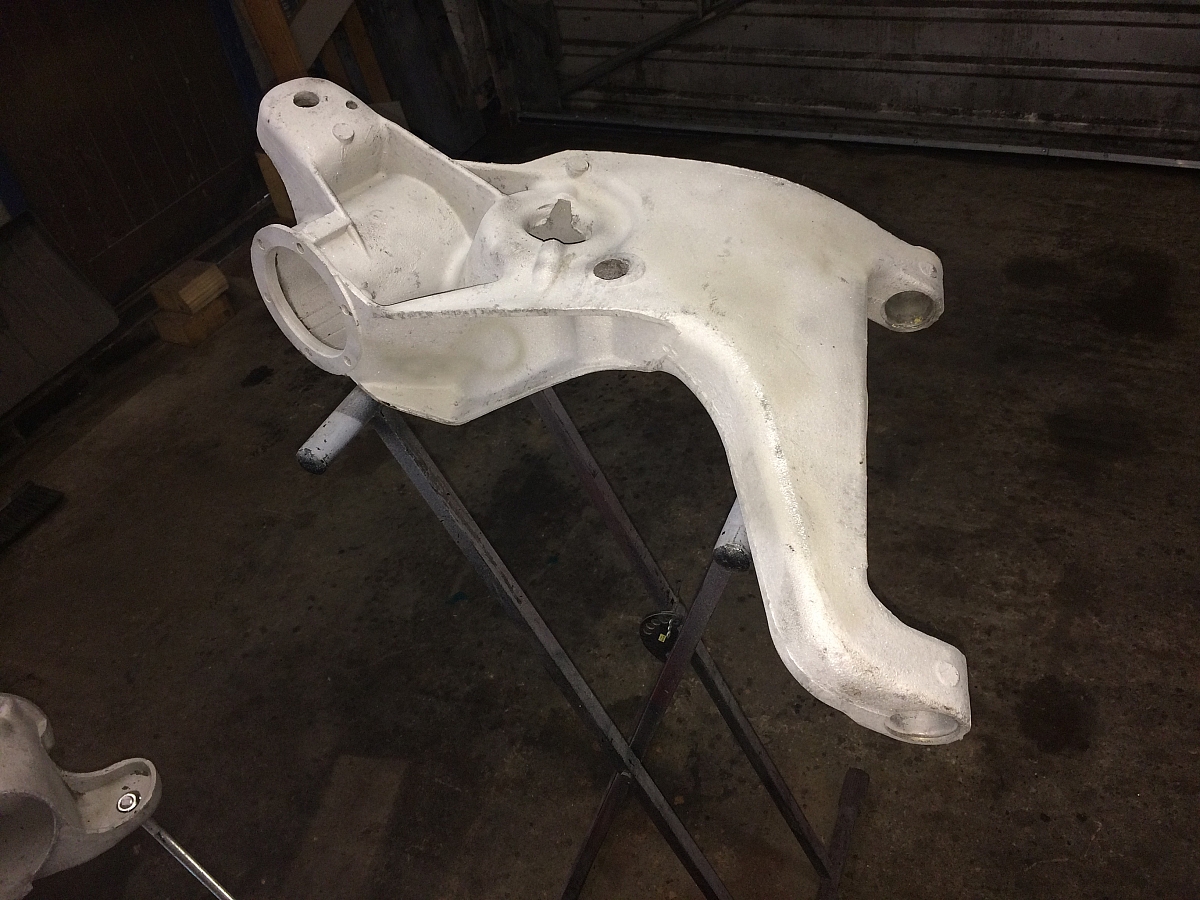
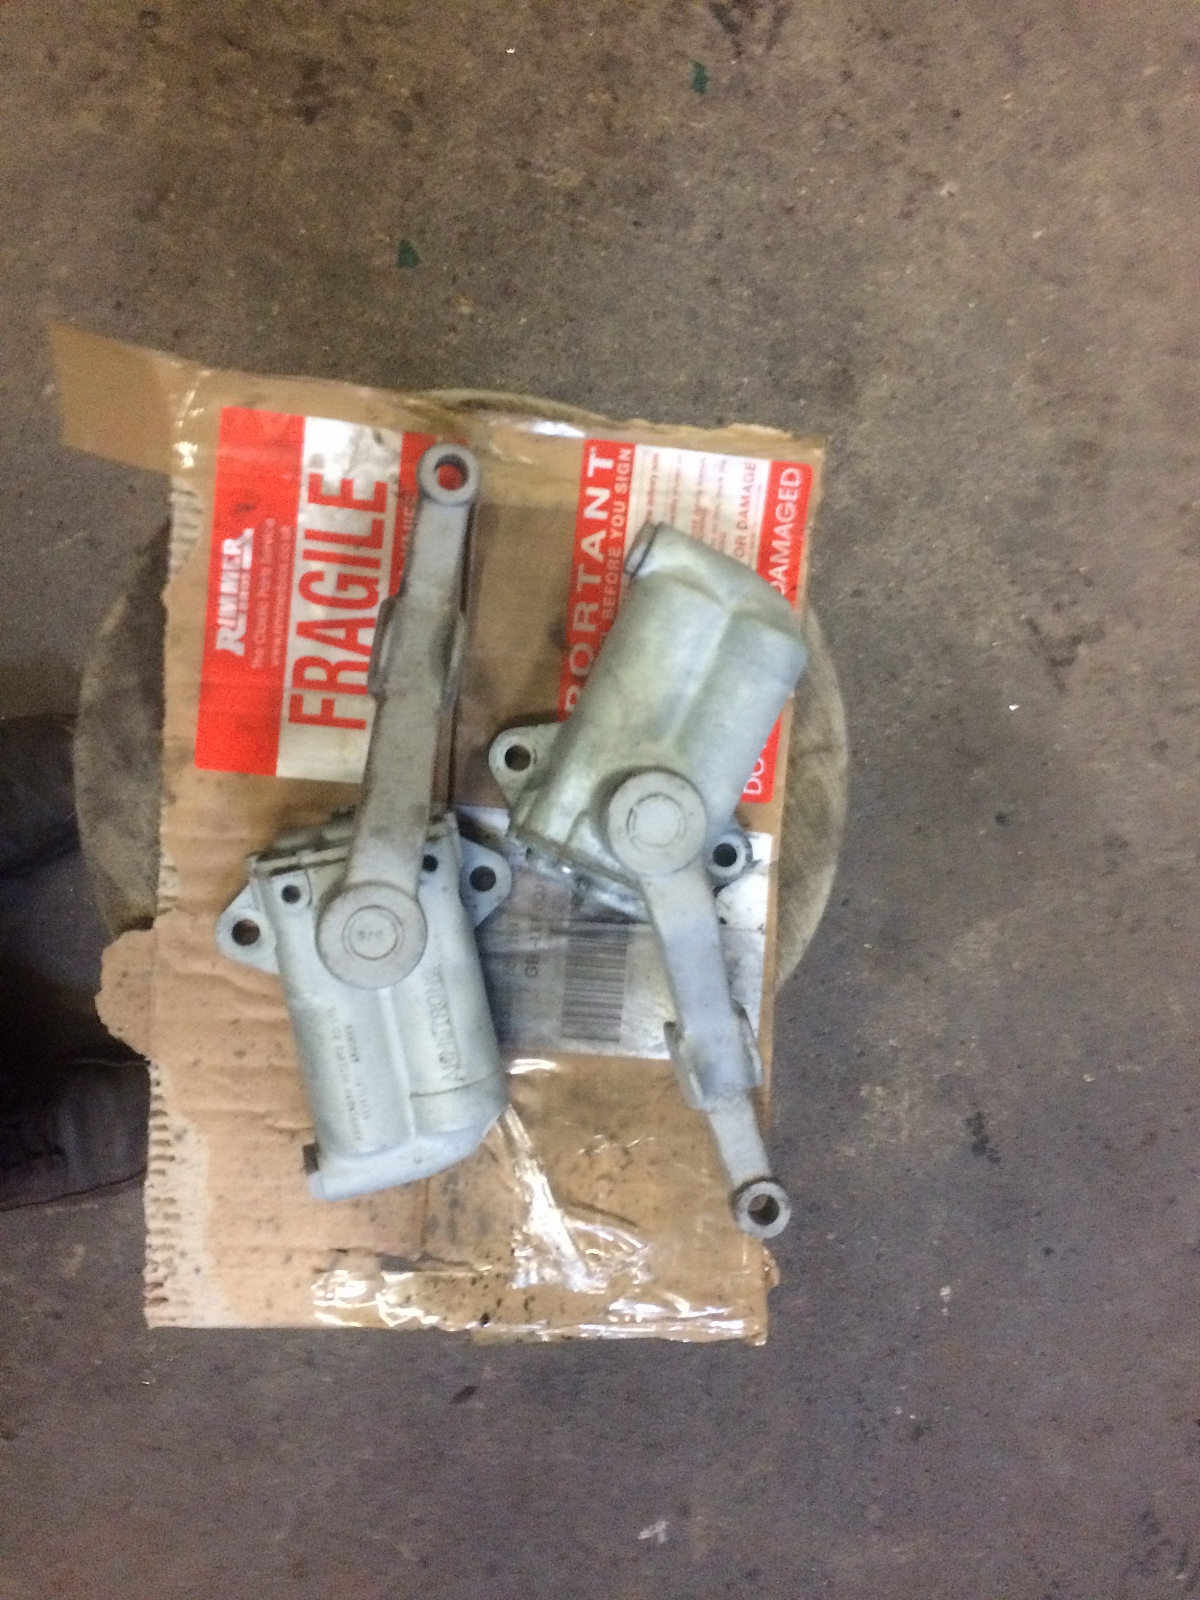
Hubs!!
Going to have my work cut out here...maybe have to buy recon ones and save some swearing and damaged knuckles...Jury's out at the moment.
UPDATE; 26th March 2017
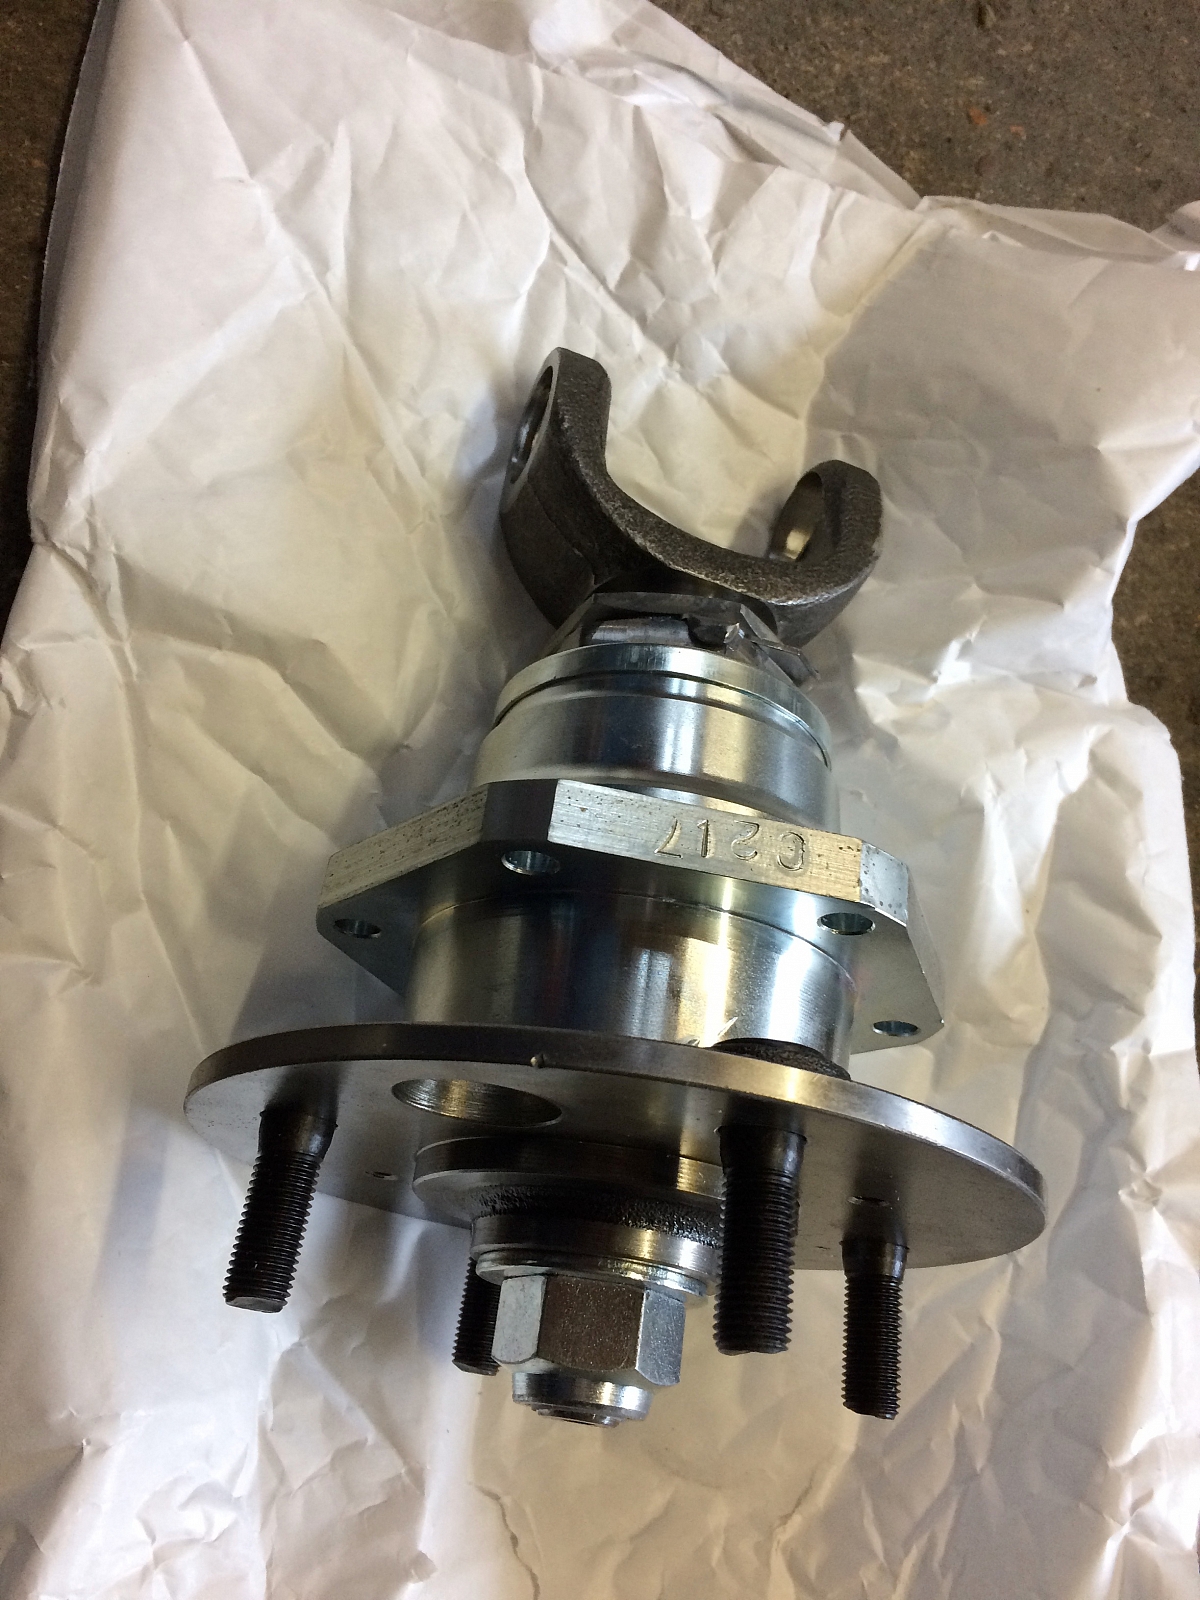
Its has been nearly 3 months since my last update so what has been going on,well I needed to address the rear hub situation.In the end I decided to replace them with new Bastocks.I purchased from one supplier but had to return them because there was end play of 10thou in one and none in the other.The supplier kindly accepted them back for refund.Went to another supplier and on receiving them,found both to be very tight.Seems to be a slightly grey area on the subject of rear hubs generally.Anyway having been assured that the hubs will find there optimum operational tollerance after they have been in service for a time,I have fitted them and will only know how they perform when the rebuild is done and on the road..That day seems such a long way off!.
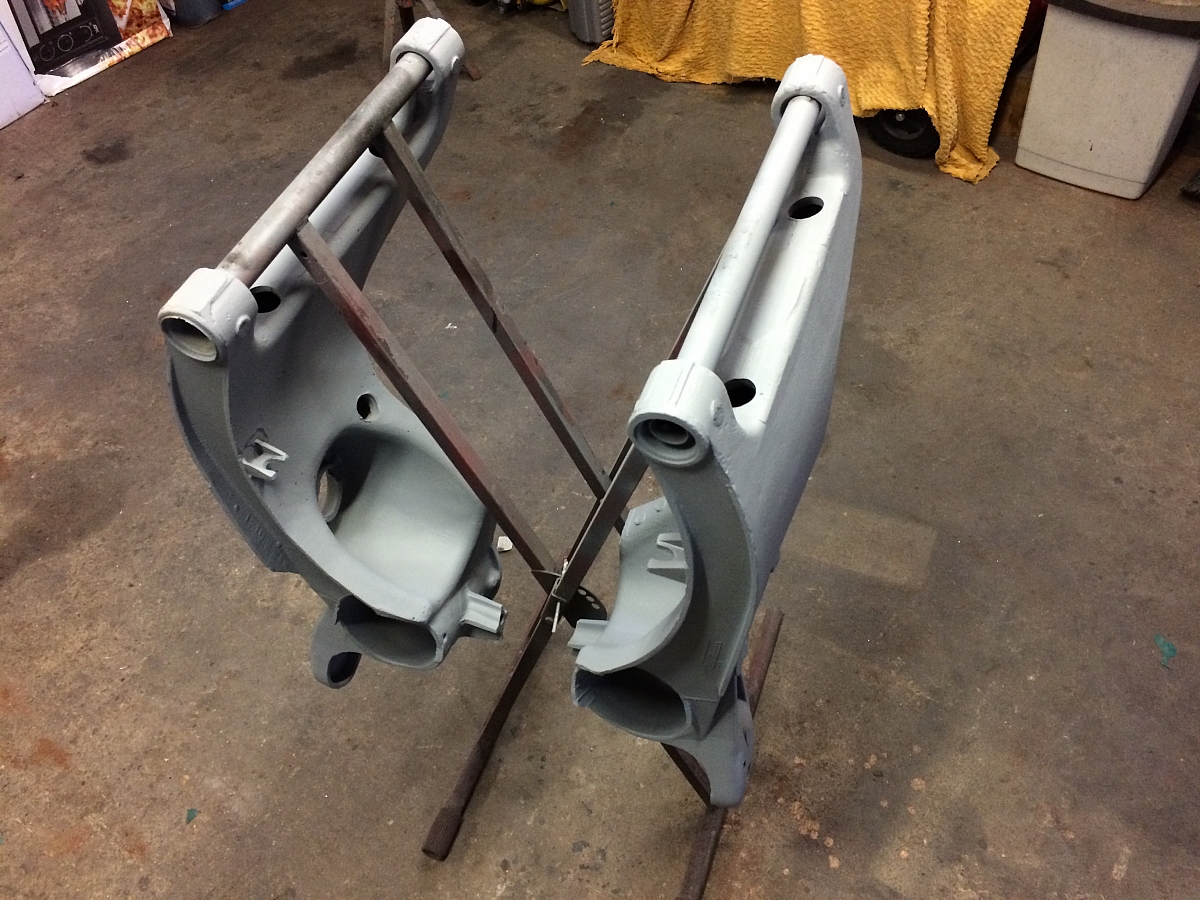
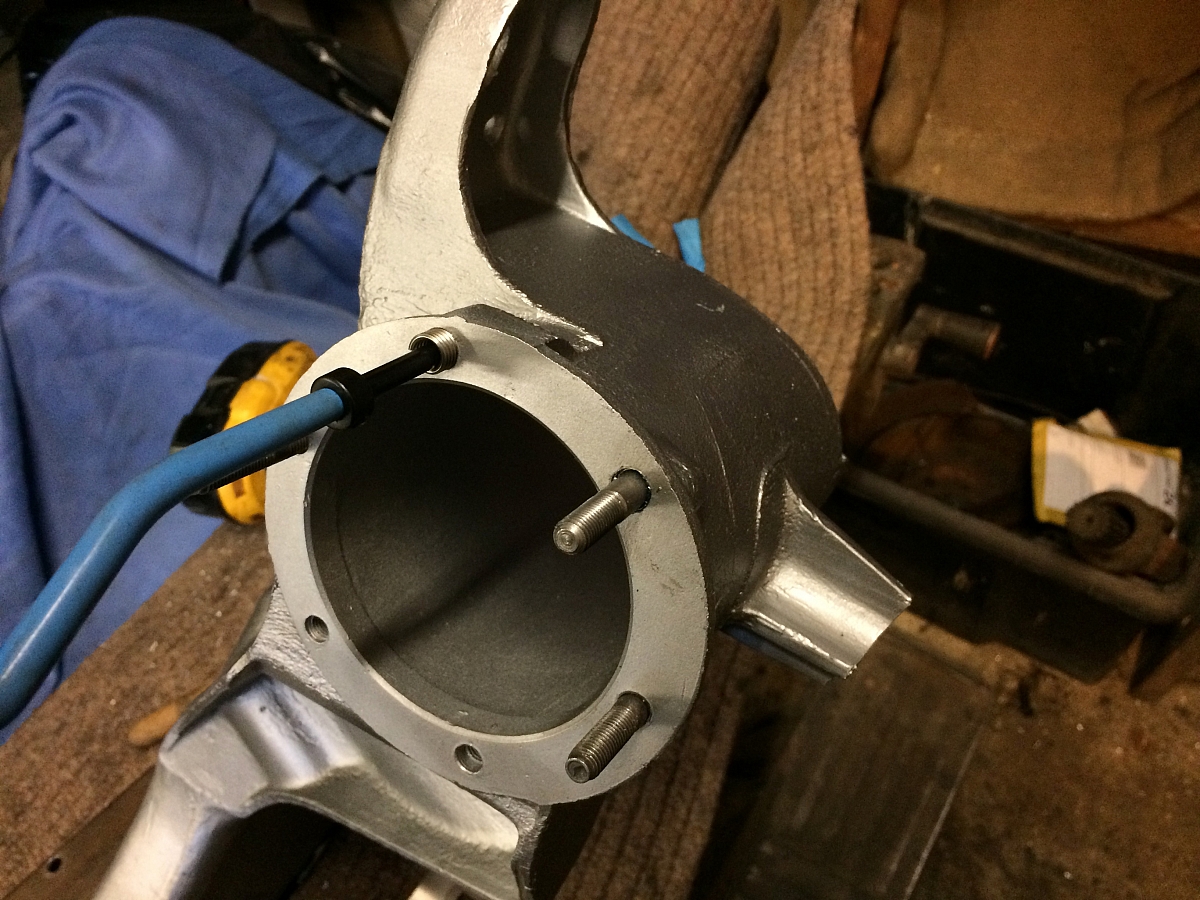
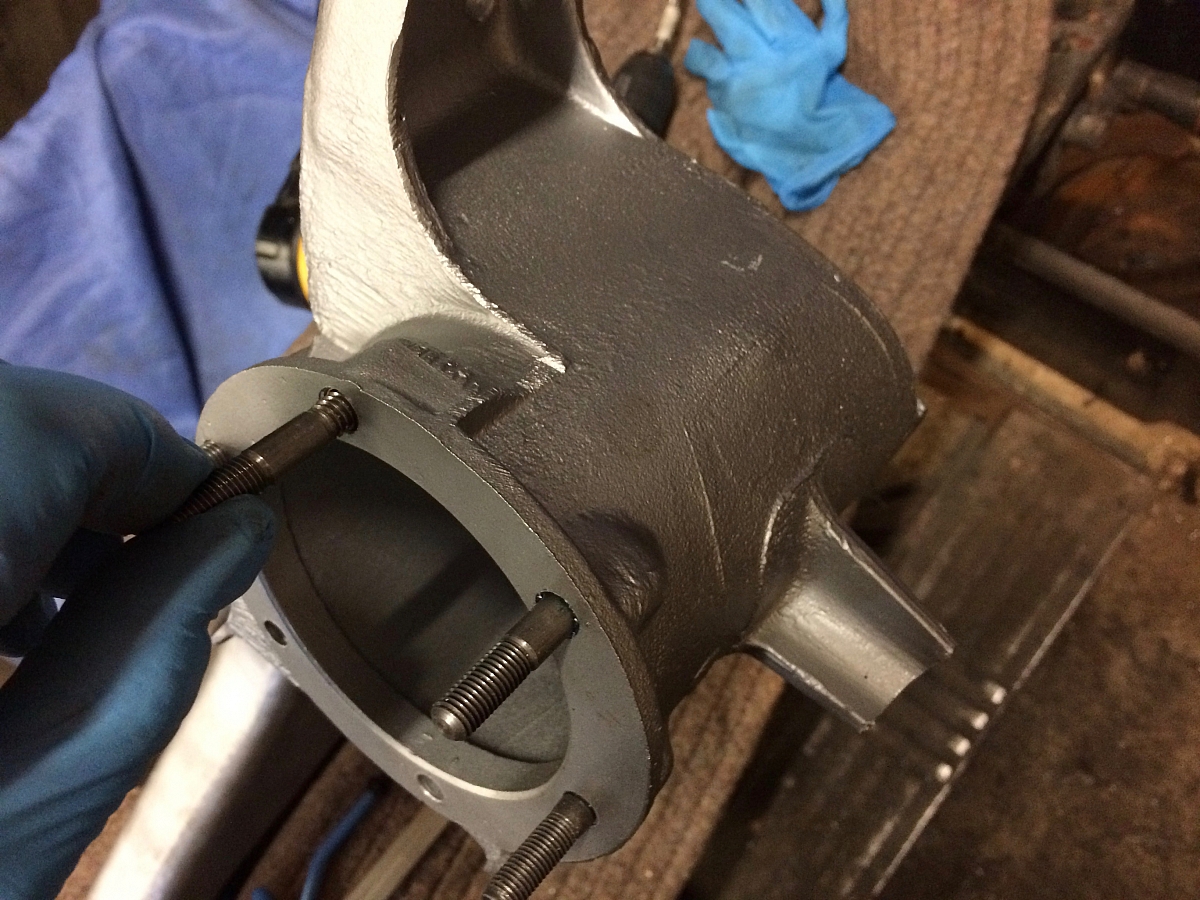
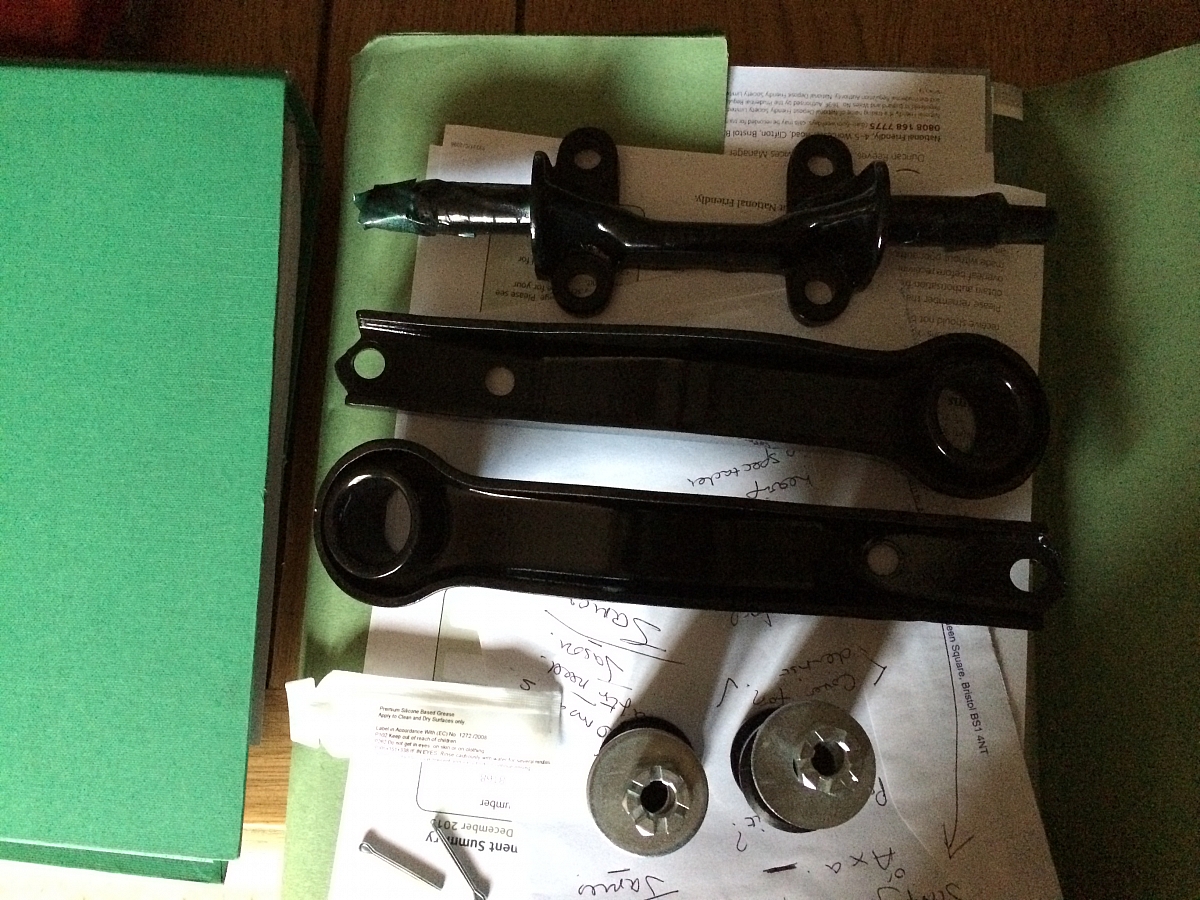
Before the hubs were installed,I attended to the trailing arms.Both needed a lot of cleaning up but after a lot of work they were primed and sprayed silver.I took the precaution of Helicoiling the threads that take the six bolts that attach the hubs to the arms. A job that I had not done before but really if you follow the instructions and study the info online it is not a mammoth task and at least I will know that the hubs will never part company with the trailing arms,which apparently has happened with dire consequences to some owners in the past.
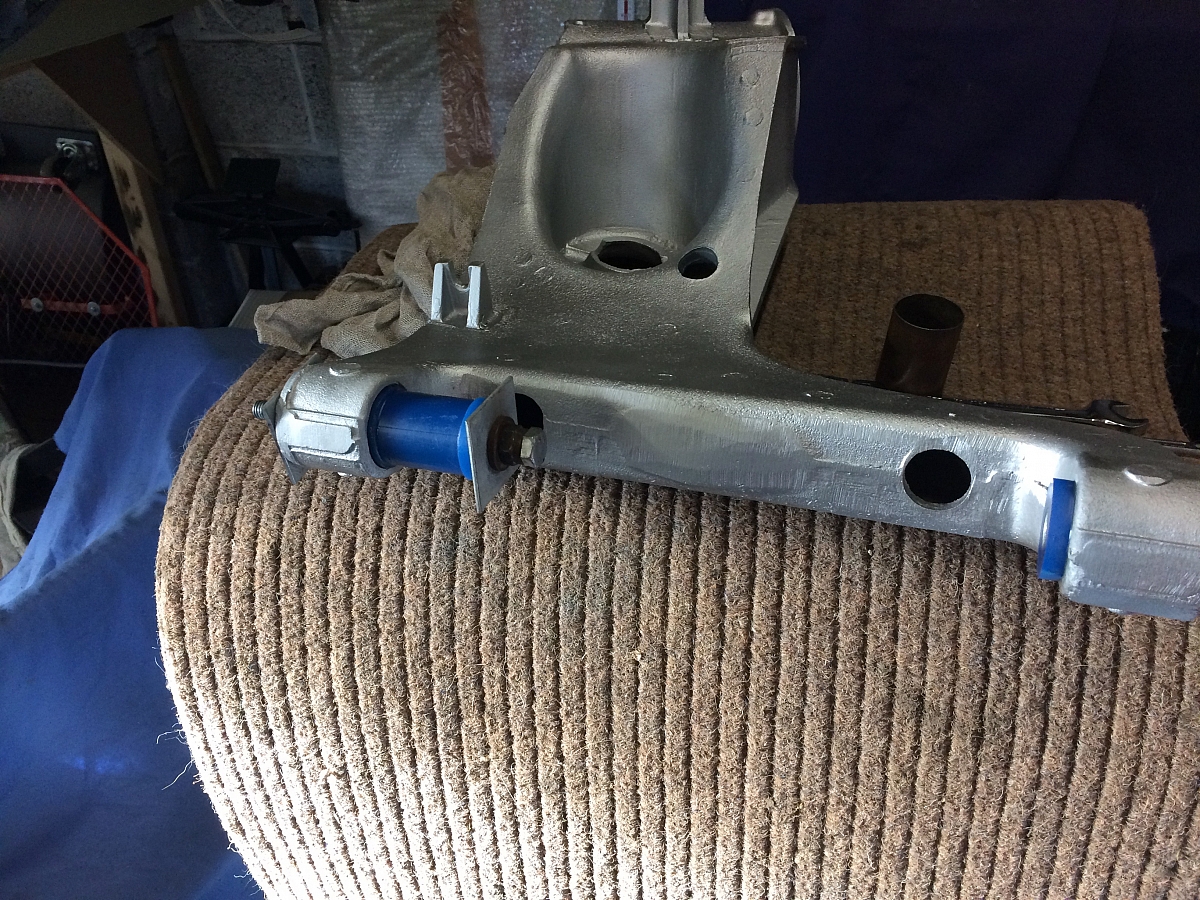
Decided to replace the original trailing arm brackets with the adjustable ones,should save a lot of time setting up tracking/camber etc..
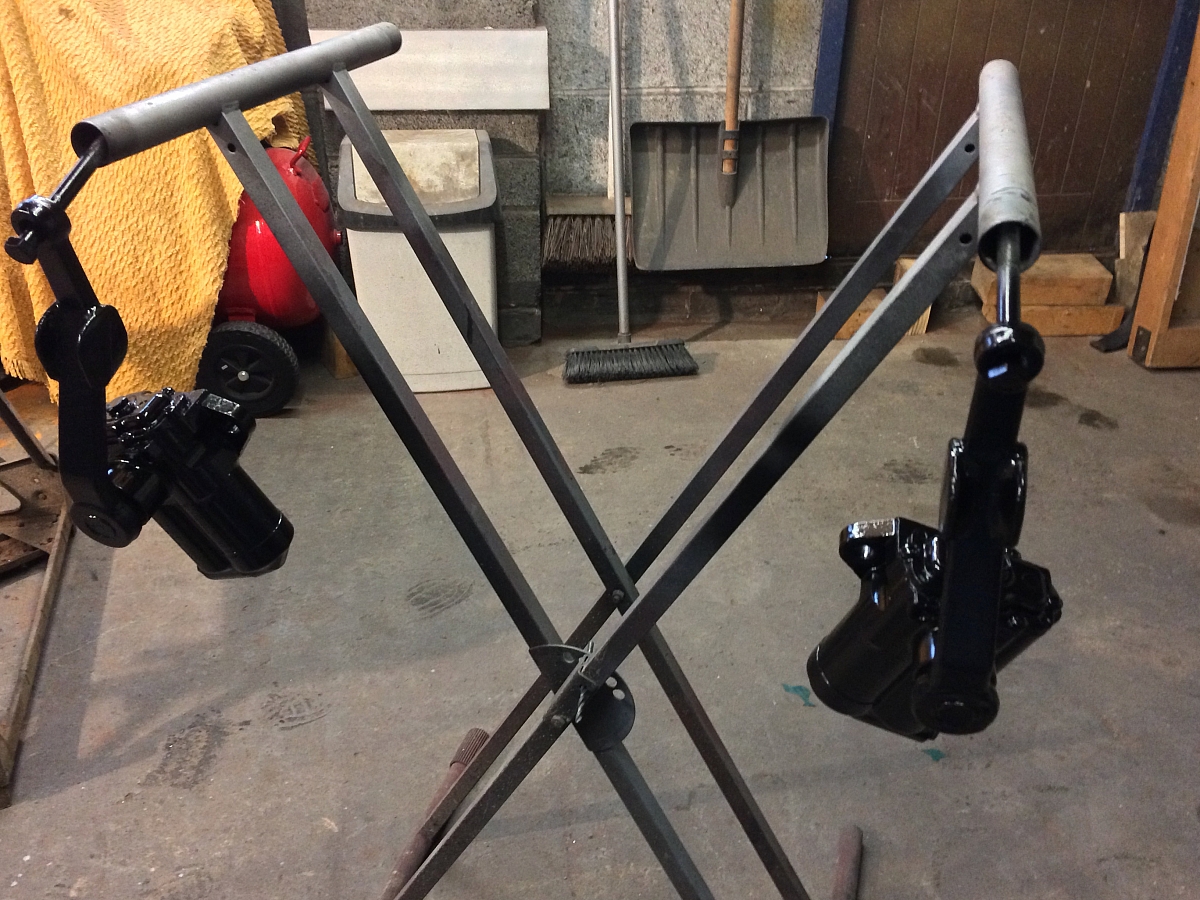
Rear shockers were taken apart cleaned out and powder coated.Finally filled with new fluid and installed on the chassis.
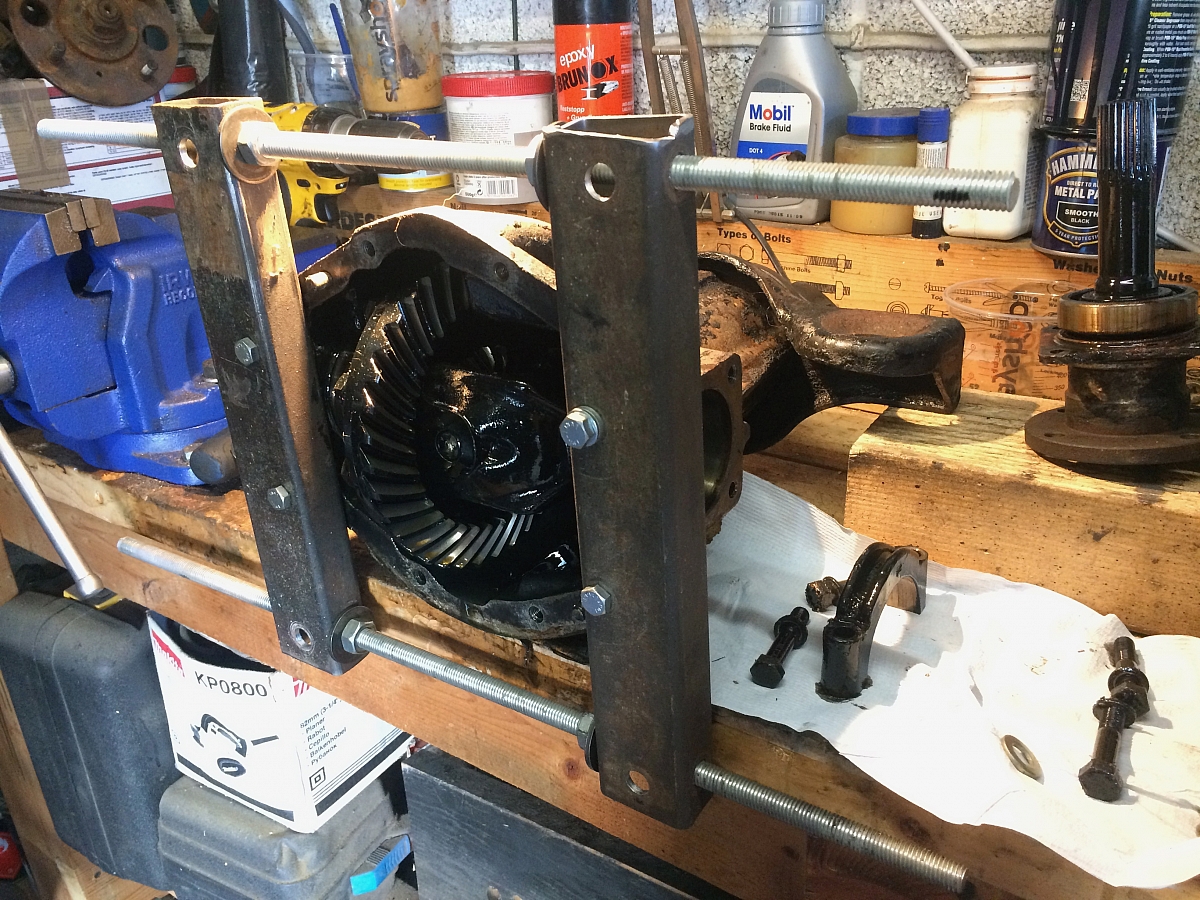
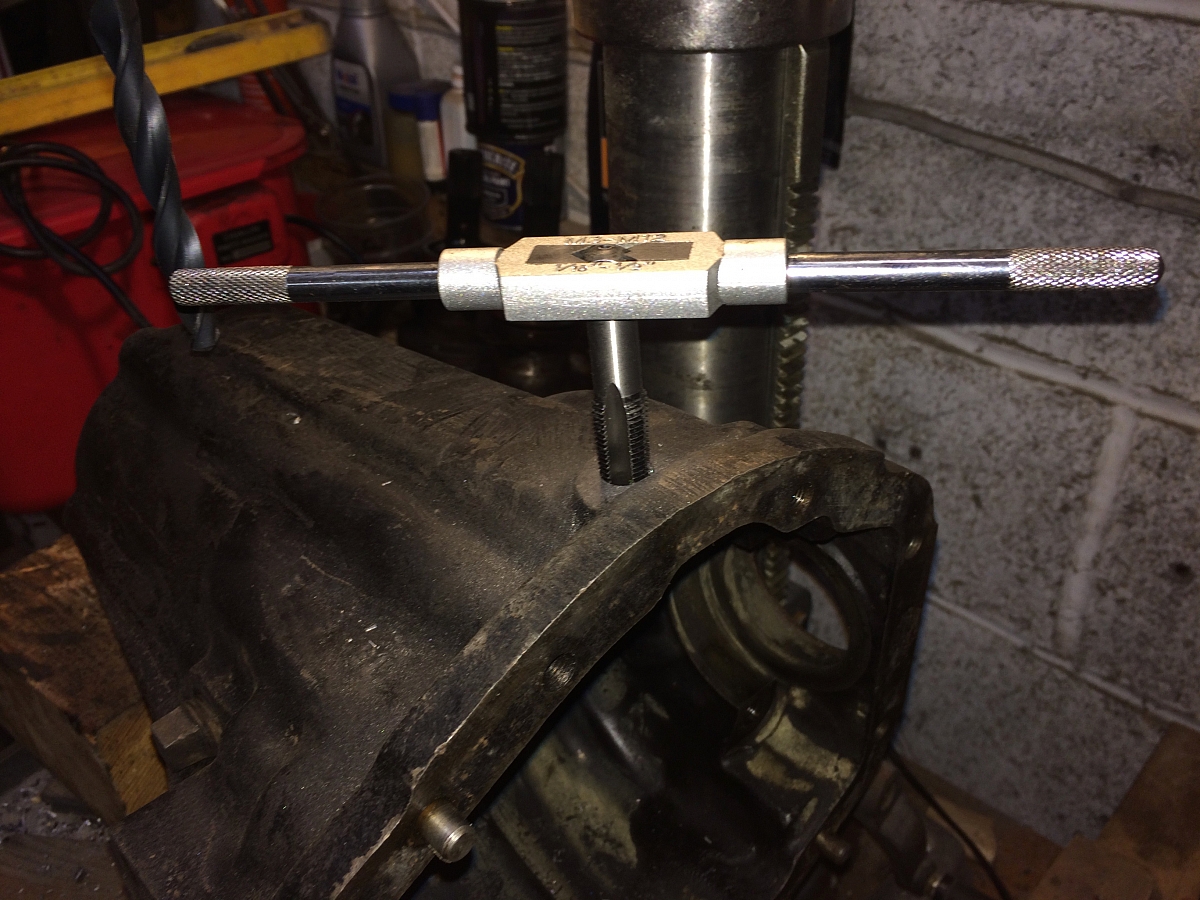
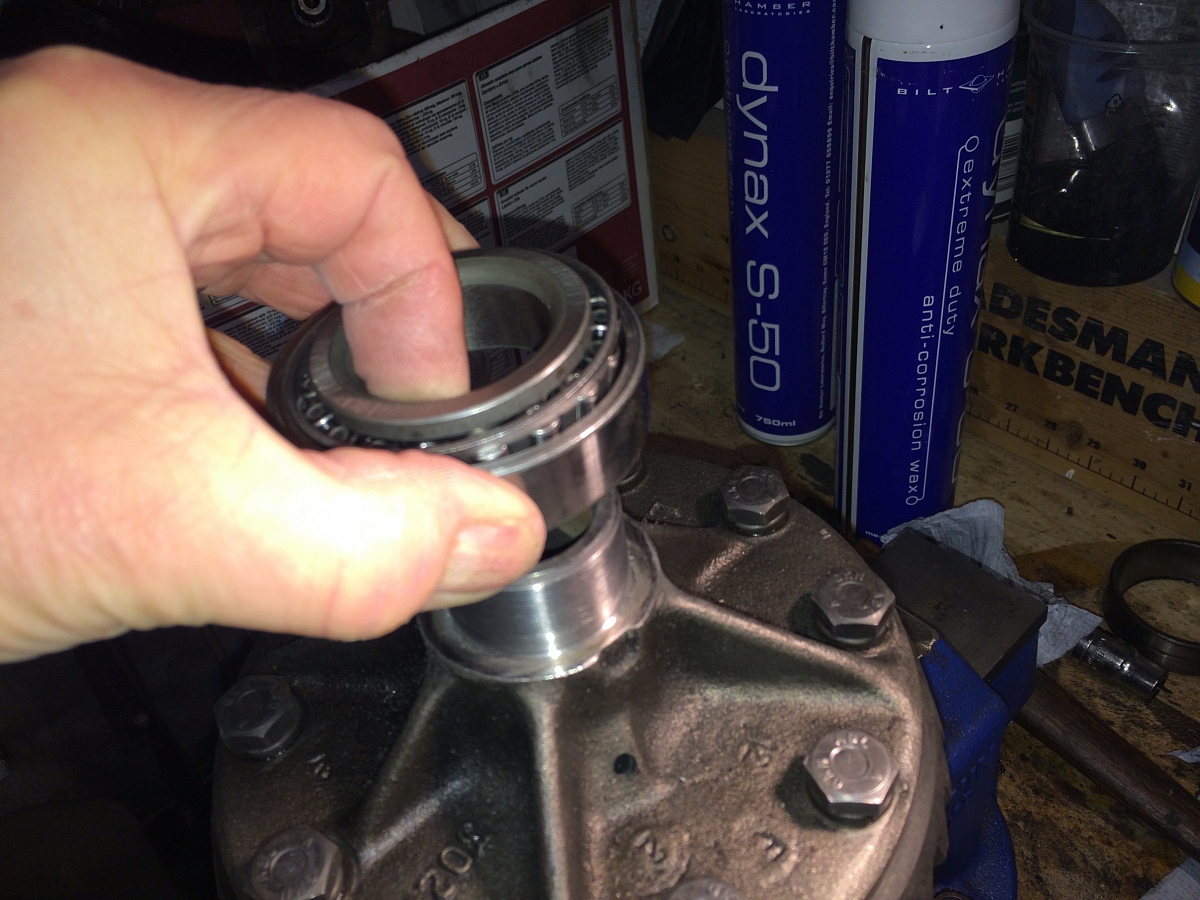
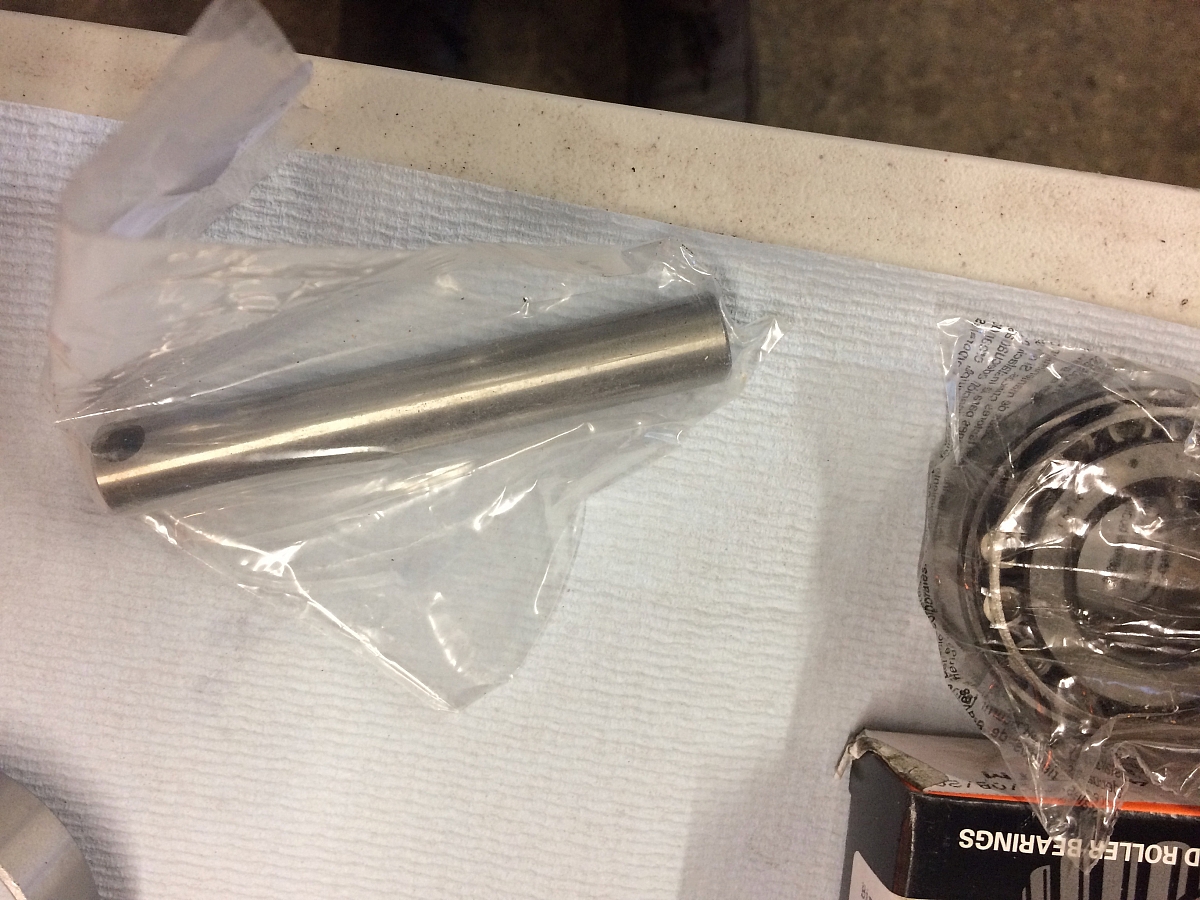
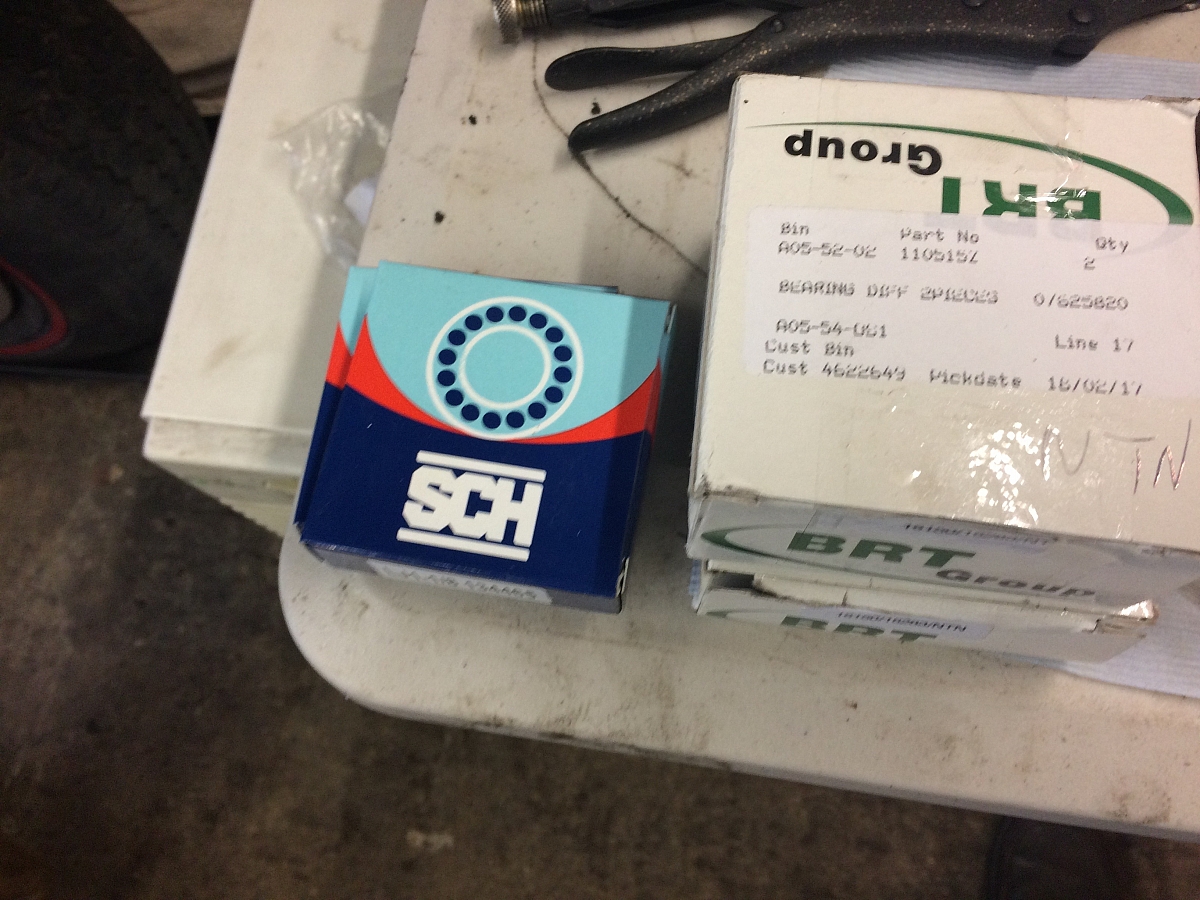
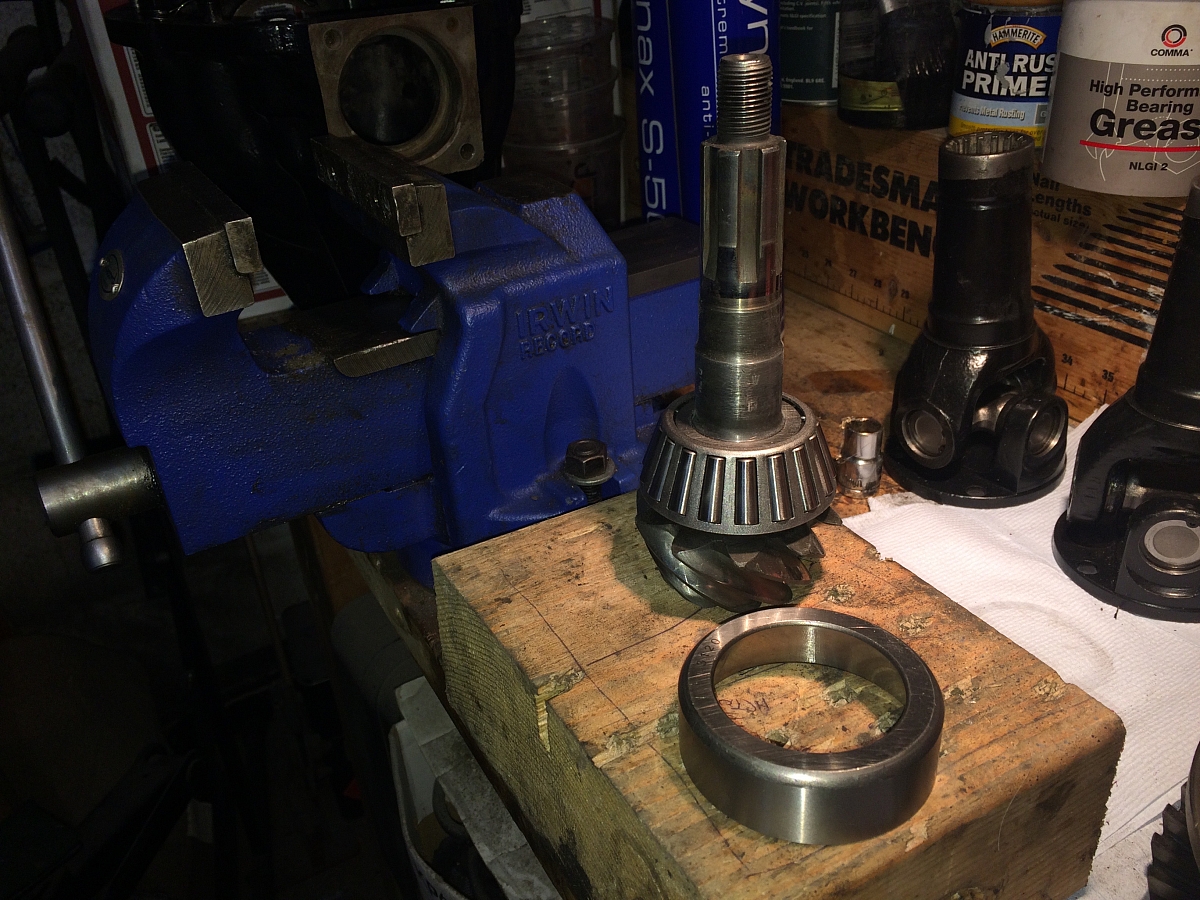
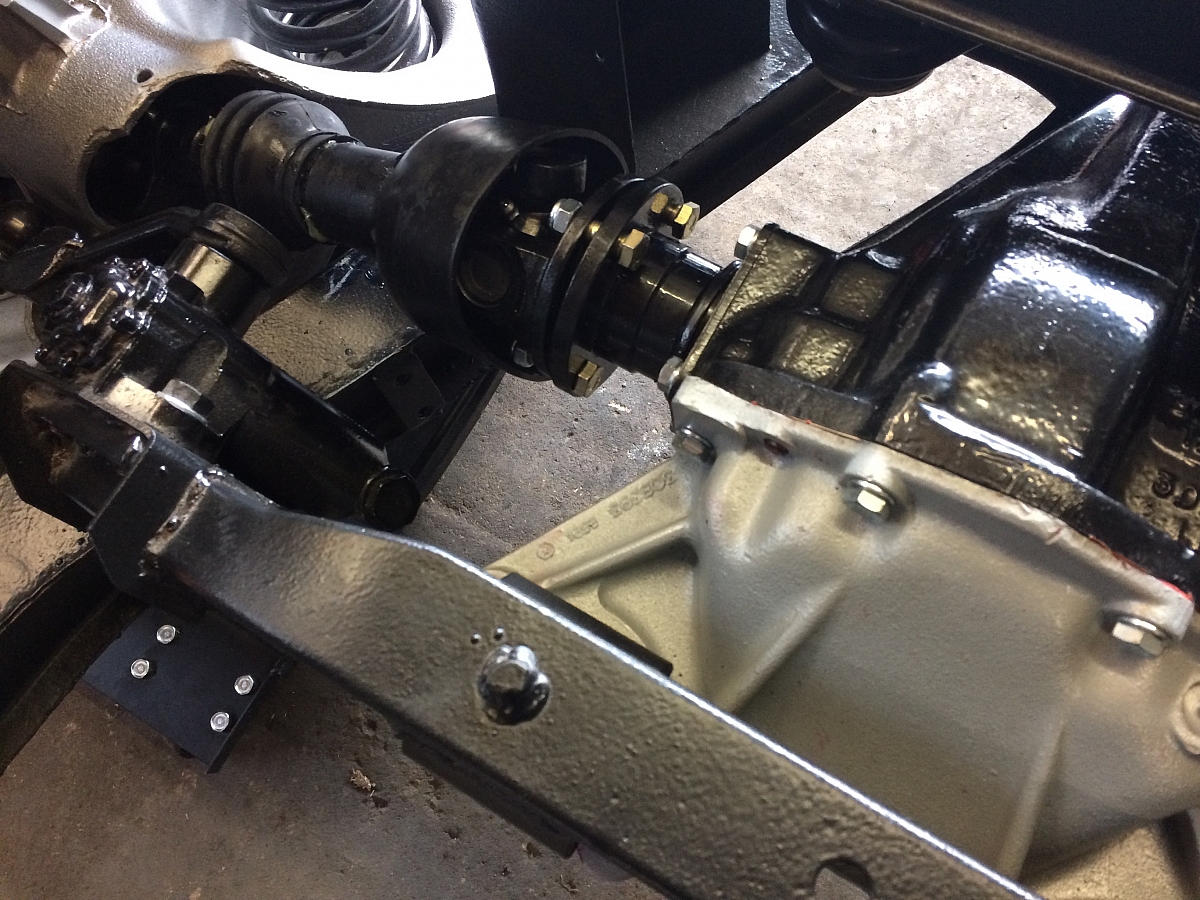
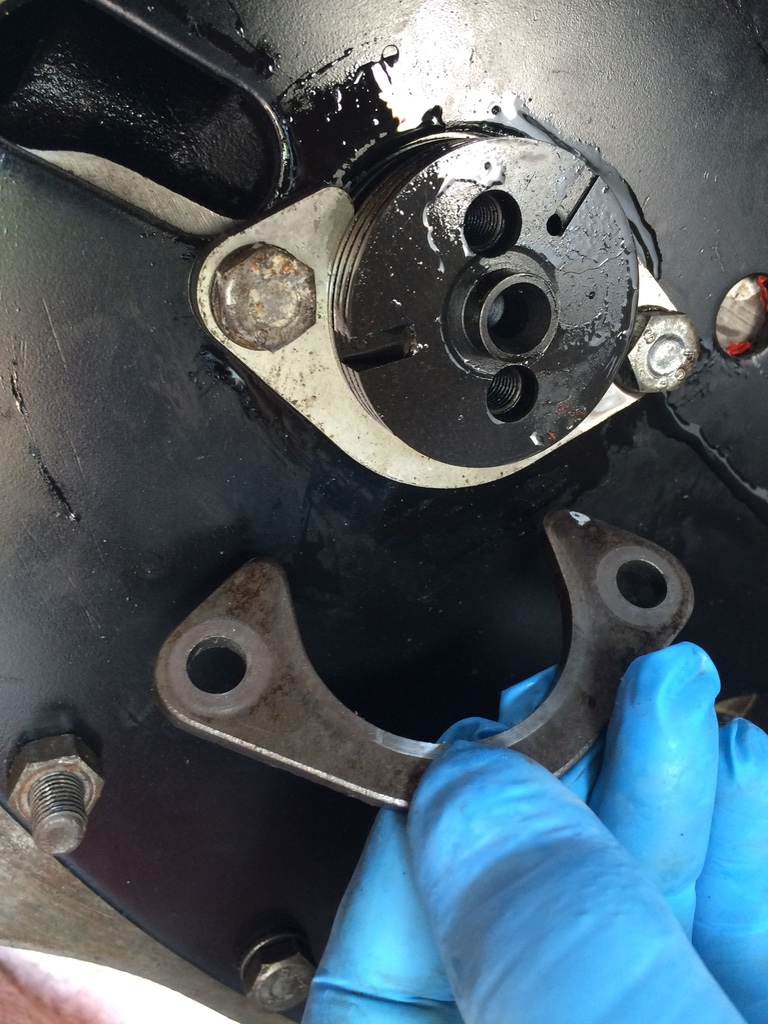
Next was the diff;I made a spreader to enable the carrier etc. to be removed and then I completely took it apart,removed old bearings and seals and replaced with new.Then hours setting up the correct pinion float with differant size shims. As usual Ed's excellent restoration blog http://bullfire.net/TR6/TR6%20TOC.html helped so much in this.I also created a drain hole and plug, powder coated the main case in black and the rear casting in silver.I then installed it on the chassis with new bushes.
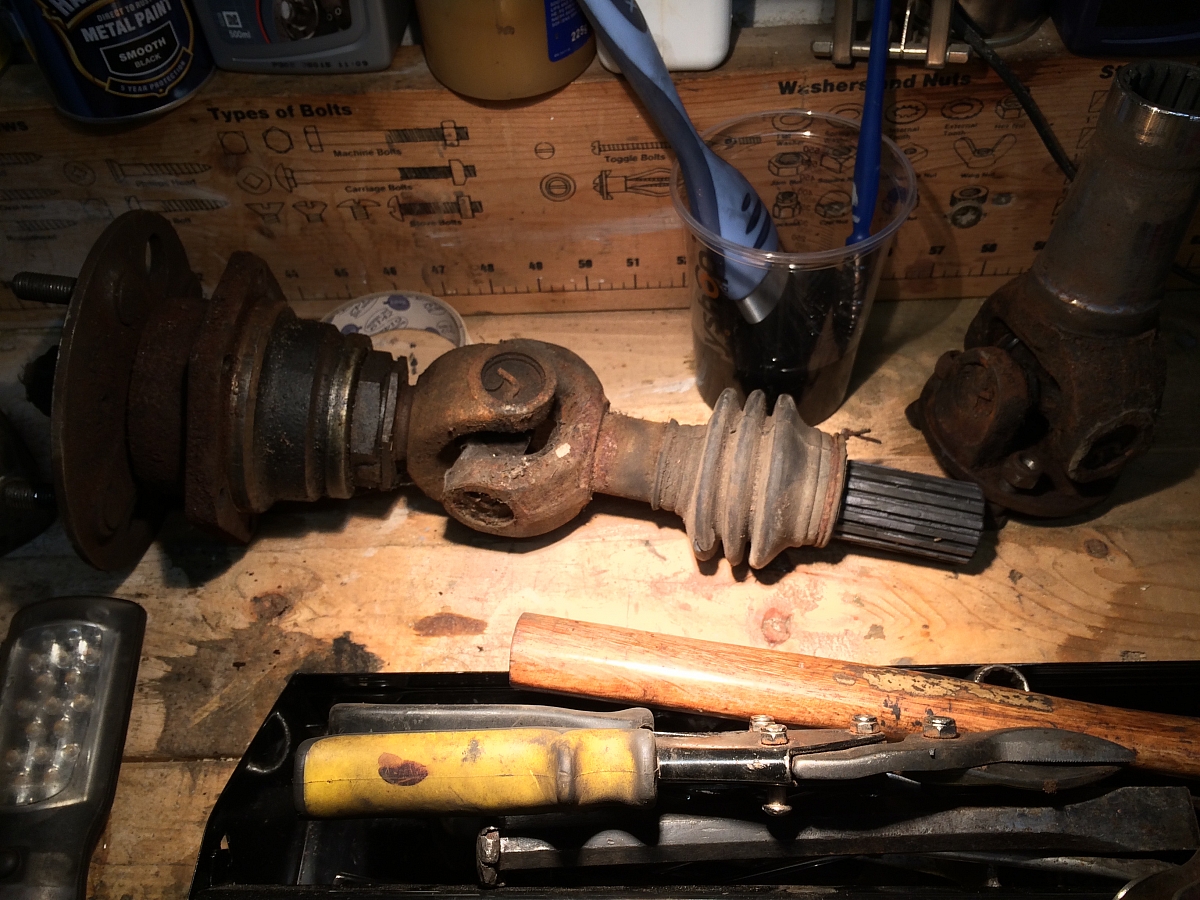
I had some trouble with the new UJ kit supplied as they seemed of poor quality and a bugger to install as the rollers kept dislodging an I even found a couple of UJs with rollers in them of different lengths.
In the end I returned them and bought the KGN ones which I installed quickly and easily.
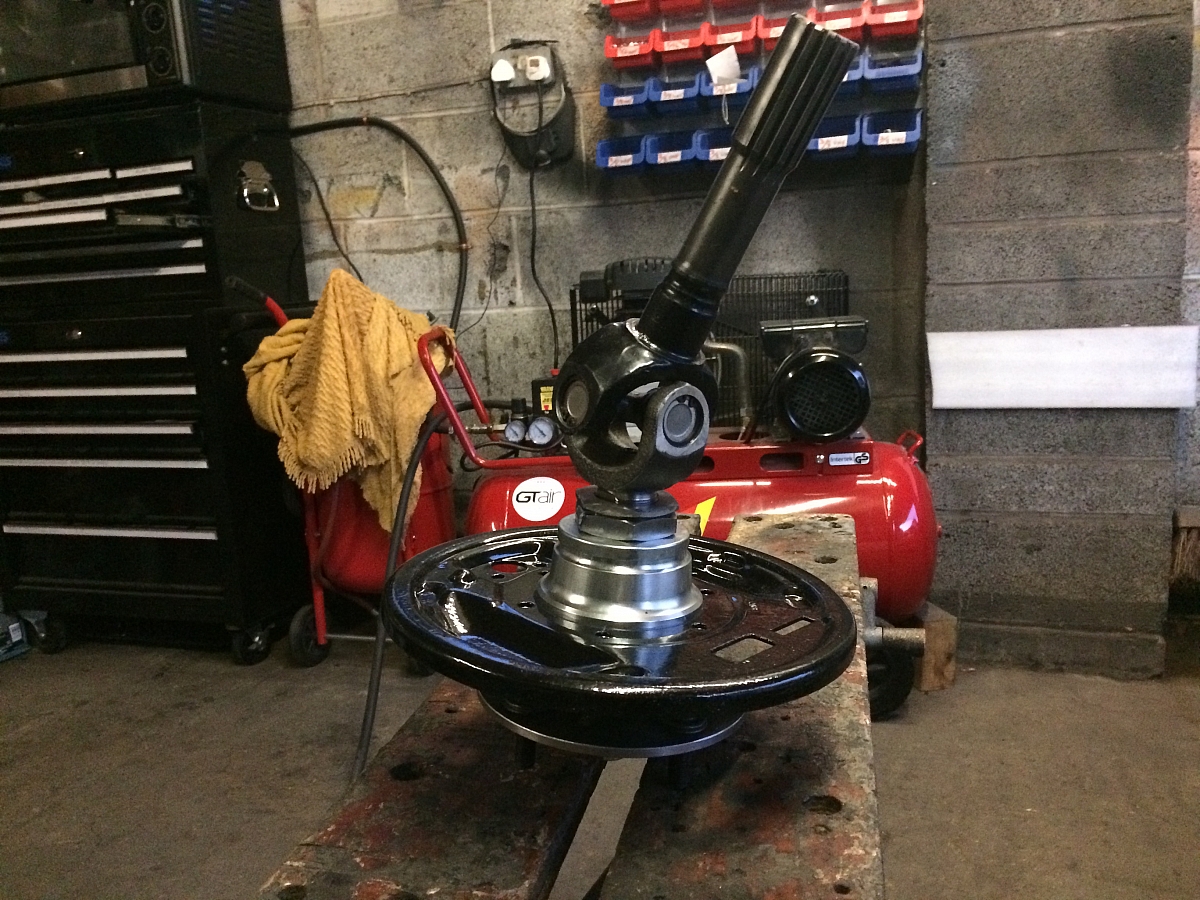
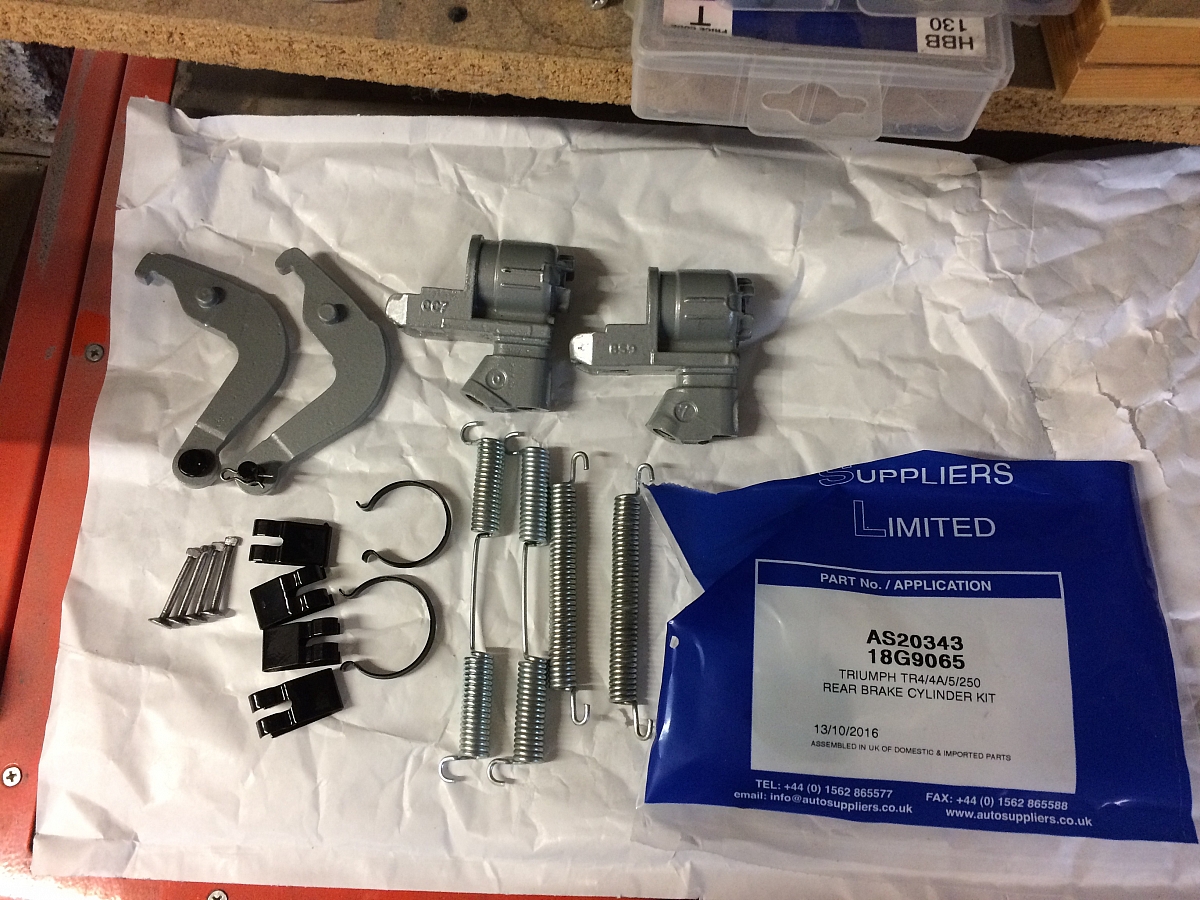
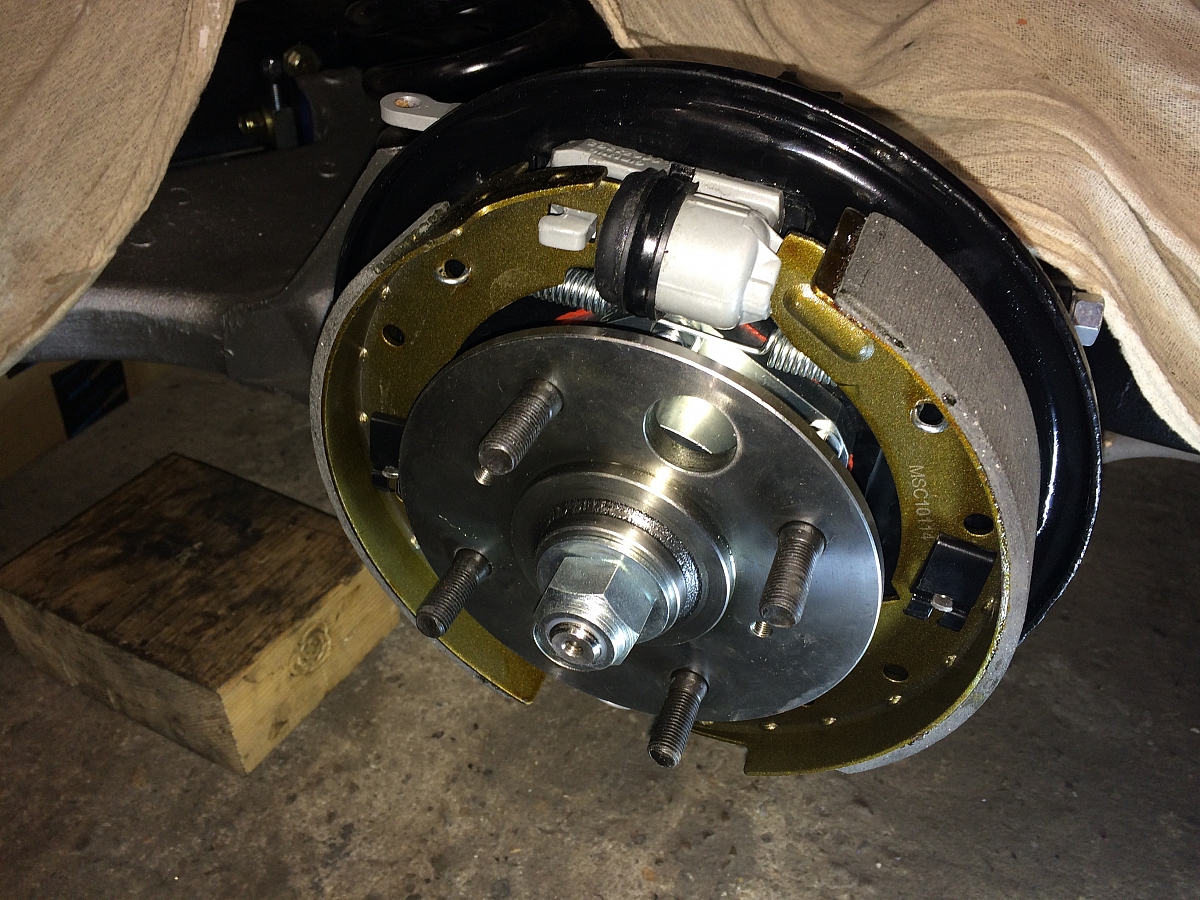
Rear brakes next....Cleaned and powder coated the backplates.Decided to re use the cylinders as the bores were excellent so put new seals in and then re assembled finally with new brake shoes and drums.
Next job was to inject the chassis with Dynax and then attention drawn to fitting of brake pipes and fuel line.
Emission system..to be removed..
Originally the car had an emission system comprising of a charcoal canister in the engine bay and hoses to both carbs connected to the canister and rocker cover.Also a long black plastic tube from the canister to the rear of the car wending its way round the boot and finally to the tank vent.This was added to the USA cars to comply with somewhat stricter emission controls.As most owners have removed this system and indeed this TR has most of the piping and the canister missing when I bought it,I will remove what is left,which is only the black tubing.
OK back to the brake pipes.I started with a full brake pipe kit but found some of the lengths were too long so bought a flaring tool and modified some of the lengths.Instead of 3 pipes along the chassis from front to rear,the fuel line,the brake pipe and the plastic emission pipe I only had two now,the brake pipe and the fuel line.The black plastic one gone.
No great issues really,I just copied the route of the original pipes which I had kept as patterns and all was done in a couple of days.
So here we are nearly at the end of March with the chassis more or less completed.
Next task will be to install the flywheel, the clutch and re marry the gearbox to the engine which will then be installed on the chassis.
Slow steady progress and making good friends along the way!
Collection of pics showing various stages of this update