By July of 2015 all of the outer body panels had progressed to being around 95% complete. All major structural issues had been taken care of and I had made a start on the many surface issues. The panels were all in rattle can primer just to protect the steel. We started with the right rear wing as that was my best body panel with the least issues.
We actually started the process in December of 2014 but due to workload and scheduling conflicts we did not complete this wing and get it fully fitted until July 2015.
The outer body panel prep and final paint is proving to be quite a time consuming process. First we give the panel a light blasting to remove the rattle can primer and get back to bare metal. Then we apply the light gray epoxy primer. The underside of the wings gets the same treatment as the underside of the tub with a layer of Gravitex stone chip going over the primer.
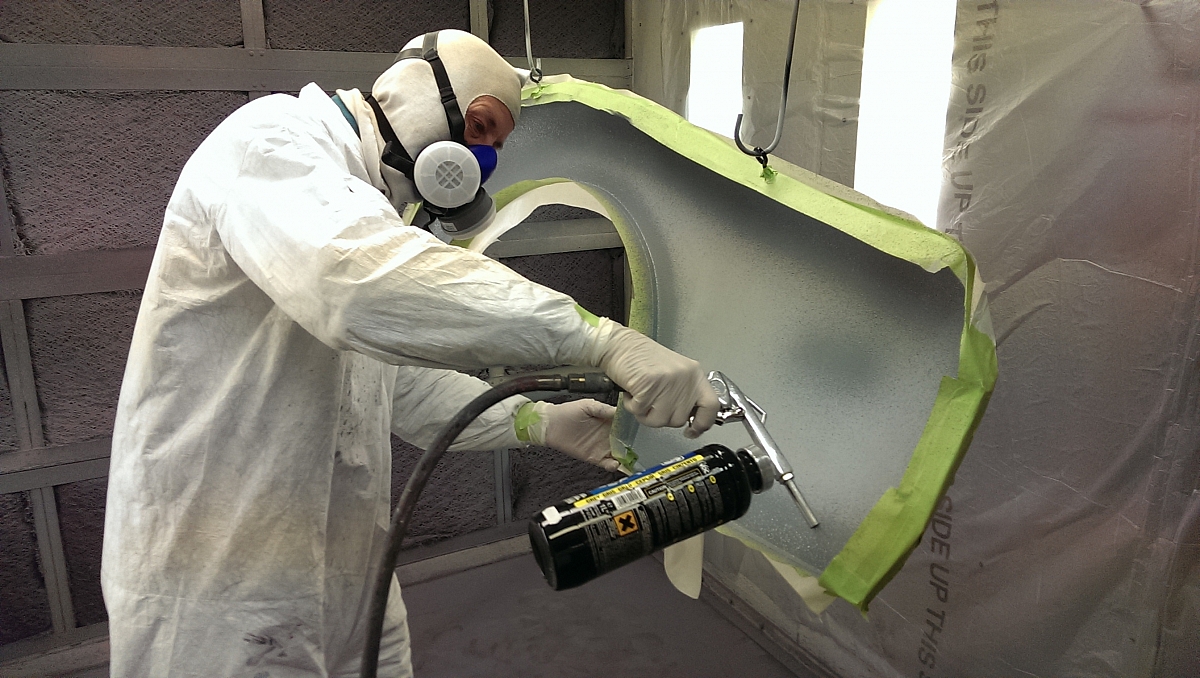
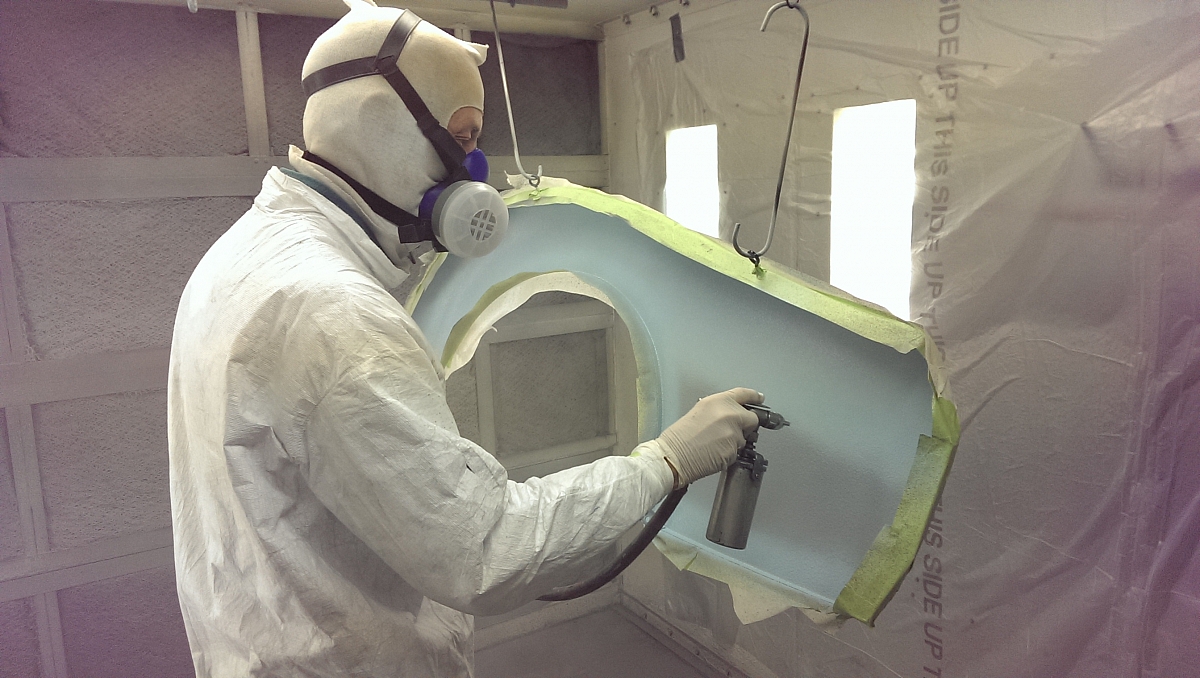
After the Gravitex we follow with several coats of the Powder Blue acrylic urethane.
The paint booth was not designed for painting cars so we can only reasonably do one large panel at a time.
For the outer surface of the wing it is a continuing process of prime, block sand, deal with dents and high spots and repeat until the panel is straight. We are using the 3M dry guide powder to help identify high and low spots and sanding at this stage with 180 grit self adhesive sandpaper on Dura-block sanding blocks.
When we think the panel is as straight as we are going to get it we give it a final light primer and scuff with 320 grit sandpaper before applying two coats of Powder Blue color and three light coats of clear.
When the clear is dry we spend an hour or so wet sanding to remove any minor surface issues such as dust nibs and then buff the panel with several stages of compound.
A lot of time is spent waiting for paint to dry so if we had more space we could have done several panels in parallel but with just a small shop and the need to keep sanding dust out of the booth we are happy to just take our time and work through the panels even if it takes us the rest of the year to finish them.
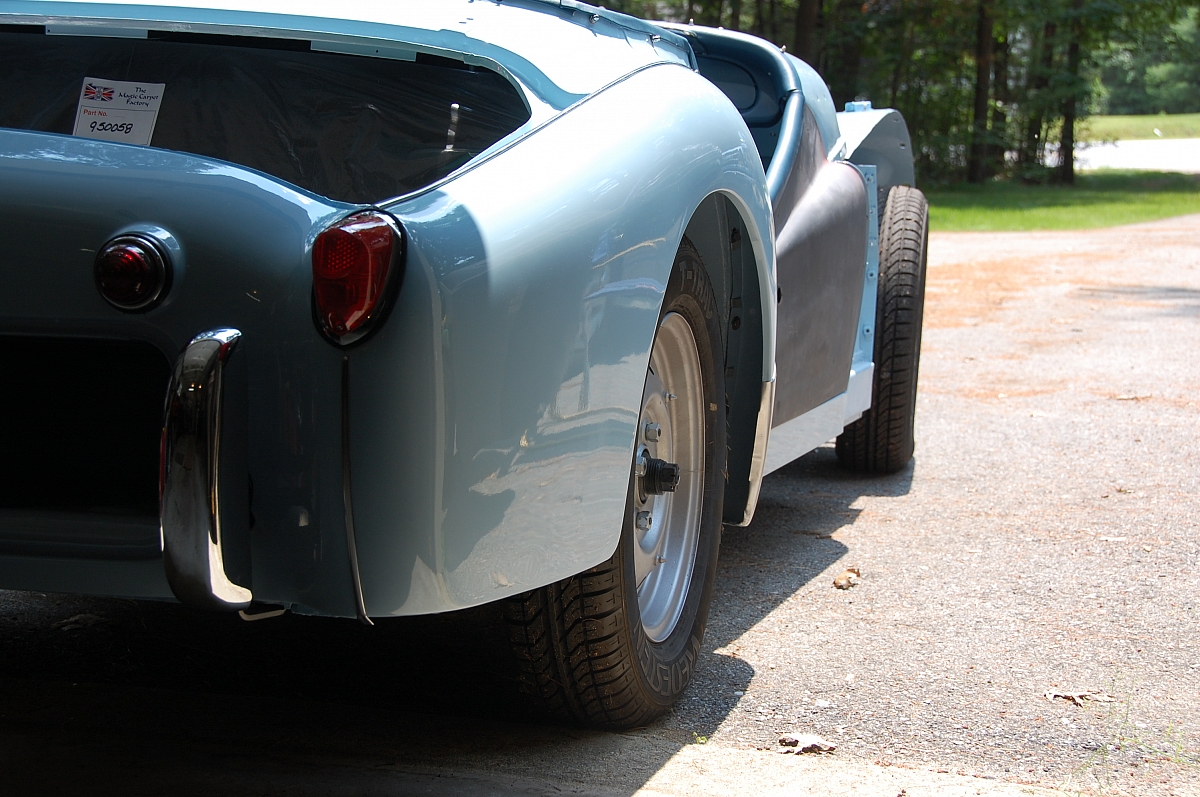
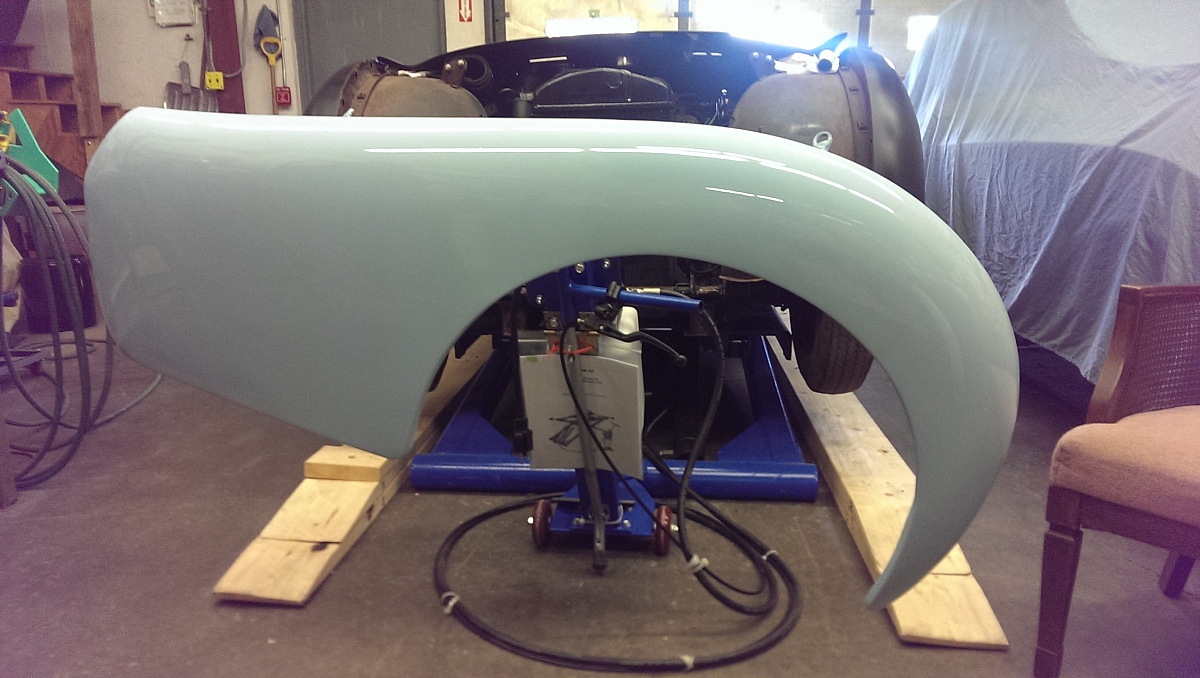
Here is the finished right rear wing hanging in front of a partially dismantled 1955 TR2 with the razor edge of a 1952 Mayflower visible under the cover.
The metal tabs on the beading have a very interesting property in that if you want to move a tab to a specific location it will not budge but if you tilt the beading just half a degree off horizontal all of the tabs will immediately slide to the end.
I had fitted the new stone guards while the tub and rear wings were in primer so I proceeded with confidence thinking this would all go together nicely. Wrong. While I had test fitted the stone guards I never test fitted the rear beading and it was only at this time that I realized the stone guards needed more work to allow the beading to lay flatter as it passed over the large and small stone guards. Adjusting stone guards at this stage with painted panels is pretty nerve racking so my general advice is when mocking up the body prior to painting, don't leave anything out. Assemble the body just as it will be after final assembly.
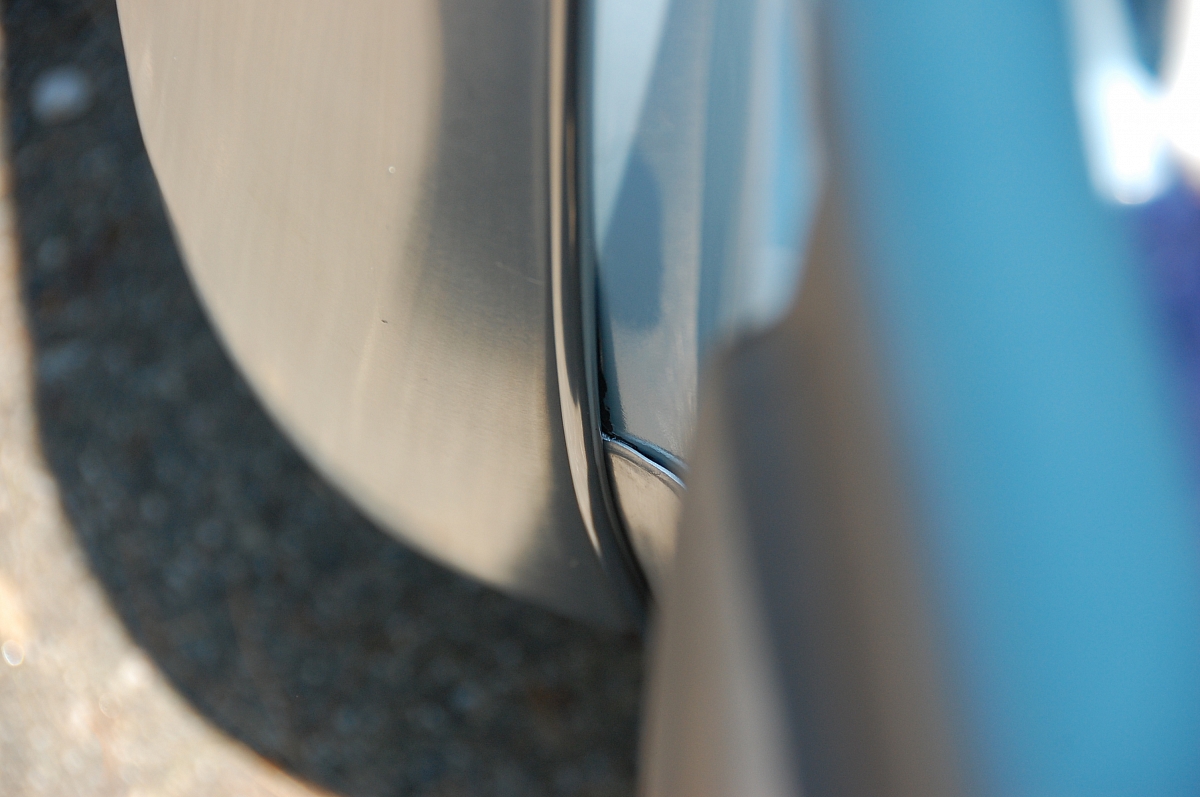
Here is how the beading looked on the initial assembly. It doesn't look that bad in this picture but there is gap under the beading where it meets the small stone guard.
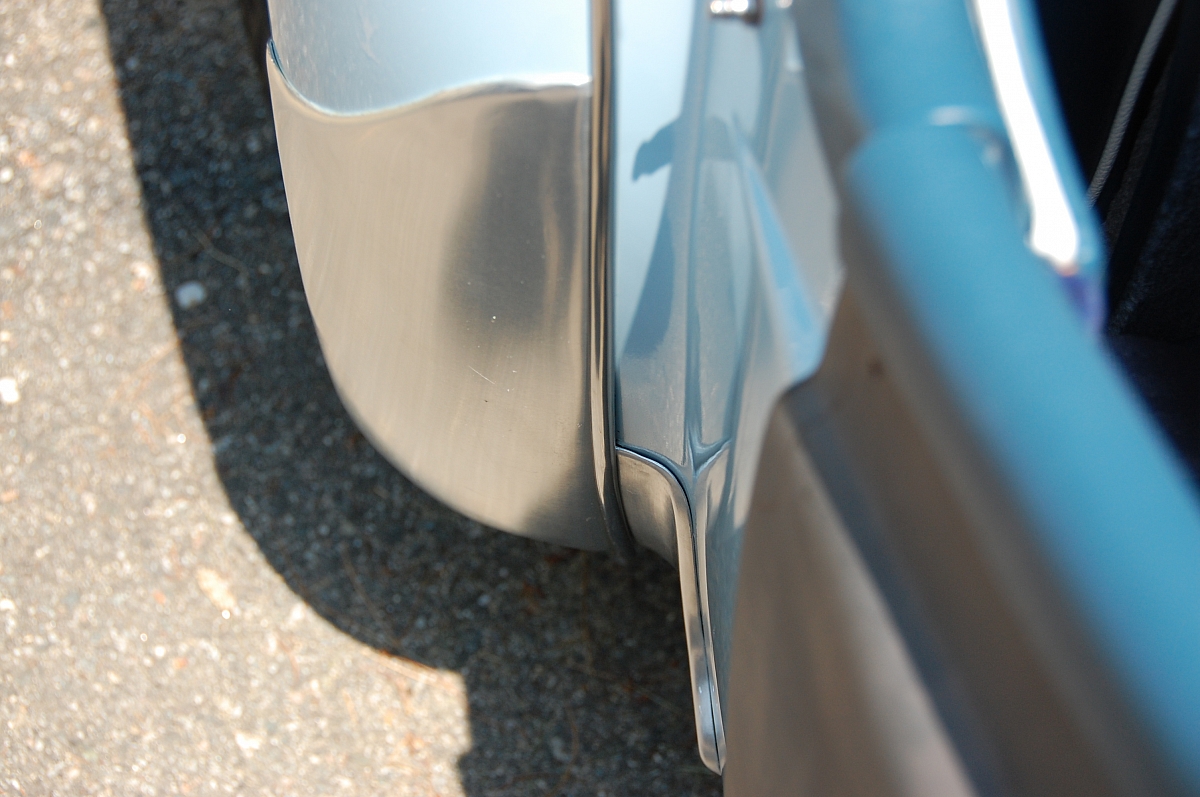
Here is how it looked after reducing the thickness of the small stone guard at the top corner.
So July 2015 we had one painted panel on the car, only 9 more to go..