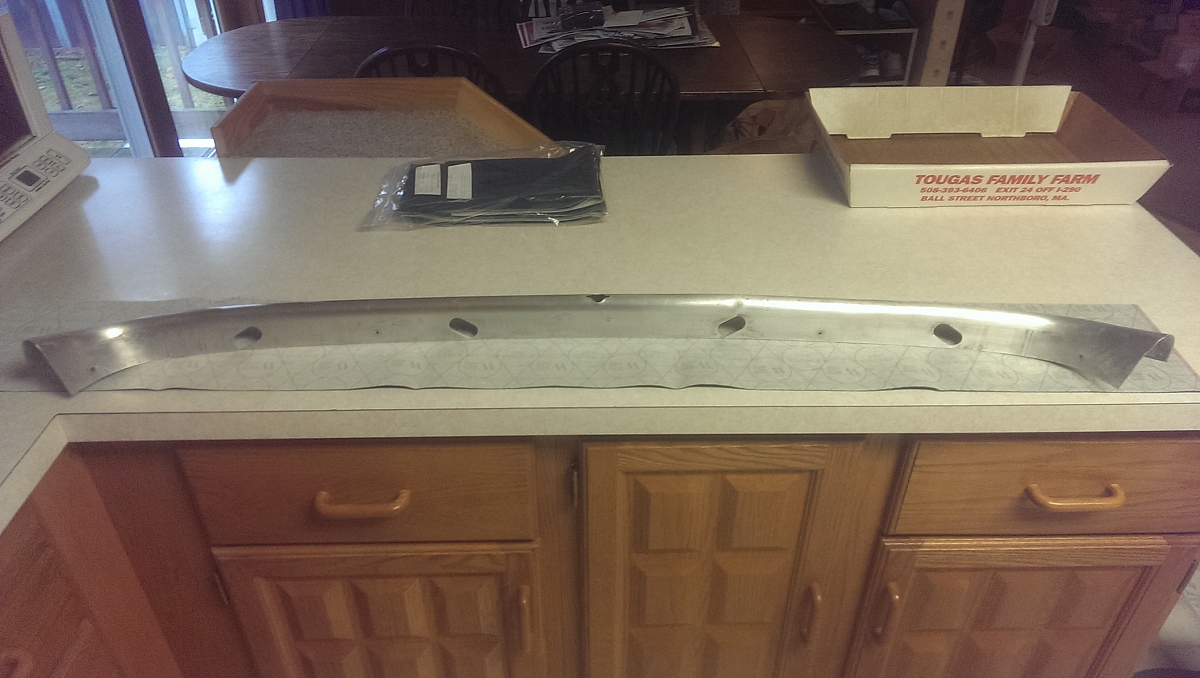
Flushed with the success of re-covering the dashboard I moved on to the cockpit capping. These are a combination of aluminum and steel (door and elbow capping) so we have opportunities for dents in the alu capping and rust in the steel.
I started with the long aluminum dash capping which after cleaning up was in very good shape and needed no further work from me.
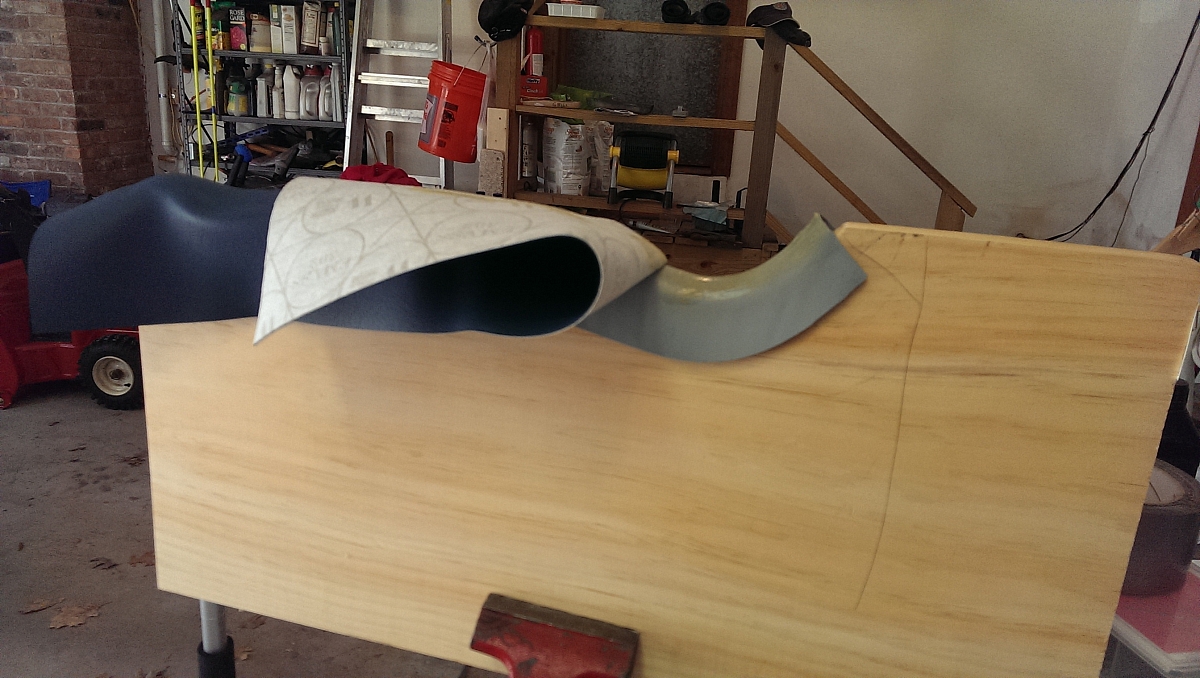
I had been researching this aspect of the project for several years so I was well armed with advice and pictures from other forum members. The general strategy was to anchor the vinyl on a flat/straight section of the capping and then work on small sections at a time gluing and stretching the vinyl to match the contours in the capping. I used contact adhesive and needed to apply several coats to the vinyl to be sure it would stick.
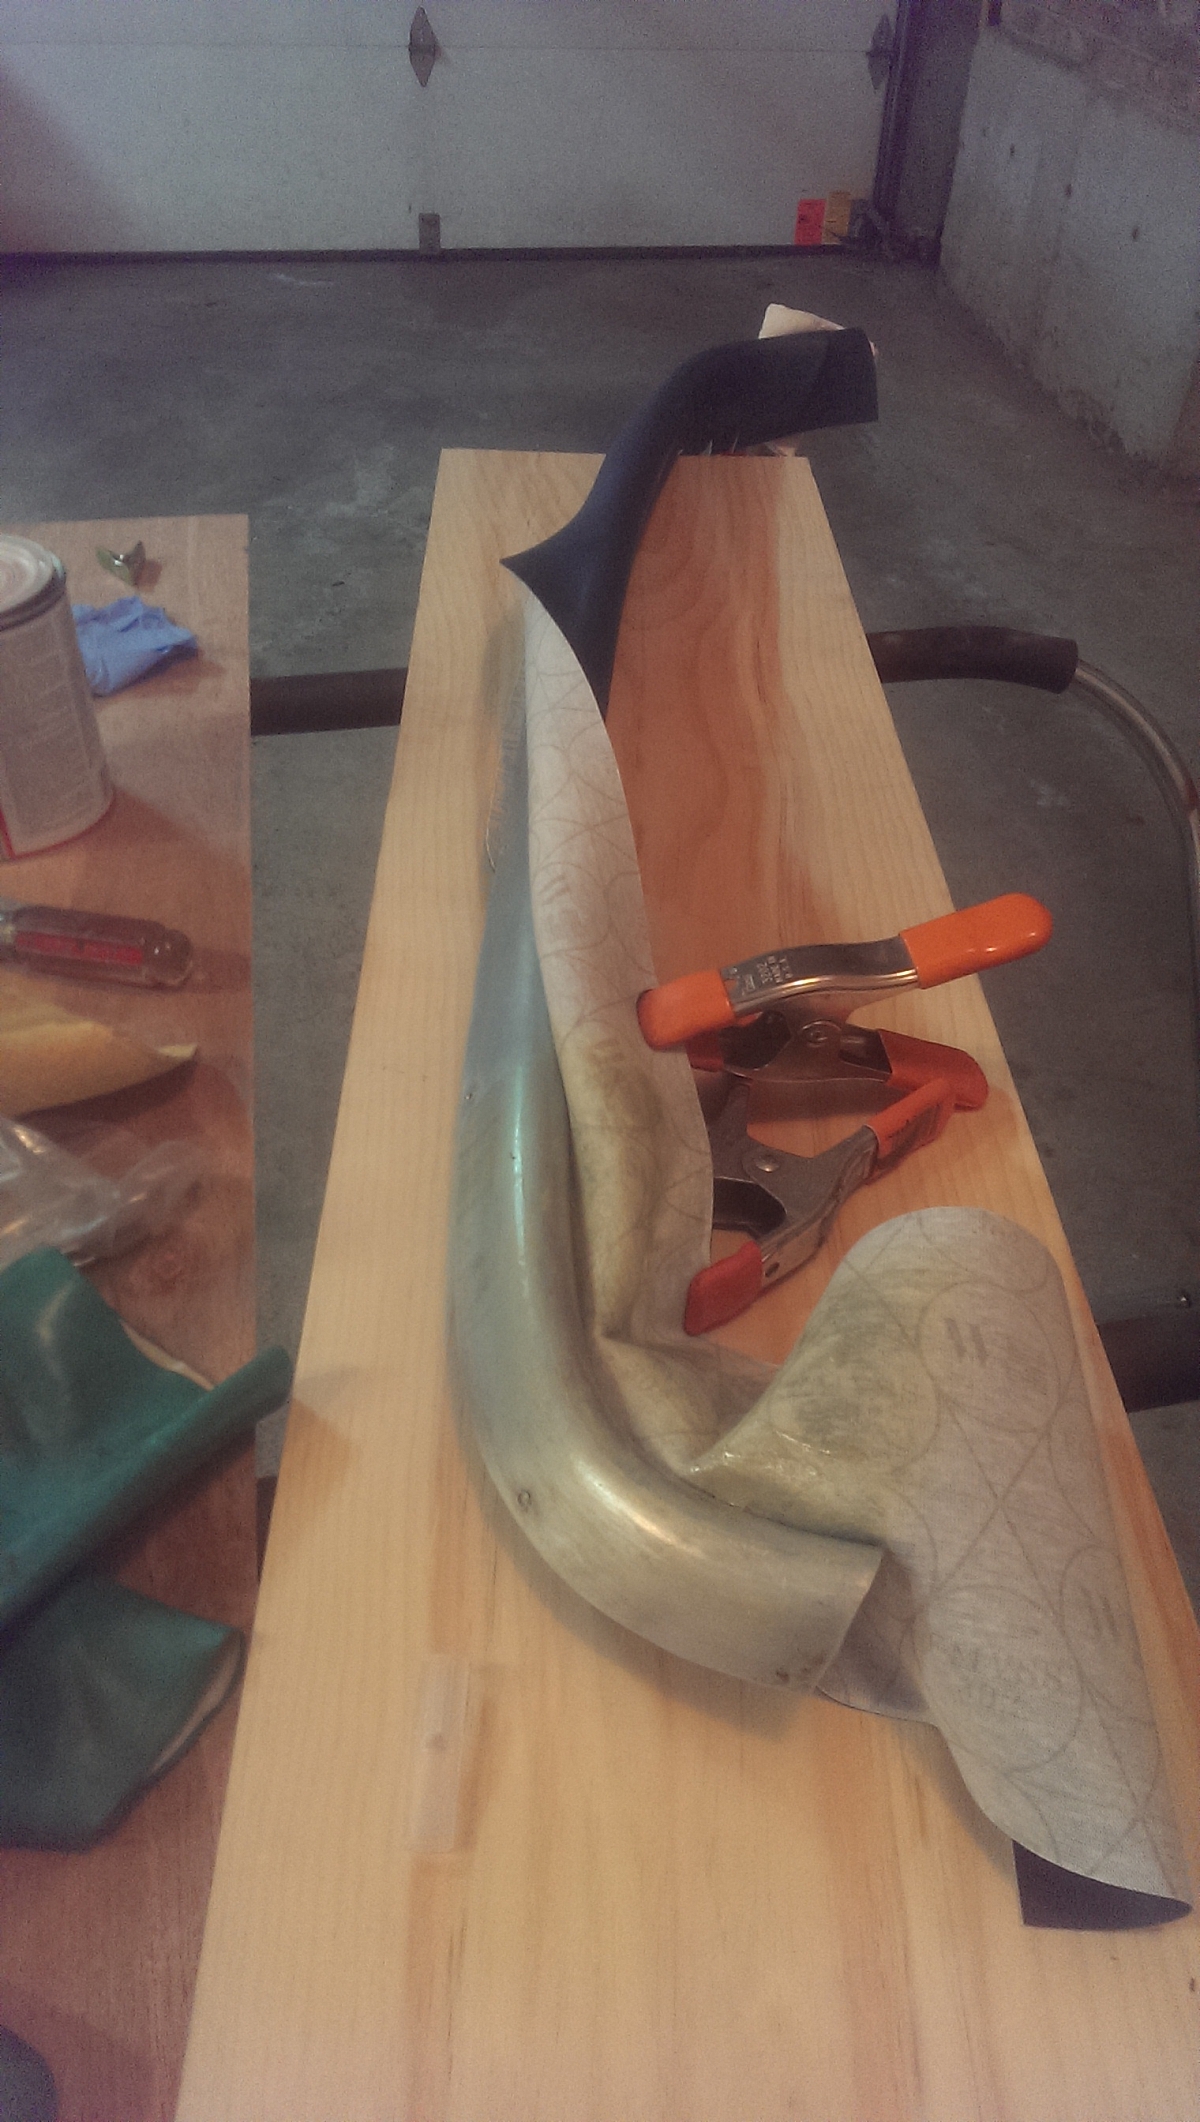
In the picture above I'm using the clamps to hold the vinyl off the capping while the glue sets up. This vinyl has a lot of stretch and was very nice to work with.
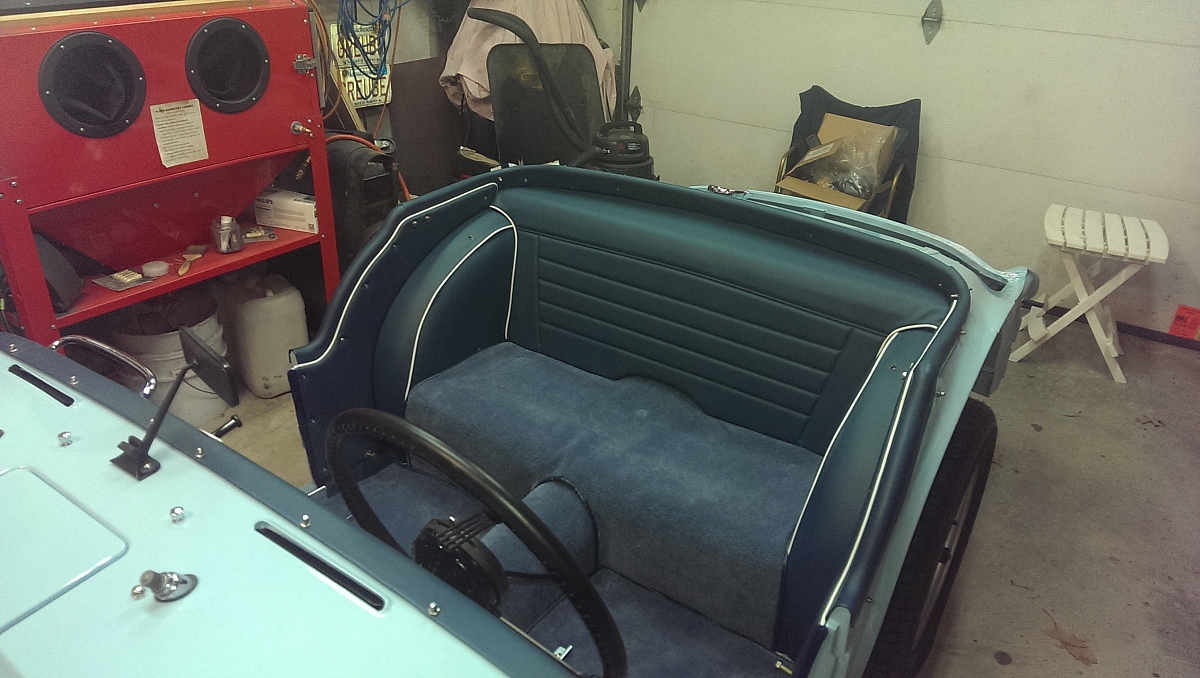
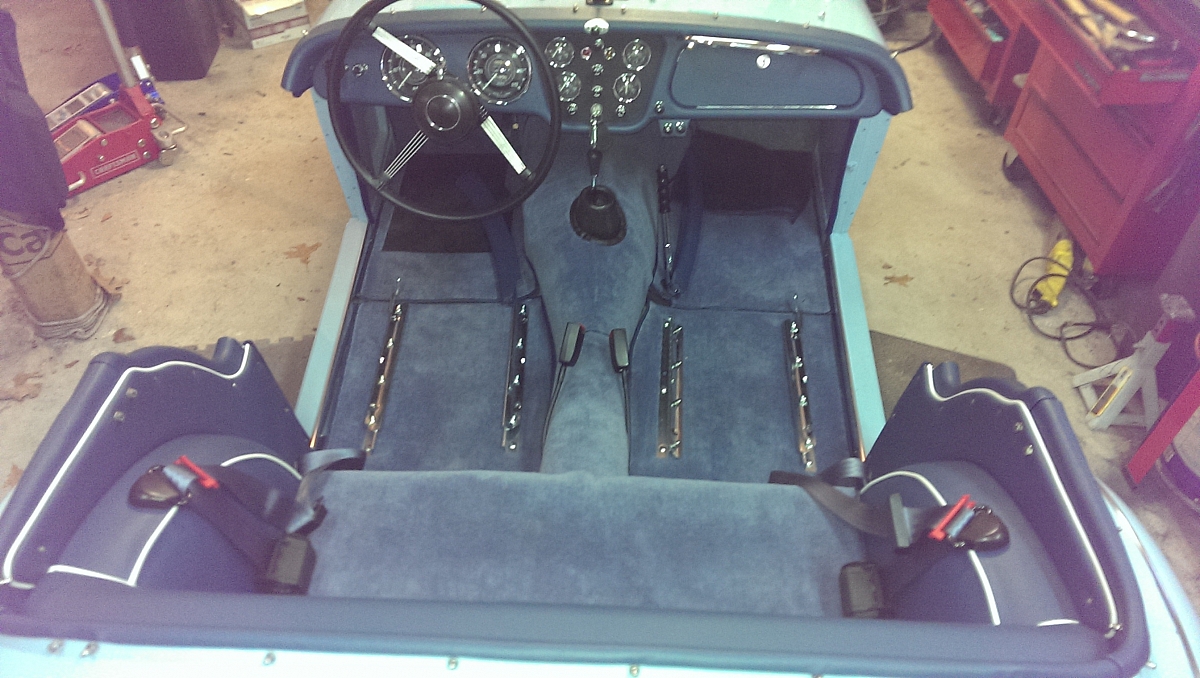
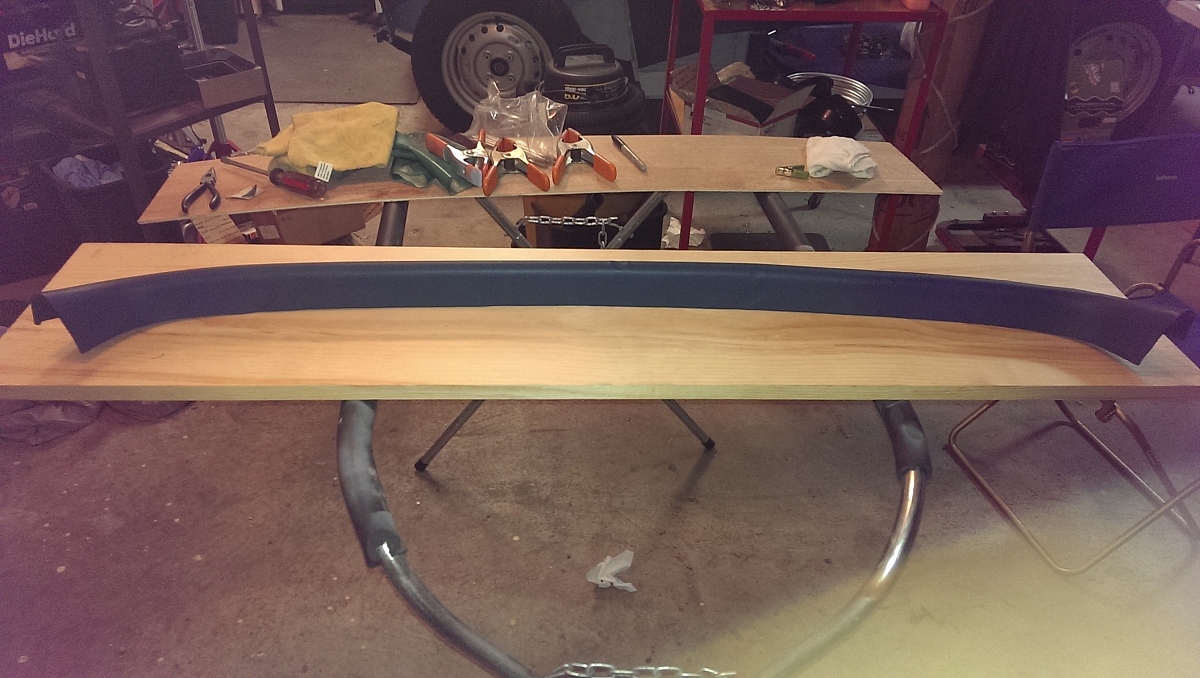
Here's how the dash capping looked when finished.
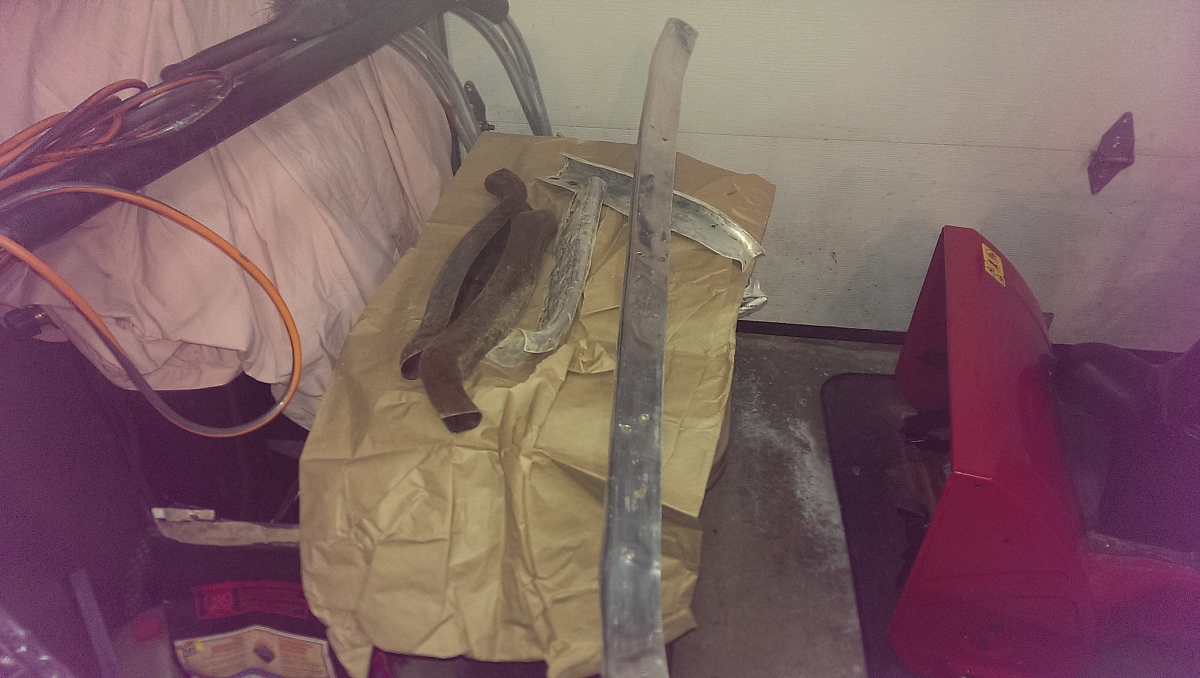
The other alu capping pieces had varying degrees of dents and the door and elbow capping bases were seriously rusted so I set to work with various tools to gently tap out the dents and clean up the steel pieces in the blast cabinet before priming. Here is the collection before I started the cleanup.
For the elbow capping I made a wooden form to hold the capping while I worked on it. This was a popular approach when I was researching this project.