With the tub repairs mostly complete I started on the outer body panels in early 2012. Every body panel needed repairing either due to rust, stress cracks, accident damage and dents. Some panels like the front wings had all of the above.
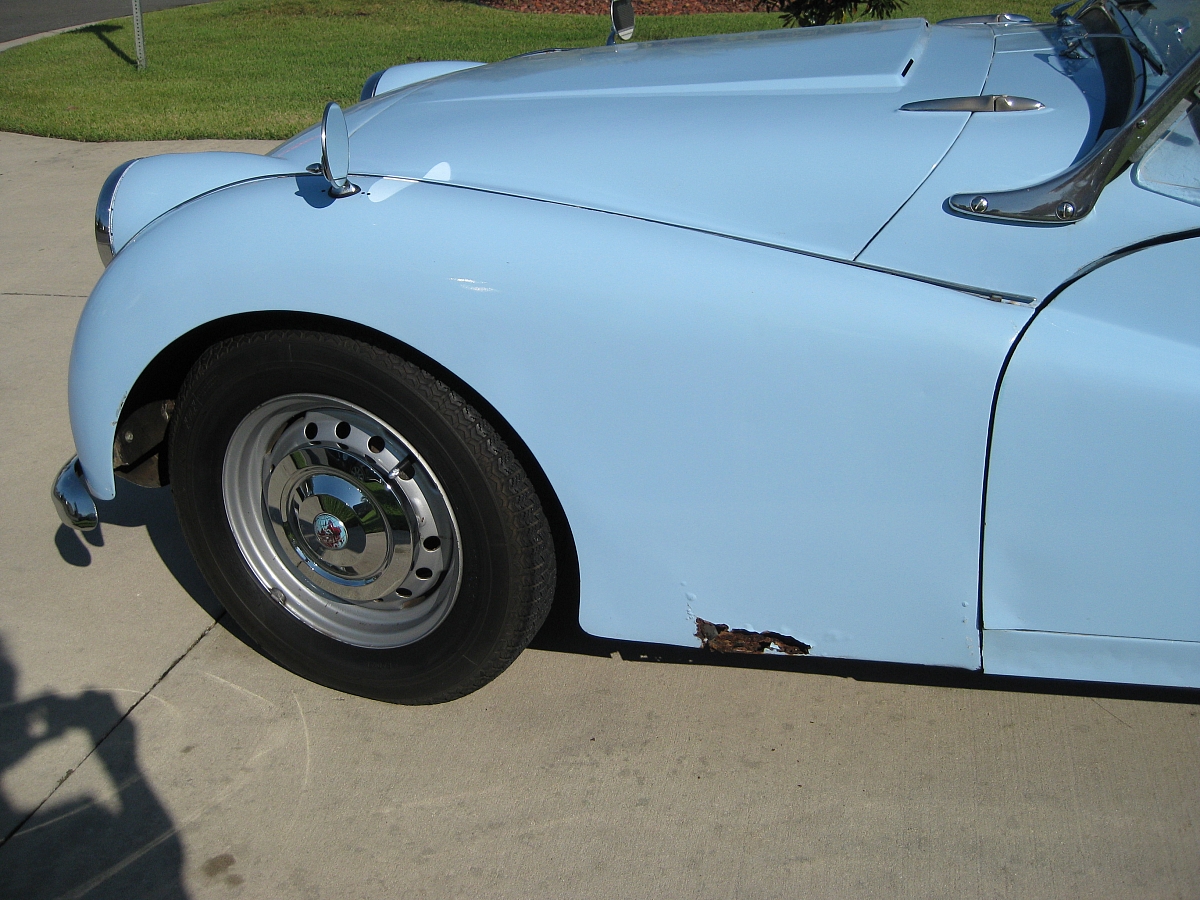
One of the worst panels was the left front wing where we see the typical rot that has eaten into the lower rear section.
I had already purchased a repair section for this left wing and Stuart assured me that they are well made. He also provided me with detailed step by step directions on how to fit it which I will try and summarize here.
The procedure starts by offering up the repair panel as best you can and mark on the wing where the repair panel will need to overlap. The repair panel has a wide joggle and it is important to cut the wing such that there is a .25 inch gap when the panel is in its final position so that there is a gap to weld in. Stuart's directions also mentioned to leave about 2 inches of the original reinforcing wire below the cut and two inches of the return at the rear so that these connections to the repair panel would be staggered. This also meant unpicking the folded metal of the edge of the repair panel to expose the wire and trimming that wire so that the original wire in the wing would meet it with a small gap to weld the two wires together.
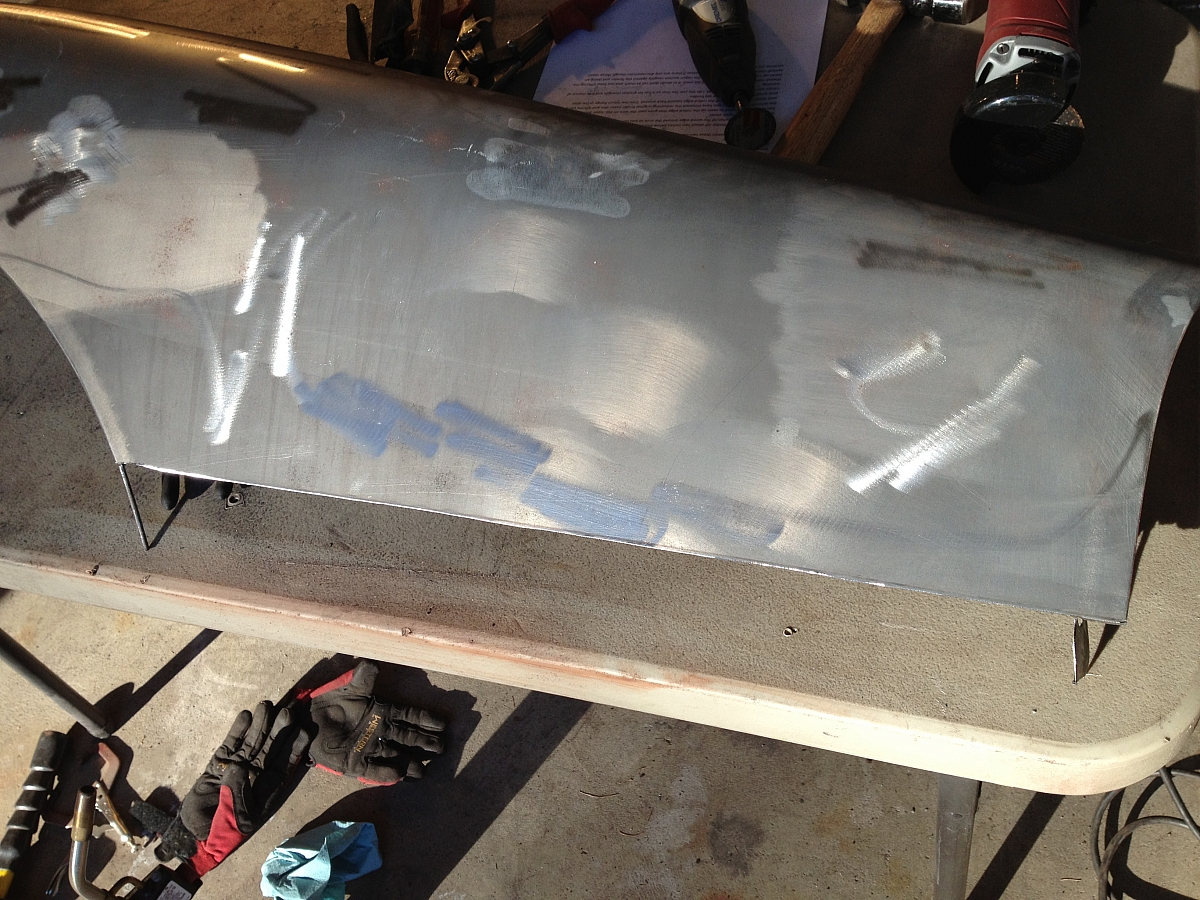
Here's how the trimmed wing looked after those cuts were made.
While I did have some long clamps I could not clamp the entire length of the repair panel so I used a couple of sheet metal screws to bring the panels together in the center.
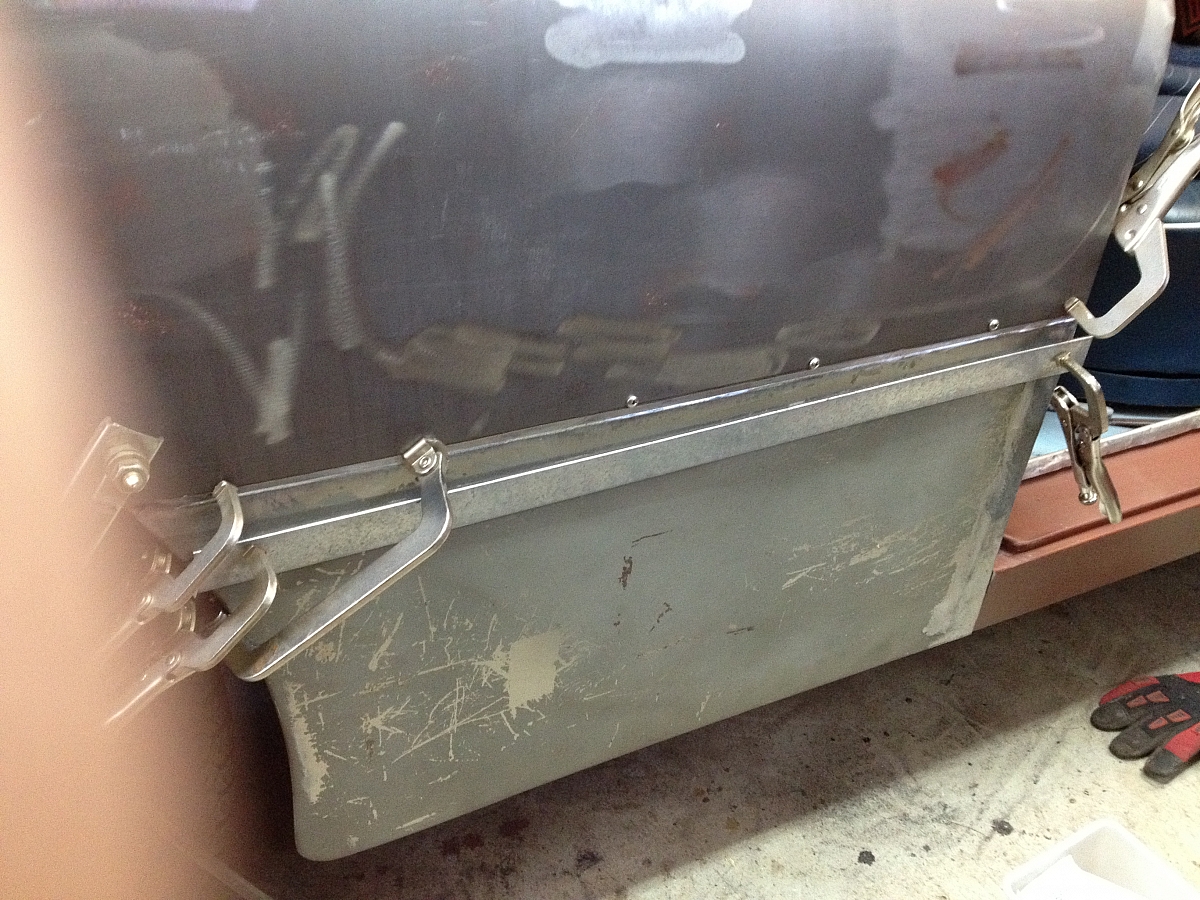
I also clamped some steel bar either side of the panels to act as a heat sink.
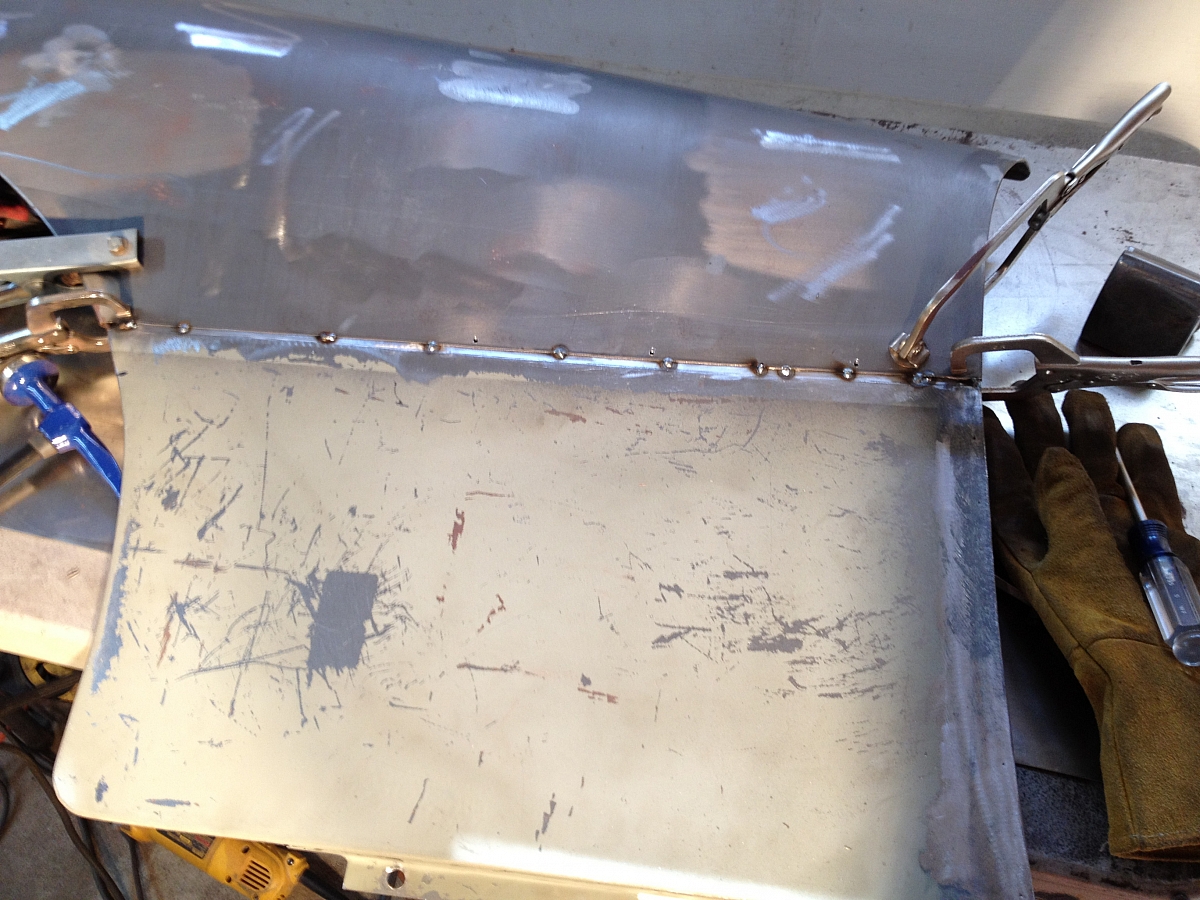
With the repair panel tacked in place I could then remove it from the car and seam weld along the gap. I also tacked it along the seam on the rear of the panel. When this panel gets painted it will get seam sealer and stone chip along with the primer and color coats because if water gets into this seam all of this work will have been for nothing.
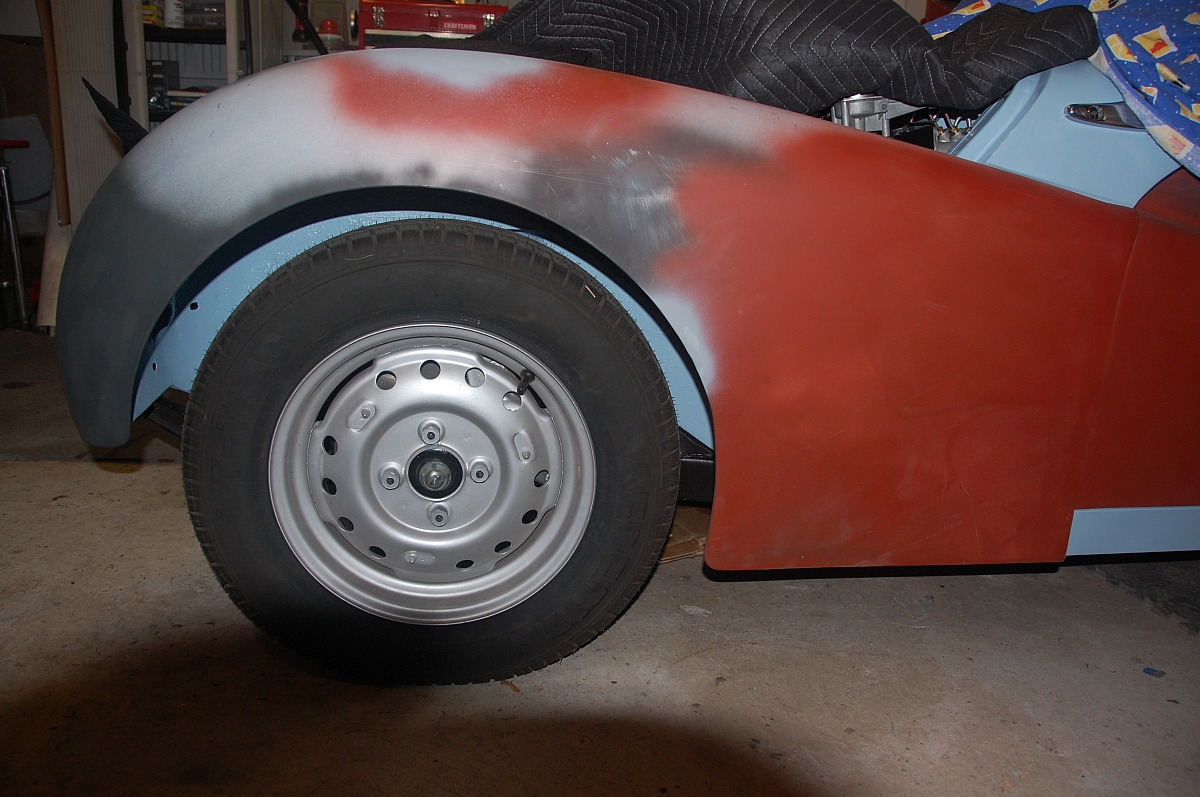
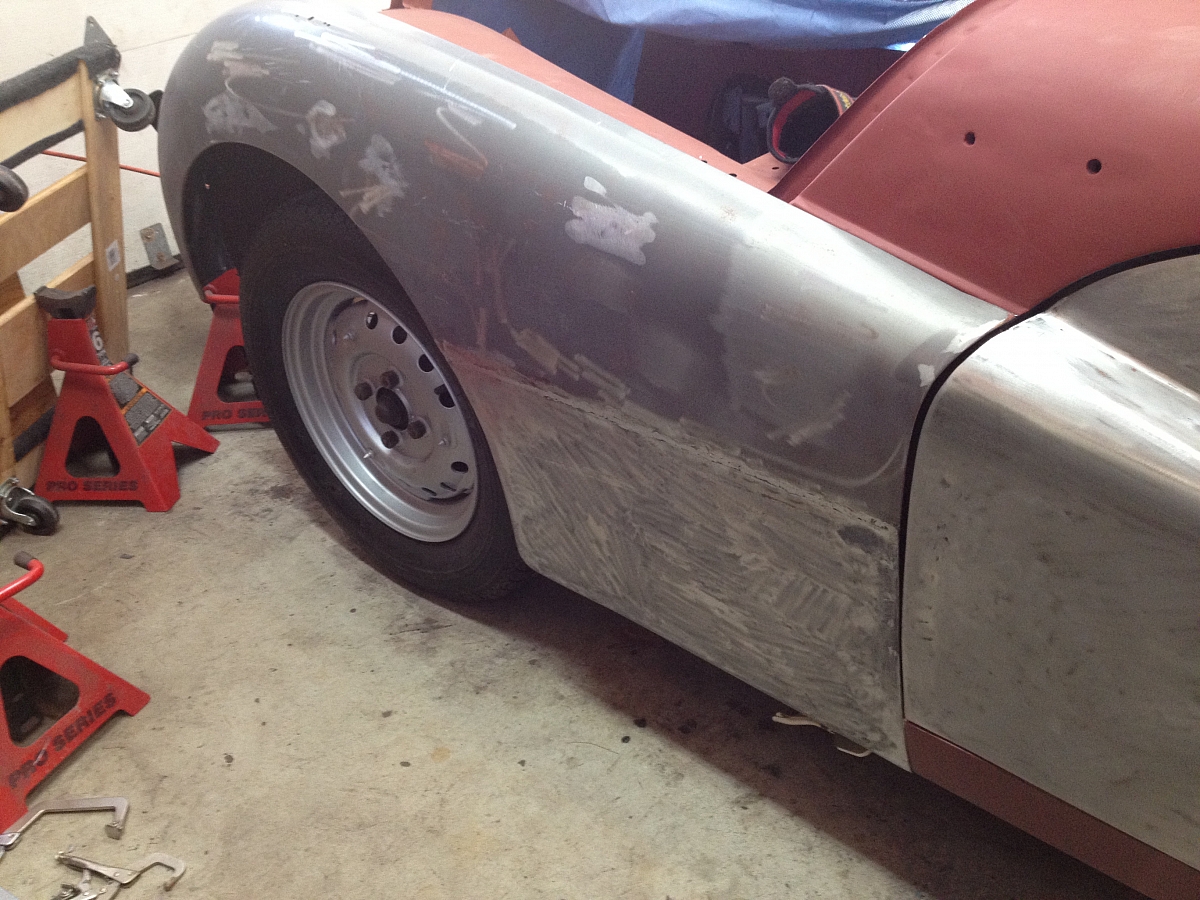
Here's the wing being trial fitted after the welding is complete.
The front right hand wing had similar but less serious damage so rather than use the larger repair panel I fabricated my own repair sections. Having used both treatments on the front wings I think I would only resort to the full repair panel if the extent of the damage/rot extends into the wheel arch edge. If like my left front wing the damage is confined to the lower rear, using smaller repair sections (which are easy to fabricate as I will show when we do the right front) avoids trying to make the joint in the wired edge and disrupting the smooth curve of the wheel arch.