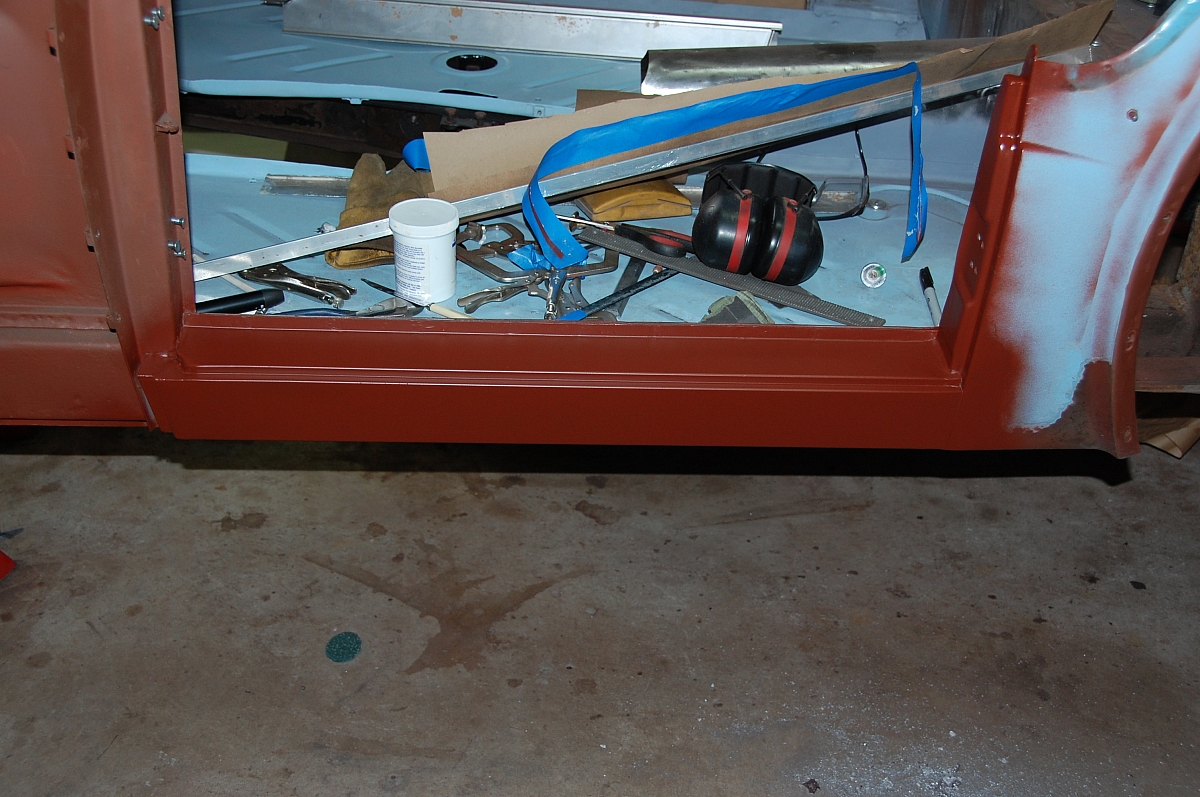
The pop-riveted replacement outer sills came off pretty easily to reveal the rotted originals underneath. With the remnants of the old sills removed and the exposed inner sills cleaned up and painted it was time to fit some new outer sills.
I had to go through three sets out outer sills before I found a pair that I liked.

The top sill was just not made correctly and the whole front section was missing.
The sill in the bottom of the picture fitted better but it was made from 22 gauge steel and I deemed it too flimsy.
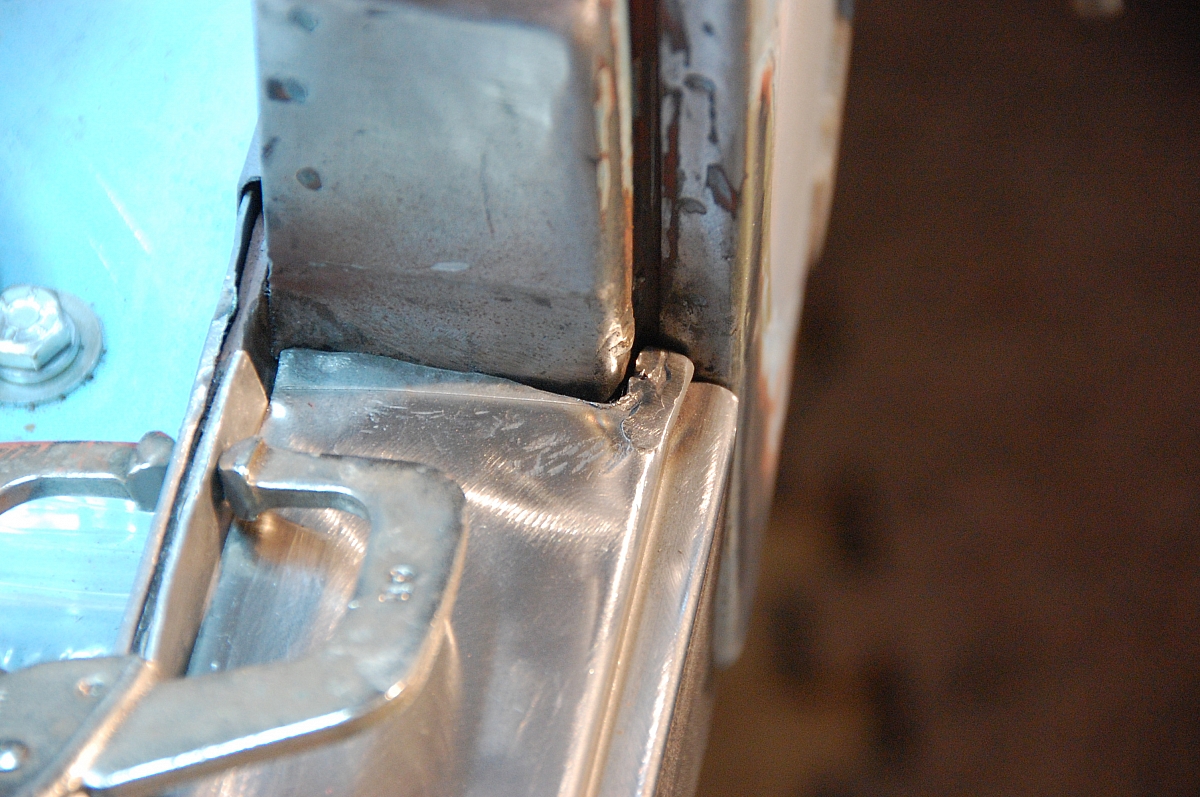
I eventually settled on a pair of sills from Moss in the USA that still did not fit, did not even come close, but they were made of some thicker steel and they had enough material that I could bend and cut and weld to get closer to a sill that fitted. You can see in this picture where I have flattened a flange at the rear to provide enough material to reach the B post.
There is a lot of clamping, standing back and checking alignment when fitting the sills and I was using the repair panel for the left front wing to check alignment at the front and I temporarily hung the door to check that alignment.

Stuarts secret trick for getting the perfect gap at the rear is to lead fill the gap and create the seam with a file. A fiendish trick that worked very well. I had to enlarge this initial gap to make room for paint but you get the idea.
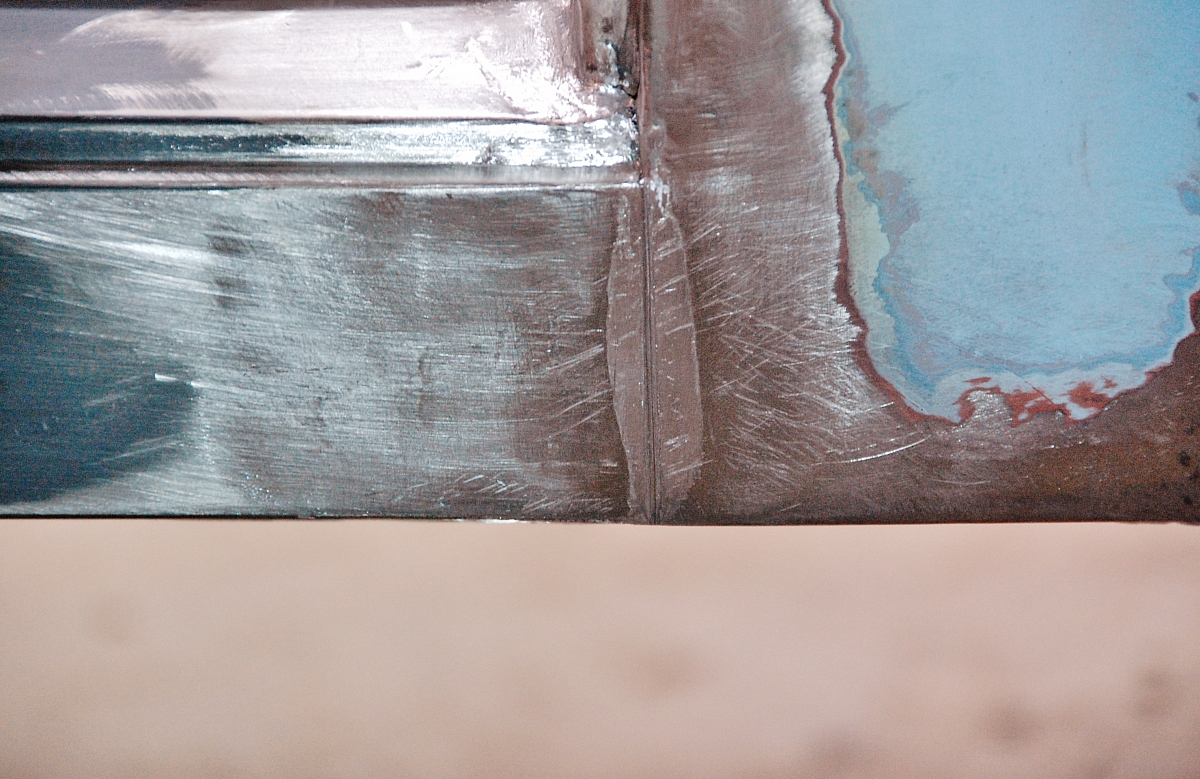
Be sure to check out Stuarts Lead Loading video in the members area, Videos and Seminars section